In MS Outlook, many time attachments often accompany an email message. All of these attachments vary in sizes, so a question arises- what is the default file size allowed by Outlook for attachments? The default file size for attachments is limited to 20 MB but can be easily modified by tweaking into the system registry settings. Other methods include file-size compression, using OneDrive, and file splitting. In this post, we will examine several aspects of Outlook attachments, including file size limitations, restricted extensions, and lastly, workarounds for sending large files as attachments in MS Outlook.
Ways to Email Large Files as Attachments in Outlook
In this section, we will discuss methods to send large files as email attachments in Outlook. So, at this point, you might be wondering- why several email service providers have set this stringent limit to attachments? A short answer to this is “due to security reasons.” If there is no limit to file size, then the email servers might be bombarded with several large-sized mails, therefore slowing and disrupting the normal working of these servers. Let us now look at ways to send large files as attachments in Outlook. Following is the error message that you might receive if you try to attach files more than the limitation.

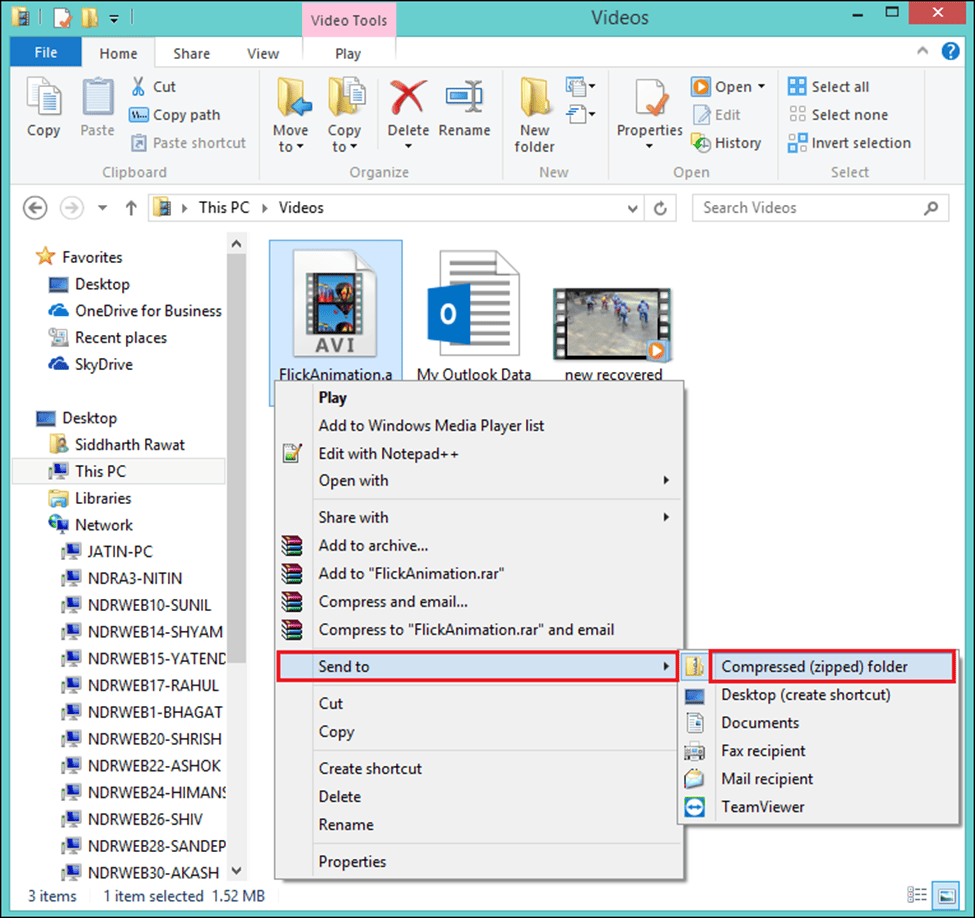
The easiest way that comes to anyone’s mind is compressing attachments before sending them. Compressions can help bring down the file-size, within the predefined limitation that is 20 MB by default. The algorithms employed in compression tasks works so well that you won’t even notice any considerable difference between the original and compressed files. The tools that you need in performing compression are WinZip, WinRAR, etc. Assuming you have already installed one of these file compression tools, right-click on the file that you would like to compress and select Send to > Compressed (zipped) folder. If you now check the properties of the compressed file, then you will see a considerable difference.
If your attachments are image files, then you can easily resize them in Outlook using the Resize Image feature. To do so, in your message window, select the File tab from the Outlook ribbon and select Resize large images when I send this message.
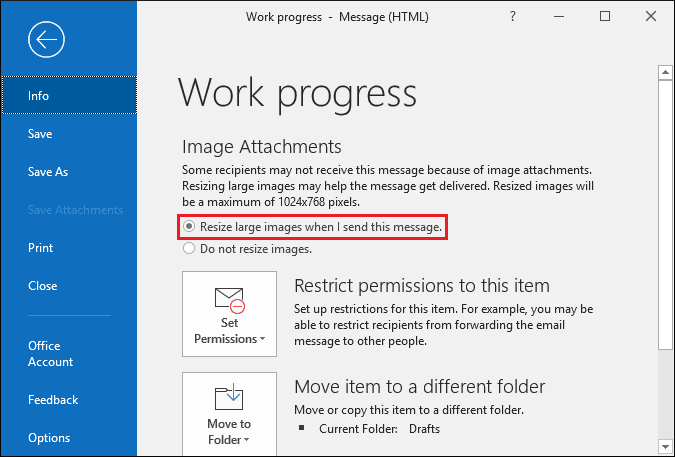
Note: Embedding images in the message body, you won’t be able to use the resize feature.
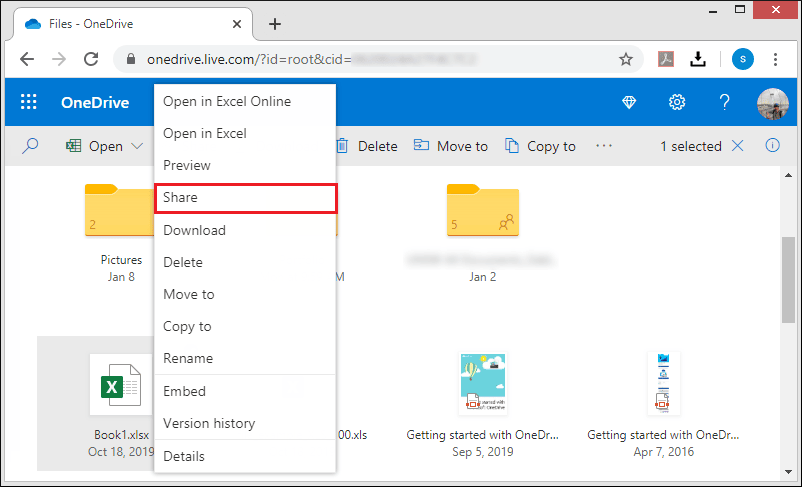
If your files are too big, then you can consider taking advantage of the cloud services, file share, or FTP websites. Let’s talk about OneDrive- a cloud storage solution developed by Microsoft. FYI, if you have a free Outlook account, then you get 15 GB on your OneDrive account. If you need more space, then you subscribe to a plan, in which case you will get a whopping space of 1 TB. The detailed Steps to send large attachments through OneDrive are outlined below:
- Log in to your OneDrive account using your Outlook credentials.
- Right-click on the file that you would like to share and click Share.
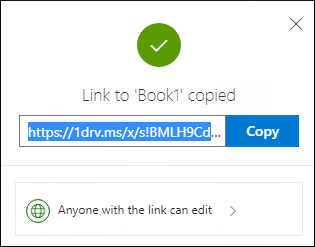
- At this point, you have two options- you can either enter the email addresses of all that people that you want to share the file with, or you can generate a link that you can embed in the email message body.
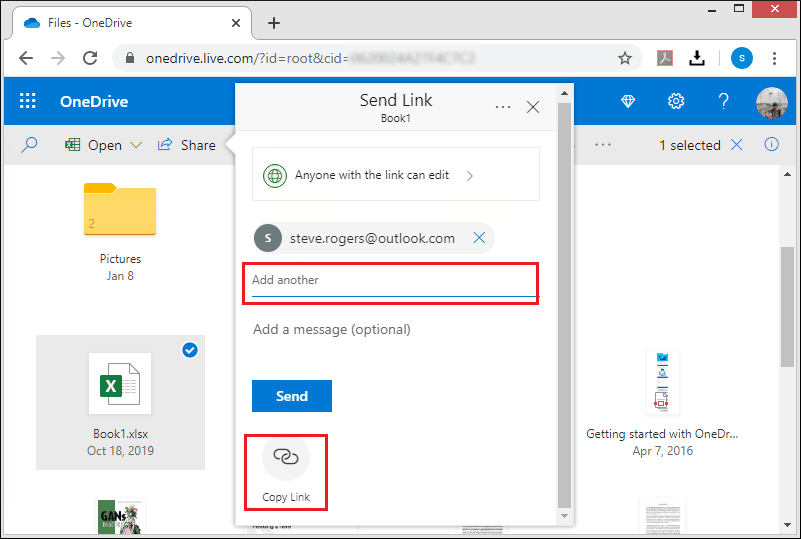
- Click on the copy button.
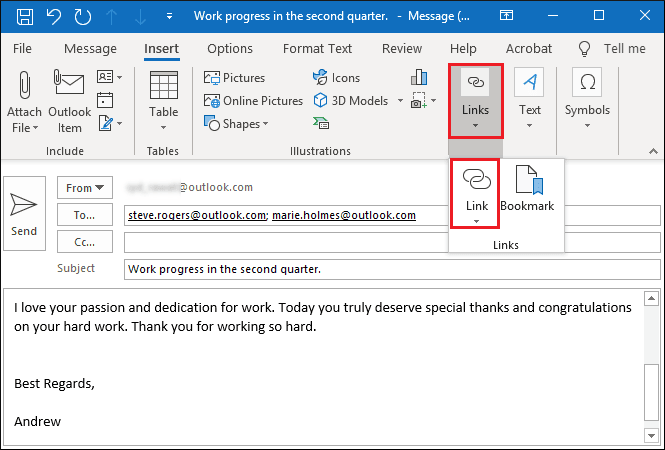
- Now, go to the email message > Insert tab > Links > Link.
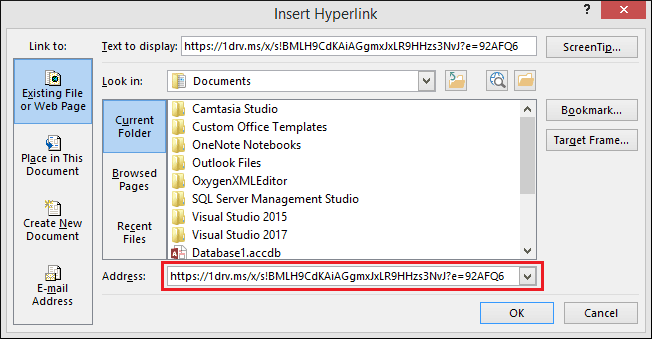
- In the Address box, paste the earlier copied link.
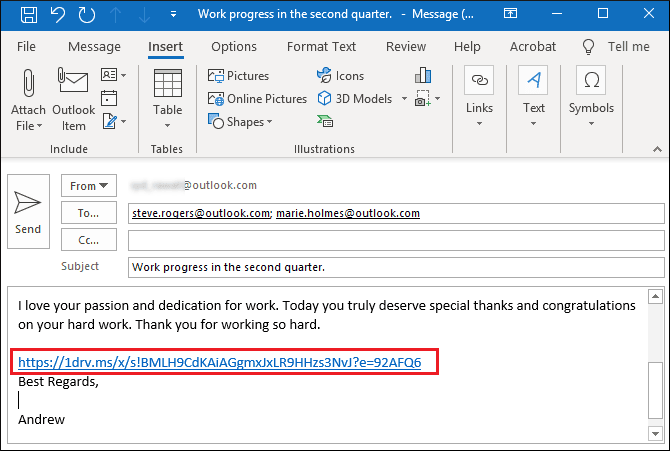
- You will see that the link gets embedded in the message body, as shown below.
If you have large- size videos to attach, then you should check out Handbrake. Handbrake is a freeware utility that can be used to compress your large-sized video files with ease. One can download the tool here.
The detailed Steps are outlined below:
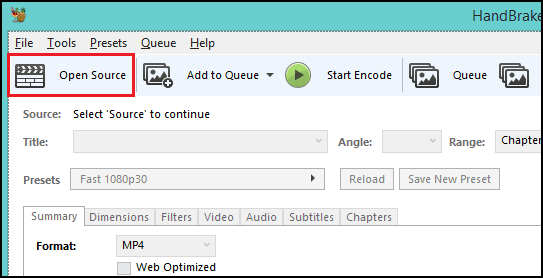
- Launch the tool, and don’t get panicked by the buttons and available options.
- Next, click on the Open Source button to add file(s) for compression.
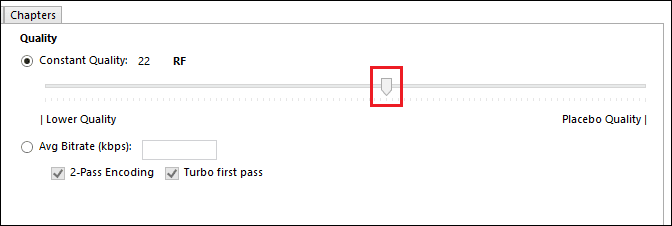
- Now, click on the Video tab and adjust the output video quality using the variable slider. Lower Constant Quality value signifies the lower output quality.
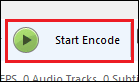
- Now, click on the Start Encode button to initiate compression.
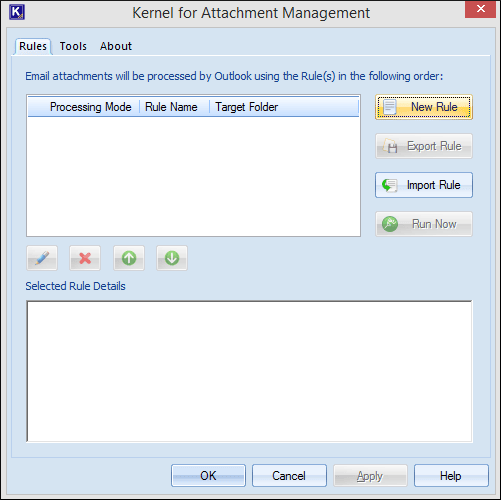
Many a time when a receiver gets an email along with attachments, these attachments won’t open. This can be either due to file corruption or a result of Outlook blocking particular extensions, which it perceives as a potential threat. In these cases, a reliable tool such as Kernel for Attachment Management comes in handy. This tool is specially designed to recover any lost/ damaged or blocked attachments. Moreover, the user can create multiple customization rules to extract email attachments. We suggest the user try out the trial version to get acquainted with the tool.
Conclusion
In this post, we have discussed several ways that can be used to send large-files as Outlook attachments. Many a time these attachments get damaged/ corrupted or blocked by the Outlook at receiver’s end. In such an adverse scenario, Kernel for Attachment Management tool can be of great help. With the help of this tool it is also possible to repair and open blocked attachments in Outlook
- How to Clear Partial or Full Memory in Microsoft Outlook?
- How to Create and Save an MSG File in MS Outlook?
- Ways to Open a Shared Folder in Outlook
- AutoArchive Not Working in MS Outlook – How to Fix?
- Search PST Files with the Indexing Options in Outlook
- How to delete Outlook temporary files in Windows 10?
- Manual Configuration of Outlook PST File Size Limits