While composing a new email in Outlook, the “To:” is not the only place to add email addresses, there are two more fields – Cc: and Bcc: that can also be used to add recipients.
“Bcc” is one of the most discussed concepts in the MS Outlook because many people often get confused about Cc and Bcc. So, this blog will clarify the difference between Cc and Bcc, and also cover how you can add Bcc recipients.
Highlights
The ideal manual approach for converting OST to PST is using MS Outlook.The Import/Export wizard of Outlook helps to convert OST files to PST. However, this is possible only when Exchange Server is available. The steps are:
Like Cc is known as “carbon copy,” Bcc is known as blind carbon copy that allows you to send your emails not only to specific recipients but also without revealing it to other recipients. The difference between Bcc and Cc is that Bcc recipients are not visible to anyone whereas Cc recipients will be visible to other recipients; only the sender can view Bcc recipients.
However, if the Bcc recipient replies to the email keeping all the recipients in it, then only other people will get to know about it. Bcc field also allows you to send newsletters or messages to undisclosed recipients.
Now, the most common question related to Bcc that is often asked by most Outlook users is how they can add a Bcc in an Outlook email. Well, here we have the answer for you.
Adding Bcc recipient in Outlook is very easy, but first, you’ll have to ensure that the Bcc address line is displaying in your MS Outlook, and if it is, then follow the below steps:
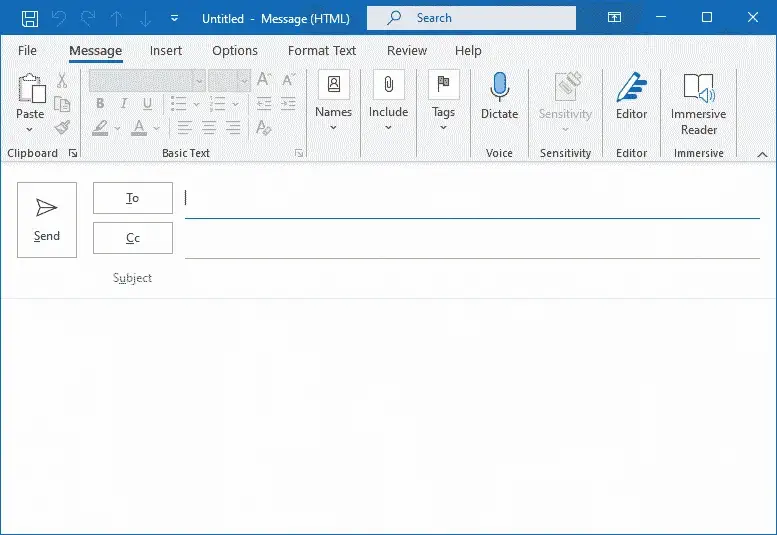
- Open MS Outlook and click New Email in the top-left corner.
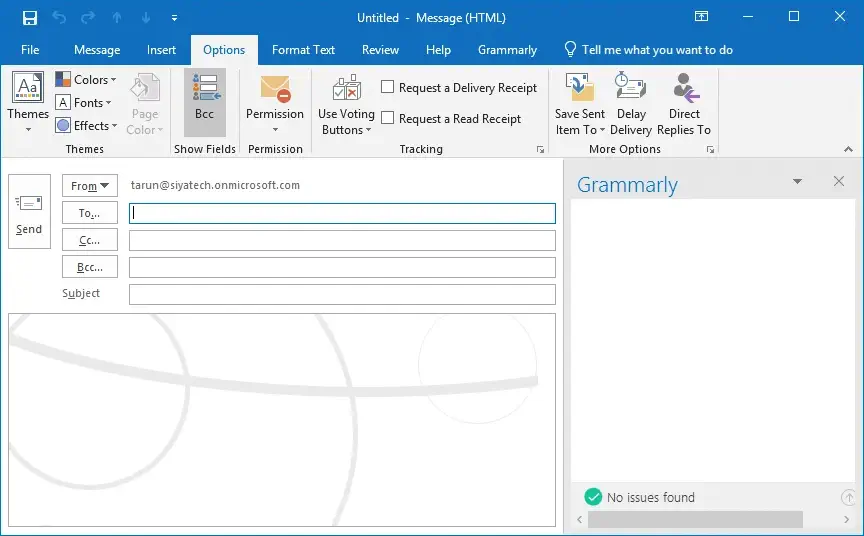
- In the New Email window, click the Options tab in the menu.
- You’ll see the Bcc option, on clicking it the Bcc field will appear below the Cc section.
 Now, you can add the Bcc recipient to it, and no one else will get to know that you have sent this email to a Bcc.
The Bcc field doesn’t appear automatically in Outlook due to the rules set. But, you can automatically Bcc all outgoing emails either by using Outlook template (instead of creating an email directly) or using the Outlook add-ins that perform the Bcc action automatically.
- Using Outlook Template
An Outlook template is a saved email copy that is already filled out and resides in one of your Outlook folders or Desktop. You can create a template by following the below steps:
- Create a new email with the Bcc field filled in.
- Save this email to Outlook folder or on your desktop.
- After saving this template, you can use it every time as a new email to include Bcc recipients.
- Using Outlook Add-ins
There are three Outlook add-ins that can be used to perform the Bcc action automatically. There are many add-ins available in the market.
Using any of the above methods, you can easily add Bcc recipient in your Outlook emails automatically.
However, if you want to resolve other Outlook queries like how to resolve PST Corruption, split large PST files, or merge multiple Outlook PST files, then have a look at our blog section.
Conclusion
“Bcc” field is an essential factor to consider when it comes to sending emails outside the organization. So, here we elaborated some methods that will help you add Bcc in your Outlook emails both manually and automatically.