Read time: 10 minutes
April 13, 2021, was the end-of-support date announced by Microsoft for SharePoint Server 2010. The term ‘end of support’ means Microsoft will no longer bring any updates to the particular version of the application. It is an indication to the user that they should upgrade to the latest version of the software. After the announced date, it will be the end of the lifecycle. However, it’s important to note that the software will still function, but Microsoft will no longer assist with any associated issues or updates.
Consequence of end of support
As Microsoft no longer supports SharePoint 2010, you’ll not receive any of the following:
- Technical support to fix issues within your SharePoint 2010 server.
- Regular updates and bug fixes to keep the software stable.
- Security patches to stop breaches and prevent SharePoint Server from being vulnerable.
- Time zone updates.
The end-of-support for SharePoint 2010 means a threat to the security and productivity of your business. No one wants to work with the outdated platform that doesn’t even provide support during mishaps. Even regular tasks, such as adding a user to SharePoint site can start to show errors, and no fix will be provided for it. Furthermore, organizations using outdated software put their policies and data integrity at risk.
Therefore, it is better to adopt the change and proceed with the latest version of SharePoint.
Why migrate from SharePoint Server 2010 to SharePoint Server 2019?
If you are using SharePoint 2010, your next step should be to upgrade to the latest version of SharePoint Server 2019 and find a suitable method to do so. Here’re some of the benefits you get with SharePoint Server 2019:
- Provides a clear and friendly user-interface than its earlier versions.
- Support enhanced data protection with data loss prevention, audit logs, etc.
- Allows easy integration of on-premises SharePoint with SharePoint Online.
Considering the advanced and improved features of SharePoint 2019, it’s time to move to the enhanced version for better security and enhanced collaboration. However, it is important to note that there is no direct method to migrate from SharePoint Server 2010 to SharePoint Server 2019.
To accomplish your SharePoint 2019 migration plan, you will have to upgrade to SharePoint Server 2013, then to 2016, and then finally upgrade to 2019. The table shows the available options for you:
|
End of Support software |
SharePoint Server 2013 |
SharePoint Server 2016 |
|
SharePoint Server 2010 |
SharePoint Server 2013 (on-premises) |
SharePoint Online |
|
SharePoint Server 2013 hybrid with SharePoint Online |
SharePoint Server 2016 (on-premises) |
|
|
SharePoint Cloud Hybrid Search |
Migrating using SharePoint migration solution
To migrate from SharePoint 2010 to 2019, you need to first migrate SharePoint 2010 to 2013 or 2016 and then to SharePoint 2019. The best possible option in front of you is to use any professional software that supports all migrations irrespective of their versions. Among so many software available, Kernel Migration for SharePoint stands out as the most reliable choice.
With this advanced SharePoint migration tool, you get access to several enhanced features. It simplifies migration between SharePoint versions without data loss. What you can expect with this tool includes:
- Transfer sites, subsites, lists, libraries, documents, metadata, etc.
- Migrate data selectively and schedule migration process as required.
- Migrate SharePoint site permissions with the site content.
- Easily migrate SharePoint site collections to SharePoint 2019.
- Perform SharePoint on-premises to SharePoint Online migration.
- Can also handle SharePoint migration to different tenants.
How to migrate SharePoint 2010 to SharePoint 2019?
The tool adds two SharePoint servers as the source and destination, and you can do the migration as easily as the copy-paste process. So, let’s go through the process of migrating the SharePoint 2010 to SharePoint 2019.
Add SharePoint Server 2010 as the Source
Start the process by adding the SharePoint site in the source and destination pane of| the tool. Here are the steps to do so:
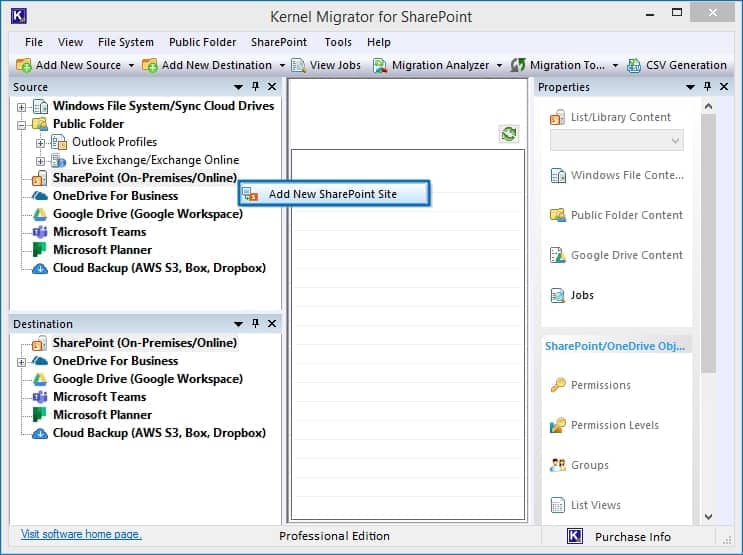
- Open the tool. In the Source pane right-click SharePoint (On-Premises/Online) and select Add New SharePoint Site option.
- Provide a project name. In the Connection type, you get two ways to login- Basic & Modern authentication. We recommend Modern authentication as it is more secure. Select Moder authentication option and fill in the required credentials.
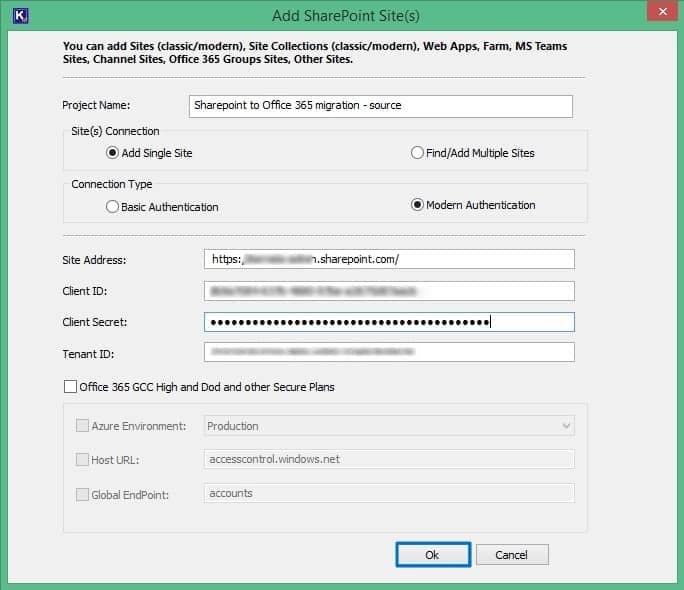
Note: In Site(s) Connection section by default Add Single Site is selected. To add multiple sites, click the Find /Add Multiple Sites button.
- A message will ask whether you want to add the SharePoint site as the destination also. Click No.
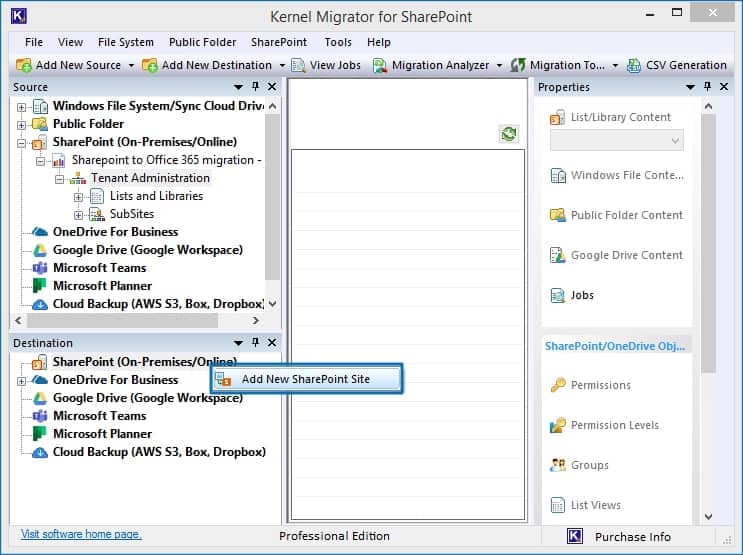
- The added SharePoint Server site will be shown in the source pane. Follow the similar process and add destination site in the Destination pane.
Migrate SharePoint 2010 to 2019
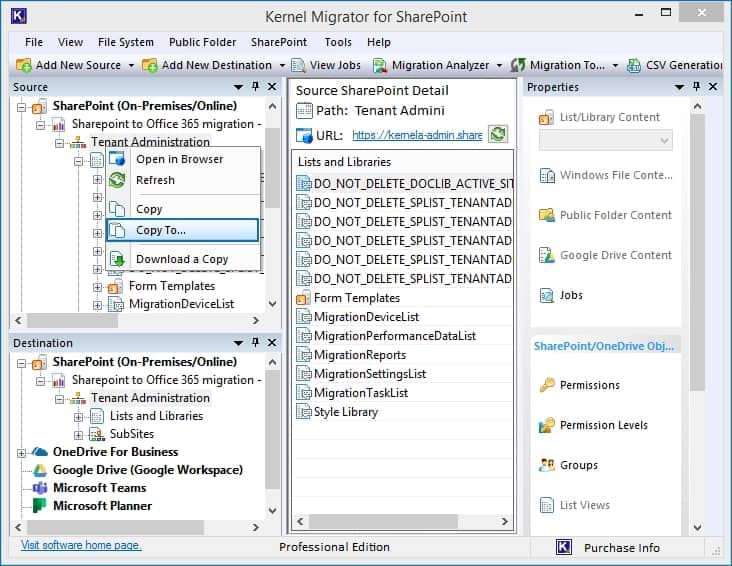
Once you add SharePoint Servers both in Source and Destination, use Copy To option to move data from SharePoint 2010 to SharePoint 2019. Here are the steps to migrate the site content:
- Right-click on the Source Site Collection and select Copy To.
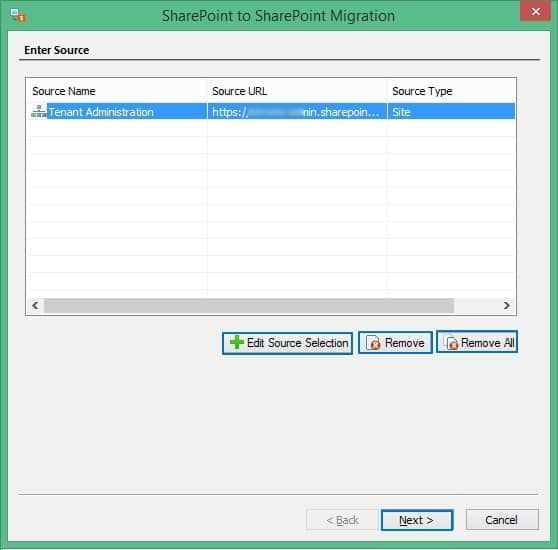
- This will open the Enter Source wizard, showing the Source Name, Source URL, and Source Type. To change the source, you can click Edit Source Selection. Once you have specified the source, click Next.
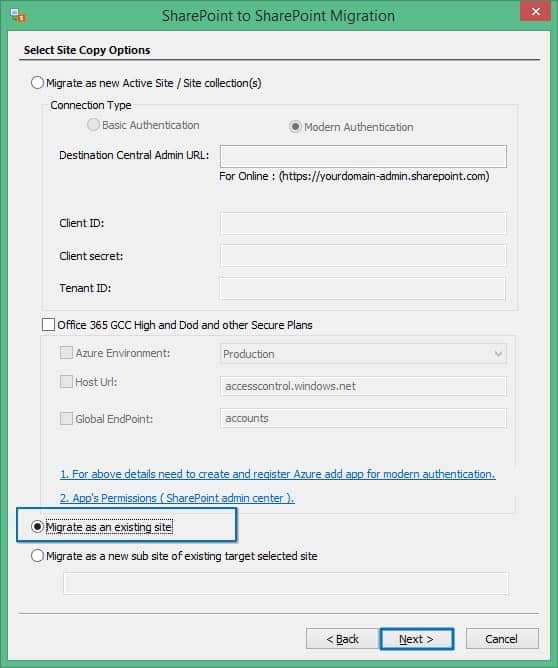
- There are three options for migrating to the site – Migrate as a new Active Site, Migrate as an existing site, or Migrate as a new subsite of existing target selected site. Choose any one and click Next.
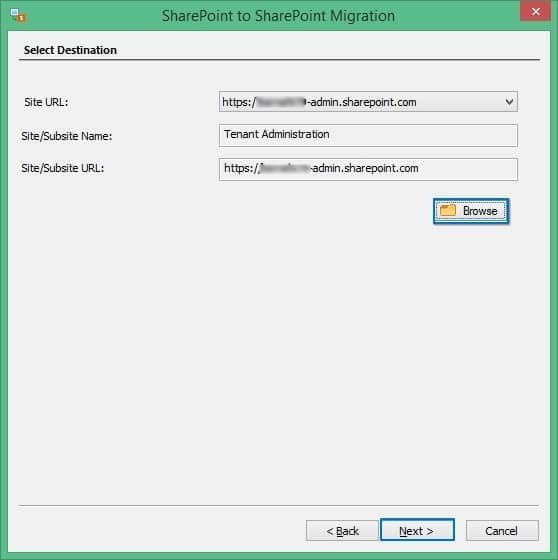
- Use the Site URL dropdown to choose the destination site and then click the Browse button to select the subsites. Once the destination subsite is selected, click Next to move ahead.
- In the next window, you can select several properties and attributes to migrate. Select the options you need and click Next.

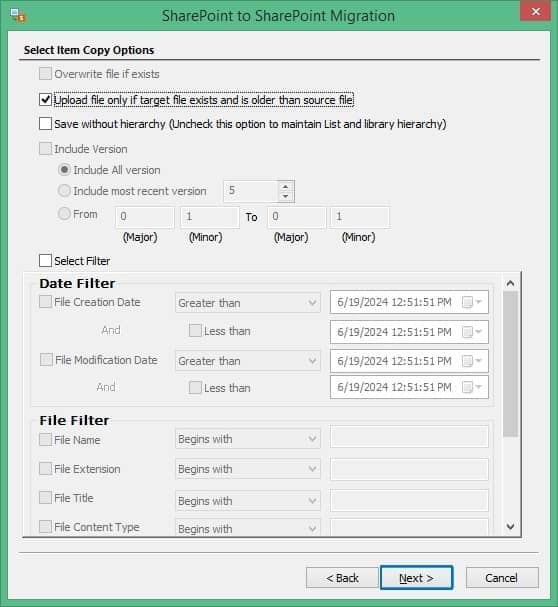
- Select the List/Library copy options and click Next.

- After you have selected the properties, apply appropriate filters and click Next.
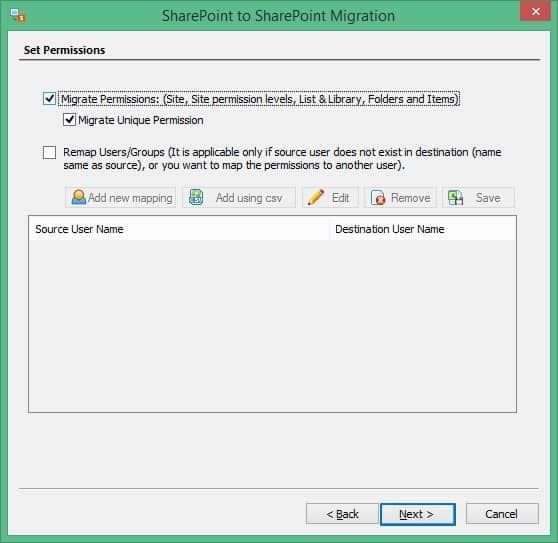
- If you want to migrate the site permissions along with data, then choose the option to Migrate Permissions and click Next.
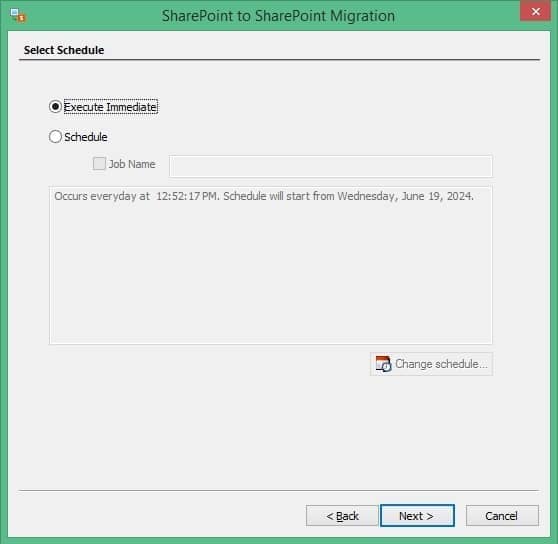
- You can schedule the migration for a later time or can begin immediately. Select Execute Immediate and click Next to start the migration now.
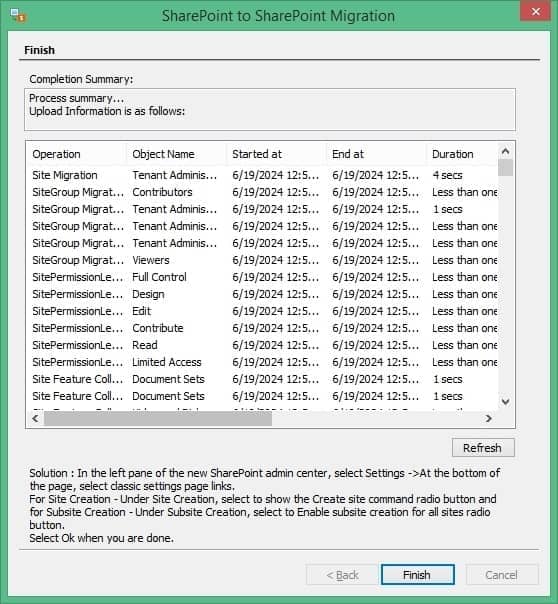
- A summary of the migration will be presented to you. Review it and click Next to start the migration.

- Once the process is complete, you will receive a completion summary. Click Finish to exit the process.
Using the above steps, you can easily migrate SharePoint site collections to SharePoint 2019. These simple steps make migrating from SharePoint 2010 to 2019 a hassle-free job that even a non-technical person can execute. Other complex jobs possible with the tool are:
- Migrate from SharePoint 2010 to 2013 and 2016.
- Perform SharePoint on-premises to SharePoint Online migration.
- Migrate SharePoint 2013 to 2019.
- The tool can also handle SharePoint migration to different tenants.
How to organize a hassle-free SharePoint 2019 migration?
To achieve a successful and 100% error-free SharePoint data migration, follow the pointers given below:
- Remove versions from the version history that you’ll no longer need.
- Rearrange lists and libraries containing excessive number of columns.
- Eliminate items from the site that have custom and complex permission levels.
- Remove duplicate data items from the server.
- Remove orphaned SharePoint users, unused custom content types, and empty SharePoint groups.
Conclusion
After reading this article, we understood that a direct transition from SharePoint 2010 to SharePoint 2019 is currently not available. It would be a waste of time and resources to first migrate to the intermediate SharePoint versions (2013 and 2016) and then SharePoint 2019. Therefore, it is a wise decision to get Kernel Migration for SharePoint, a professional tool designed to execute upgrades or migration to the latest SharePoint version. The tool can even migrate SharePoint 2010 to SharePoint Online. Use this solution to migrate data with the permissions and original hierarchy.
Frequently Asked Questions
Ans: For a successful migration of data from SharePoint 2010 to 2019, you need to first manually migrate SharePoint Server 2010 to SharePoint Server 2013. Once moved, plan for the next migration, which is 2013 to SharePoint 2016 and at last move from SharePoint 2016 to SharePoint 2019.
Ans: For an uninterrupted data migration and escape from data loss, make sure to download a comprehensive backup of SharePoint server before you begin migration. You can use the available backup to restore the environment if there’re any mishappening.
However, the best approach to migrate data between SharePoint versions is with a professional SharePoint migration tool like Kernel Migration for SharePoint.