Generally, the sent emails in Outlook are automatically stored in the Sent Items folder. But, as the number of sent emails keeps increasing, the Sent Items folder becomes a mess. So, it becomes difficult for users to locate the desired messages. Also, some users prefer to keep sent emails at a specific location to track and access them easily.
To avoid such scenarios, it is advisable to move sent items to a specific folder. As most users don’t understand the working process of Outlook completely, it becomes challenging for them to move sent items to a specific folder. So, we are here trying to provide some basic solutions using the Outlook interface to move sent emails in the Outlook mailbox to a specific folder automatically in order to perform the data management.
Methods to Move Sent Emails to Specific Folder Automatically
There are two manual methods available within the Outlook that allow you to move sent emails to a specific folder. Here we have described both the methods in detail.
The process of moving sent items to a specific folder can be achieved by creating a new rule in MS Outlook. Follow the below steps to know the process in detail.
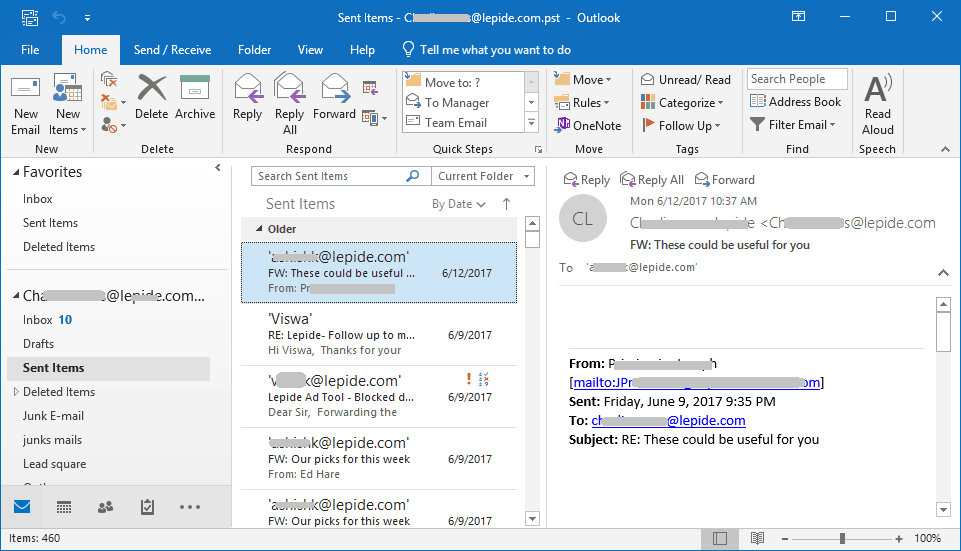
- Open MS Outlook on your system; you’ll find the same folder structure as shown below if you’re using Outlook 2016.
- Click the default Sent Items folder and select Manage Rules & Alerts from the Rules drop-down on the Home tab.
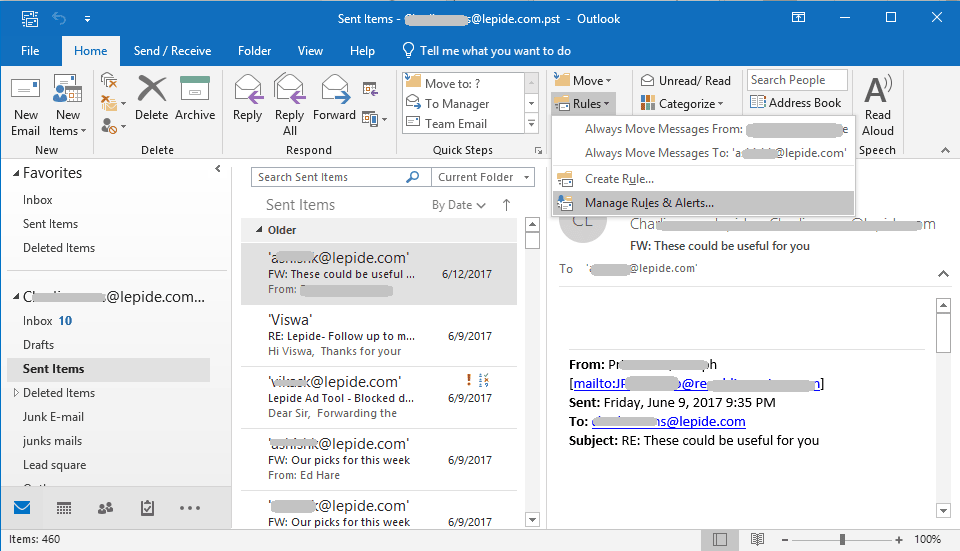
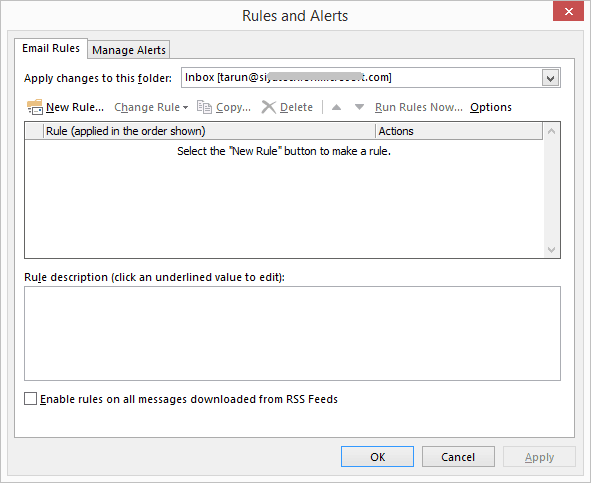
Note: In Outlook 2007, click Tools to see Rules and Alerts button. - The Rules and Alerts wizard will appear on the screen; click the New Rule button under the Email Rules tab.
- In the opened wizard, click Apply rule on messages I send in the Start from a blank rule section, and then click Next.
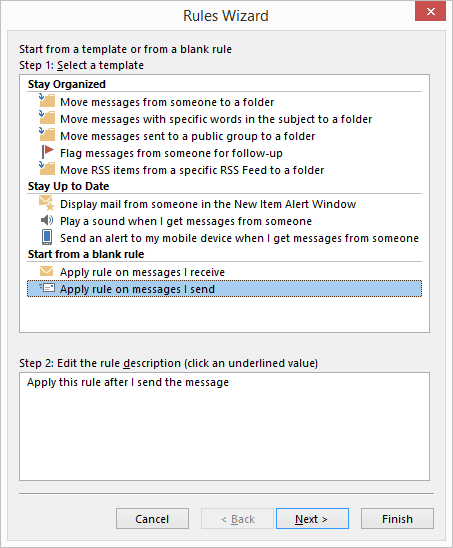
Note: In Outlook 2007, click Check message after sending. - In the next step, you’ll have to perform the following steps:
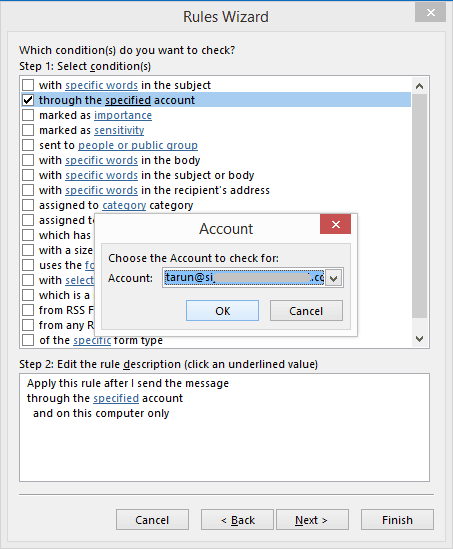
- Check the through the specific account checkbox
- Click the word specified in the Edit the rule description section
- Select the email account to which you want to apply this rule from the Account drop-down list, and then click OK
- After performing these steps click Next
Note: Users are free to choose the conditions to apply to filter the sent messages.
- A new Rules wizard will appear on the screen. Here you’ll have to perform the following steps:
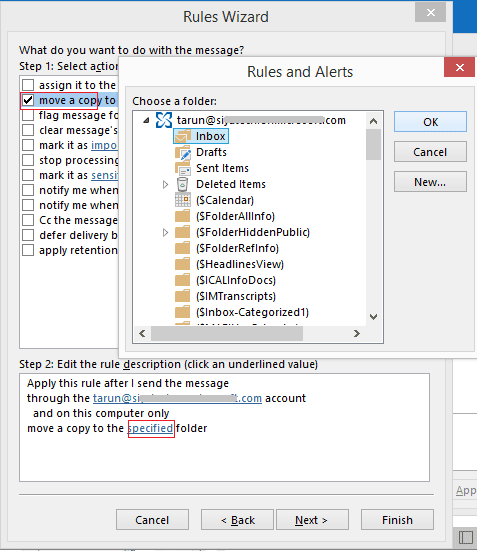
- Check the checkbox move a copy to the specified folder
- Click the word specified in the Edit the rule description section
- Select a specific folder in your account or create a new folder in the opened dialog box, and then click OK
- After specifying the folder, click Next
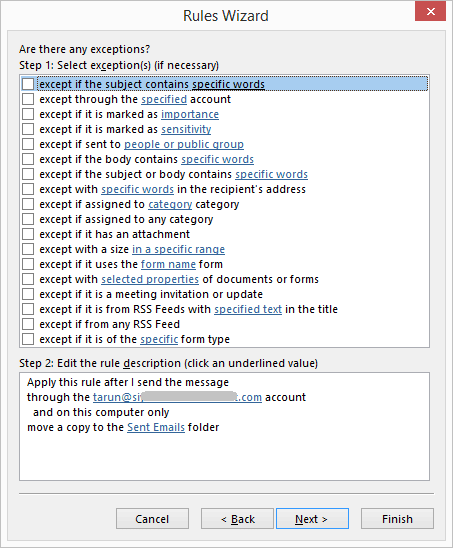
- Click Next in the new wizard without making any changes to the settings.
- Now, the last Rule wizard will appear on the screen. Here, provide a name to the new rule created and check the checkbox Run this rule now on messages already in “Sent,” and then click Finish.
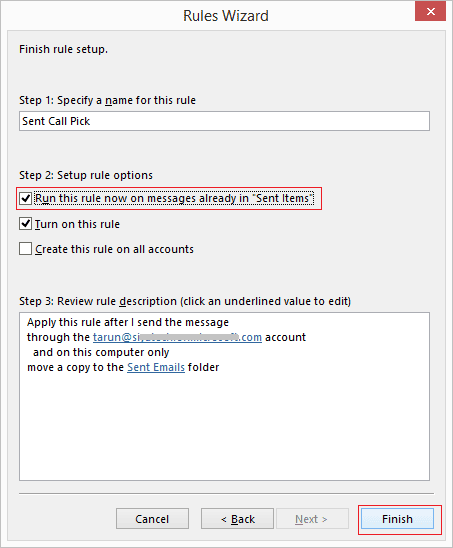
Note: Selecting Run this rule now on messages already in Sent will automatically move all the sent emails of your specific account to the specified folder.
After clicking Finish, you’ll get back to the Rules and Alerts dialog box. To finish the settings completely, click OK.
Disable the Save Copies of Messages
Even after creating a new rule, a copy of sent emails will be saved in the Sent Items folder, which again takes up the space there, but you can clear it yourself by disabling the option. So, you’ll have to disable the Save Copies of messages in the Sent Items folder. Follow the below steps to disable this function:
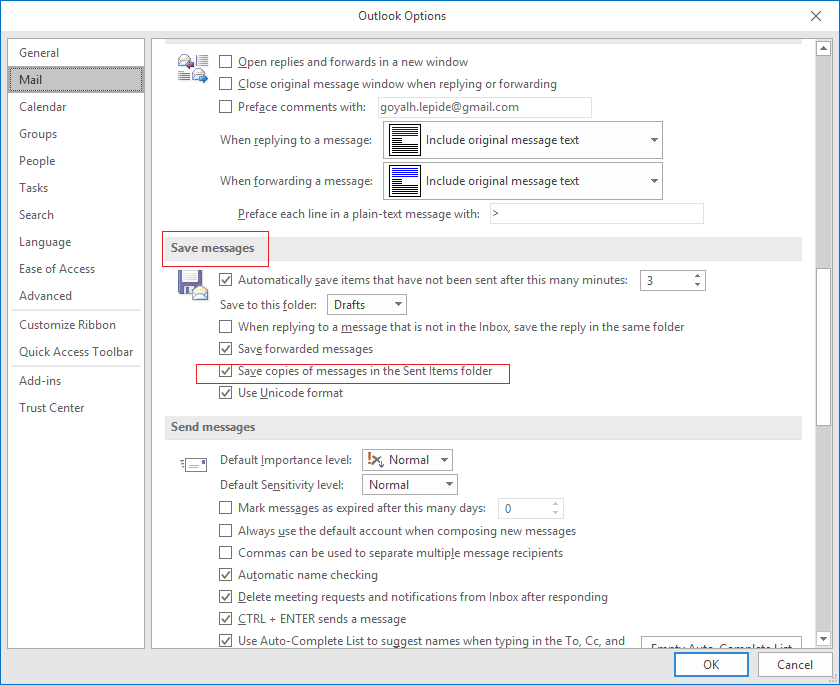
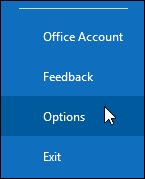
- Go to the File tab and click Options.
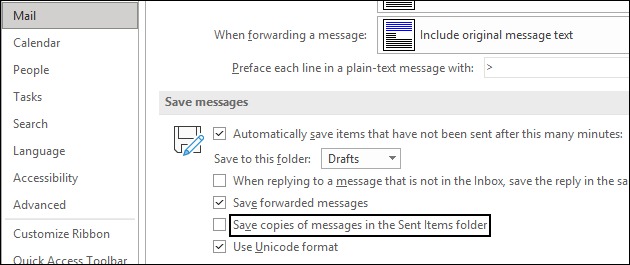
- Select the Mail tab and uncheck Save copies of messages in the Sent Items folder, and then click OK.
If you want to save sent emails when sending a new message, you do not have to create a rule for moving sent emails. It can be done from the New Email window by following the below steps:
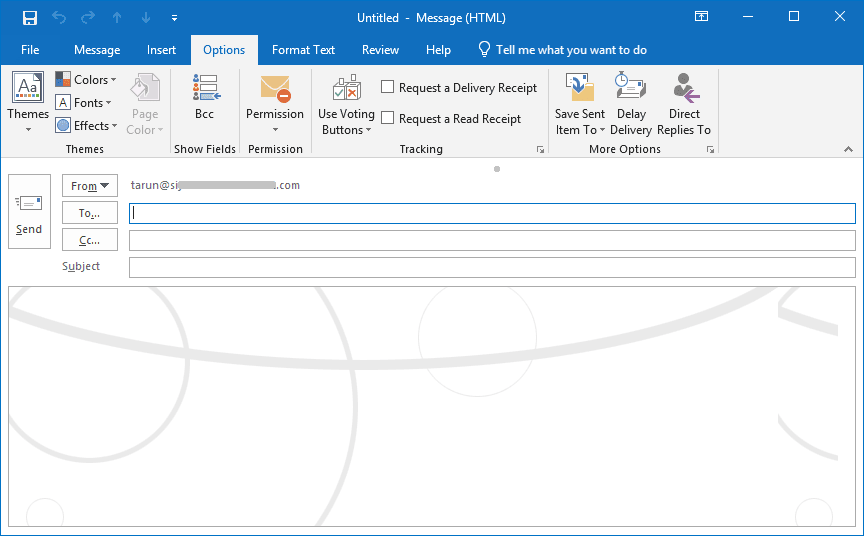
- Open MS Outlook and click New Email to open the New Message window.
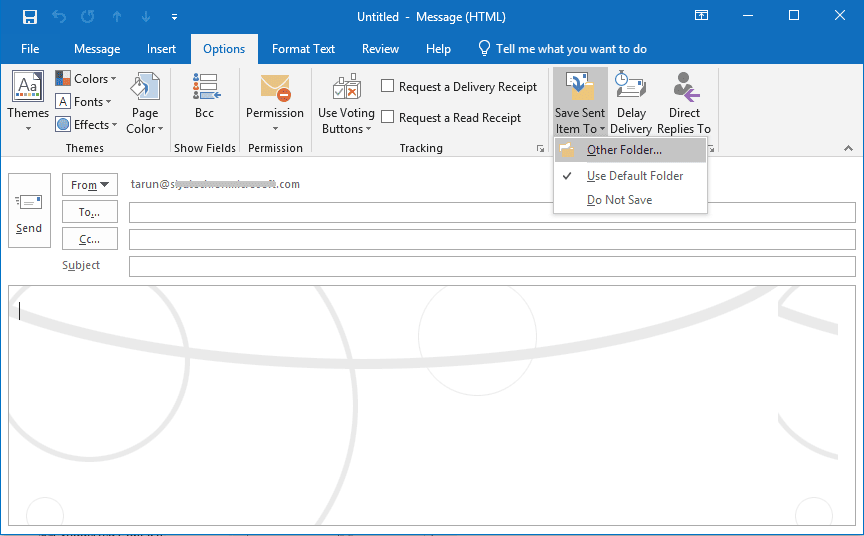
- In the New Message wizard, select the Options tab and click Save Sent Items To option.
- From the drop-down menu, select Other Folders.
- In the new wizard, you can select the folder to save the Sent Item or create a new folder to save the sent emails using the New option.
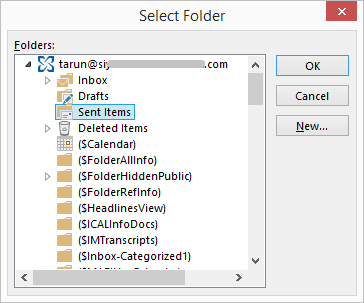
- After selecting the specific folder click OK, and the sent email will be saved to that folder.
Note: This method has to be followed for a single email message every time to save it to a specific folder.
- Open Outlook & click the File tab & click Options in the left pane.
- Click Mail in the left pane & under Save messages and clear the Save copies of messages in the Sent Items folder check box. Tap on OK.
Now that you have disabled this function, your sent items will no longer be copied over to your Gmail account automatically. If you want to keep a local copy of your sent items, you can create a new folder and move them manually or use an Outlook rule to move them automatically.
These methods are suitable for almost every version of Outlook. However, we have performed these methods on Outlook 2016. So, check your version of MS Outlook before using any of these methods. Also, the second method cannot be considered completely automatic as users have to specify the folder manually each time. On the other hand, sending the Sent Items folder to a specific folder by creating a Rule for it is the automatic way of managing and exporting Sent Items emails to the desired folder.
Conclusion
You can move sent items to a specific folder with the above methods, but they cannot be used to elude Outlook file corruption issues. When an Outlook PST file gets corrupt, all the data of the file, including emails, appointments, etc., becomes inaccessible. So, if you are looking for an effective way to manage your PST files, then Kernel for Outlook PST Repair is the best solution for you. Plus, its trial version is free, so you can test it before deciding if it’s the right tool. Give it a try today!