Kernel for EML to PST Converter
EML to PST Converter tool for secure EML file conversion
1M+
Downloads
Convert single or multiple EML files to PST, MSG, or Office 365 platform easily by using this utility. Its advanced algorithms maintain the folder hierarchy and preserve the email attributes such as email messages, attachments, hyperlinks, etc., in their original form. Additionally, it has intelligent data filters which makes the conversion process selective and precise.
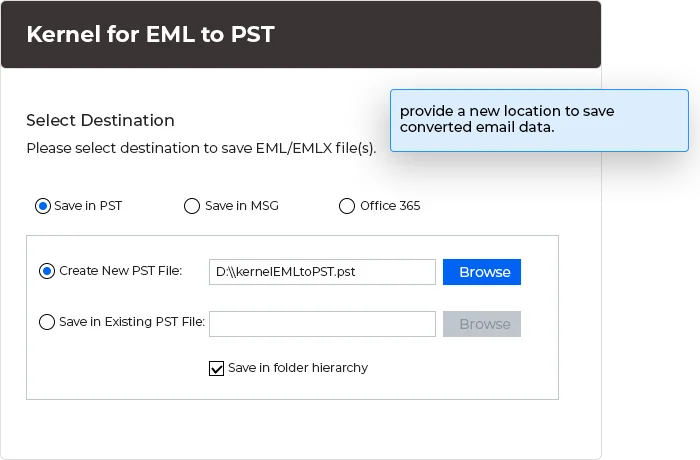
Free Download trial version to convert and save 5 items from each folder.- Convert single/multiple EML files and save them into a new PST file or an existing PST file.
- Convert the EML file to MSG format and save it in the original folder hierarchy.
- Save the converted EML files into Office 365 account by entering the credentials.
- Advanced filters for selective email conversion based on the To, From, Subject, and Date fields.
- With the highly functional algorithms and user-friendly interface, get preview of the EML file data.
- Support all versions of Microsoft Outlook and Windows OS (Including Windows 11 and Office 365).
190+ COUNTRIES WORLDWIDE
20 YEARS' EXPERIENCE
24x7 CUSTOMER SUPPORT

What's new in Kernel for EML to PST
v15.8
- Better support to convert Unicode characters.
- New filters and improved GUI for quick and accurate conversion.
- Support the latest version of Outlook and Windows.
- Works with Mac Operating System (macOS).