Step 1: Download and install EML to PST Converter software.
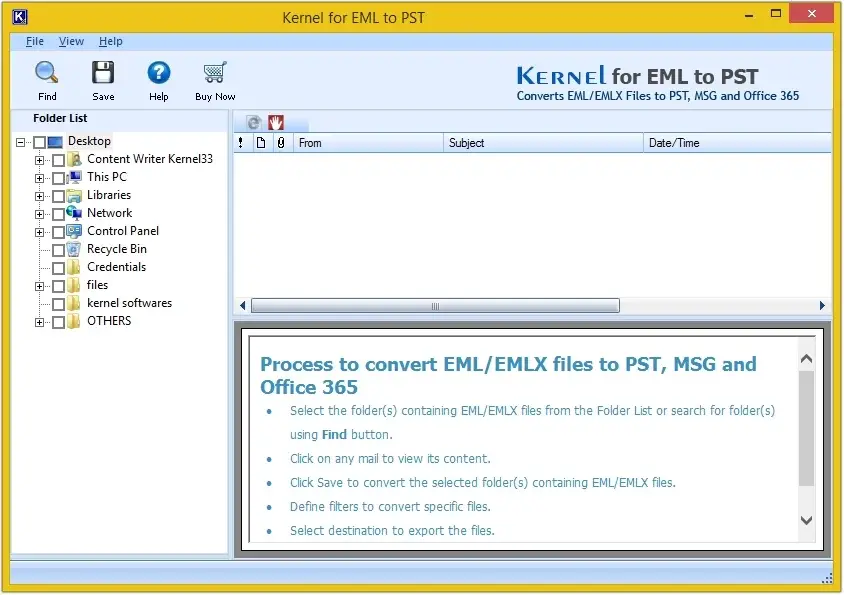
Step 2: Main screen of Kernel for EML to PST.
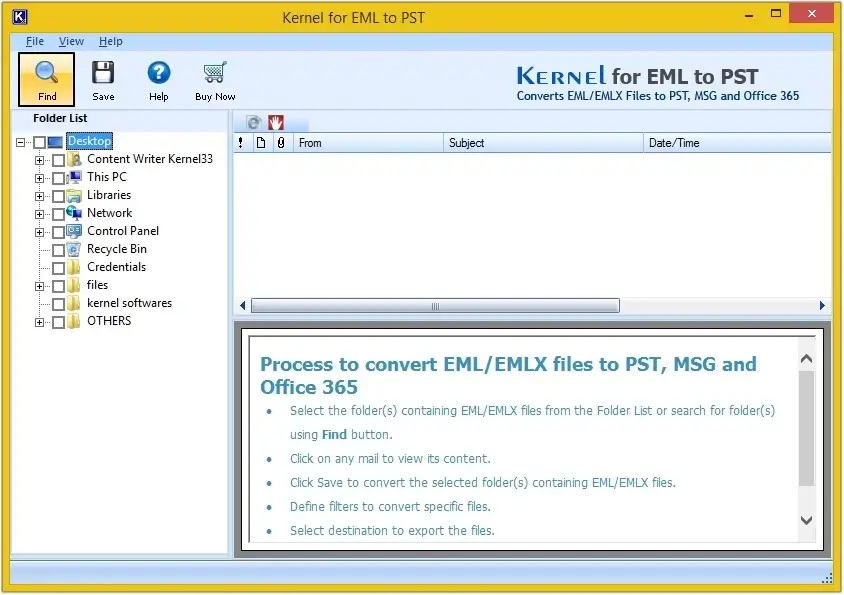
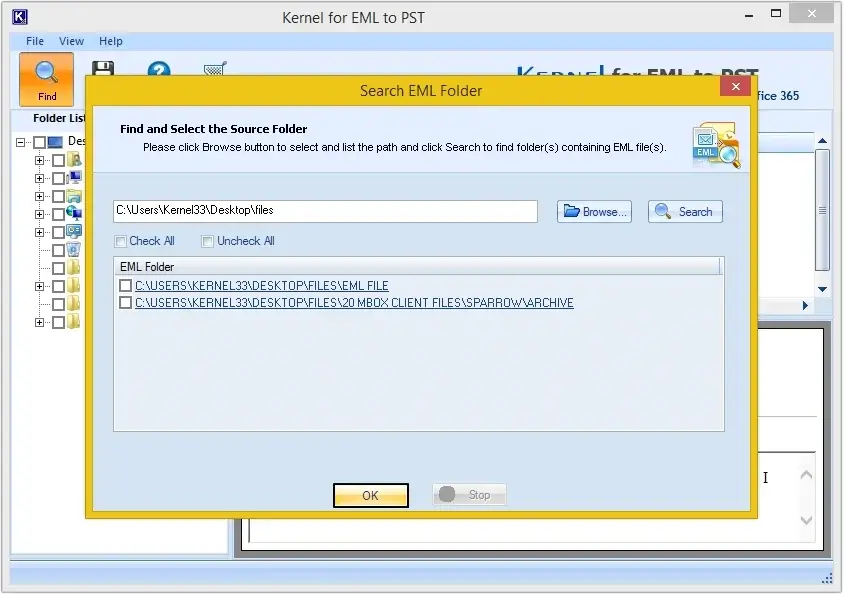
Step 3: Click on Find to locate the EML files.
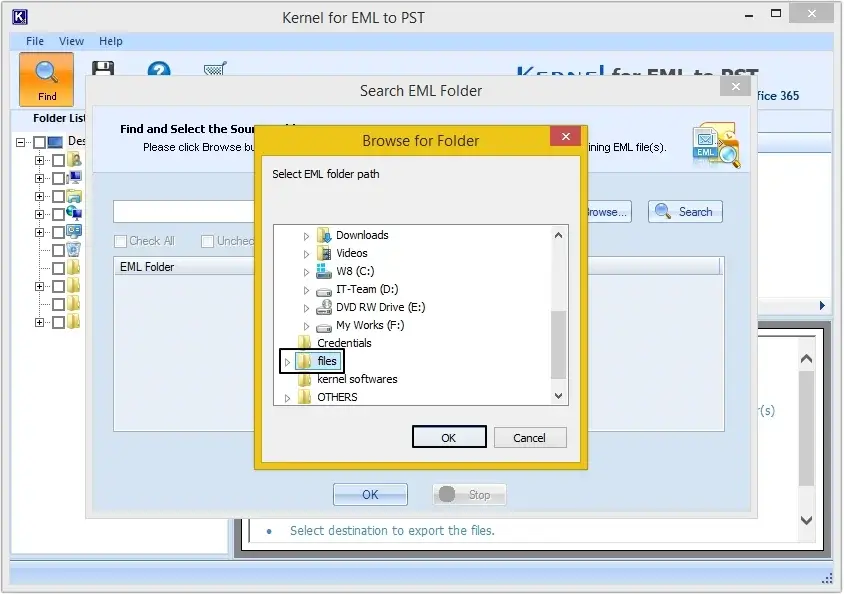
Step 4: Click on Browse to search EML folder.
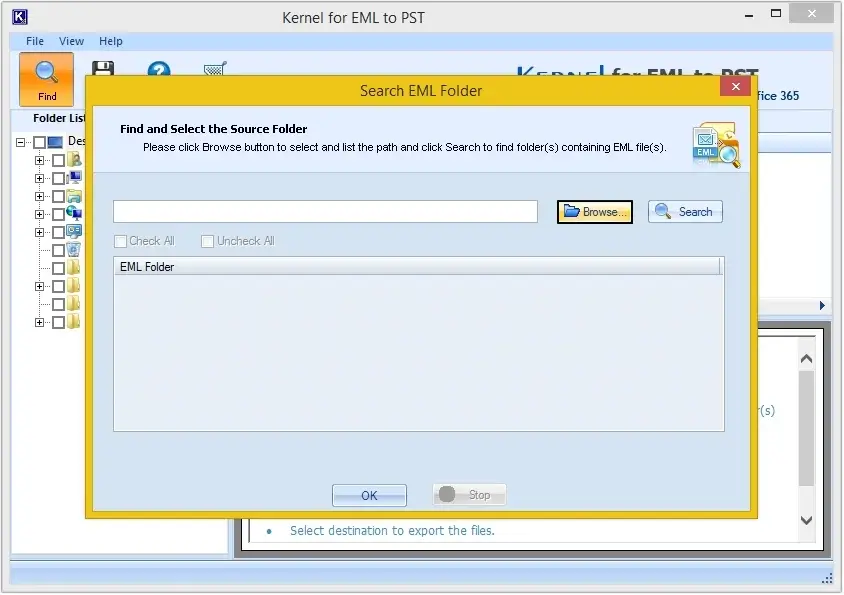
Step 5: Select the folder that contains the EML files and click OK.
Step 6: Select required EML files and click OK.
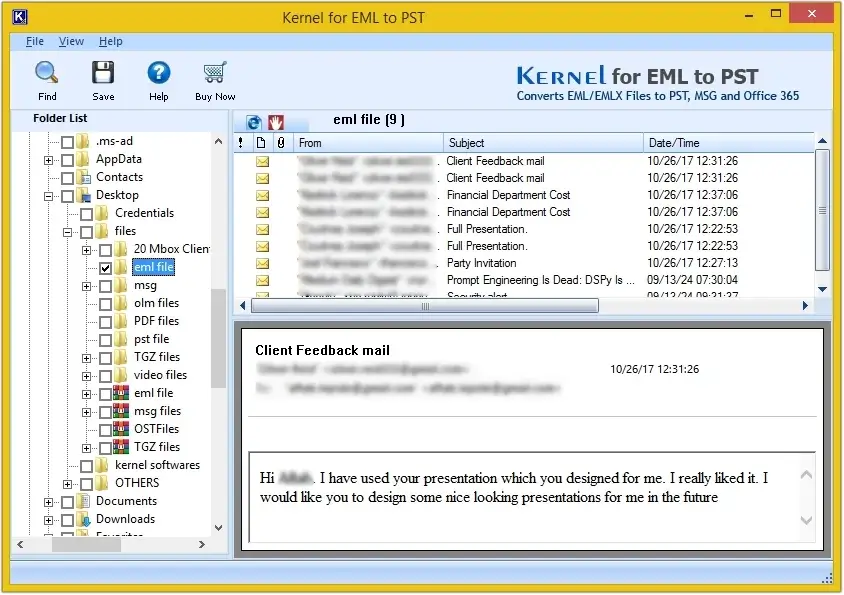
Step 7: All the EML files are listed. Click on any to get a preview.
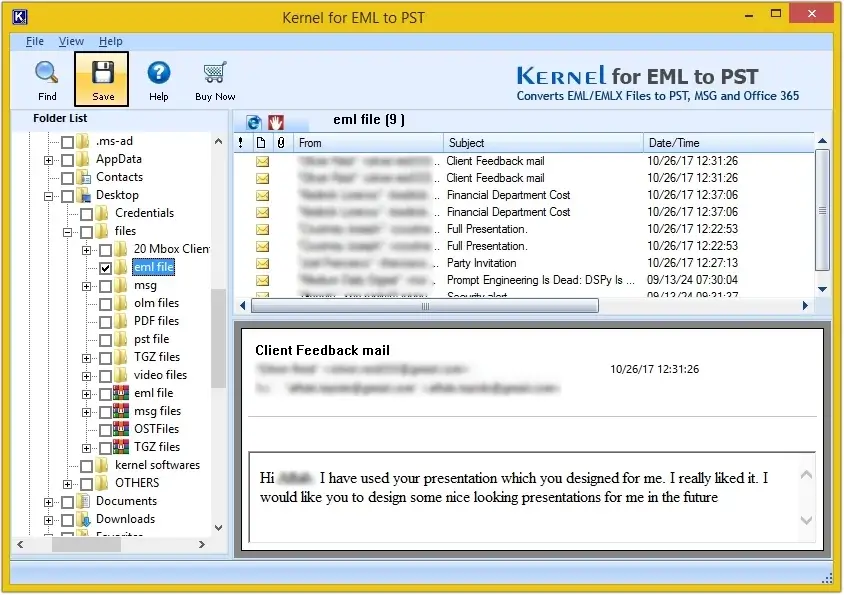
Step 8: Moving ahead, click on Save.
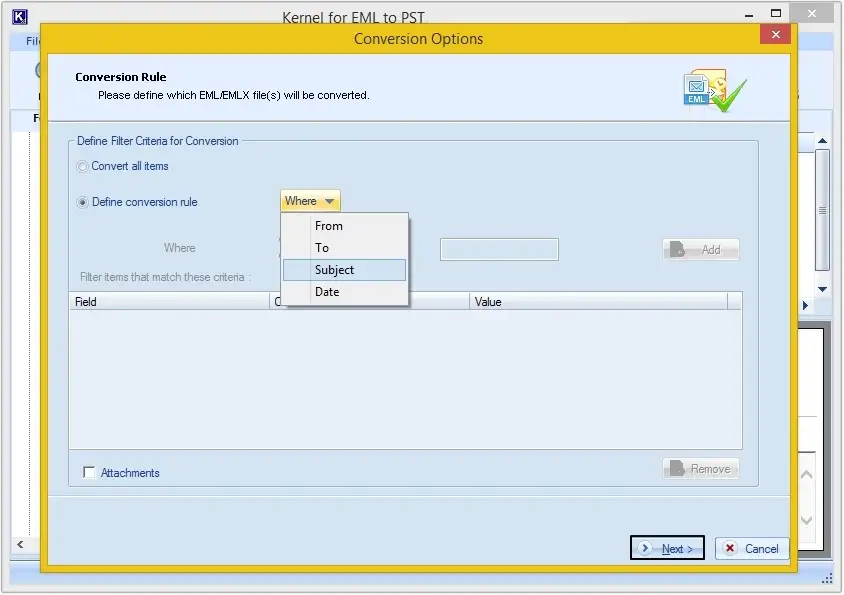
Step 9: Convert all items or define conversion rules if required, then click Next.
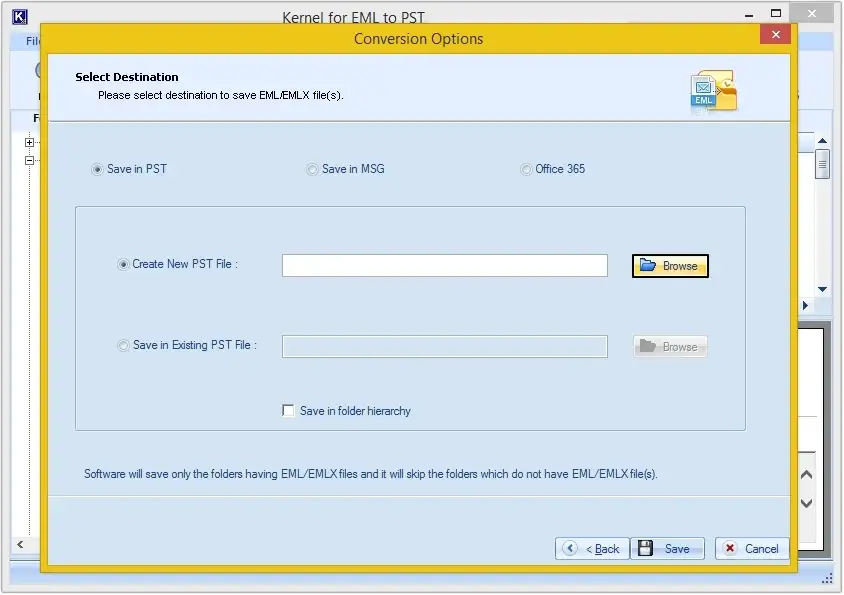
Step 10: Here you’ll get three options, i.e., PST, MSG, and Office 365 to save the converted EML files.
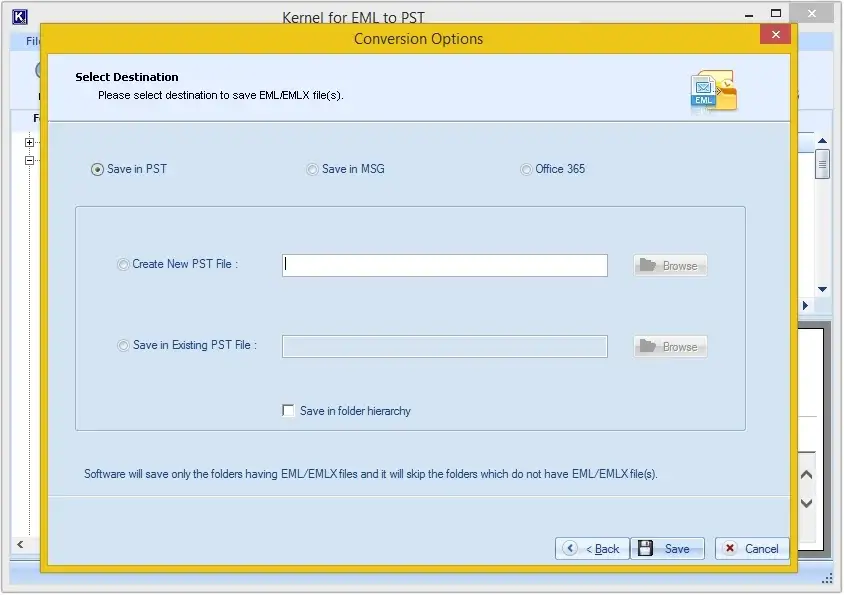
Step 11: Choose if you want to Create New PST File or want to Save in Existing PST File. Click on Browse to provide the saving location.
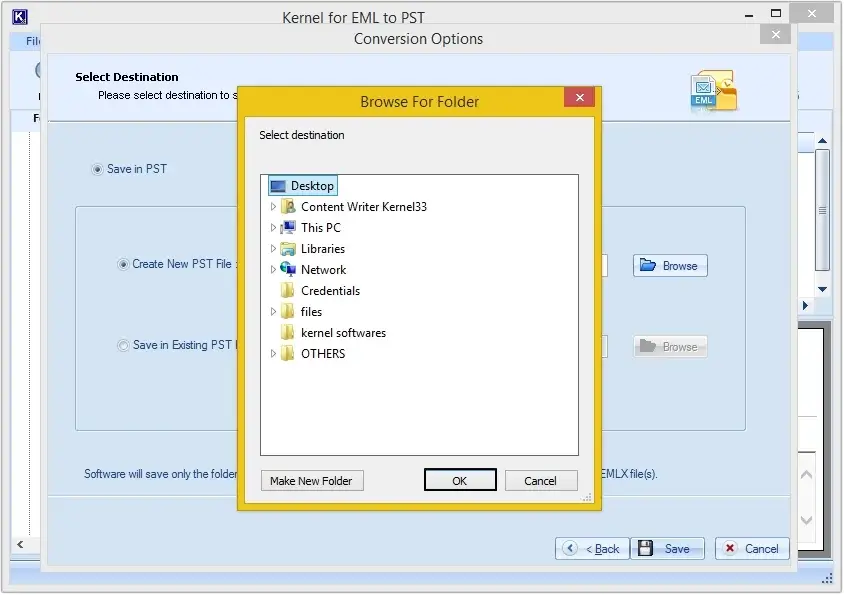
Step 12: Browse the folder to save the converted file and click OK.
Step 13: Click on Save to begin the conversion process.

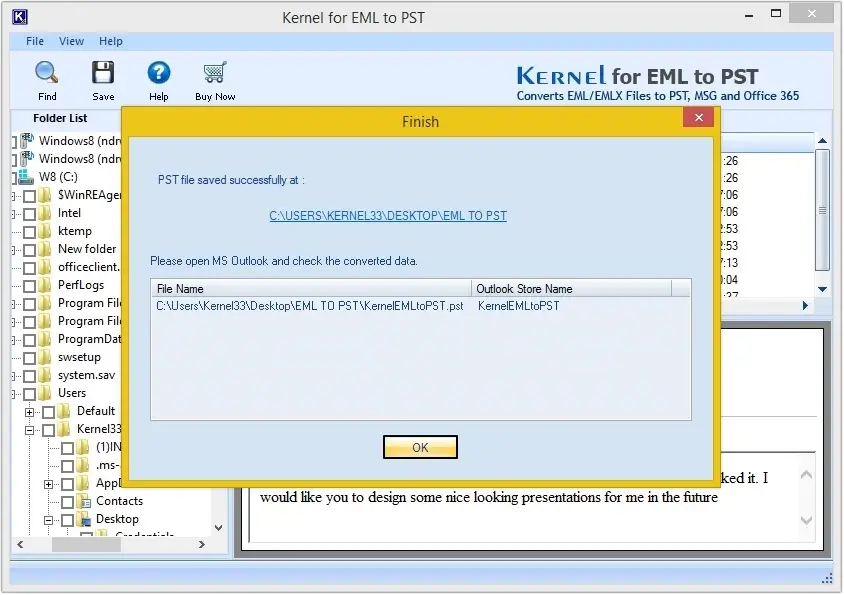
Step 14: The software will convert all the EML files into PST and will save them to the provided location.
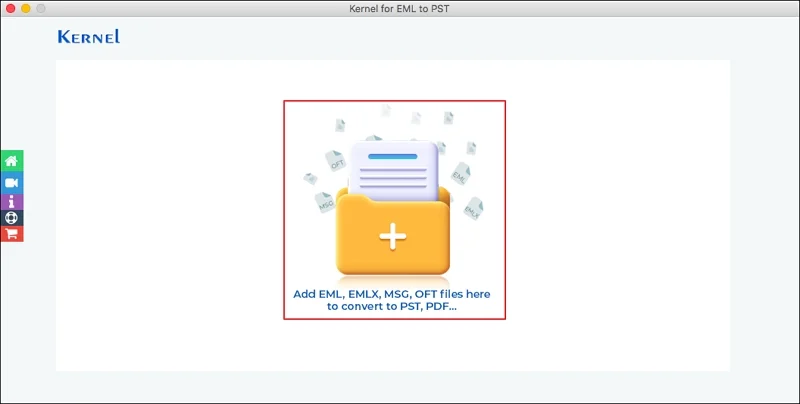
Step 1: Download and install the software on your system.
Step 2: Launch the software and click on + icon to add EML, EMLX, MSG, and OFT files.
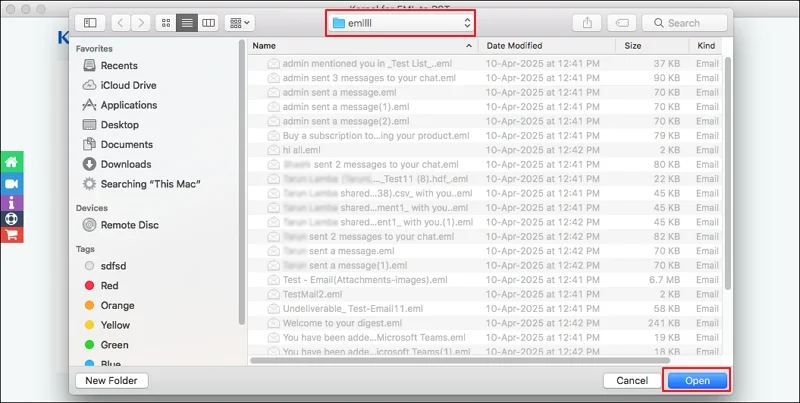
Step 3: Select the EML folder and tap on Open.
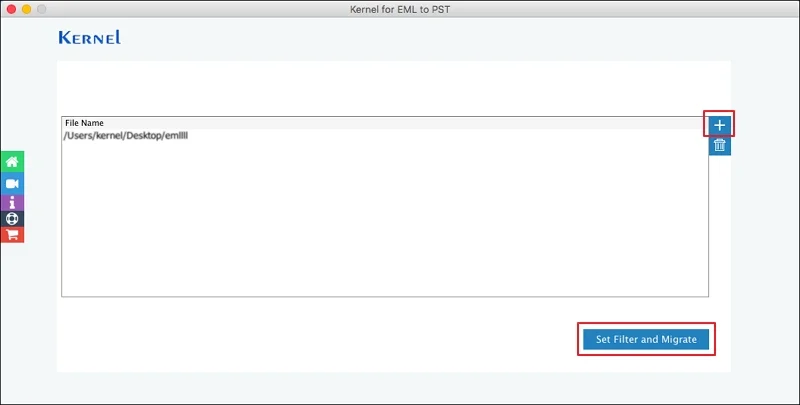
Step 4: Click on the plus (+) icon to add more folders and proceed to Set Filter and Migrate option.
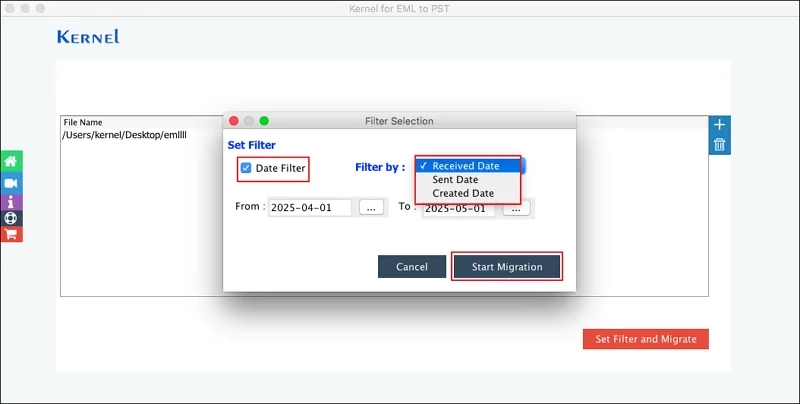
Step 5: Use Date Filter to select the specific date range and sort messages based on Received, Sent, or Created. Then, click Start Migration.
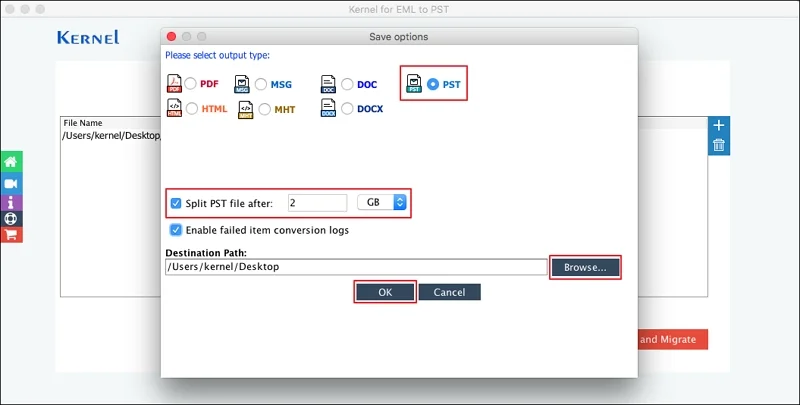
Step 6: Select PST as an output type and use Split PST file after option if required. Then, Browse to choose Destination Path and click OK.
Apart from that, you can also choose other formats, such as PDF, MSG, DOC, HTML, MHT, or DOCX.
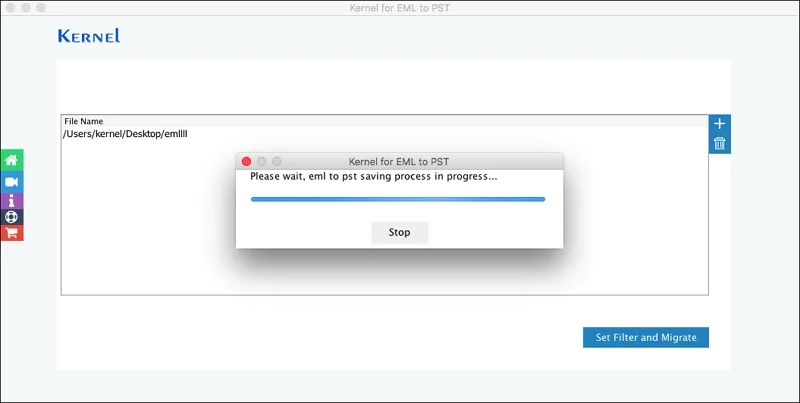
Step 7: It will start converting EML files into PST format.
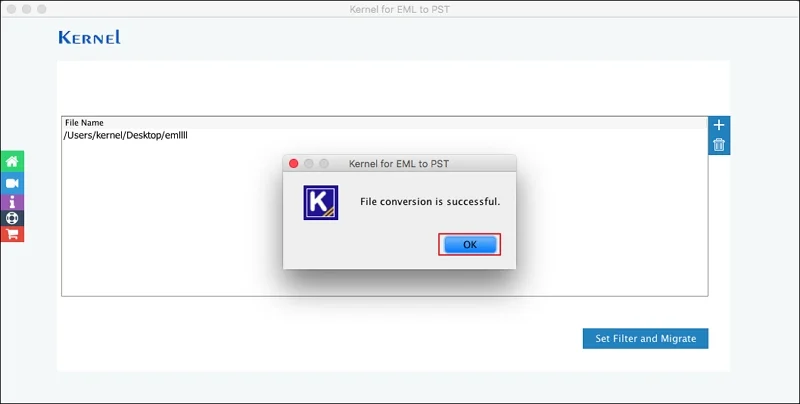
Step 8: Once completed, a pop message "File conversion is successful." will appear on the screen. Click OK to end the process.