Microsoft Entourage is a proprietary email client of Microsoft, designed and developed for Mac-based platforms; it supports Mac 8.5 and all later versions. Soon after the release in 2000, Entourage was discontinued by its owners. So, the platform has never received any upgrades or any kind of official support since then. This is the reason why most of the users migrated to other reliable and advanced platforms.MS Outlook, as a matter of fact, is more reliable than Entourage and is preferred by many professionals and individual users. It provides multi-level security for communication within an organization. Moreover, Outlook is a cross-platform based email client, which means you can download and run it on Mac systems as well.
Now, for existing Entourage users who are looking for ways to migrate their mailbox data to Outlook, must know that the default database file format for Entourage is MBOX, whereas for Outlook, its PST on Windows and OLM on Mac machines. Therefore, first, you have to convert MBOX to an Outlook supported format. Then you can easily import the data via the Import/Export wizard in Outlook.
In this write-up, we will consider migrating Entourage data to Outlook on a Windows system. There are two ways by which you can extract the source database file (MBOX) of Entourage to take it further for the conversion task.
Execution of the conversion process requires the following steps to be considered.
You can either drag & drop the required mailbox folder from Entourage to a convenient directory or use the Export functionality provided by Entourage to export the data in MBOX format. Given are the instructions to export the data via the Entourage’s Export functionality:
- Launch Entourage on your Mac system and go to File > Export.
- Select the option “Export items to an Entourage archive” and then select All items.
- At the bottom, click the right arrow and move forward to provide a destination location to save the file.
- It must be noted that the archive saved to the destination location is in .rge format. Right-click on the archive and then click on the Show Package Contents.
- Once the archive is expanded, go to the Mail folder and click on My Computer.
- As soon as you click on My Computer, it will show all the subfolders that contain the source database files (MBOX).
In order to move the required MBOX file to a Windows platform, you have to copy the file on an external hard drive. Then, you can paste the file to the desired location on your Windows system.
Once you got the required MBOX file on the Windows platform, use a reliable MBOX to Outlook PST converter to convert the file. For this conversion task, you can use Kernel for MBOX to PST Converter. This tool is recommended by professionals all over the globe for converting MBOX files and its variants to different formats supported by major email client applications.
With this tool, you can convert MBOX files to formats like PST, DBX, MSG, EML, Office 365, and Exchange Server. The tool maintains the complete hierarchy of mailbox without harming the integrity of data.
Follow the given instructions to convert the MBOX file to PST:
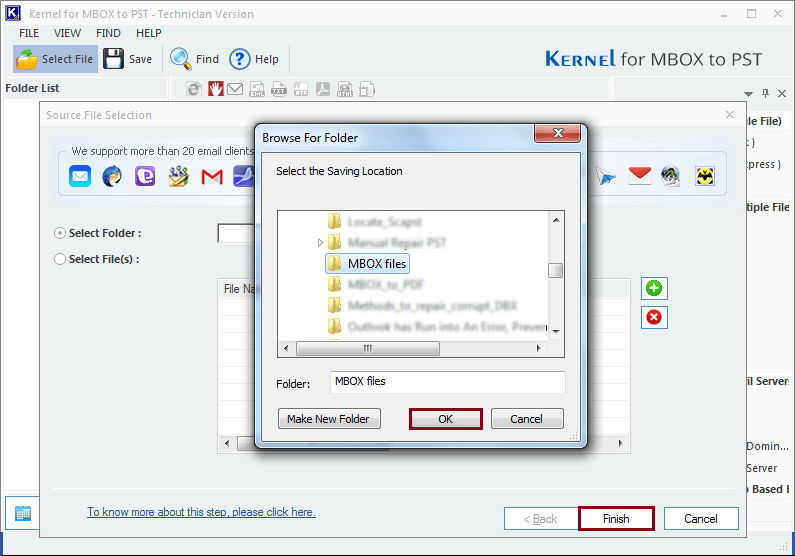
- Launch KernelApps MBOX Converter tool and Browse to locate Entourage’s MBOX file on your local directories.
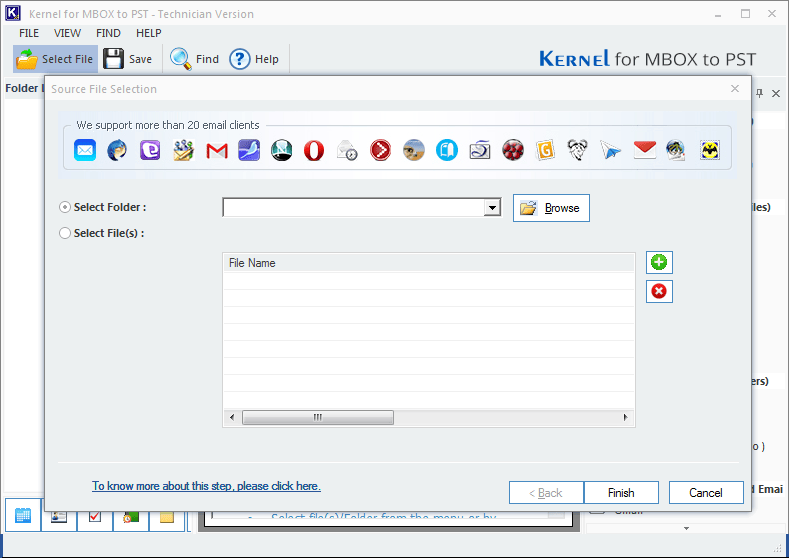
- Select the required MBOX file and click on OK. Then, click Finish to move further in the process.
- In the next window, you will get the preview of mailbox folders as well as the email contents inside the MBOX file. Click Save once you have previewed the mailbox data.

- Select the output format as PST File (MS Outlook) and click Next..

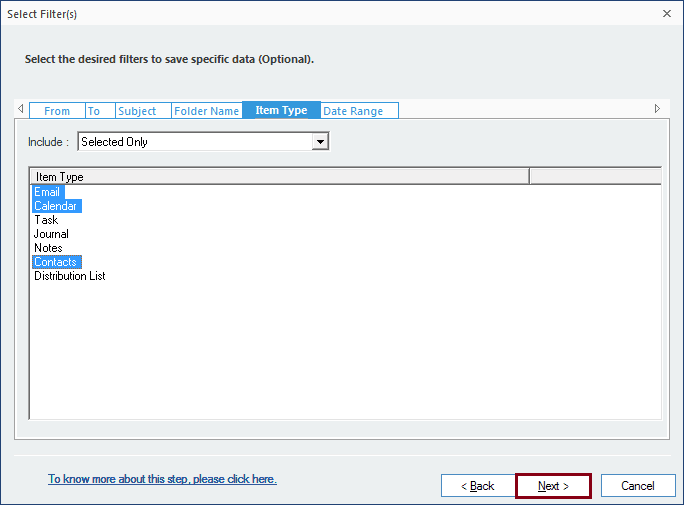
- Apply filters to save only specific mailbox data for your converted PST. Then, click on the Next button.
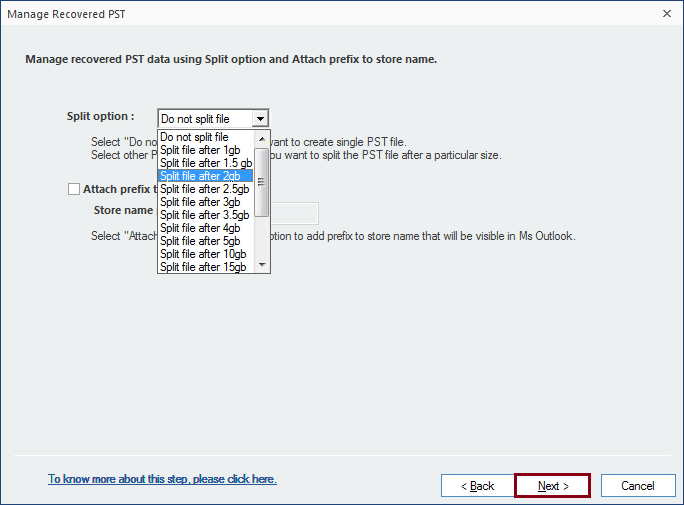
- Manage your large files by using the Split option. From the drop-down provided under the Split option, choose an appropriate size formatting. Add a Prefix to the file name of the converted PST. Click Next.
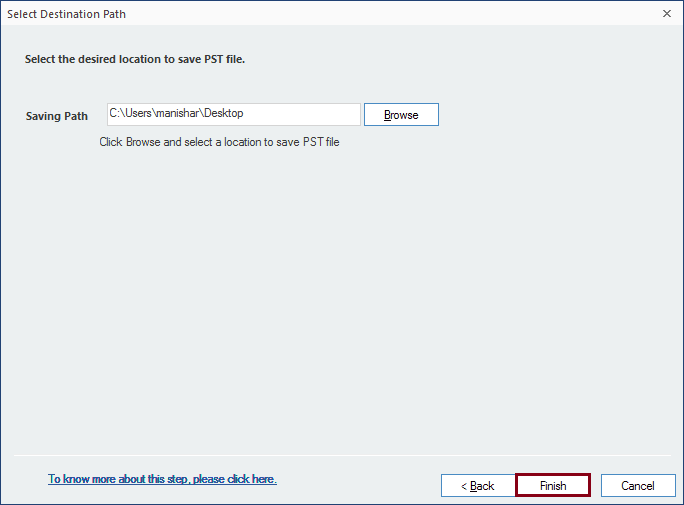
- Browse to provide a destination path to save the converted file and click Finish to initiate the conversion.
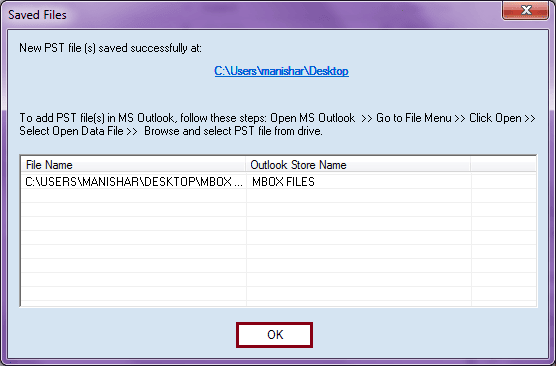
- The converted file will get successfully saved to the specified location. Click OK to finish the process and exit the tool.