A PST file is a single file that saves a group of items from your mailbox, including both crucial and redundant items. However, the MSG file contains a single email message from Outlook or another email client. There are many methods you can use to convert emails from a PST file to MSG. However, the most reliable way to do this is by using professional tools.
Before we learn the process of converting files through a third-party solution, let us first learn about the manual solutions and understand the reasons behind this conversion.
Why do you need PST to MSG conversion?
Explore the crucial reasons that specify the need to convert a PST file to MSG and get access to better email compatibility.
- Easy preview: Suppose your mailbox is flooded with emails and you need to check the content within, converting PST files to MSG allows users to preview them easily.
- Easy share: When you convert mailbox contents of PST to MSG format, you streamline the email sharing process while organizing attributes from the mailbox, such as email messages and contacts. This helps the users to become more productive.
- Separate important data: When you convert the Outlook data file to MSG, you can keep only the important data from the mailbox, including message body, calendars, hyperlinks, etc.
- Easy folder structure: Converting PST file contents to MSG allows saving data in a user-friendly structure. This data will be more convenient, enhancing your overall efficiency.
In further sections, we’ll learn about ways to convert a PST file consisting of email message and other attributes to an MSG file. Follow all the steps carefully for a smooth conversion.
MS Outlook comes with an option to allow you convert your email messages to MSG directly without the use of any additional tool. Here’s the simple process to execute this:
- Launch Outlook and go to your Inbox and select the email message you want to convert to MSG.
- Create a folder on desktop or to the location where you want to store these emails.
- Press Ctrl and then simply drag and drop the email to the desired location on your computer.
Another way of doing this is by selecting an email message and then selecting Save As and then using Outlook message Format as the output type. It will also help to save the email as MSG message.
You can export emails one by one to msg format, however, this will take ample amount of your time and might even some of your important messages.
Converting a PST file to MSG format is not easy with manual methods, but with the help of Kernel for Outlook PST Repair, it can be done quickly. It is an effective PST to MSG Converter tool that helps users to repair/recover corrupt PST files and allows saving them in different formats. Here, we’re going to perform the conversion of a PST file to an MSG file. Follow the below steps.
- Download the software, and install it on your system.
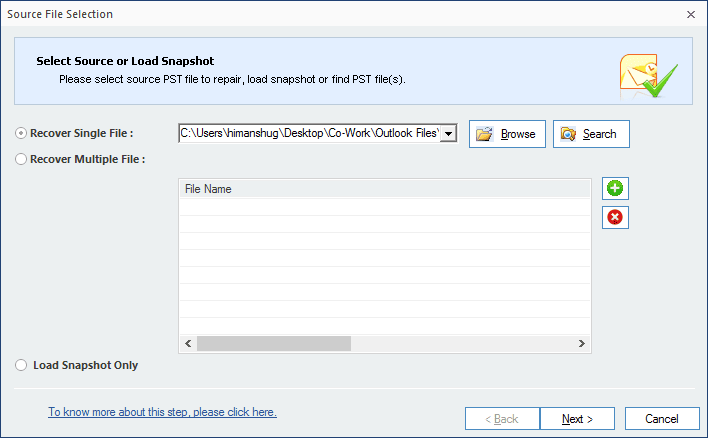
- Now, launch the tool, and a welcome window will appear on your screen like this:
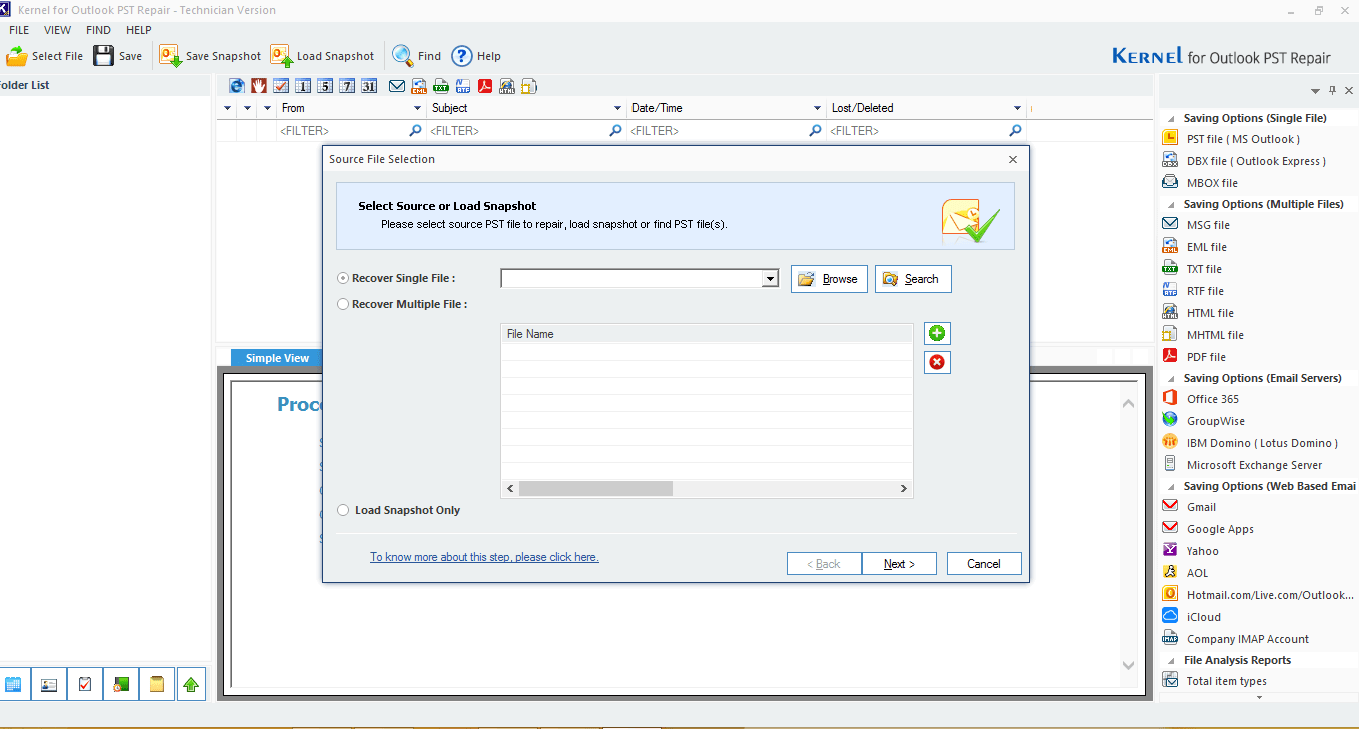
- Browse the PST file (s) you want to convert to MSG and click “Next.” First, the tool will repair the corrupted, and then save it to the desired format.
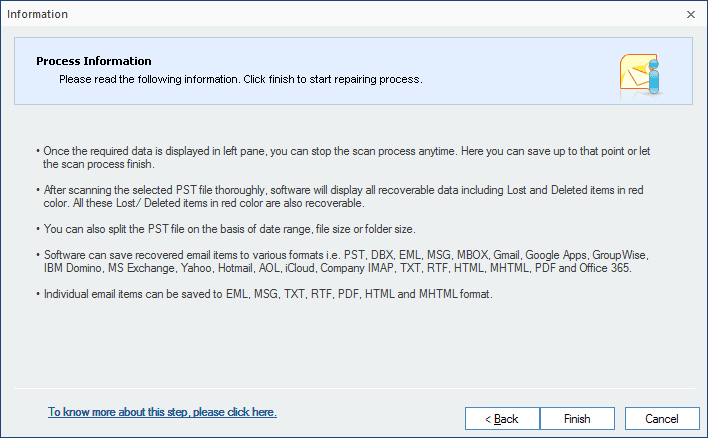
- Read the information related to the repairing process and click “Finish” to start the process.
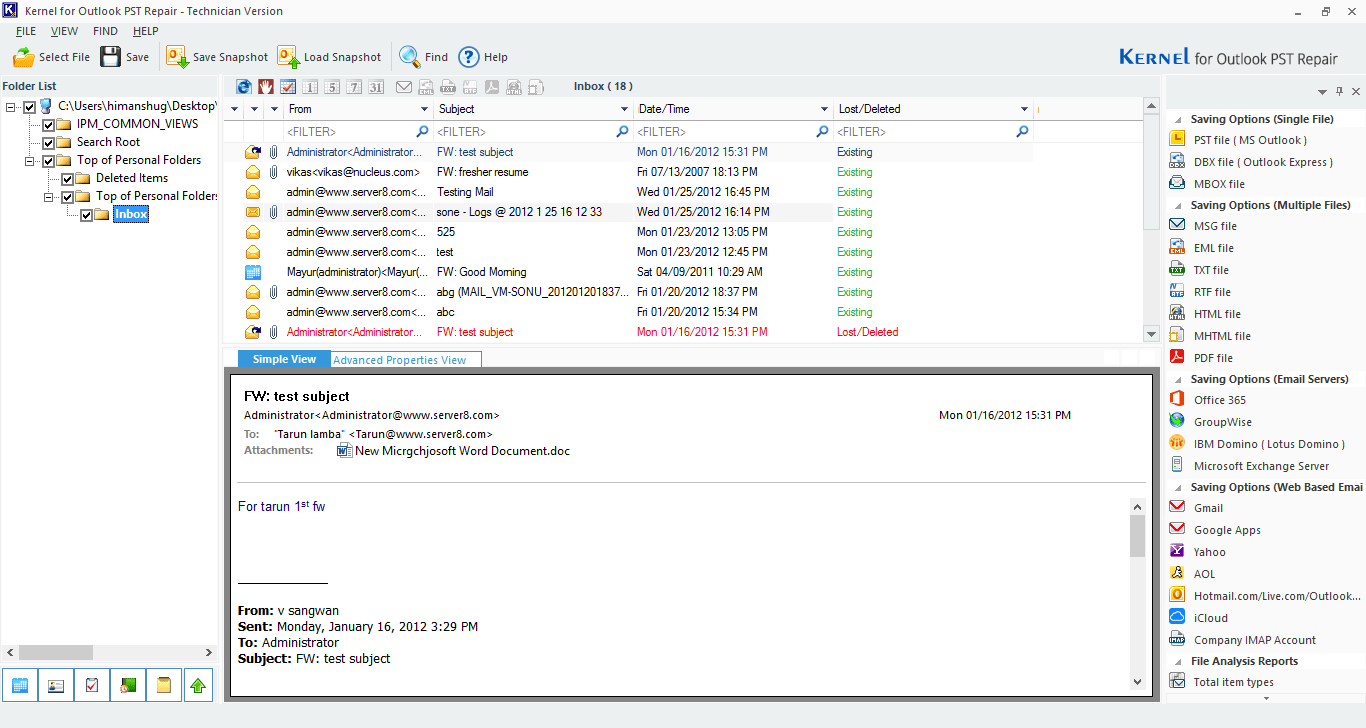
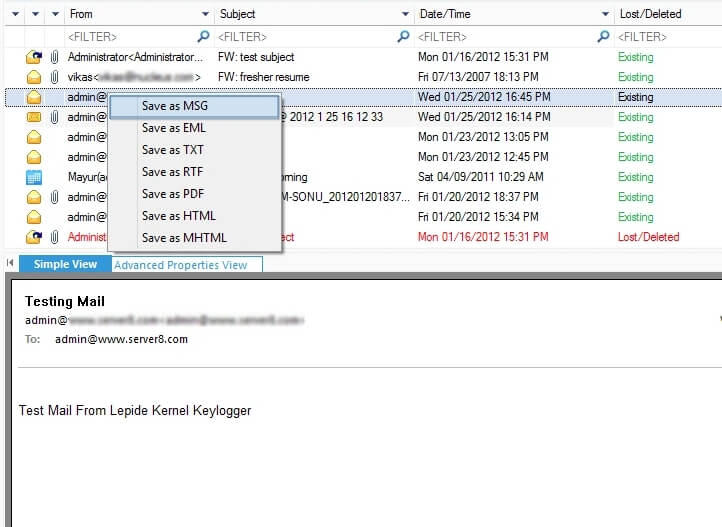
- Once the process is complete, you’ll be able to see all the folders of the PST file in the left corner of the tool. Double-click any folder to preview its emails/items.
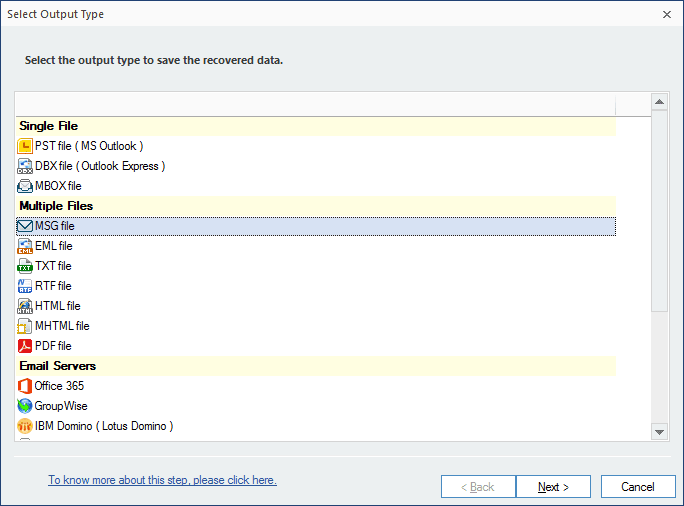
- Now to convert or save this file in MSG format, click the “Save” button from the upper left corner of the tool. A window will appear on the screen; select “MSG file” from it and click “Next.”
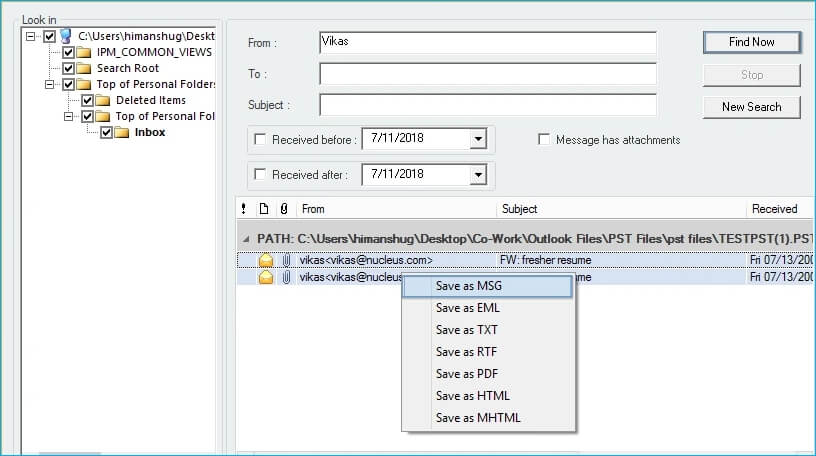
- In the next Step, you can apply multiple filters to the files, such as From, To, Subject, Folder name, Item Type, and Date Range. Set the specific filters and click “Next.”

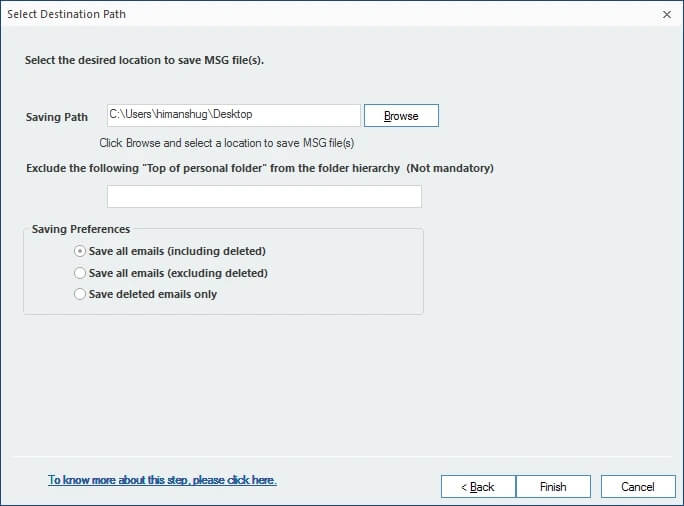
- Now, browse the location where you want to save the file and click “Finish.”
- After the conversion of the file, a notification window will appear on the screen displaying “Item has been saved.” Click “OK” to finish the process.