Related Posts
Steps to Export High Resolution Images from PowerPoint

Written By
Bob Maria
Updated On
November 30, 2022
Read time: 4 minutes
To make the PowerPoint slides look professional and presentable, we often use high-resolution images. Such images are bright and crisp and give a nice look. However, low-resolution images often look blurry or pixelated.
When you get a PowerPoint slide, you might want to export some images and take their printouts. But unfortunately, those exported images will be either pixelated or blurry. The reason for such crappy images is that the PowerPoint can save slides as images at 96 Dots Per Inch (dpi) only, whereas the printer needs at least 300 dpi for printing.
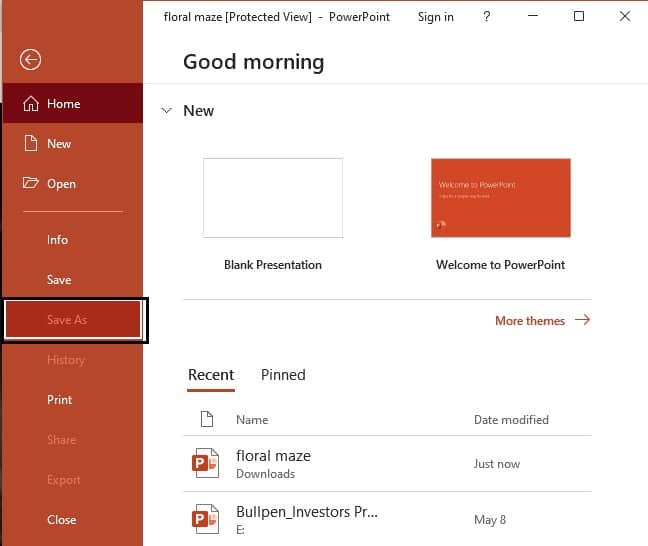
We shall see how to export slides from PowerPoint and save them with up to 1000 dpi.
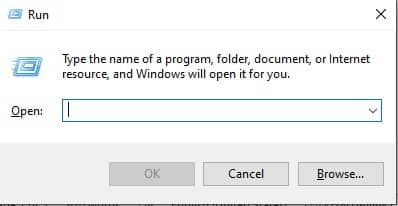
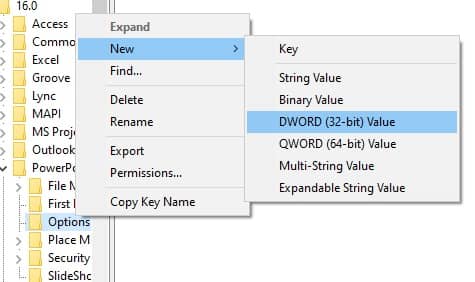
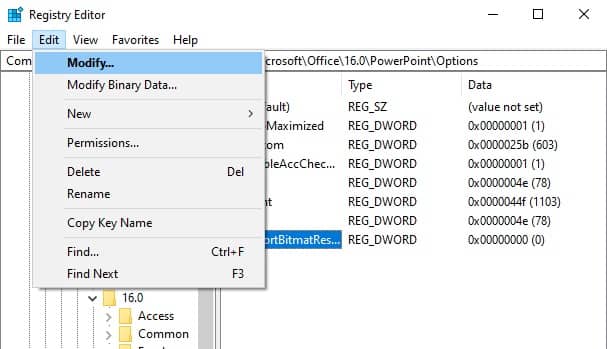
There are two steps to change the export resolution in Microsoft PowerPoint.
The first step is to use the default registry to change the resolution setting, and the next step is to save the slide as an image with the new resolution.
Please be cautious while making changes in the registry editor. There might be serious problems if the registry is modified incorrectly. It is better to save a backup of the registry restoration before making any changes.

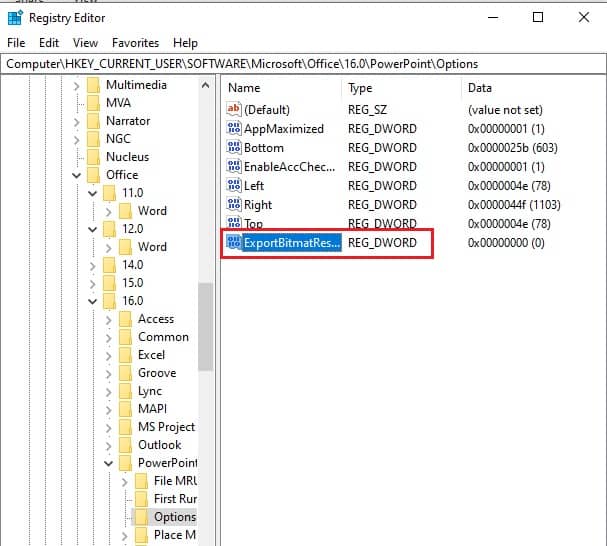
This location is for PowerPoint 2016, 2019, and PowerPoint for Office 365 versions. In other versions, the locations will slightly differ.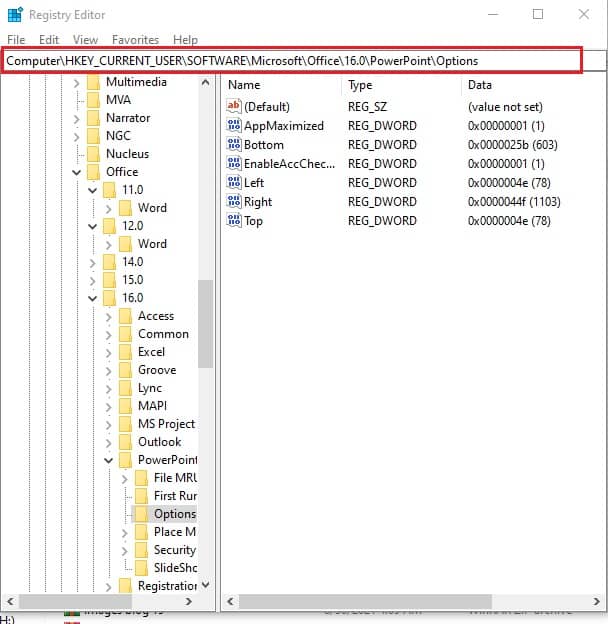


The above method requires some in-depth technical knowledge of the registry editor. Any minor mistake can cause a major change in the PowerPoint presentation and to recover a overwritten or previous PowerPoint file will require expertise and time. To make things easier, we have professional tools to deal with such unfortunate situations. One of the most efficient tools is Kernel for PowerPoint Repair. This tool can repair corrupt MS PowerPoint files without any hassle. Also, this PowerPoint recovery tool comes with a free trial version.