MS SQL Server database corruption – how to identify and fix?
MS SQL Server, a Relational Database Management System developed by Microsoft, is widely being used by a great number of businesses to store their professional details. SQL has different editions that meet the requirements of clients ranging from small-size enterprises to large-scale corporate giants.
SQL corruption – common causes
MS SQL Server is vulnerable to different threats like database corruption and errors. Predominantly, it is the hardware errors that are responsible for the database corruption quite often. Faults in hard disk, controller, CPU, and memory unit can also harm the database as the SQL server is heavily dependent on them to store and retrieve the information. There major factors behind database corruption in MS SQL are–
- The memory disk’s subsystems which store the database details may get affected by various issues. It will lead to the improper arrangement of table details in the database and ultimately the user will not get the desired information he is looking to retrieve. Software bugs also can also cause SQL corruption.
- Anti-malware and anti-spyware are good for other files stored on the system, but they can be harmful for the SQL. That is why it is advised to exclude database from anti-virus scans.
- Many users like to compress the database to save some space. But the database files are not meant to be compressed. It may increase the chances of corruption. Keeping backup files in a compressed database also increases the chances of database corruption. If the user really wants to compress the database file, then he must use the in-built data compression and backup tools present in the SQL Server.
The corruption in SQL Server is much more dangerous as it does not give any notification or error message regarding any corruption until the user tries to fetch the data. So the user may remain unaware of any issue in the database. There is a very general single line query to check the corruption in the database – SELECT * FROM msdb.dbo.suspect_pages.
If there is no error in the database, then the result will show no rows. It means that it did not find any corrupted entry. However, it does not mean that there could be no corrupt data as the query only checks those entries which had a corruption in the past. Any corruption in a newer entry will not be checked. A proper thorough checkup is required to find undetected issues.
DBCC CHECKDB
DBCC CHECKDB widely used by the database administrators to locate the corrupt files and fix them. DBCC incorporates several other commands like DBCC CHECKCATALOG, DBCC CHECKALLOC, and DBCC CHECKTABLE. To run the command, you can follow the syntax – DBCC CHECKDB (database_name)
This command will check the tables, storage, quality, and consistency measures and will bring the outcome in a list. If there is any shortcoming, discrepancies, and corruption, then it will be in front of you.
Check for Database Alerts
The Database Administrator can set multiple types of alerts that can inform about any misdeeds at the user side or the occurrence of such actions that can damage the databases.
If you are using the SQL Server 2012 or newer, then there is a feature called Memory Error Recovery that can not only inform you about the error but also perform a cleaning operation if the database pages are corrupt. It will work better with the latest processor that supports such functionality. The SQL Server Log will present error like:
‘Machine supports memory error recovery. SQL memory protection is enabled to recover from memory corruption.’
With this feature, you can overcome the minor corruption issues in SQL Databases.
Page Verify with CHECKSUM for Recovery
The Property of each database is set with a Page Verify option for the recovery. Such a feature mentions the database, whether it is read or write type. First, enable it by going to the database and choosing Properties from the right-click menu.
Go to Recovery option, Choose Page Verify, and write CHECKSUM. Then Choose the Target Recovery Time in Seconds and click OK.
The modern SQL Server versions enable the verify with CHECKSUM by default. But, if you have migrated from on older version to a new version, then you can manually set it to CHECKSUM. Now, whenever the new read or write attempt is performed on the database, then the SQL Server will automatically apply the CHECKSUM on it. Now, when the database is corrupt, and a new read action is attempted on it, then the user will get the error 823, 824, or 825.
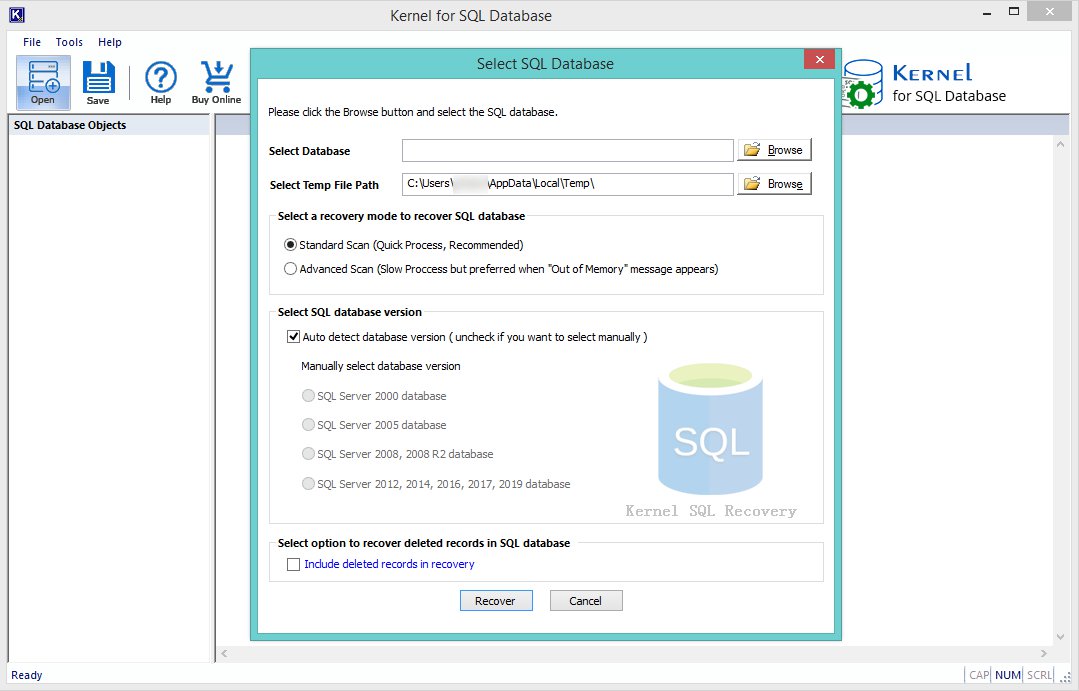
Transact SQL cmdlets may not be effective with severely corrupted databases. There is a chance of data loss too. In serious cases of SQL corruption, only efficient third-party Repair MDF tool will be of help. Kernel for SQL Database recovery has been developed to help the businesses to regain their critical business data from SQL databases. It retrieves all the objects of a database (including tables, triggers, and procedures) without losing the relationship schema. It is user-friendly and easy to operate, let’s see how you can recover SQL database with it:
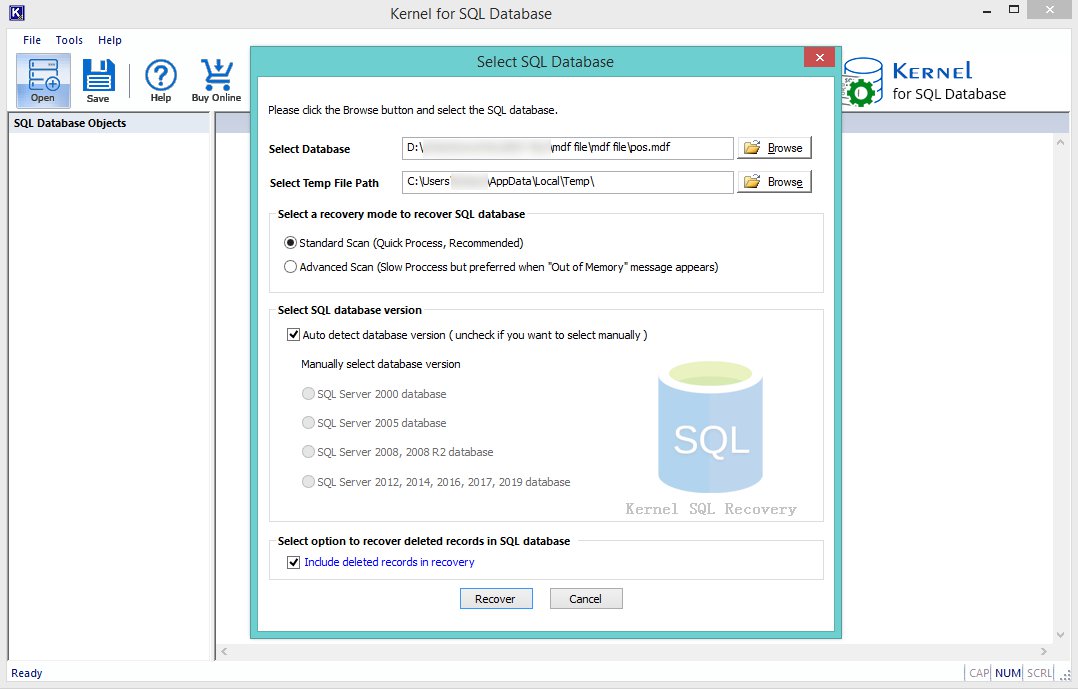
- To start the process, click on the Browse button to select the Database, select and add it from the system.
- After adding the database, click on the Recover button to proceed.
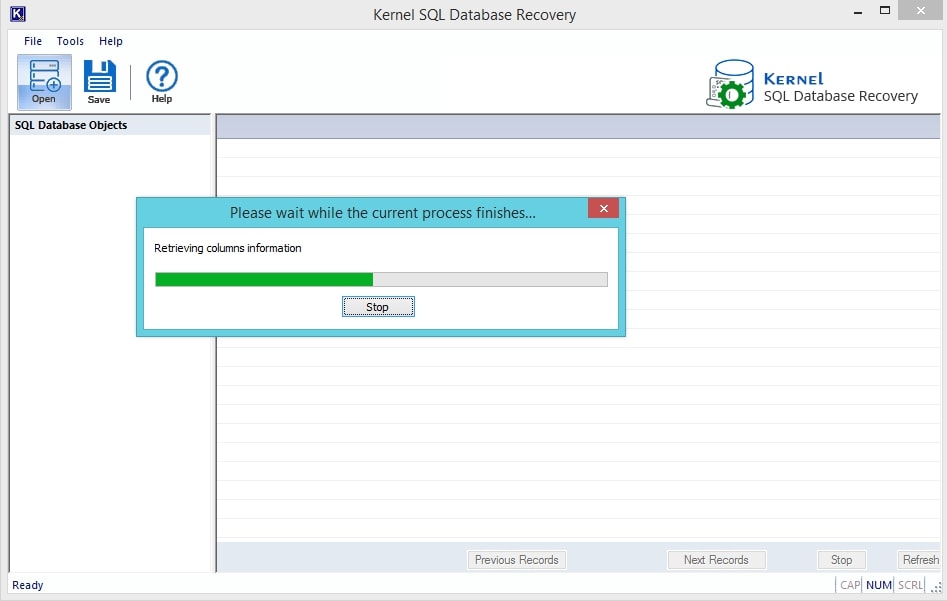
- In this screenshot, the recovery process is in progress, wait for it to finish.
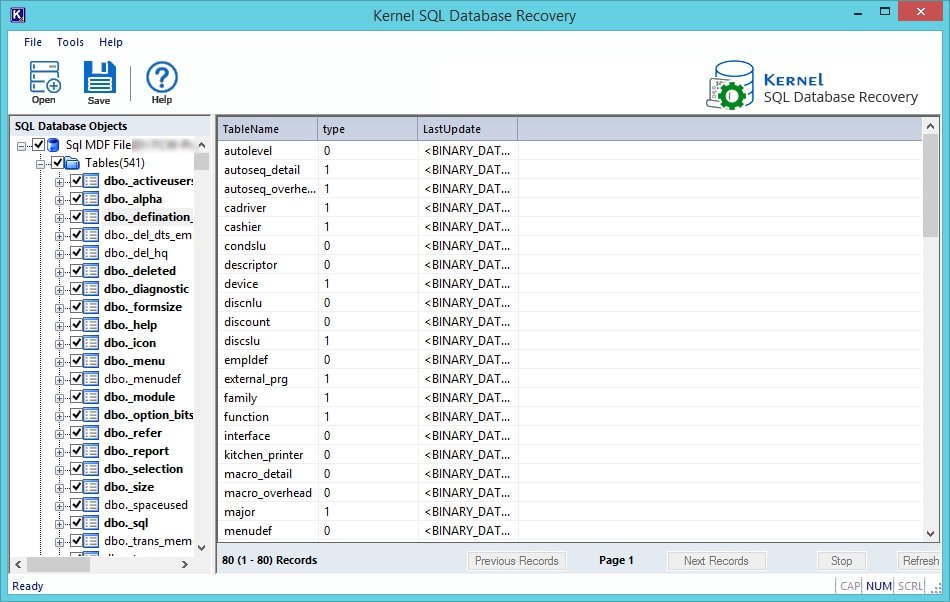
- After a successful recovery, you will have all the items listed on the left-hand side of the screen in the folder tree. Here you can also have the preview of the files on the left side by clicking them individually.
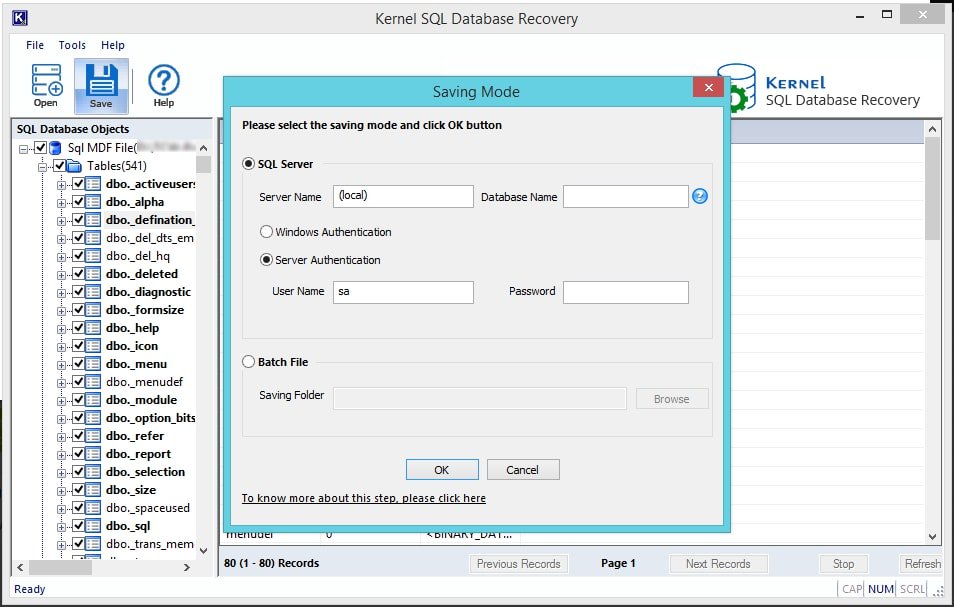
- Now, to proceed with saving, click on the Save button, and select the Saving Modes for the recovered database. There are two modes for this, in SQL server mode, you can directly save the recovered items in the SQL server directly. Enter the server name and database name in the respective fields or simply add the username and password and click on the OK button to proceed.
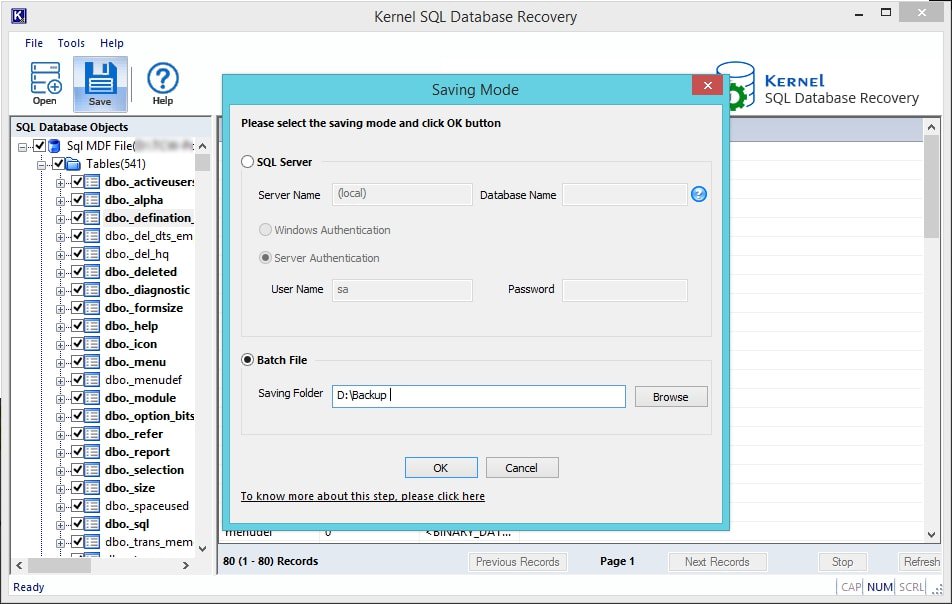
- The other saving option is to choose the Bath file mode; in this, you need to provide a destination to the recovered objects in the system. You need to click on the Browse button to do so and proceed with selecting a preferred location. Click on the OK button to proceed.
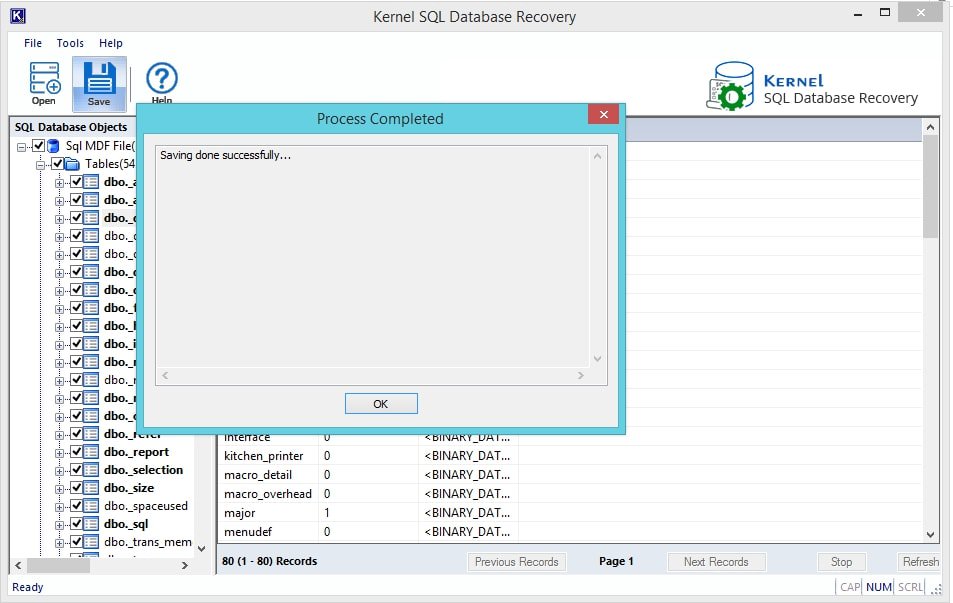
- Clicking on OK will start the saving process, wait for it to happen. You can click on the Stop button to discard the process at any time.

- Once the saving process is finished, you will get the notification. Click on OK to proceed.
Conclusion:
In this blog, we have discussed how you can identify database corruption and how you can recover a corrupt SQL database. In this blog, we have mentioned the manual and the automated method for the database recovery. Both of the methods provide the same results, but the automated method assures the successful recovery.