A Master Database is highly important for an SQL server, as it holds the primary configuration details of the SQL server. The core information of master database is recorded in a physical file, called MDF files, whereas the parallel transaction logs are stored on to the mastlog.ldf file. This means the total user & login details, and the information of pointers to all the databases are stored on the master database. In brief, if anything happens to the master database, then you can’t start and productively work on your SQL server.
How to Determine Whether Master Database Is Corrupt or Not?
Being a system administrator, it is important for you to know the symptoms that may indicate the corruption or damage in your master database. Some of the symptoms are shared below:
- Possibility of input/output errors or segmentation faults
- Unsuccessful to start SQL server
- Report generation by Database Consistency Checker Utility
There are various situations in which your master database can go corrupt or missing. Power surge is one such reason that compels the SQL server to reboot, but after the rebooting process the SQL server may not start in this scenario. However, you can check the error log, as shown in the image below to verify the reason of corruption.
In this situation your SQL server would refuse to start with the corrupt master database, so ideally the solution is to first rebuild the master database, then start SQL server and then restore the backup of the database. However, rebuilding the corrupt master database is a complex, tedious and time-consuming activity, and of course it is understood that you hold technical command over it. It can take a substantial amount of time and patience, as it involves reinstalling SQL server from scratch.
Before moving towards the steps to rebuild, restore and recover your master database in SQL server, it is important to have a plan to deal with the issues of corruption and then follow a methodical approach to recover from it safely.
Note: However, it is strongly recommended to take a full backup of master database, before rebuilding or restoring the master database – in order to avoid any chances of odd scenarios.
Pre-rebuild tasks
When you wish to rebuild the master, model, msdb, and the tempdb system database, then these databases are dropped from SQL Server and recreated at their original location. If you mention a new collation in the rebuilt process, then the database is created with the collation setting.
You should perform some prerequisites before rebuilding the master database to make sure that the database adapts itself to the current settings.
- Select all server-side configuration values.
- Record the hotfixes attached to the SQL Server. Apply these hotfixes to the database after restoring the database.
- Keep the record of the location of all data and log files of the system databases. The rebuilding process will help to install all the system databases to their exact original location.
- Check the latest backup of master, model, and msdb databases.
- Make sure that you have the permissions to rebuild the databases. Only the sysadmin server role group member can rebuild the database.
- The copies of the master, model, msdb data, and log templates are required to run the rebuild process. The copies are present on the local server at the default location
- C:\Program Files\Microsoft SQL Server\MSSQL13.MSSQLSERVER\MSSQL\Binn\Templates
After the completion of master database rebuilding, you need to follow the below tasks:
- Restore the most-recent full backups.
- If the SQL Server instance belongs to the replication Distributor, then you should restore the replication database.
- Move the system databased to their respective locations where they were saved previously.
- Check that the server-side configuration values are matching the values present previously.
Restoring your corrupt master database is tricky and you need to be fully cautious, as all the other databases are connected in the instance. For this, you can use the Rebuild Wizard utility (Rebuildm.exe), which is located on this default user directory:
\Program Files\Microsoft SQL Server\80\Tools\BINN
To start Rebuild Wizard utility, simply open the program by double-clicking on it, and this is how it appears:
Provide the desired collation setting along with the location of files of your database server. Also, you need to provide the x86 directory from the SQL CD and direct it to the local copy of your hard drive to obtain faster and convenient recovery.
Upon verifying the information, simply hit ‘Rebuild’ button to let this utility build a brand new master database for your server.
Now, when you have achieved a good master database, then can start SQL server in a single-user mode. For this simply run this command on the command prompt:
sqlservr.exe –c -m
Then open SQL Server Configuration Manager and go to the Startup Parameter tab and specify –m in the parameter box to add and apply changes. Then restart the SQL server.
Type the following syntax to rebuild master database in SQL Server 2005.
Start /wait setup.exe /qn INSTANCENAME=<InstanceName> REINSTALL=SQL_Engine REBUILDDATABASE=1 sapwd=< NewStrongPassword>
The above mentioned procedure will help you to rebuild the corrupt databases (including model, msdb and master database) that are available on the same disk.
To restore the master database files, you need to have latest backup of the master.ldf and MDF file. Start SQL server in a single user mode and follow the below give steps with complete precision:
- Launch “SQL Server Configuration Manager” and then select “SQL Server 2005 Services”
- Go to the SQL Server instance, and perform right-click operation and select “Properties” option.
- Select “Advanced” tab on the “SQL Server Properties” window. Go to Startup Parameters box, and then add “-m;” prefix to the already existing parameters.
Note: Ensure that the prefix is then removed when the desired task is completed. Then you can connect to the SQL server by running the following command to restore the database.
RESTORE DATABASE master FROM DISK = ‘C:\BackupLocation\master.bak’ WITH REPLACE;GO
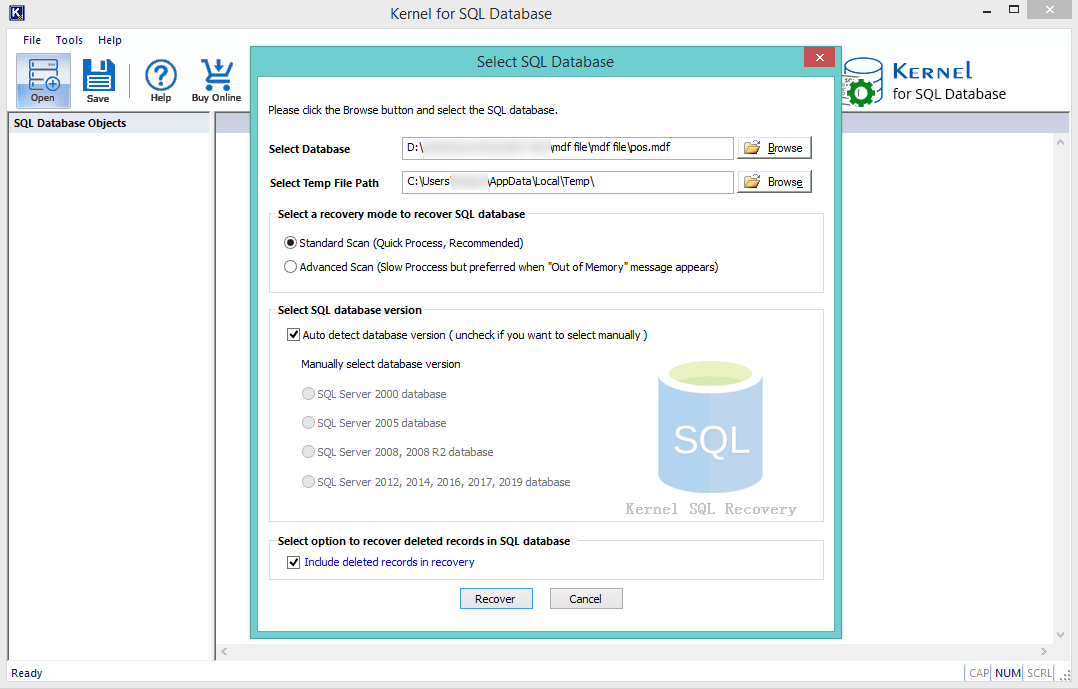
A third party MDF repair tool can be of great help to rebuild and restore damaged master database of SQL server. The SQL Database repair is a reliable third-party software that lets you to repair corrupt database and restore complete database objects (Triggers, Rules, Functions, Tables, Stored Procedure) with absolute data integrity. It takes no time in repairing MDF files (with SQL Script) and restore the master database and system databases without taking any pain. The advanced software algorithms can automatically detect database version and lets you to restore the data while SQL server is still running. Let us know it’s working through screen displays with sequential steps. First, you need to install the SQL repair tool.
- Start the software application, click Browse to add your SQL Server Database file. Then select the scanning option, SQL database version and click Recover option.
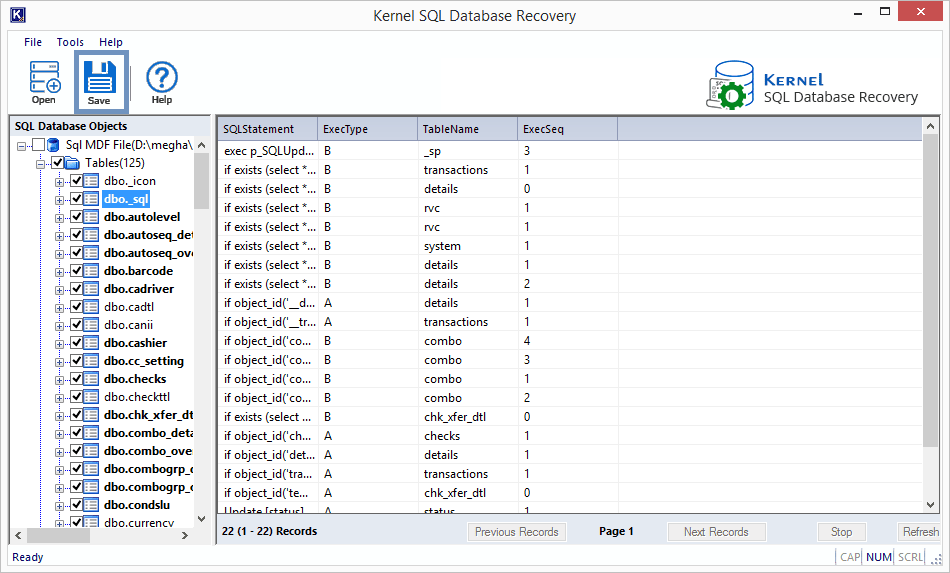
- All the SQL Database objects will get retrieved. Select the desired object to view its content. Select the desired objects from the left panel and click Save option.
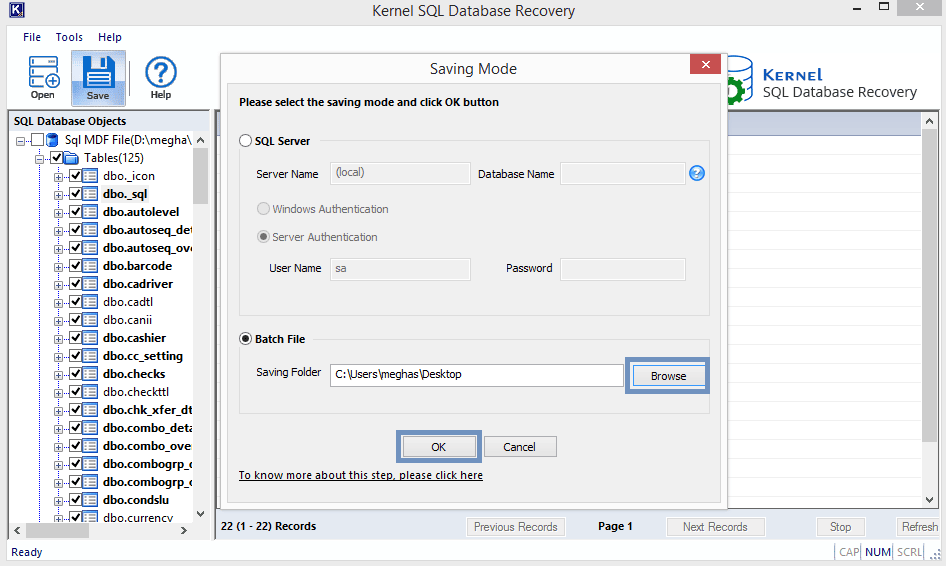
- In the Saving Mode page, you have two saving options. Either use Live SQL Server or Batch File option. With Live SQL Sever option, you need to specify the details like server name, database name and with Batch File option, you need to specify the destination path for saving the batch file. Click Browse to add the saving path and then click OK.
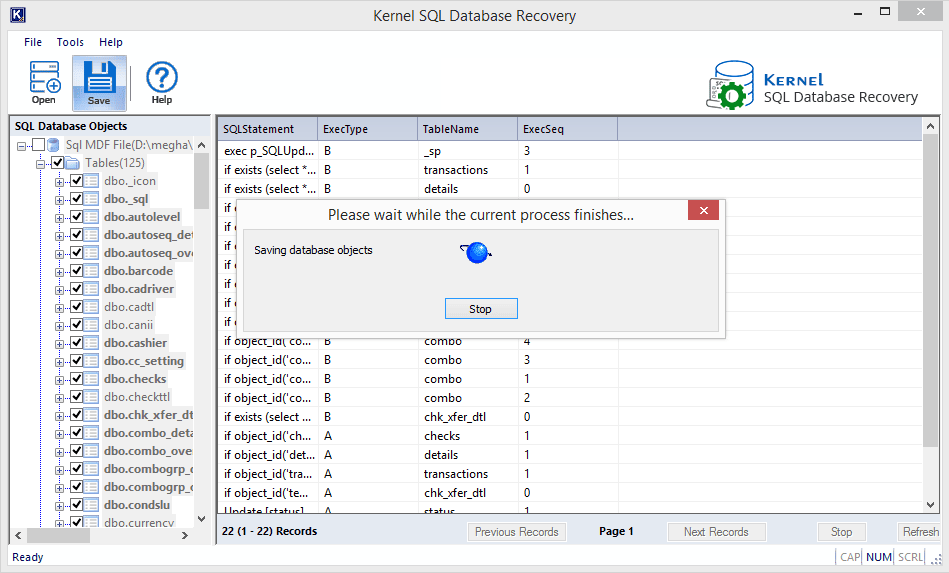
- The SQL database objects saving process will get start.
- The saving of SQL database objects is shown as completed with the message. Click OK.
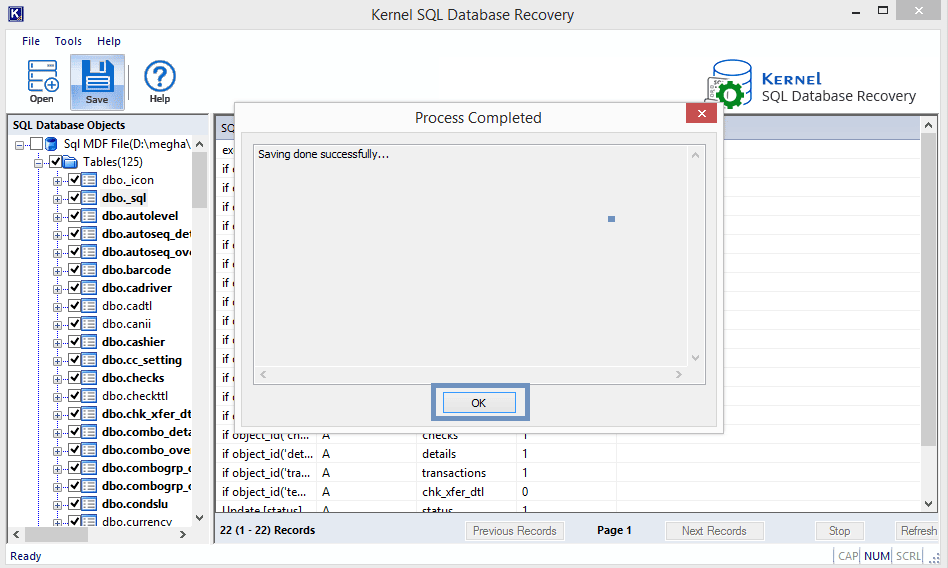
- Thus, your selected SQL database objects have got restored at the specified saving location.
Summary
SQL Server database security is main concern for its administrator and in case they observe any symptoms of corruption, seeking instant solution is what they should do. They can try rebuilding and restoring the SQL database manually of if it did not work, a helpful third-party tool Kernel for SQL Server tool with quick and automated solution is at your service.