Read time: 7 minutes
Outlook is the most sought-after email management service and a crucial part of the Microsoft Office family. It provides email, calendar, contact, and task-managing facilities to make work easier for all professionals. Outlook runs on two primary modes- Online and Cached Exchange while connecting with the Exchange server. The Cached Exchange Mode in Outlook keeps a local copy of the user’s mailbox data and stores it in an OST file. The changes made here are updated in the mail folder continuously.
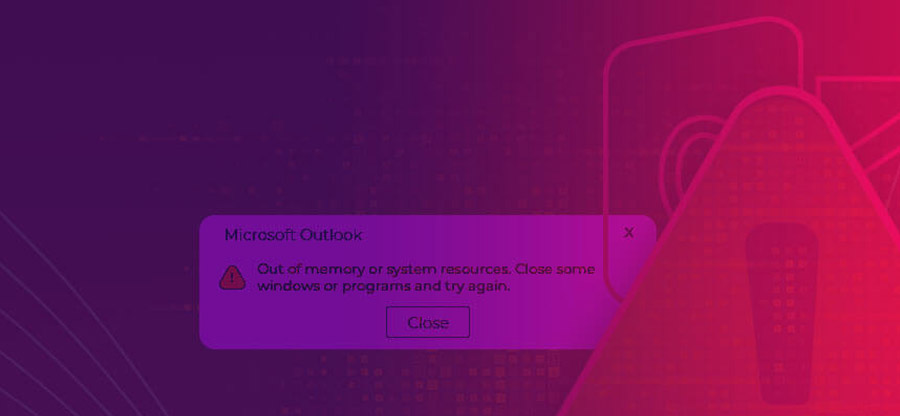
It becomes a severe problem for the user when these updates don’t occur. It only shows the correct last synchronization time, but no new emails are reflected in Inbox. The reasons behind this issue can be distinct, but solutions are limited and here, we discuss them at length.
Causes of mail folder issues in cached mode
This section introduces the different reasons that may create synchronization issues in Outlook mail folders in cached mode. There may be other, but some major causes are:
- Disabled auto sync facility.
- Network connectivity issues
- Oversized OST file
- Incompatible add-ins in Outlook.
- Corruption in the current profile.
- Interruptions by antivirus program.
Solutions to fix ‘Outlook is not updating mail folders in cached mode’
These are all the solutions that will help you to deal with OST synchronization issues with Exchange Server while working in the cached mode:
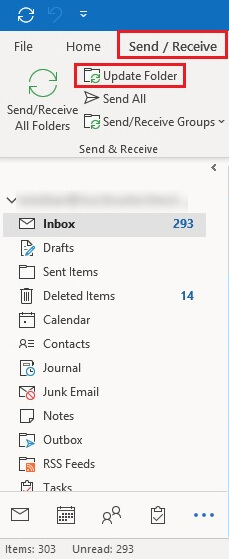
Solution 1. Update folders manually
Due to certain unknown reasons, the data updating task might not work as it should. You can update the data manually to get a clearer picture of whether some other factor is responsible for the issue.
- Launch MS Outlook and move to the Send/Receive tab.
- Click on the Update Folder option and check if the problem still exists.
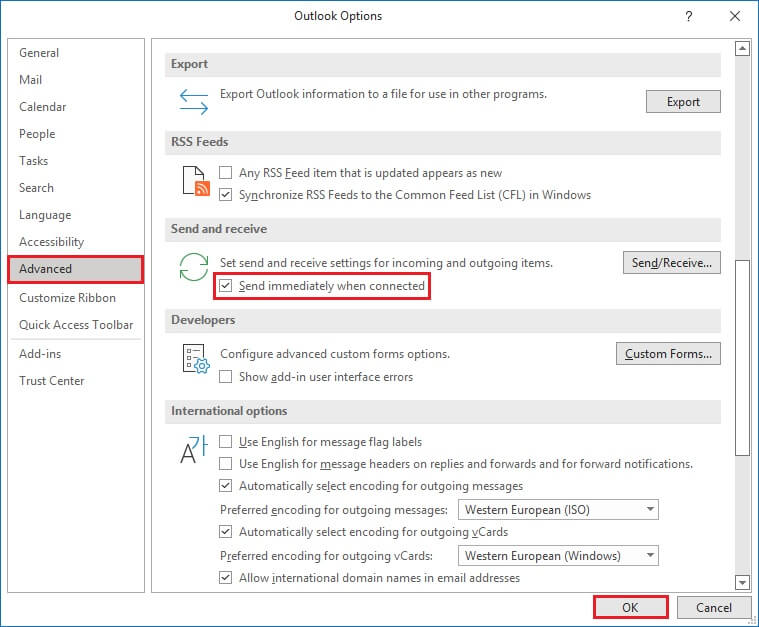
Solution 2. Turn on the ‘Send immediately when connected’ option
Before moving to other solutions, ensure the ‘Send immediately when connected’ facility is enabled when accessing your Exchange server account. It will always make sure to keep the synchronization going.
- Click File > Options from the left panel.
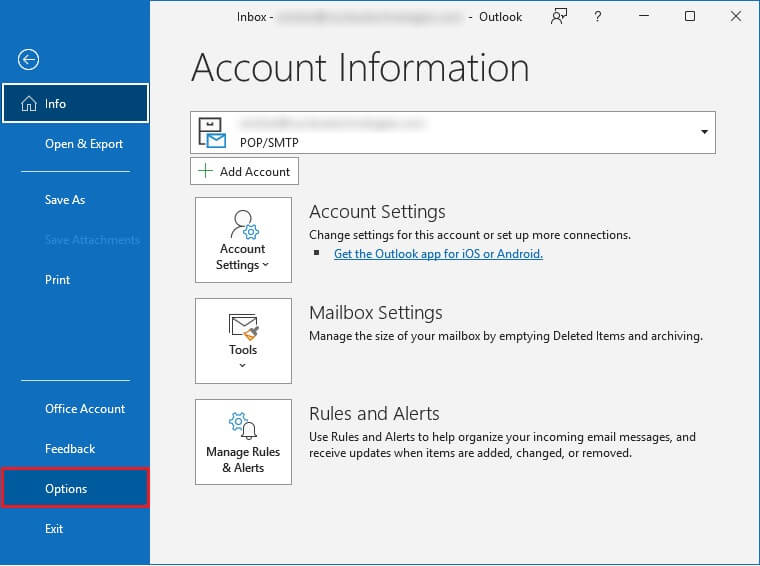
- Now, select the Advanced option. Scroll down to the Send and Receive section and check Send immediately when connected. Finally, click on OK.
Solution 3. Reset the sync slider
The sync slider limits the amount of data being stored offline in the OST file and prevents them from getting oversized. The file size depends on the number of days you set.
- Open Outlook and click on the File tab. Select Account Settings under the same option.
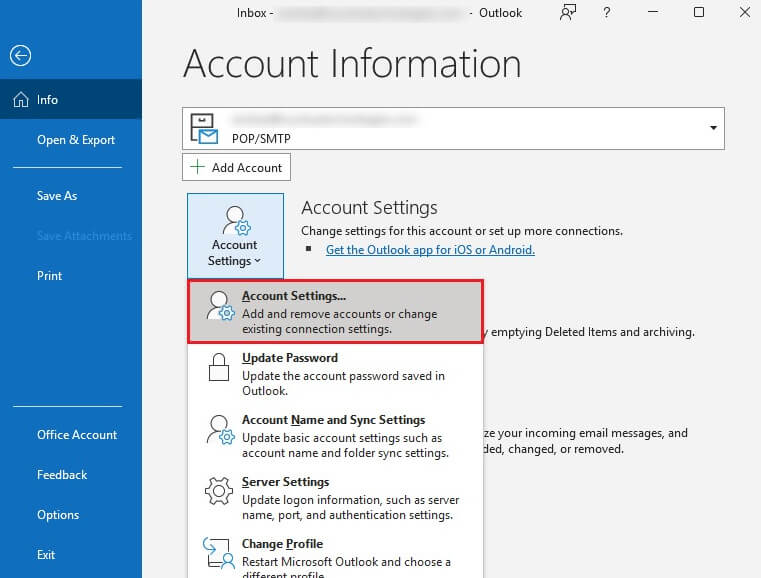
- Double-click on the required email address.
- Under Mail Settings, adjust the slider based on your requirement, and click Next.
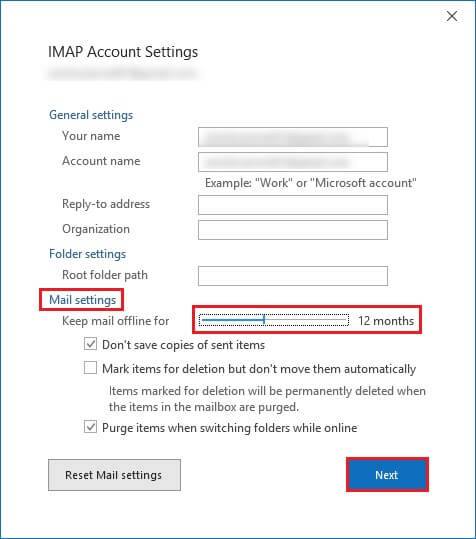
- Save the necessary changes and restart Outlook.
Solution 4. Remove incompatible Add-ins
Some add-ins might not be compatible with the Outlook program, so they throw underlying problems simultaneously. Removing them and then continuing with your work without errors and interruptions is better.
- Select the File tab and click on Options.
- From the new window, select Add-ins.
- The complete list of all the add-ins will appear. Select Go.
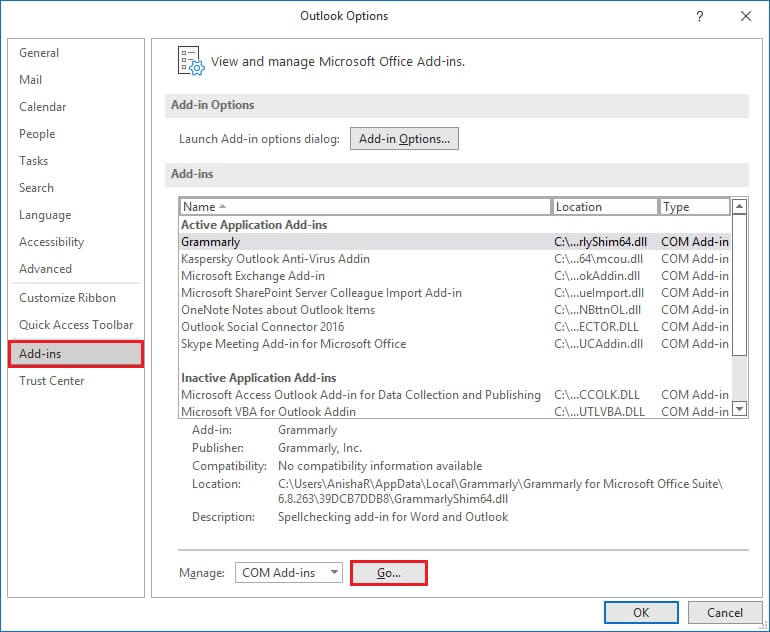
- Now, uncheck all of them and click on OK.
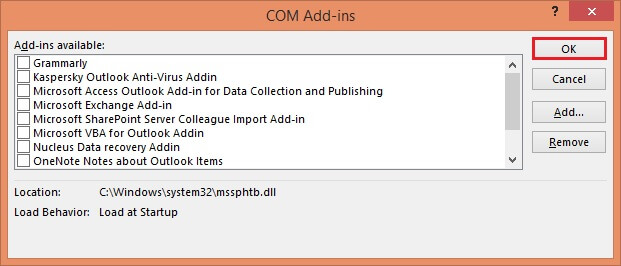
- Restart Outlook and enable one add-in at a time to find the faulty one. Eventually, you can remove it permanently.
Solution 5. Set up a new Outlook profile
A corrupted profile is also responsible for not being able to update the mail folders in Cached mode promptly. You should create a new Outlook profile and configure your email to avoid further issues.
Solution 6. Clear Cache Data from Outlook Application
Here’s how to find and clear cache data from Outlook:
- Open the Run Command dialog box by pressing the Win + R keys.
- Enter %localappdata%\Microsoft\Outlook and click OK.
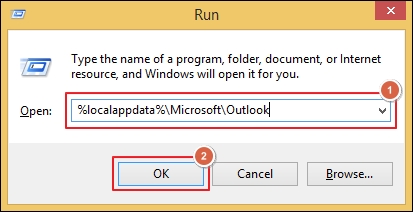
- It will open the cache directory on your system.
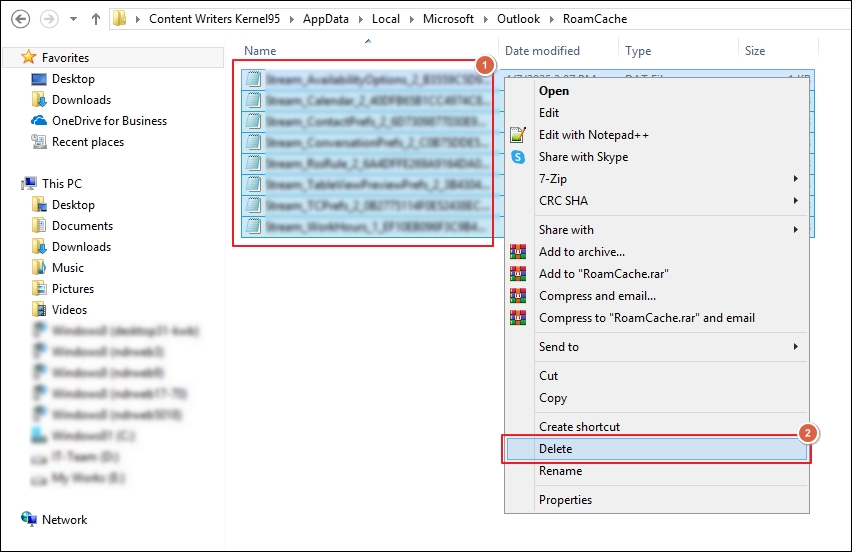
- Double-click on RoamCache folder to access its content.
- Press Ctrl + A keys to select all files. Then, right-click on them to Delete cache data.
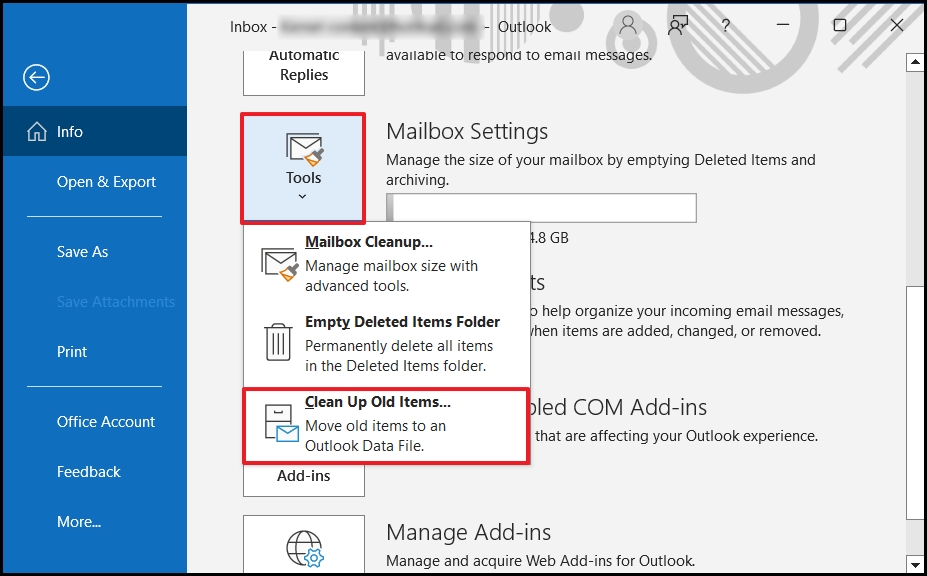
Solution 7. Move older emails to a PST file
A heavily loaded OST file might be causing more trouble than you can imagine. It is better to archive all your older emails and move them into a PST file. This secure format allows you to access any file whenever needed.
-
-
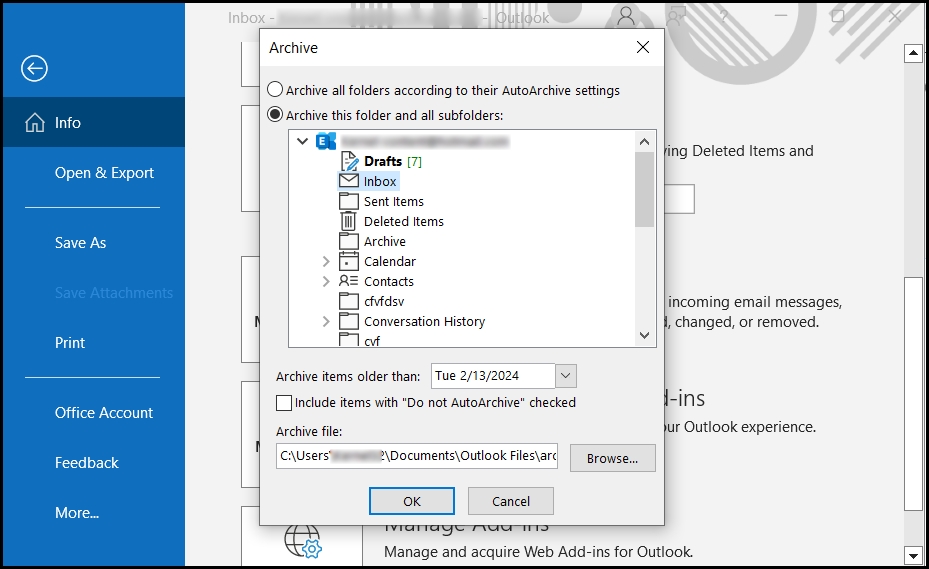
- Select the File tab. From the Mailbox settings, choose Clean Up Old Items.
- Choose the date and folder that you want to move. Click on Browse to select the destination. Click on OK.
- Select the File tab. From the Mailbox settings, choose Clean Up Old Items.
-
A significant drawback is that one must repeat the process for each folder every time. However, a better approach is to opt for professional software like the Kernel OST to PST converter, which manages all your valuable data with utmost integrity and security. In addition, it provides various other format choices to save your data.
Conclusion
When Outlook is not updating mail folders in Cached mode, it halts an individual’s communication. It can be risky for the overall functionality of the organization. So, try every method discussed in this article. If none of them work to update mail folders in cached mode, then convert the OST file into PST format using our software specially designed for this purpose with integrity, including the non-accessible or deleted items and synchronize it with new Outlook profile. The issue will be resolved quickly. Get a trial today!