Read time: 8 minutes
We frequently contact the same clients, employees and admins so, the “Outlook AutoComplete” becomes crucial. It automatically detects the email addresses in the “To” field that helps you with the ease of finding your addresses promptly. But what if the Outlook AutoComplete stops working?
Looks like not a big deal but the full-time users of Outlook might disagree. Looking at this situation of “Outlook AutoComplete not working”, we will help you out with the easiest and quickest solutions to get rid of this error instantly.
Causes for the “Outlook AutoComplete not working” issue
Before directly jumping on to the solutions, let us get to the basic causes of this Outlook autofill not working error first. Here are a few mentioned below.
- AutoComplete cache corruption.
- AutoComplete feature is not enabled.
- Outlook is not up-to date.
- Incompatible add-ins.
- Oversized OST file.
- Corrupted or damaged ‘RoamCache’ folder.
- Damaged user profiles in Outlook.
How to fix “Outlook AutoComplete not working” error
Outlook AutoComplete not working can be frustrating, but there are several solutions you can try to resolve the issue. Here are six potential solutions:
1. Enable the AutoComplete feature
Outlook AutoComplete might not work if the AutoComplete setting isn’t enabled. For more information, follow the steps below to fix Outlook autofill not working issue.
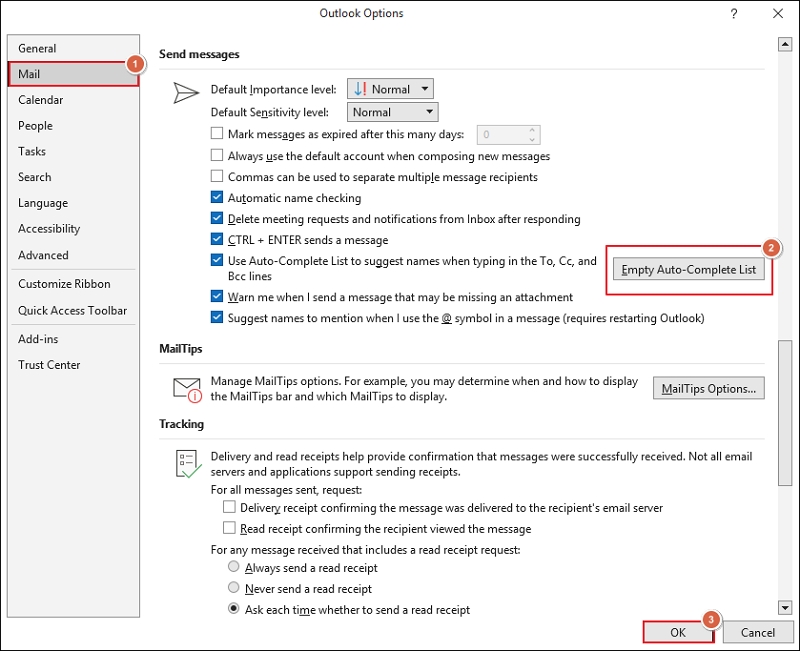
- Access Outlook and go to the File menu. Tap on Options and then click on the tab Mail.
- Within the Send messages section, check that the Use Auto-Complete List to suggest names when typing in the To, Cc, and Bcc lines box is ticked.
- Tap on Empty Auto-Complete List and click on Yes to confirm.
- Hit OK to finish.
2. Recreate RoamCache
Recreate the RoamCache folder in Outlook to resolve the AutoComplete not working issue. For this, you need to rename or delete it from the default location. Follow below.
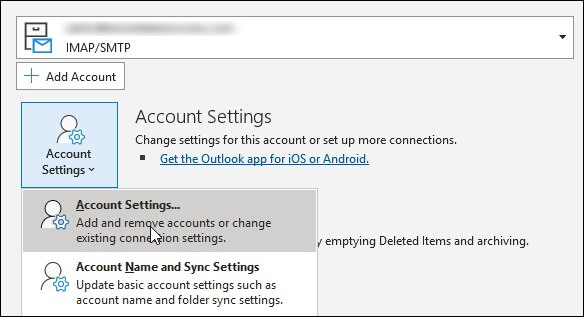
- Access Outlook and go to the File menu.
- Go to Account Settings > Account Settings.
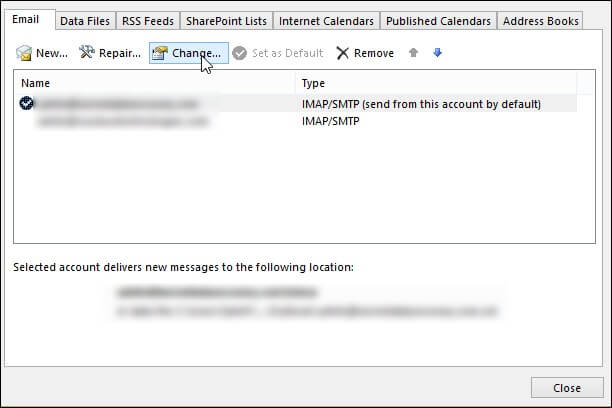
- Select your email account and tap on Change.
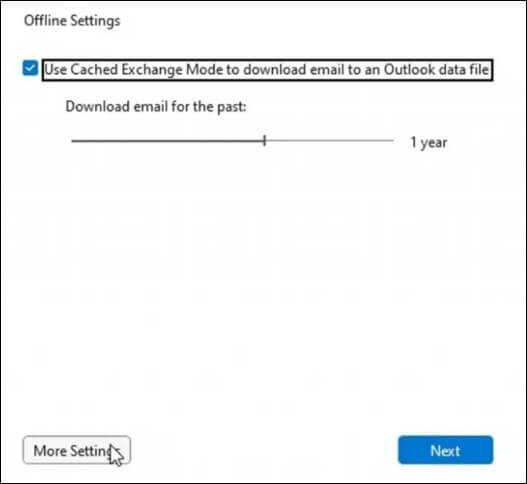
- Click on More Settings and go to Advanced.
- Checkmark the option “Use Cached Exchange Mode”. Tap on OK.
- Within the Run window, type up %LOCALAPPDATA%/Microsoft/Outlook and hit Enter.
- Find and rename the RoamCache folder to “RoamCache_old”.
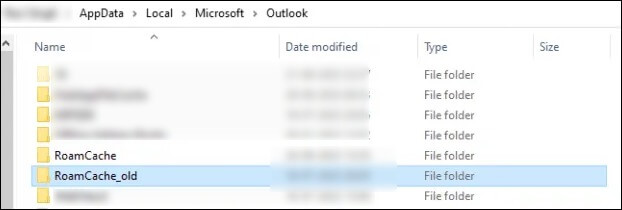
- Launch Outlook. After a few seconds, it will create a new RoamCache.
- Open a new email compose window and see whether the Outlook autofill is working or not.
3. Rebuild the AutoComplete List of Outlook
Here are the detailed steps to rebuild the AutoComplete list to fix the Outlook autofill not working issue:
- Launch Outlook and navigate to File Options.
- Go to Mails tab and find Send messages section. Then, click on Empty Auto-Complete List and proceed to OK.
- Tap on Yes option in the confirmation pop-up.
- Compose a new mail and type the email addresses of your contacts. Then, Send it.
- Outlook will automatically add these addresses to the AutoComplete list once you have sent emails.
4. Update Outlook to the latest version
You can counter the Outlook AutoComplete not working issue if your Outlook is not updated to the latest version. Here are the steps below.
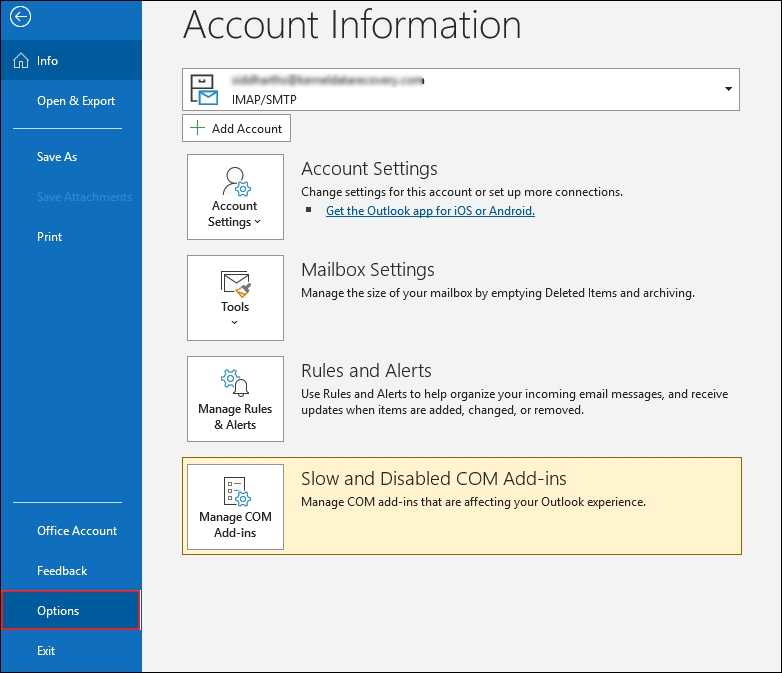
- Access Outlook and go to the File menu. Tap on the option Office Account.
- Select the option Update Now and install the Outlook updates.
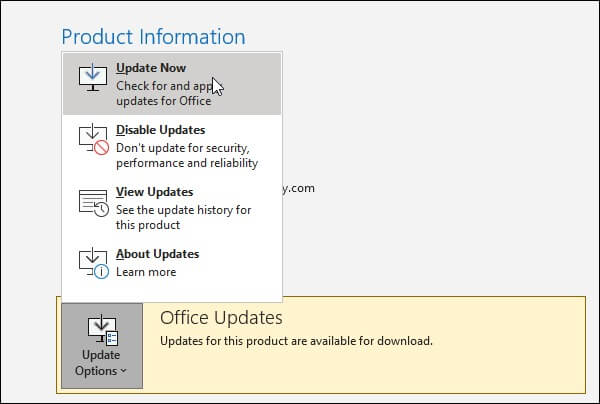
- After the update process, restart your PC.
5. Creating a new profile
As we know, a damaged Outlook profile can be one of the causes of Outlook AutoComplete not working problem. So, we need to create a new profile. Here are the steps to follow.
- Exit Outlook and open the Control Panel.
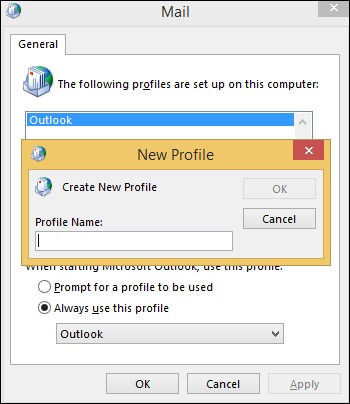
- Go to User Accounts > Mail > Show Profiles > Add.
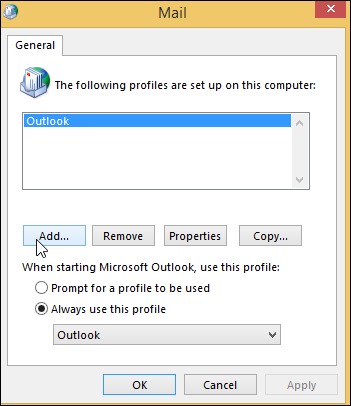
- Give your new profile a name and hit OK.
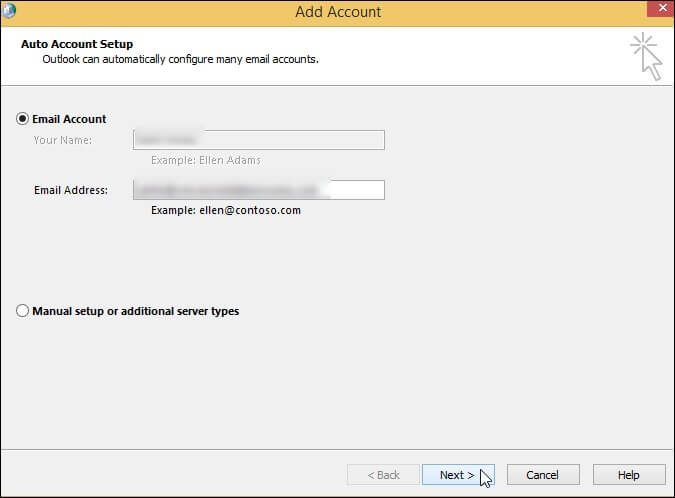
- To add your email account, follow the instructions. Click on Next.
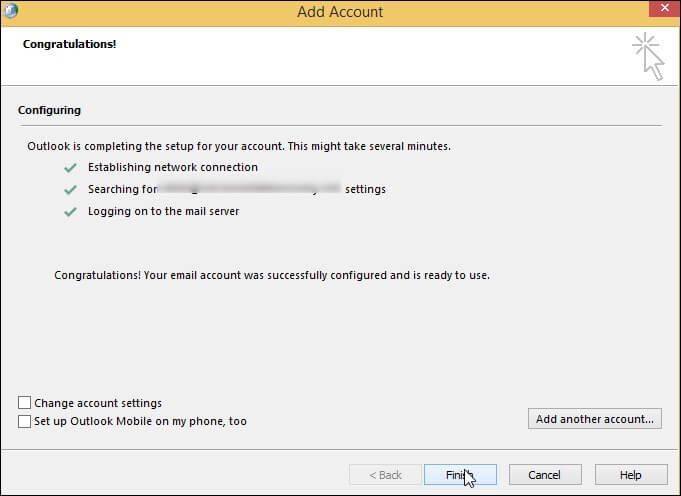
- Tap on Finish.
- Set the new profile as default or select ‘Prompt for a profile to be used’ after creating it.
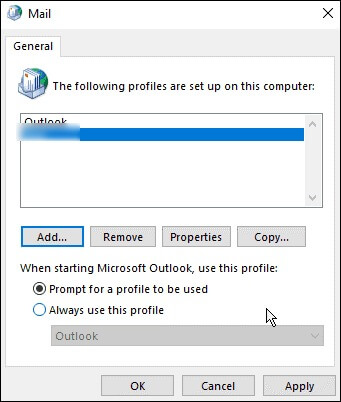
- 7. Tap on OK and exit the Mail dialog box. Restart Outlook and check whether the Outlook autofill not working issue is fixed or not.
6. Remove faulty add-ins
In Outlook, third-party add-ins can also affect AutoComplete. Check for such add-ins and remove them. The steps to do so are:
- Launch Outlook in safe mode and go to the File Menu. Tap on Options > Add-Ins.
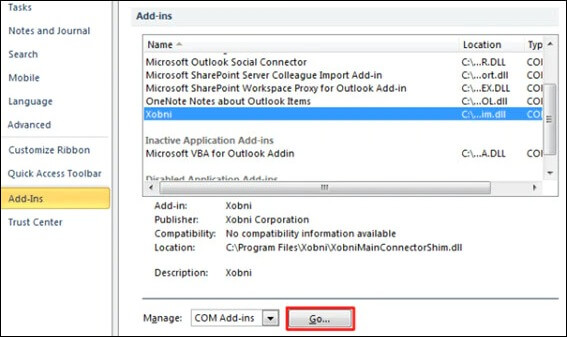
- Tap on Go and deselect all the add-ins.
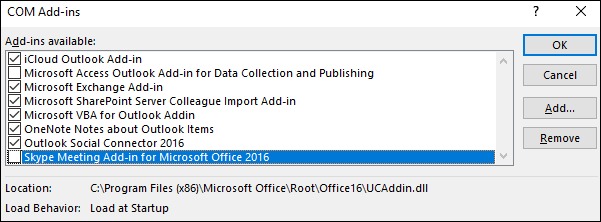
- Click OK and restart Outlook to finish.
7. Rebuilding the Outlook OST file
A problem with AutoComplete may also be caused by OST file corruption. Rebuilding the OST file will resolve this issue. To do this, here are the steps:
- Access the Control Panel and go to the User Account. Tap on Mail.
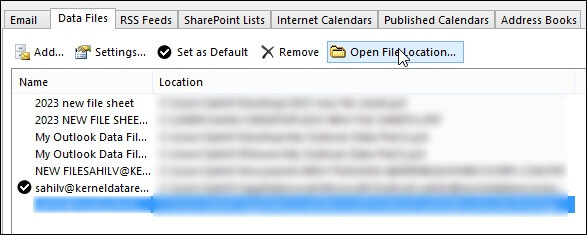
- Tap on Data Files and select your email account.
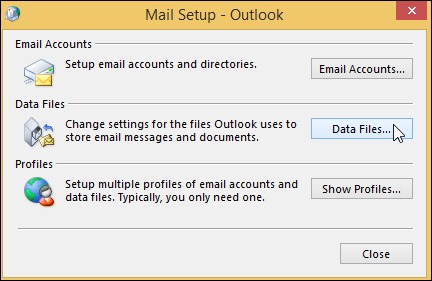
- Tap on Open File Location and open the OST file location.
- Rename your OST file with the extension .bak. This will create a backup of your OST file.
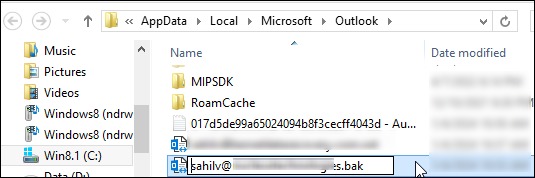
- Start Outlook. It creates a new OST file and synchronizes all mail items.
- As soon as the synchronization is complete, AutoComplete should begin working.
When an OST file in Outlook becomes inaccessible due to issues like Exchange server malfunctions or Outlook profile corruption, converting it to PST format can be a practical solution. Kernel OST to PST converter is a tool designed for this purpose. This tool efficiently extracts mail items from inaccessible, inconsistent, or orphaned OST files and converts them into PST format.
After conversion, these PST files can be imported into a new Outlook profile or account, restoring all mail items. Also, the tool offers direct export options to existing Outlook profiles, live Exchange Server, or Microsoft 365 for easy data migration.
Last thoughts
After thorough analysis, these are the best solutions to follow to fix the Outlook AutoComplete not working issue. Carry out the given solutions as per your convenience. In case the Outlook fails to recreate the OST file, it will be wise to convert OST file to PST format. For this conversion, we recommend you use this tool with its advanced features and easy to use interface.