Read time: 8 minutes
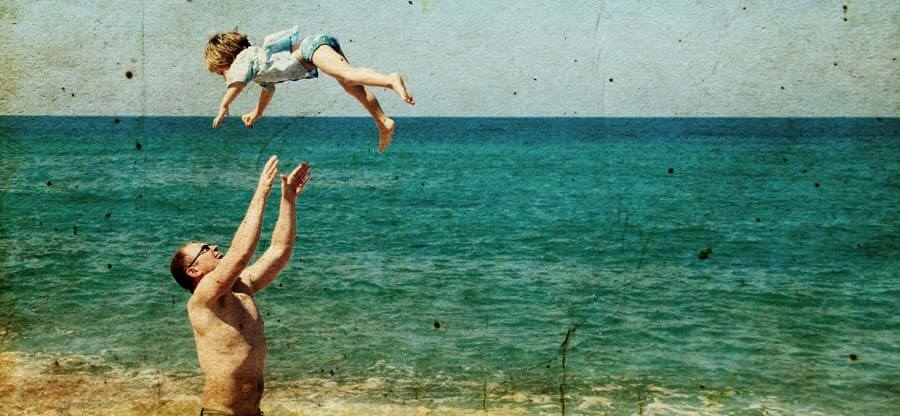
Photos are memories, and we know how important it is to preserve them and save them. But what if you lose them, due to any sort of a problem? Such a threat is ‘grey box images’. In this issue, you do not lose images, but the images you are left with are of no use, as they are greyed out. You will see a grey box on the above or the lower side of the Image. The grey box isn’t damaged pixels, its missing pixels caused by various reasons. In this blog, we are going to discuss the solutions to fix half greyed out pictures problem. But first, let’s know the actual causes of this issue.
What are the Common Causes for Grey Photos?
This error may occur due to several reasons, but it is important to know that what is actually is causing this error. As knowing the actual reason for this error can help you fix the issue, and moreover, it can also help you to avoid the issue.
- The download or the transfer of the images was interrupted or incomplete.
- Your system abruptly turned off during the download or the transfer of the images.
- You have recently installed some non-reliable apps or programs.
- Your storage device is full or corrupt.
- The images you have transferred are corrupt.
Fast-Track Guide to Grey Photo Repair
| Method | What to Do |
|---|---|
| 1. Re-download or Transfer Files Again | Take the original file from its source again. Often solves grey boxes caused by incomplete transfers. |
| 2. Check Your Backups | Restore from your backup for an instant fix. |
| 3. Use Command Prompt | Run sfc /scannow to repair system-related issues affecting images. |
| 4. Photo Editor Repair | Open the photo in Photoshop or another editor and save a new copy. This is our preferred method, truly simple and effective. |
| 5. Hex Editor Repair | Edit the binary data with HxD or similar tools. Only attempt if you understand Hex editing. |
How to Fix Grey Photos?
If you are facing the grey box in the photos, then there are some hacks and methods you can follow to fix them. We are going to mention them below, try them and let’s see which one works for you.
Method 1. Download or Transfer the Files Again
If you have downloaded or transferred the problematic file from an external source, then it is advisable to do it again. If you have downloaded it from an email, then go back to that email and download it again. The same is the case with if you have transferred it from some other source. Go to the source and transfer the file again. This may solve your issue.
Method 2. Check Your Backups
Check your backups. Almost all of us back up our files regularly to ensure data safety. With backup, we can anytime have our data back at the time of the data loss. So, if you can restore your data from that backup, then try to do so, as it will bring the original file back to your folder. This will eliminate the chances of a grey file in the new batch and solve your issue.
Method 3. Try using Command Prompt
If you are facing the grey out problem in your images, then using Command Prompt can fix pictures half greyed out issue for you. You can try the sfc /scannow command in Command Prompt. To do that, follow the below-mentioned steps:
- Open the Command Prompt window by clicking on the Start button and type command. The command Prompt option will show-up in the search result, make a right click on that and select Run as Administrator from the menu.
- Now, in the Command Prompt window type sfc/scannow and press Enter.
- Wait for the scan to finish, as the scan finishes all your problems will be fixed too.
Go to the pictures and view them again. If the problem still persists, try another technique.
Method 4. Try Repairing Images with a Photo Editor
Sometimes, the file that is showing grey box in it might be missing some important element. Opening it with an image editor tool can actually give you desired results. If you have Adobe Photoshop installed on your system, then you can try to open the image with that and make some minor changes to the file. Once the changes are done, save the file in the same location as it was saved earlier. Doing this will make the required changes in the file, and after that, you might be able to open it without any issues.
Method 5. Try Fixing Images with Hex Editor
Most of us must have heard about the Hex Editor. It is a program with the help of which one can change the binary data of the corrupt file. Many of us may know it by its other names like HxD, Hex Workshop, Cygnus and Byte Editor. So, with the help of this, you can also fix the grey image issue. But this method is quite complicated and even a slight mistake in byte can cause corruption in the image. Hence, it is not recommended to try on your own if you don’t have proper understanding of the tool. If only you have proper knowledge of ASCII encoding, you can try this method to fix your image file.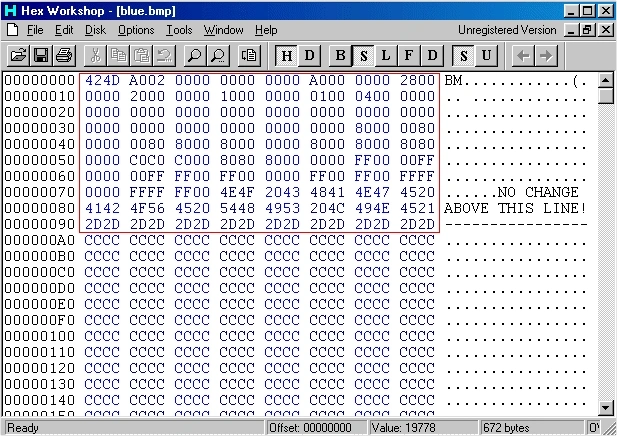
Fix Half Greyed Out Pictures Using a Professional Tool
If none of the above-mentioned techniques could give you the desired results, then there is something serious about that file. All these symptoms indicate a severe level of damage in the image file and hence it is suggested that you use a professional Photo repair tool. Such a reliable and well-known tool is Kernel Photo Repair which can also repair faded photos easily. It is an automated image repair tool that can fix corrupt and damage images in just a few easy steps. You only need to add the problematic file to this tool and proceed where the tool directs you. At the end you will be having a healthy image file with absolutely zero quality loss.
Let’s Know How the Tool Works:
- First download the tool from the website and install it on your system.
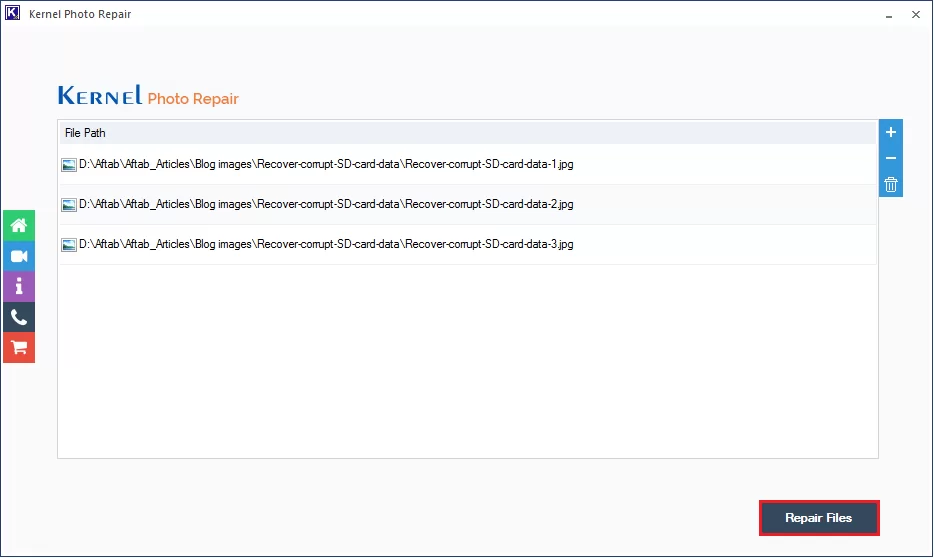
- Now run the tool safely on your system and click on the +Add icon.
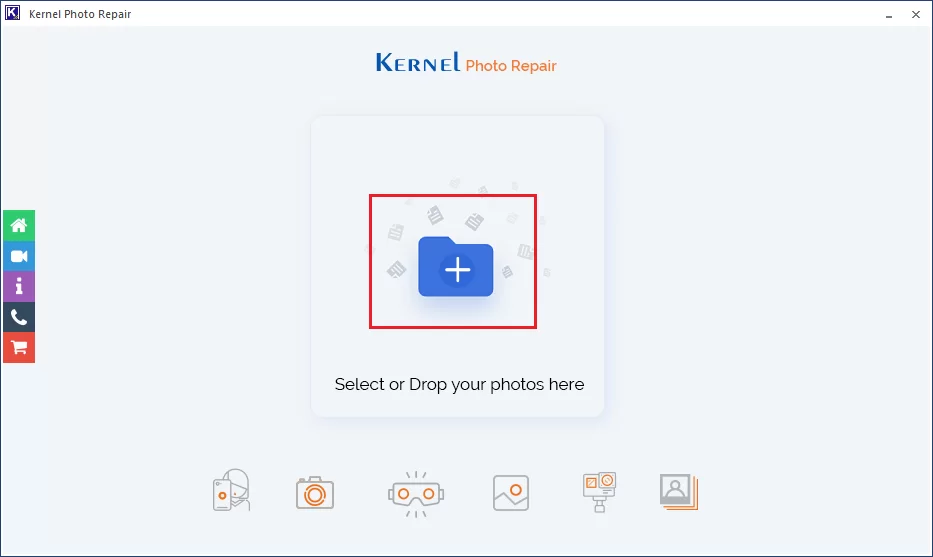
- Now, select the images that you want to repair with the tool and click on the Open button to add them.

- Once all the files are added, check them. You can remove or add more file(s) as per your requirement. Once satisfied, click on the Repair Files option.
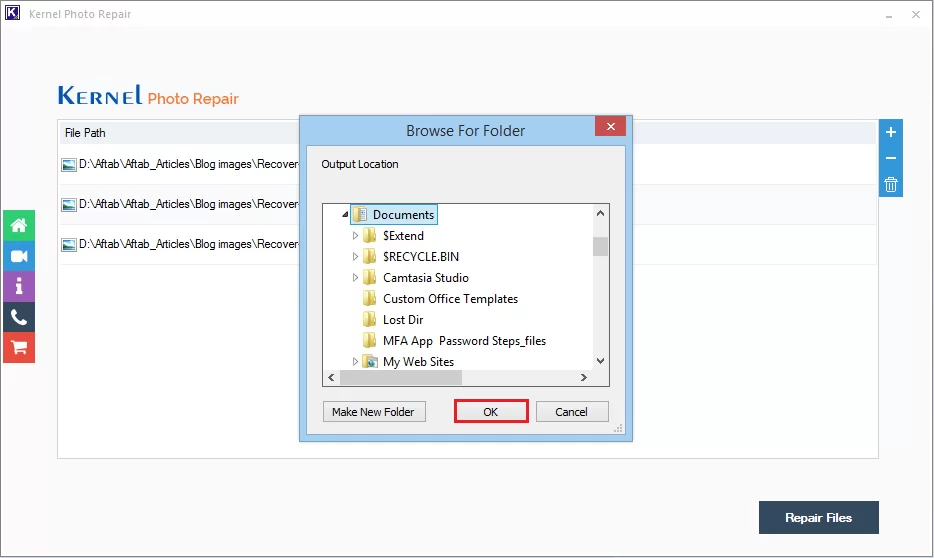
- Now, provide a location to save the repaired images. This location can either be on your system or on an external drive. Once done, click on the OK button.
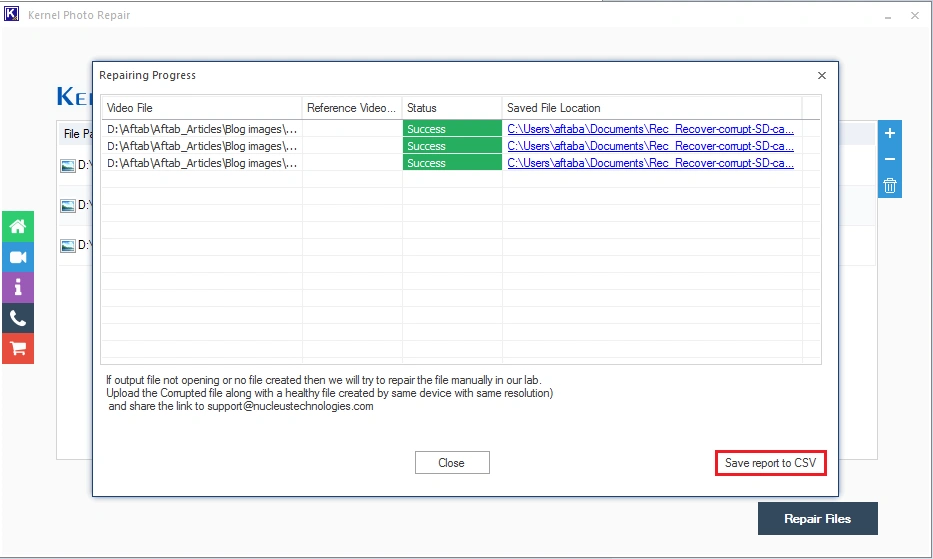
- Once the repair process starts, you can see the live updates on your screen. Once done, click on the Close button. You can also get a CSV report by clicking on the Save report to CSV option.
Stop Creating Grey Images: Prevention Tips
- Do not capture image on a dying camera, it may corrupt last file.
- Use quality cards like Sony Tough or Samsung Pro instead of cheap cards.
- Capture images with proper camera settings configuration.
- Always eject SD cards properly, no exceptions.
- Backup your valuable photos to prevent data disaster.
Ending Note: How to Fix Grey Photos?
The greyed-out images issue can be fixed using the simple methods discussed above in this blog. But if these methods fail to resolve the issue, it might be because of severely damaged or corrupted image files. Use a dedicated software to fix half greyed out pictures, repair corrupt RAW photos, or fix pixelated or distorted images. The software comes with a free version to test its functionality before purchasing.
Frequently Asked Questions
A. It could possibly happen because of interrupted transfer, data corruption, storage failure, and many other reasons.
A. Restart your device, check storage space, clear gallery/media cache, or use an image editor to fix pictures half greyed out issue.
A. A smart software like Kernel Photo Repair is recommended to recover lost or deleted digital photos that are greyed out.