Read time: 6 minutes
Outlook for Mac is the default email client application of MacOS. It establishes smooth email communication and allows users to exchange information. However, users can’t access the OLM emails on other platforms, which gives rise to many challenges. The only way to tackle this situation is to make a switch to another email client, which is universally accepted.
Gmail is the most popular email server from Google that helps the user to access their email accounts from any device that is connected to the Internet. When Outlook for Mac users want to access their emails universally, then they need to move their emails from Outlook for Mac to Gmail.
It requires a smooth conversion as Outlook for Mac does not support the Gmail platform. In this article, we will discuss some quick methods and know how to set up Gmail on Mac to export OLM file contents to Gmail. Before going to that, let’s know the need for OLM to Gmail migration.
Why do you need to migrate Outlook to Gmail in Mac?
Many Outlook for Mac users want to access their OLM data in Gmail because of its features. Here are some primary reasons listed to migrate Outlook to Gmail in Mac:
- Wide compatibility: Gmail is a widely used email client, which allows users to easily access Gmail emails on different devices worldwide.
- Simple interface: Gmail provides a simple and easy to use interface, which makes it popular among users.
- Secure platform: Gmail is less prone to file corruption, which makes it a secure email client for email communication.
- Storage space: Gmail provides 15 GB free space to its users to store emails and attachments, which can be expanded later at descent prices.
Manual approach to migrate Outlook to Gmail in Mac
After learning about the reasons why one should migrate from Outlook for Mac to Gmail, let’s proceed to the approach to execute the migration. Manual migration can be accomplished in three simple steps:
- Prepare your Gmail account.
- Configure your Gmail account in Outlook for Mac.
- Move your OLM data to the Gmail account.
The further explanation will help you to understand how to set up Gmail account on Mac Outlook to easily access your Outlook Mac emails in Gmail with a manual approach:
Step 1. Prepare your Gmail account to set up an IMAP account
If you want to know how to set up Gmail on Mac, then this section will help you. Follow the instructions precisely:
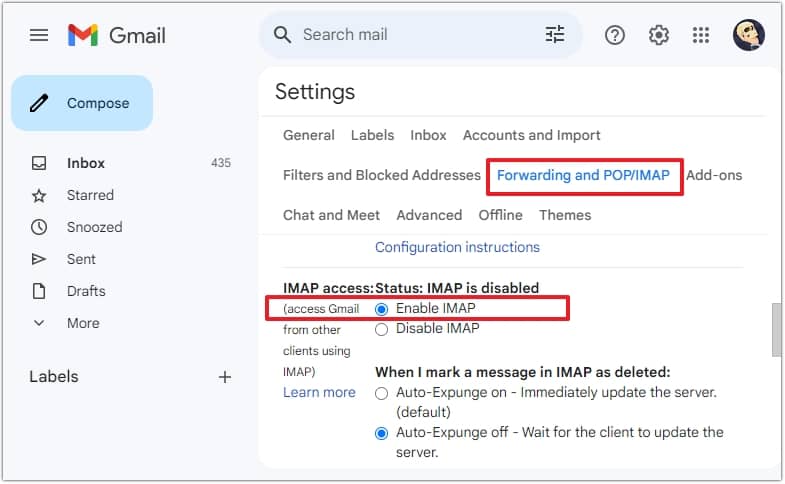
- Log in to your Gmail account, click on Setting icons, and choose All Settings.
- Go to Forwarding and POP/IMAP tab and select the Enable IMAP option in the IMAP Access section. Click on Save Changes.
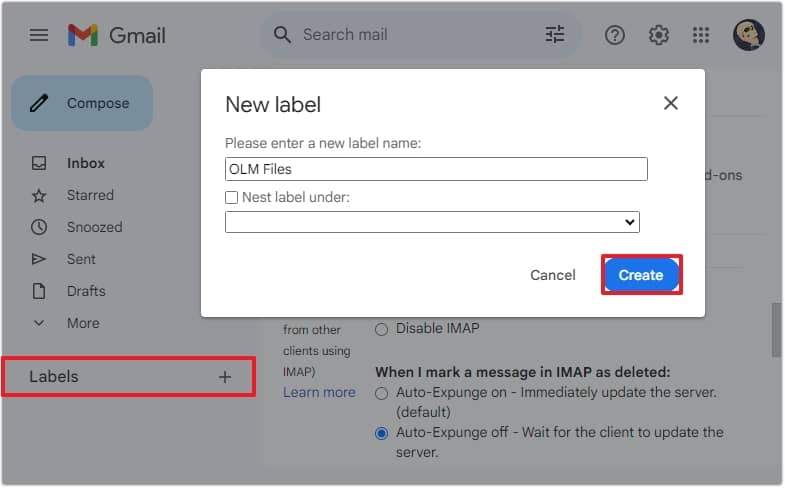
- In the left menu, click on Label+ and create a new label of name OLM files.
Step 2. Configure your Gmail account in Outlook for Mac
The next section will guide you to configure Gmail account in Outlook for Mac. The steps are as follows:
- Open Outlook on Mac and select the Accounts option.
- Now, select the Email option.
- Next, you need to provide your Gmail credentials to configure your Gmail account with Outlook on Mac.
- Click on the Add Account option.
- Exit from Outlook for Mac.
Step 3. Move your OLM data to your Gmail account
Once you have configured Gmail in Outlook for Mac, now migrate Outlook to Gmail in Mac with the following steps:
- Launch Outlook for Mac desktop client on Mac.
- Right-click on the folder you want to export and then browse to the Move > Copy to folder option.
- Next, click on the Send/Receive option to move your emails from OLM to Gmail account.
If you are willing to use manual methods, then you must be aware of the limitations. Some of the disadvantages of using manual methods are:
- Time-consuming: The manual method to migrate from Outlook for Mac to Gmail consists many steps, and each step has multiple sub-steps due to which it becomes length and consumes a lot of time.
- You need to be a technocrat: Manual migration of your OLM emails into a Gmail account is very complex, and you need to have good technical knowledge about what you are trying to do.
- No guarantee of data integrity: While migrating your Mac emails into your Gmail account, the manual process doesn’t assure data integrity.
Professional approach to migrate Outlook to Gmail in Mac
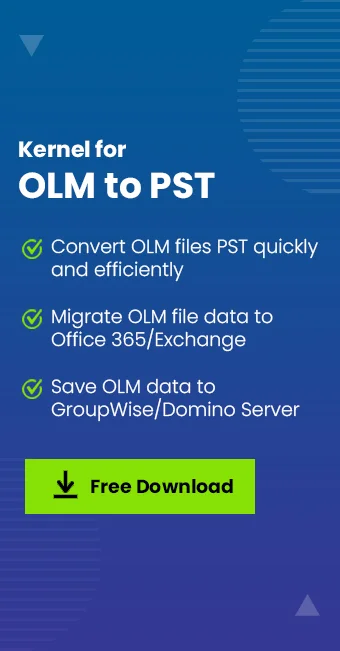
Once we are aware of the limitations of manual approaches, we recommend you rely on a professional Outlook for Mac to Gmail tool. Kernel for OLM to PST Converter tool is widely used to export OLM emails into Gmail. This tool saves all the items of the OLM to PST and other file formats, including contacts, appointments, events, email data, etc.
It also repairs the damaged or corrupted OLM emails and saves them into Gmail, Yahoo, Office 365 and other destinations. It facilitates services like OLM conversion into different file formats and migration to email servers or web-based email servers easily. This tool gives you a 100% guarantee of data integrity during the migration process.
Easy steps to import OLM file to Gmail
Step 1. Download Kernel for OLM to PST software and complete the installation.
Step 2. Launch the software and click Select File.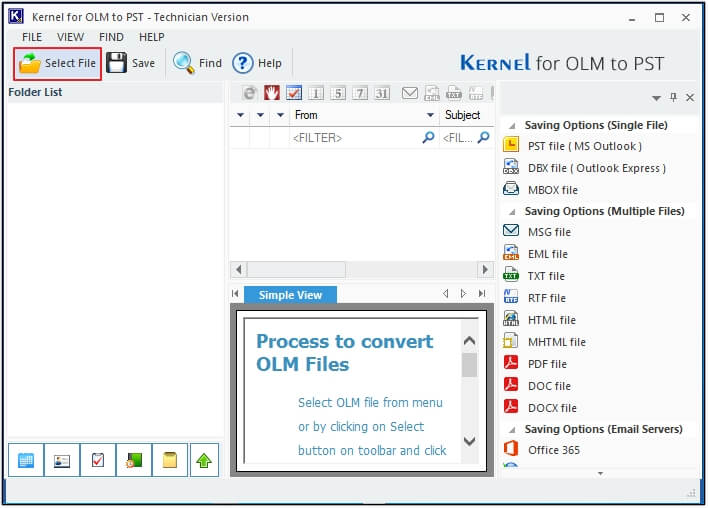
Step 3. Click the Browse button to choose the file location of OLM files. Click Next.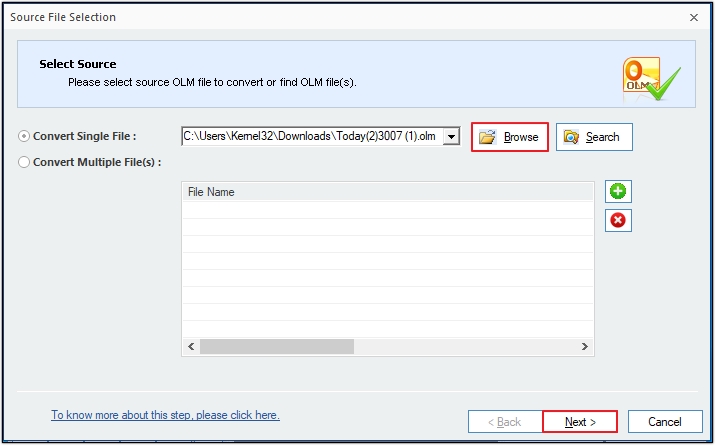
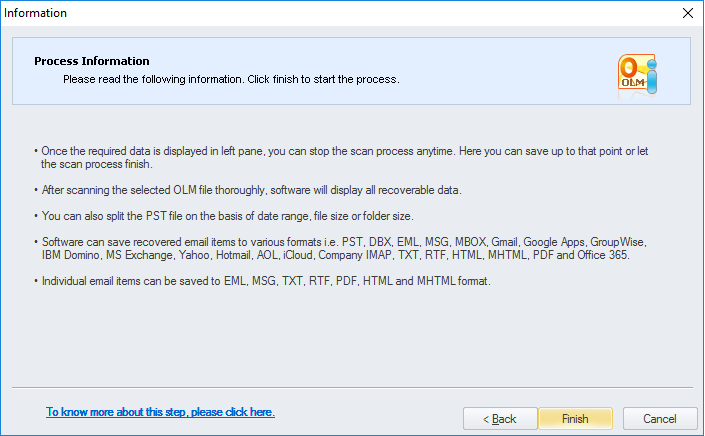
Step 4. After reading the Process Information, click the Finish button to move further.
Step 5. Now, you can preview all the emails and their content from the OLM file in the original hierarchy and click on Save.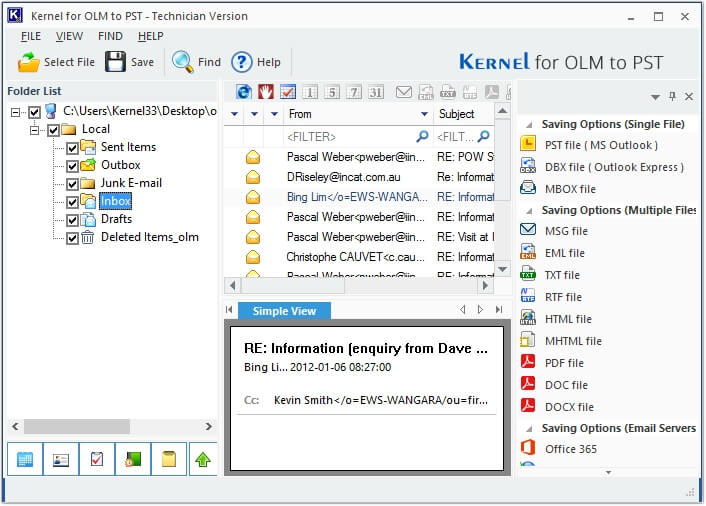
Step 6. Choose Gmail as the output type from the given list and click Next.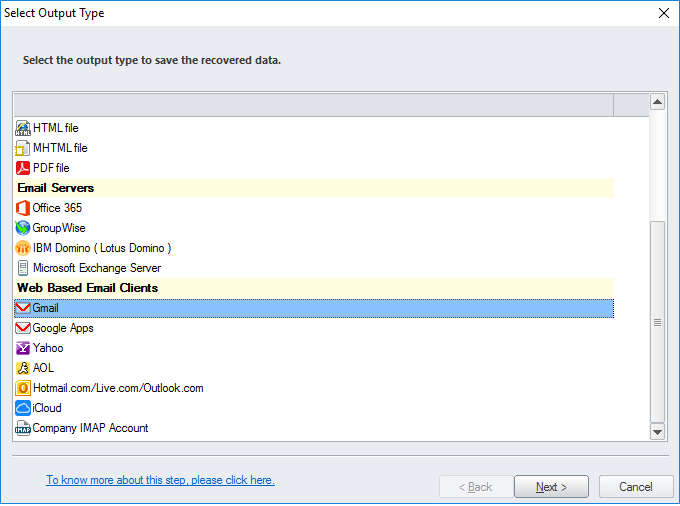
Step 7. Provide the filtering criteria and click Next.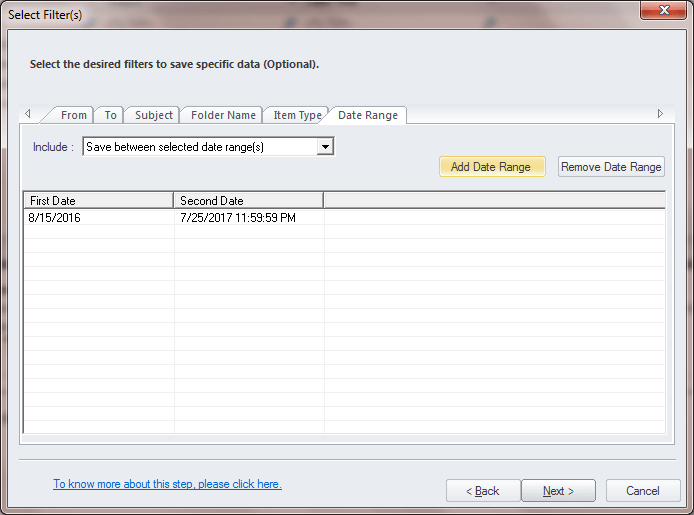
Step 8. Now, provide your Gmail credentials and click Finish.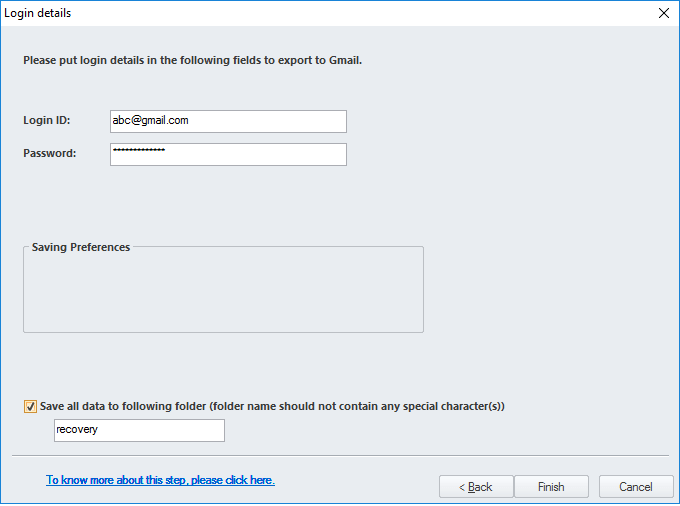
Step 9. Wait till the software saves OLM emails in Gmail.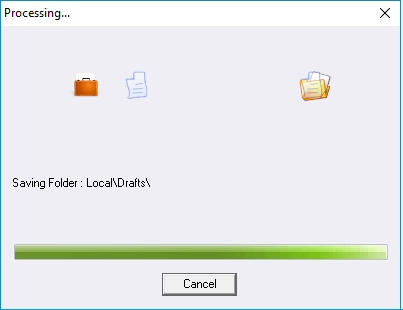
Step 10. After the process, all your OLM emails will be saved in your Gmail account, and you can access them using your Gmail account. Click Ok.
Conclusion
The article discussed two ways to access your Outlook OLM files in Gmail: manual approach and professional Mac Outlook to Gmail migration. To conclude, all OLM data can be moved to the Gmail account without missing the data or manipulating its integrity. However, there are a few limitations that come along with the manual methods. Hence, professional and effective software like the Kernel for OLM to PST Converter can easily import Outlook OLM to Gmail. Additionally, you get other file format options like PST, MSG, and Office 365 etc. to save the OLM file data.