Read time 8 minutes
In this evolving digital world, videos have gained massive popularity among users. A video may carry a lot of importance to users, as it contains their precious data, memory, information, etc. However, users may face issues while playing their videos, like encountering errors, corruption in video file or maybe data loss. Errors can be frustrating for users as they may stop them from working effectively. One such error that users face is error 0xc00d5212 while playing video files. The error displays a message as:
“This item was encoded in a format that’s not supported. 0xc00d5212 (0xc00d5212) Send feedback”

In this write-up you will learn about the causes of this error and methods to fix this error. Let’s dive in depth and see how everything works.
Causes Behind Error Code 0xc00d5212
There can be numerous causes behind facing this error code. Some of the most prominent reasons behind error code 0xc00d5212 are given below:
- Unsupported video file format.
- Unsupported video codec
- Outdated display drivers
- Outdated Windows
- The conflict between multiple audio drivers.
- Damaged system files
- Corruption of video file.
Ways to Fix Error Code 0xc00d5212
Facing error 0xc00d5212 when playing video can be a real mess and this needs to be fixed quickly, else it can create some severe challenges for users. Below we have provided some methods that you can utilize to resolve this error. Follow them carefully:
Method 1. Install Correct Codecs
A codec program is used for encoding or decoding a signal. They find their use in video editing, video conferencing, and streaming media. If the codec isn’t working correctly, probably due to faulty installation. Hence it is required to install the correct codecs for your media player. Steps to install correct codecs for windows media player are given below:
- Open Windows Media Player.
- Click on Organize > Options.
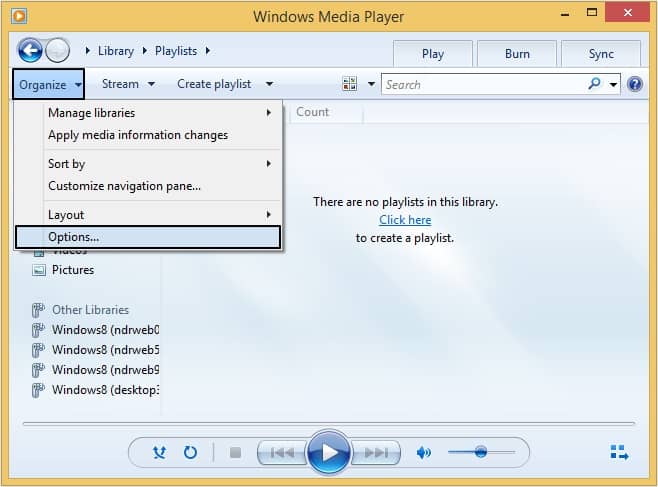
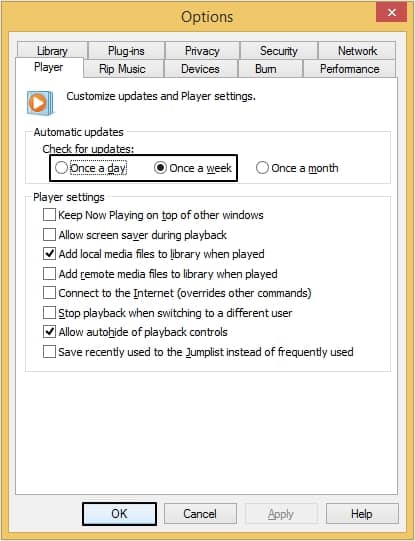
- Now, in the Player tab, either select Once a day or Once a Week options under Automatic updates and click OK.
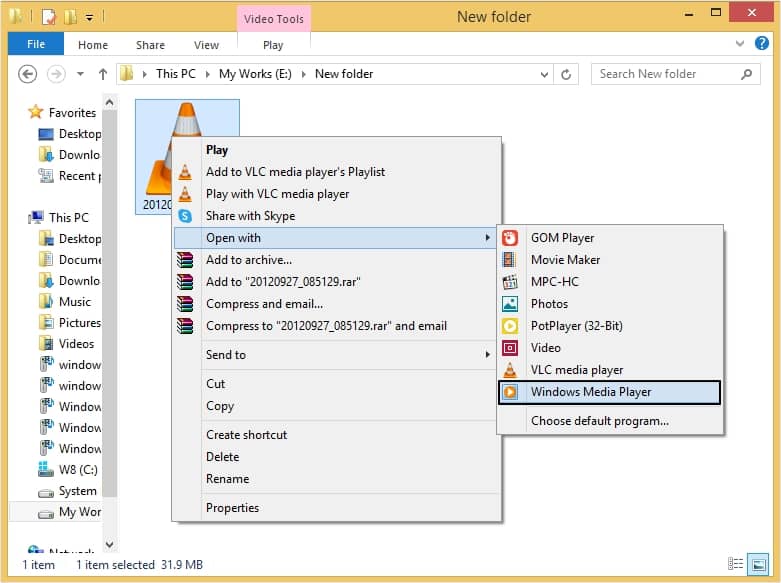
- Right-click on the video file and select Open with >Windows Media Player. At this point, you might get prompted to install the codec, so click Install.
Method 2. Update Old Display Drivers
This could be the possible reason why you are you getting the aforementioned error code. Hence, we strongly suggest you update the video drivers and also check for the latest drivers regularly. One can also look for driver repair software to fix any driver-related issues. Please follow the steps mentioned below to update your video driver:
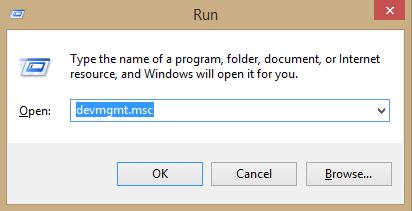
- Press Windows + R keys to launch the Run box.
- In the Run box, enter devmgmt.msc and click OK.
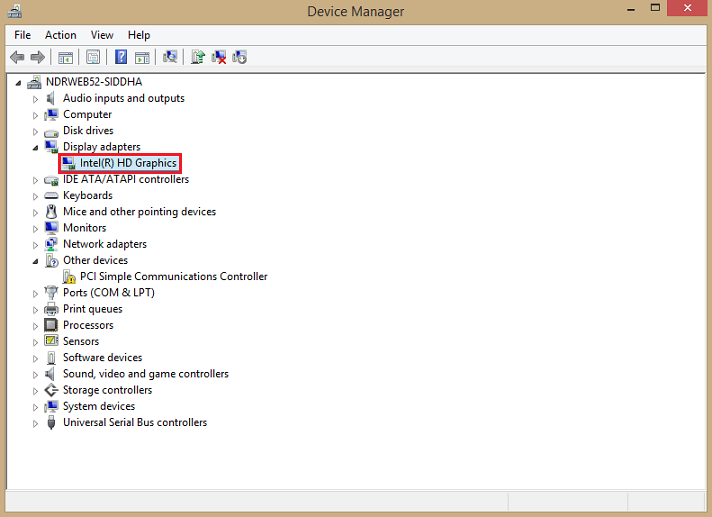
- This will open the Device Manager window. Now, click on Dispaly adapters, then right-click on your graphics adapter, then click on the Properties.
- From the Properties pop-up window, select the Driver tab then click on Update Driver.

- Once it is done installing the relevant driver, restart your Windows machine, and try playing your video file.
Method 3. Changing the Video Format
Once the video files become corrupt, one can try changing from the existing format to a different format such as MP4, AVI, MOV, or any other format. You can utilize VLC media player to change the video file format. Follow the steps mentioned below carefully:
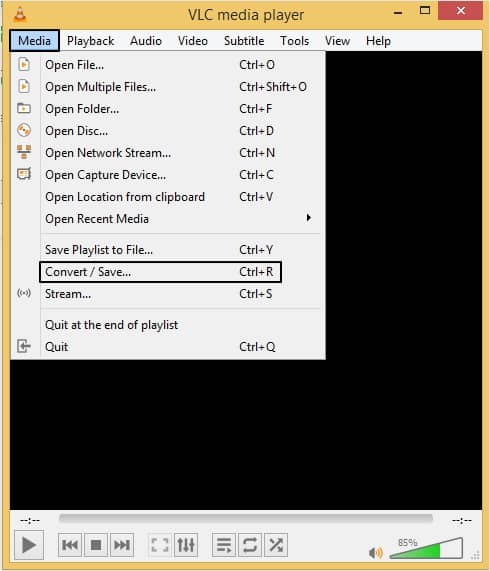
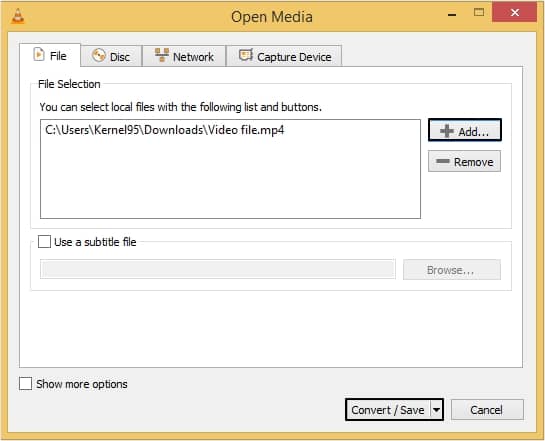
- Open VLC media player on your computer and click on Media option, then Convert / Save option from the drop-down list.
- Now, in Open Media dialogue box, click on Add to upload the media file, then Convert / Save option.
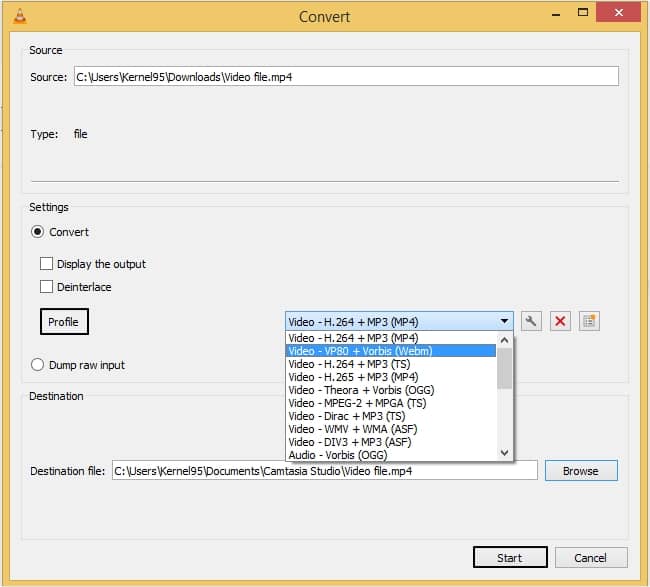
- Now, under Settings you can see Convert option, select the video format of your choice and click Start.
Method 4. Use VLC Media Player
The VLC player is widely known as the universal media player as it can play a wide range of video formats and support most of the codecs as compared to other media players. Follow the below mentioned instructions to fix error code 0xc00d5212 with VLC media player:
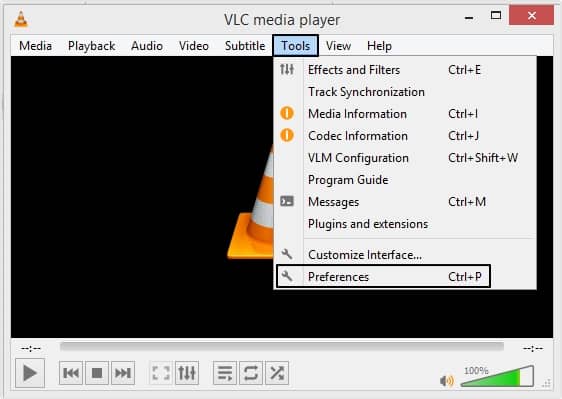
- Launch VLC Media Player on your device and go to Tools, then click on Preferences.
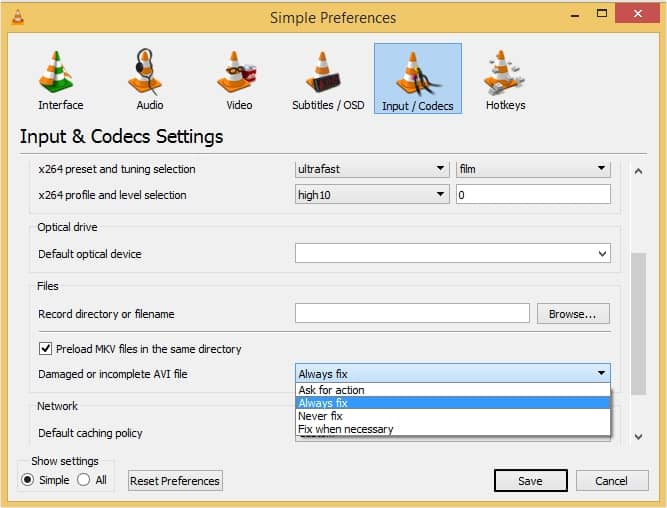
- Tap on Input/Codecs, then choose Always fix option from the drop-down list next to Damaged or incomplete AVI file and click Save.
Method 5. Update Windows
It is often the case that updating your Windows OS to the most recent release is the cure for many Windows-related issues. It can be done as follows:
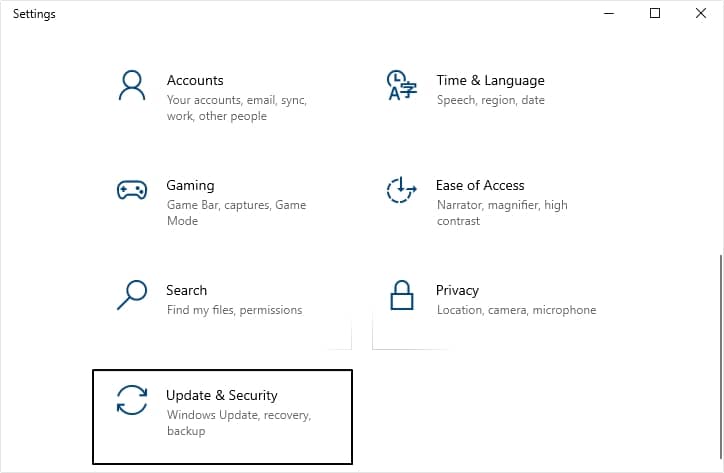
- Go to Settings menu > Update & Security .
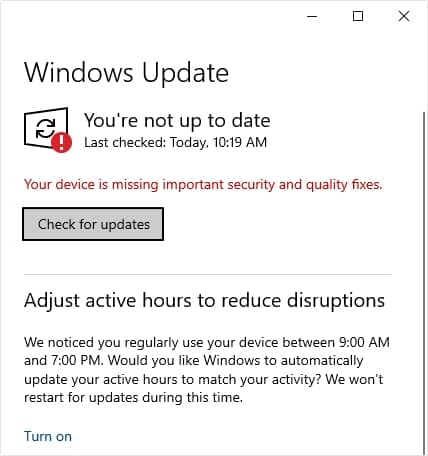
- Click on Check for Updates. The updates will be installed automatically.
- Click on Restart Now.
Now try playing your affected video file.
Use a Third-Party Software
If you are still unable to play your affected files, then there can be a chance that your file is severely corrupted. Severe corruption can’t be fixed with manual methods; thus it needs to be resolved with a third-party tool. Kernel Video Repair is capable of repairing all kinds of inaccessible, corrupt, damaged video files. In addition to this, there is no limitation when it comes to the size of the video file for repair. With the inbuilt preview functionality, one can preview/analyze the repaired video files before saving them. The graphic user interface of this tool is user-friendly and easy to get acquainted with. It supports video formats such as MP4, MOV, MPEG, MJPEG, MTS, M4V, MKV, AVI, AVCHD, WEBM, ASF, WMV, FLV, DIVX, 3G2, TS, 3GP, F4V.
Conclusion
We have briefly discussed the possible reasons behind the error code 0xc00d5212. Moreover, we have also provided some methods to fix error 0xc00d5212 when playing video. If these methods are not sufficient to meet your requirements, then use the recommended best video repair software. Kernel Video Repair tool is intelligent software and a reliable and compatible option to fix your video files with ease.