This is the third part of the series on installing the Exchange Server 2019. You can visit our previous article to get complete information about prerequisites (Part 1) and Active Directory preparation (Part 2).
After completing the process of preparing the Active Directory Schema and Domain, you can start installing the software by following the procedure –
Open the mounted media drive and double-click on the Setup.exe. It will start the installation procedure.
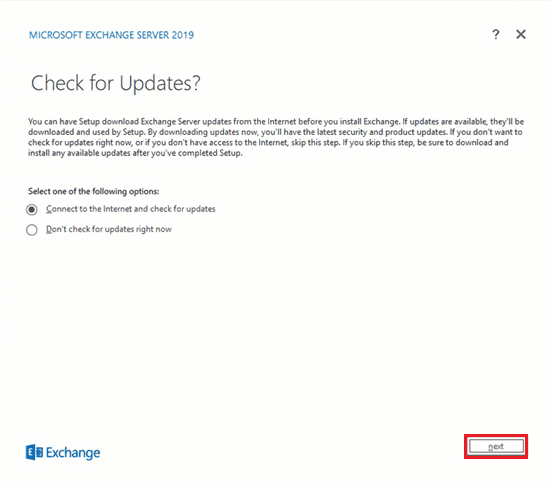
First, check for Windows updates. Here you can choose to install updates before starting the Installation. It will allow you to download security and product updates. Click Next.
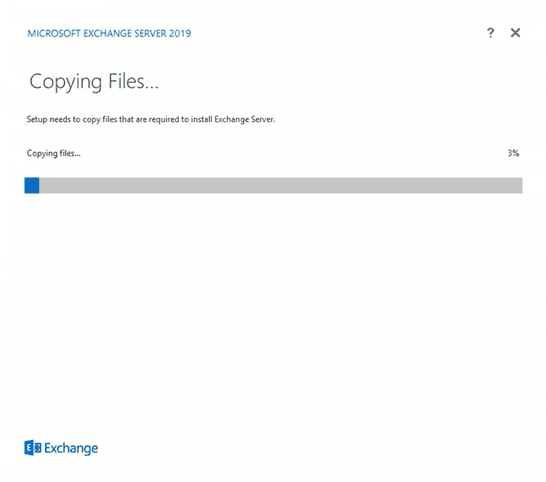
As soon as you click Next, the setup will copy the Exchange files to the local drive. Just wait for a little.
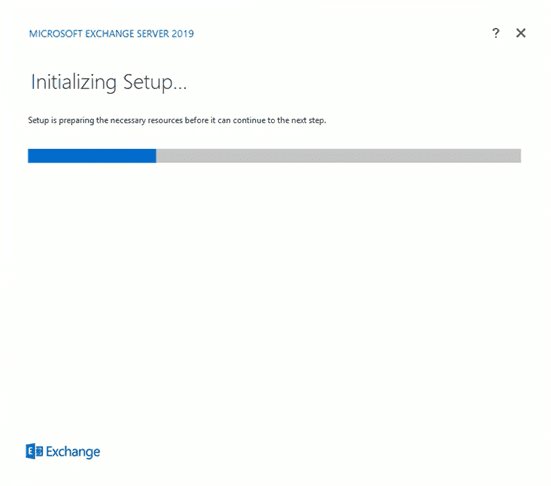
After copying the files, the setup will be initialized.
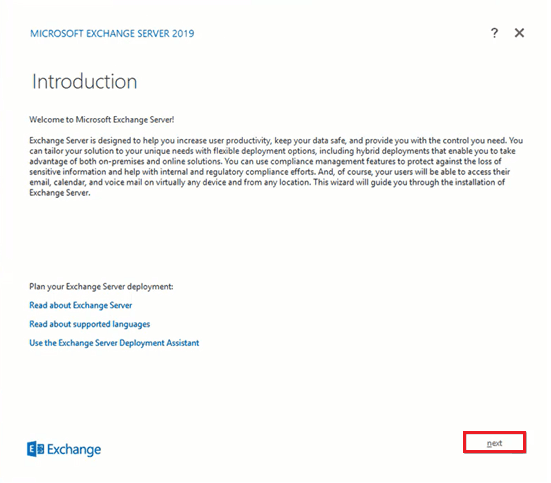
The Introduction page will brief you about the installation procedure. Click Next after reading the information.
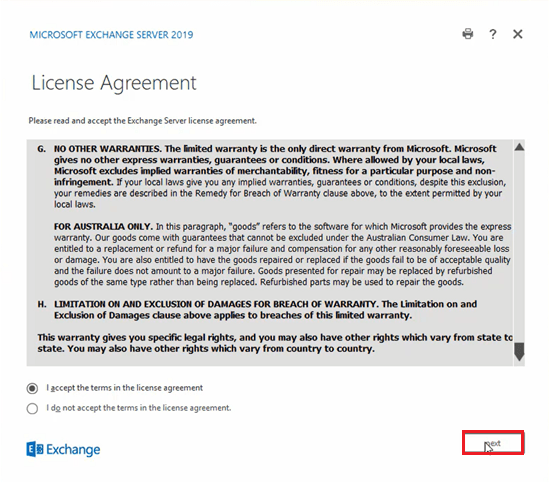
Choose the first option, I accept the terms in the license agreement. Then click Next.
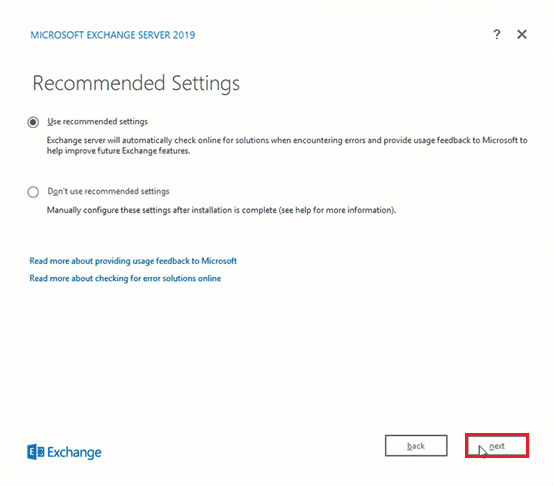
Choose among the options whether you want to go for the recommended settings or not. The recommended settings are useful for checking for potential errors and providing feedback. After making your choice, click Next.
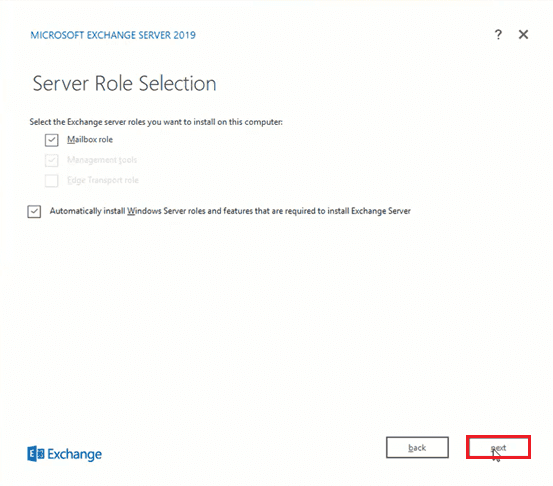
In Server Role Selection, Exchange Server 2019 has Mailbox Role and Edge Role only. Click Next after making your selection. Note: Verify that you have checked the second option of automatic installation. This feature helps in installing such features that are required but not installed by the user.
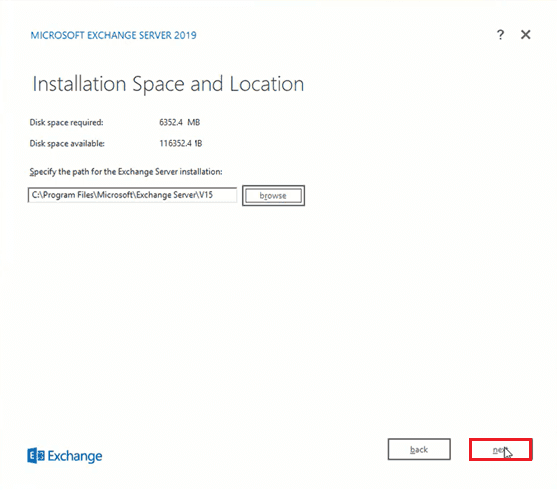
Browse the location where Exchange Server will install. You can also choose to install the Exchange Server at the default location. Then click Next.
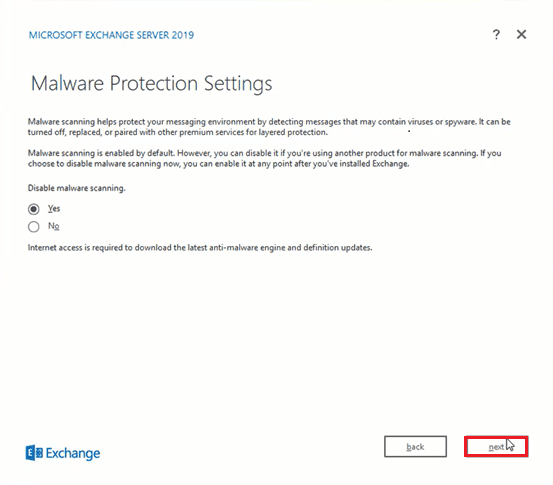
The page window that will appear is Malware Protection Settings. Select your option and click Next
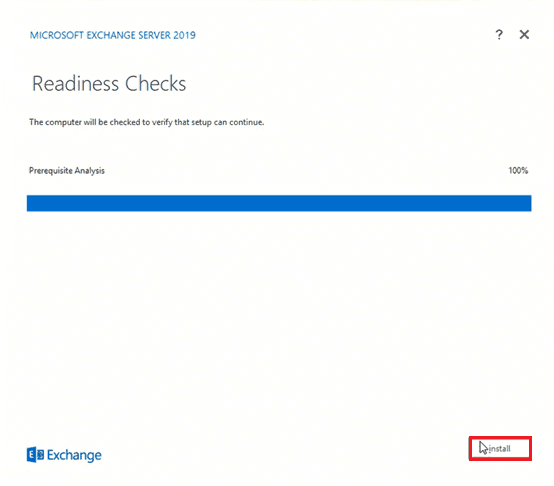
The Readiness Checks page checks the whole environment and finalizes the setup to install. Click Install.
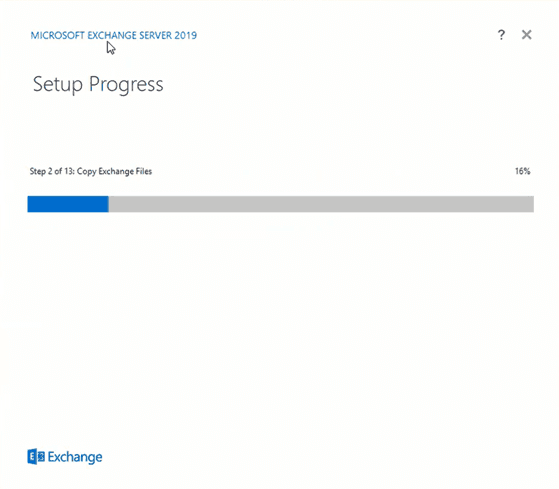
The setup is copying the Exchange files.
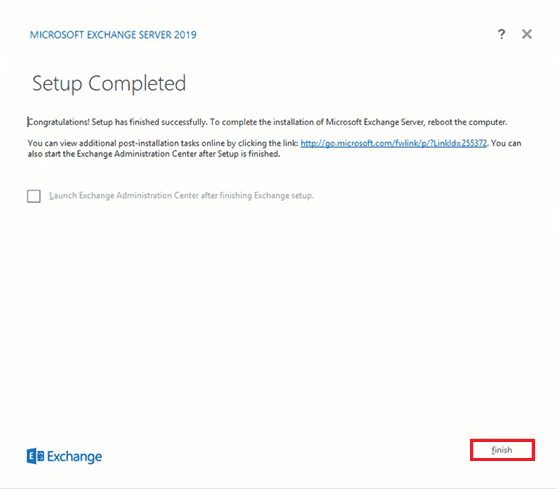
After completion, the setup will give a confirmation message. Check the option to Launch Exchange Administrator Center after finishing the Exchange Setup. Finally, click Finish.
After finishing the installation, the Exchange Server will be ready to handle your mailboxes. It is better to restart the server.
Verify the Exchange Server Installation
Once you have run the Exchange Server setup successfully, you may proceed to check the status of the mailbox account that you used to install the Exchange Server. You can use the Exchange Admin Center to verify the process.
First, log in to the Exchange Admin Center using the Admin Credentials.
Under the recipients tab, you can see the name of the mailbox present in the list.
You can also go to Exchange Management Shell and run the following command to check the status of the mailbox –
Get-ExchangeServer
The command will bring a list of mailbox names, Active Directors Sites, Exchange Server Roles, etc. And the following command will bring the details of the mailboxes in the Exchange Server.
There are some post-installation tasks that you should complete-
Input the Exchange Product Key.
Install the Exchange Management tools on client computer systems.
Integrate instant messaging with Outlook on the Web.
Configure the security certificates for authentication.
Configure Edge subscriptions
What’s Next?
Now, our next step is to configure the Exchange Server post installation. We will create mailboxes, setup the certificates & DNS records, along with other critical changes that are important for uninterrupted usage of your new server.
Moreover, since you will be using the new Exchange version, I suggest you get familiar with all the Exchange Server 2019 features.
Frequently Asked Questions
Q. The “Readiness Check” after running the Setup.exe is taking very long. Why?
Ans. This check verifies your Active Directory and also makes sure all the hardware prerequisites are met. Additionally, when the installation tries to connect to the Domain Controller, it often lags.
Q. How long should I wait before accessing the Exchange Admin Centre (EAC)?
Ans. After you have successfully installed the Exchange Server 2019, the background task will take a few minutes to complete. You can usually start using the server after 2 or 3 minutes.