Read time 3 minutes
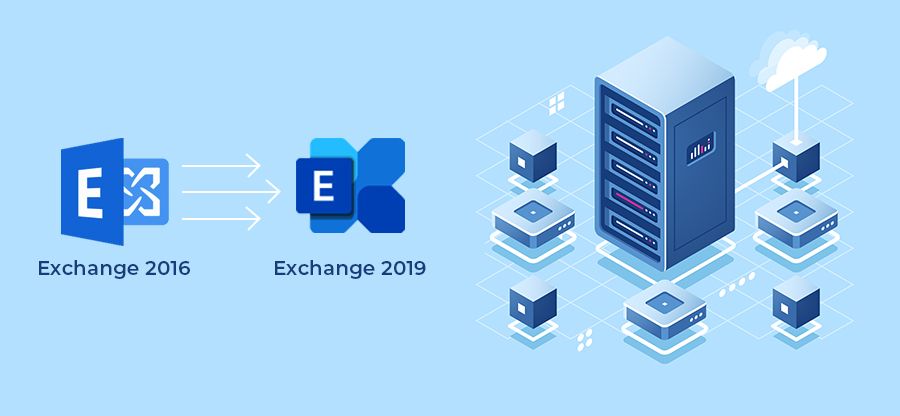
Microsoft released Exchange Server 2019, the latest version in October 2018. Now it is the single Exchange Server version which you can deploy on Windows Server Core. It has enhanced security features and improved performance; it supports up to 48 processor core and 256 GB of RAM. Many users do not consider Exchange 2019 as a new Exchange Server version, but just as an upgrade to the previous version as the number of new features is very less in it. Microsoft did not even change the logo of the Exchange Server.
Exchange 2016 to 2019 Migration Guides
- Part 1: Important Points to Consider before Installing Exchange Server 2019
- Part 2: Prepare the Environment for Exchange Server 2019 Installation
- Part 3: Exchange Server 2019 – The Complete Installation Process
- Part 4: Configure Exchange Server 2019 Post the Successful Installation
- Part 5: Exchange 2016 to 2019 Migration Step-by-step Guide
In the following article, we will go through a step-by-step procedure to install Exchange Server 2019. There are multiple steps to complete the process. Let’s go through each step sequentially –
- Install Exchange Server 2019, Complete installing Process Part 1
- Install Exchange Server 2019, Part 2
1st Step – Prepare the environment
Before you install the Exchange Server, you need to ensure a given set of prerequisites involving hardware, software, .NET frameworks, and supported platforms. You must ensure that all the elements fulfill the requirement of installation.
Network and Directory Server
| Components | Requirements |
| Active Directory Forests | Windows Server 2012 R2 or later |
| DNS Namespace | Contiguous, Non-Contiguous, Single label domains, Disjoint. |
| Active Directory Site | The Active Directory Site should have a writeable domain controller. Also, after you install the Exchange Server 2019, then you cannot delete the Active Directory Site. |
| Domain Controller | Windows Server 2019 Standard, Windows Server 2016 Standard, Windows Server 2012 R2 Standard |
| IPv6 | All the Exchange Server versions since 2013 support IPv6, but IPv4 should also be installed. |
Hardware
| Processor | Intel 64-bit processor (EM64T), AMD 64-bit processor. |
| Memory | Minimum 128 GB for Mailbox, minimum 64 GB for Edge Transport. |
| Disk Space | Minimum 30 GB of free space |
| Screen Resolution | 1024*768 |
| File System | NTFS |
Operating System
| Exchange Components | Requirement |
| Mailbox and Edge Transport | Windows Server 2019 Standard/Data Center |
| Management Tools | Windows Server 2019 Standard/Data Center or Windows 10 (64-bit) |
Outlook Clients
- Outlook 2013
- Outlook 2016
- Outlook 2016 for Mac
- Outlook 2019
- Outlook for Mac for Office 365
2nd Step – Prepare the Active Directory
Before installing the Exchange Server 2019, the first step you should complete is preparing the Active Directory.
If your organization is not a large one, and there is no separate team dedicated to the Active Directory management, then you can directly use the setup wizard. Make sure that the account which you are using is a member of the Schema Admin and Enterprise Admin Security groups.
If you are going to place a large number of mailboxes in the Active Directory, then you should follow the upcoming procedure. It will give you complete information on setting the Active Directory and preparing the environment.
Here is a brief procedure for preparing the environment –
-
- Install the .NET framework (4.7.2 or 4.7.1).
- Install Visual C++ Redistributable Packages for Visual Studio.
- Install Unified Communications Managed API.
- Reboot the computer system.
- Run Windows Powershell as an Administrator and input the following command –
Install-WindowsFeature RSAT-ADDS
- Run the following command –
Install-WindowsFeature NET-Framework-45-Features, RPC-over-HTTP-proxy, RSAT-Clustering, RSAT-Clustering-CmdInterface, RSAT-Clustering-Mgmt, RSAT-Clustering-PowerShell, Web-Mgmt-Console, WAS-Process-Model, Web-Asp-Net45, Web-Basic-Auth, Web-Client-Auth, Web-Digest-Auth, Web-Dir-Browsing, Web-Dyn-Compression, Web-Http-Errors, Web-Http-Logging, Web-Http-Redirect, Web-Http-Tracing, Web-ISAPI-Ext, Web-ISAPI-Filter, Web-Lgcy-Mgmt-Console, Web-Metabase, Web-Mgmt-Console, Web-Mgmt-Service, Web-Net-Ext45, Web-Request-Monitor, Web-Server, Web-Stat-Compression, Web-Static-Content, Web-Windows-Auth, Web-WMI, Windows-Identity-Foundation, RSAT-ADDS
This command will install the server prerequisites.
- Now, mount the Exchange Server 2019 Preview installation Media.
- Start the command prompt and change the directory to the Exchange installation media path.
- Run the command –
Setup.exe /PrepareSchema /IAcceptExchangeServerLicenseTerms
- Run the following command –
Setup.exe /PrepareAD /OrganizationName:”<organization name>” /IAcceptExchangeServerLicenseTerms
- Run the command –
Setup.exe /PrepareAllDomains /IAcceptExchangeServerLicenseTerms
The command will enable the Active Directory Domain for Exchange Server 2019.
This is the complete procedure of preparing the Active Directory and Domain for Exchange Server 2019. Please read our next article to see the procedure of installing the Exchange Server 2019.


