Read time: 4 minutes
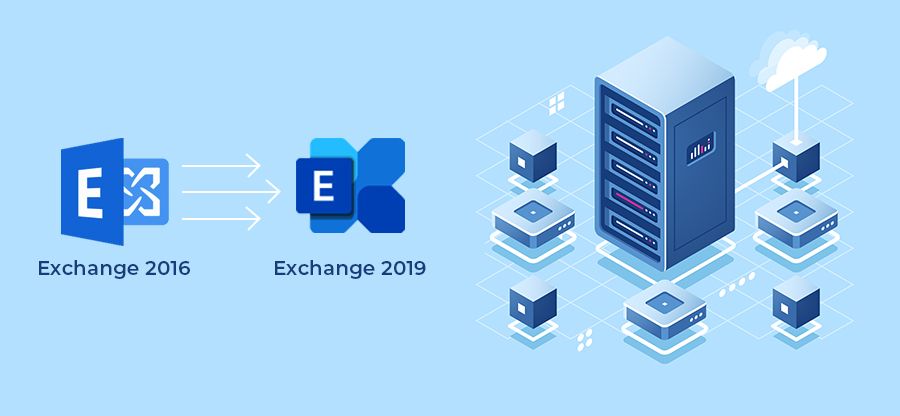
Once you have successfully installed Exchange Server 2019, you must prepare it to work as your primary email server. Before you migrate mailboxes from Exchange 2016 to 2019, multiple configurations are required to create a suitable environment for mailboxes, both new and old. Let’s check various roles and other requirements that you should install.
Exchange 2016 to 2019 Migration Guides
- Part 1: Important Points to Consider before Installing Exchange Server 2019
- Part 2: Prepare the Environment for Exchange Server 2019 Installation
- Part 3: Exchange Server 2019 – The Complete Installation Process
- Part 4: Configure Exchange Server 2019 Post the Successful Installation
- Part 5: Exchange 2016 to 2019 Migration Step-by-step Guide
Mailbox Server Role and Edge Transport Server Role in Exchange
The mailbox server role will host the user mailboxes and public folders, operate Outlook on the Web, and generate Offline Address Book. Meanwhile, Edge Transport Server Role secures the mailbox by anti-spam filtering and creates message policies for incoming/outgoing messages. You can enable both roles while installing the Exchange Server.
Create an Exchange administrator mailbox
On the new Server, it is advisable to create an administrative mailbox and add it to the Organization Management Server Role Group. You will use this mailbox when you require permission to start the migration from Exchange Server 2016 to 2019.
- Open Exchange Admin Center in the web browser and sign in with your username and password.
- Follow Recipients>>Mailboxes>>Add>>User Mailboxes.
- Input all the necessary information required to create the mailbox and click Save.
- Under the Permissions category, choose Admin Roles. In the list, select Organization Management and click Edit.
- In the Members section, click Add and select the new mailbox you just created.
- Click Add, then OK, and Save.
Create a Public Folder Mailbox
Before migrating public folders from older versions of Exchange, you should create a public folder mailbox in Exchange 2019. It will save the entire public folder hierarchy without requiring a public folder database (unlike the older versions of Exchange).
- Login to Exchange Admin Center and go to the public folder category. Click (+) icon for public folder mailboxes and enter a name for the mailbox.
- Click Next and select the target database for the mailbox.
- Save all the changes.
Configure Exchange certificates
Multiple Exchange client services (Outlook Anywhere and Exchange ActiveSync) require some certificates to run effectively. If you have an existing TLS (Transport Layer Security) certificate, you can add it to the new Exchange by changing the host names or buying a new one from a third-party vendor.
- In your system, open Control Panel > Administrative Tools.
- Double-click the Services tab. Then, right-click Microsoft Exchange Unified Messaging and click Start.
- Follow File>>Add/Remove Snap-in>>Certificates>>Add.
- In the Certificates snap-in, select Computer account, and click Next.
- Select Local Computer, Click Finish, then click OK.
- Go to Root Console, expand Certificates (local computer), click Personals, and then Certificates.
- Select the existing third-party certificate, right-click on it, then choose All Task>Export.
- A new Certificate Export Wizard will open where click Yes to export the private key.
- Check that the PFX file includes all possible certificates in the certification path.
- Select a password and input a new password.
- Provide a name to the private file and click Finish to export the file finally.
Move arbitration mailboxes
Arbitration mailboxes save organizational details like administrator audit logs, metadata for eDiscovery searches, etc. You should migrate these mailboxes before user mailboxes as Exchange 2019 will not log the administrator audit cmdlet activities. The eDiscovery searches will be queued, but won’t start.
- Open Exchange Management Shell in Exchange 2019 system and run the following cmdlet-
- Run the next cmdlet to create the move request-
Configure Exchange Server 2019 DNS Records
After configuring Exchange 2019 server and mailboxes, it’s time to update the DNS records. You should direct the DNS connections towards Exchange 2019. The host names will be transferred from Outlook on the Web, Autodiscover, etc., from Exchange Server 2016 to 2019.
When the user opens their mailboxes before the migration, Exchange Server 2019 will request a proxy connection and connect with the legacy Exchange Server hosting the mailbox. It has two steps-
- External DNS – Change the primary host name from all email addresses to an external IP address to the external internet-facing Exchange 2019 server.
- Internal DNS – Change the primary host name from all email addresses to an external IP address to the internal internet-facing Exchange 2019 server.
Additionally, you must also configure the Virtual Directory URLs. By default, the new Exchange version will use local names. These names must be updated as per your domain name, otherwise you will get the certificate error. You must update the name in all Exchange services, like Outlook on the Web, Exchange Admin Center, Offline Address Book, Web Services, etc.
Modify Database
Check how much space the server has allocated to your database by default. Increase or decrease it as per your need. The new database must have enough space to accommodate all the mailboxes that you will be moving from the old Exchange version. You can check and modify the database limit using the EAC with these steps:
- Log in to the Exchange Admin Center (EAC).
- Navigate to Servers > Databases.
- Select the database and click the Edit icon.
- Modify the parameters as per your needs.
Lastly, enable logging on your Exchange Server. It will help in finding and resolving bugs quickly. To optimize the logging and prevent wastage of storage space, you must follow the Exchange Server logging best practices
What’s Next?
After completing the configuration of Exchange 2019, you can start to migrate bulk Exchange mailboxes (primary, shared, or archive) from the older Exchange version (2016) to the new one (2019). You will use your Exchange Admin Center to create a migration batch that syncs the mailboxes and migrates mailbox folders.
Frequently Asked Questions
Ans. Yes, but make sure it is still valid and not expired. Also, the names (like mail.yourcompany.com) must still be exactly same. To use the old certificate, just export it from the old server as a .pfx file and import it into the new one.
Ans. Yes, even if you are in the same organization, you must update the DNS records. If you fail to do it, the emails will continue to go to the old Exchange 2016 version.