Read time 7 minutes
Videos are a great way to relieve stress and feel relaxed. Today millions of users watch videos online for different purposes like entertainment, study, research, business, work, etc. But sometimes due to errors like “Error loading media: File could not be played”, the video cannot be played. This error generally occurs when users play videos online on a self-hosted website. The error is annoying as the user gets stuck on a video file while trying to play it. Therefore, through this write-up, let us see what could be causing this error and what solutions can be helpful to overcome this situation and make videos play again.
Reasons behind Error loading media: File could not be played
Error loading media: File could not be played is a common error. This error can be caused due to numerous reasons. Some of them are listed below:
- The browser you are using is outdated/ obsolete.
- Disturbances occurred while downloading the video file.
- Unnecessary cache, cookies, and browser history cause hindrances.
- Damaged and faulty browser extensions.
- Corrupted or damaged video file.
How to fix the error loading media file could not be played?
There are some manual ways which can help you play your videos again without facing error. Let’s have a look at them and learn how they work:
Method 1. Play the video in Incognito mode
By playing video in Incognito mode, users can get all extensions disabled. This method may work for them in resolving this error. Here are the steps of how you can do so:
- Right-click the browser icon you are using.
- Select New incognito window option, a new Incognito window will open on your screen.
- Now, visit or paste the URL of the video which you want to play.
Method 2. Update the browser
The outdated version of the browser might not have the updated features to play the video media file online. Updating browser is a wise choice to play video files smoothly. The steps to update browser are as follows:
- Launch Google Chrome and tap on three dots located at top right corner.
- From the drop-down list click Help, then About Google Chrome.
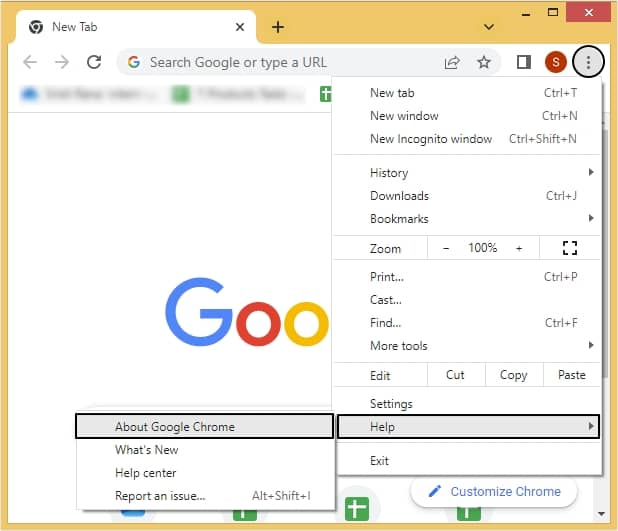
- Now, check for updates and if available update your Google Chrome.
Method 3. Clear cache, cookies, and browser history
With the continuous piling up of cache data, cookies and browser history in a web browser directory, it can face issues like non-playing of video files online. The procedure to do so is outlined below:
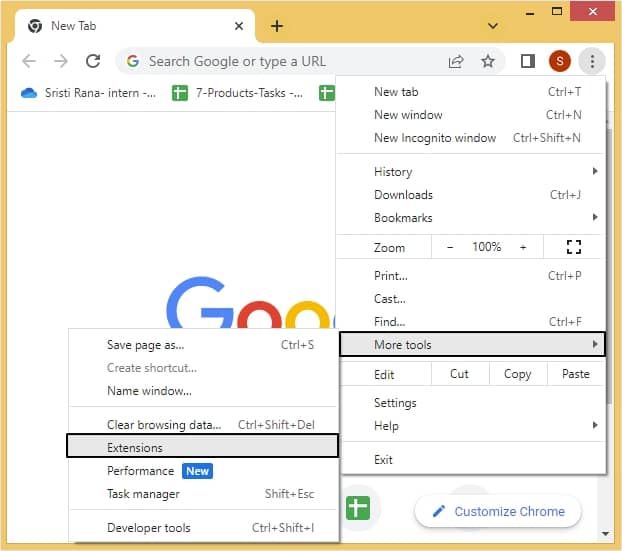
- Open Google Chrome and tap on three dots.
- Click on More tools option then Clear browsing data.
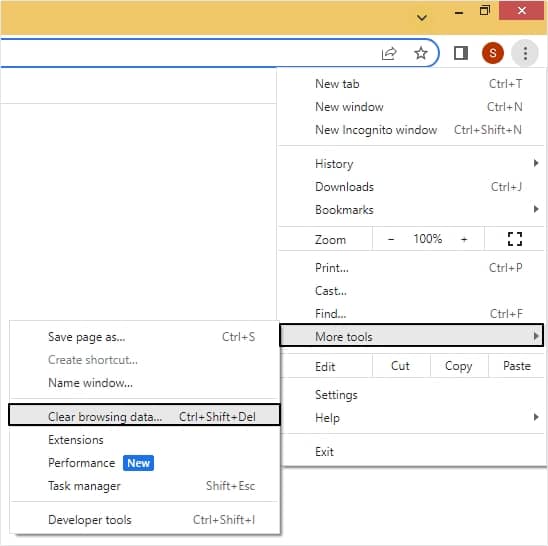
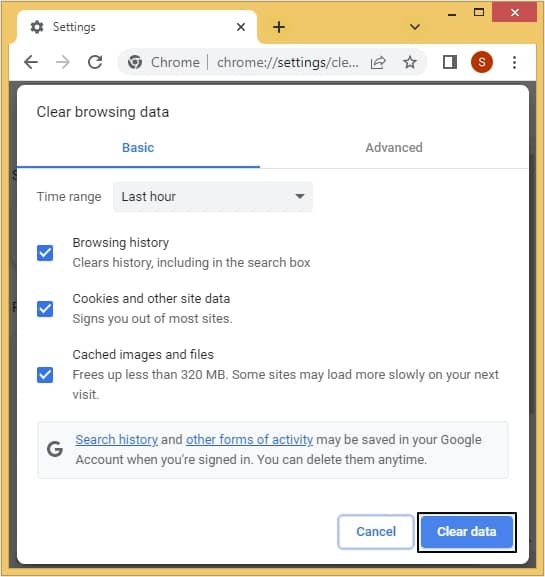
- Now, select all three checkboxes (Browsing history, Cookies and other site data, and Cached images and files) and click Clear data.
Method 4. Disable browser extensions
Some browser extensions or add-ins interfere with the working of a web browser and results in errors like “Error loading media: File could not be played.” Here’s how you can disable browser extensions:
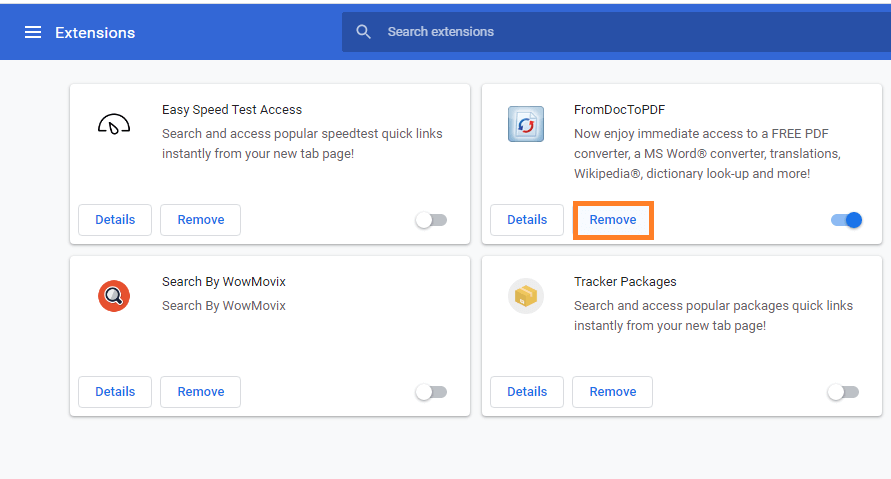
- In your web browser, go to More tools>Extensions.
- Select the extension or add-in and select the Remove option. Perform the same for other suspected extensions.
Method 5. Reset the Settings
Some unsuitable browser settings can cause the video file error.
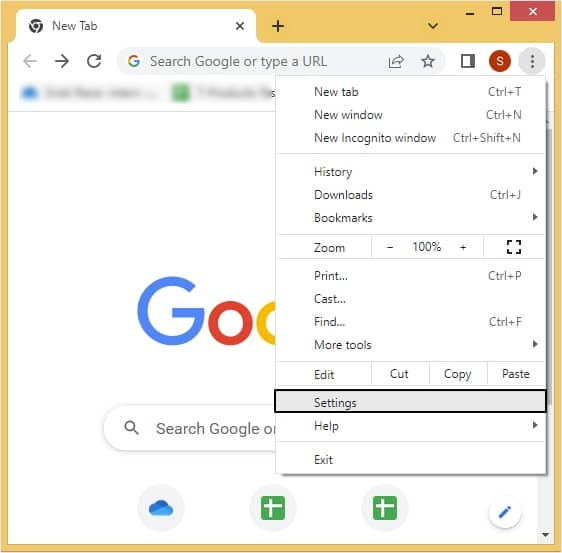
- In Google Chrome click three dots then Settings.
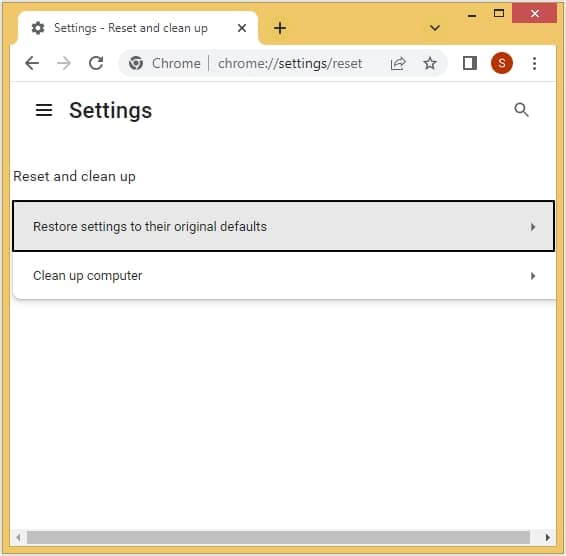
- From the left side of the interface, tap on Reset and clean up.

- Now, click on Restore settings to their original defaults.
Method 6. Turn off Hardware acceleration
Hardware acceleration involves tasks which sometimes get mishandled and affects the functioning of the browser. You can turn off hardware acceleration with the following steps:
- Open Google Chrome and click on three dots at the top right corner and then go to Settings.
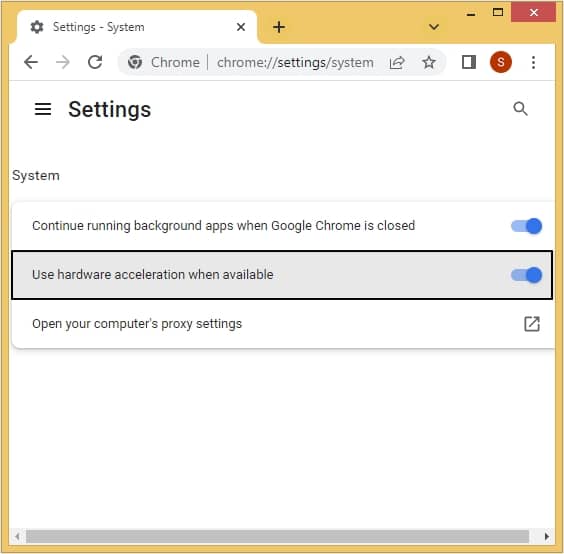
- Now, look for the System option from the left side mentioned pane.
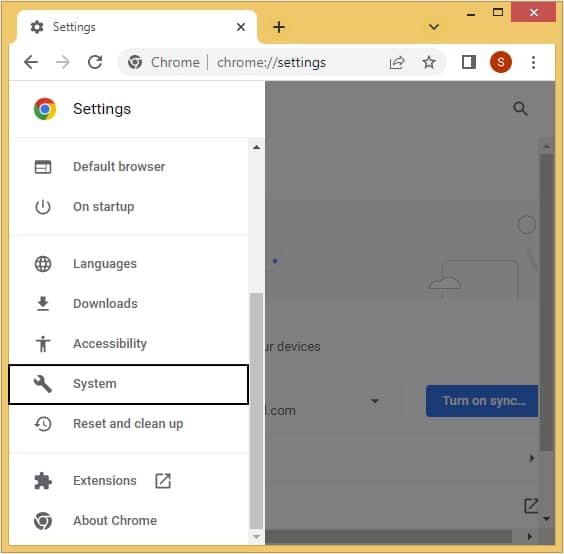
- Moving ahead, turn off the Use Hardware Acceleration when available option.
What to do if video files are corrupt?
The video files which are not playing after downloading to the system might be corrupted. This corruption in video files sometimes damages the video file structure completely and makes it unplayable forever. But there is no need to worry. We suggest you an expert Video Repair tool to deal with this.
Download and install the most advanced Kernel Video Repair tool to fix all corruption and errors related to video files on your system drives. This Video Repair solution repairs broken and damaged video files retaining the original file content and properties, making it playable again. The repair process with the software is quite simple and it does not modify the original resolution, properties, or format of the video files under repair. The tool is effective in resolving videos playing in slow motion and more other such problems.
Conclusion
Encountering errors is frustrating as it stops you from enjoying watching videos online. This blog post is dedicated towards providing you with all the information regarding how you can fix this error. There are various manual methods described at length along with a professional tool. This tool can easily repair corrupt and broken MKV video files without compromising with the video quality.