Read time 7 minutes
If you are reading this blog, you are surely looking for the solutions to wipe your hard drive clean permanently. Congratulations! You are at the right place. In this blog, we are going to mention a few ways with which you can remove data from hard drive permanently. It can be an emergency or call of duty to get that hard drive wiped off completely. Leaving any traces behind makes your data vulnerable to theft.
There are many circumstances which may lead to wipe off the hard drive, we can try to quote some:
Well, whatever your reason is behind this, but the reason is clear that you don’t want anyone to access your data. Now coming to ‘why,’ why you need to delete data from hard drive permanently? Well, whenever you delete data from hard drive, it is not completely deleted. The data you delete from a hard drive is saved in your system which can be easily revived with the help of software. Even if you delete data from recycle bin too, it is retrievable with the help of Kernel for Windows Data Recovery tool. Hence, it is very important to make sure that you delete that data never to be recovered with anything.
There are a couple of manual tricks and a quick automated method to do so; we will discuss all of them one by one.
Note: Before you try deleting data permanently, it is advised that you make a proper backup or copy of the same. Let’s start.
If data is not that crucial and all you want to get rid of it, you can try deleting it from Recycle bin. If you trust that no one will ever use an automated tool to recover that data from the system. Delete files from Recycle bin is the best choice you have at the moment.
Another way to ensure that the data you want to get rid of is permanently gone, is by re-installing Windows. When installing new Windows on your system all your old data will be removed and you will get a fresh start. But while re-installing the old one you need to select ‘Remove Everything’ option which is a reset feature. It rewrites the whole drive completely, without leaving any traces of the old data behind. Hence, leaving no trace of the old data behind.
If you don’t need that hard drive anymore, just damage it. You can shred the hard drive in a shredder, or break it with a hammer or heavy items. When you are breaking or damaging the hard drive, make sure you damage it really bad and nothing can repair it back. But, if you cannot damage the hard drive physically, you definitely need to check the next solution.
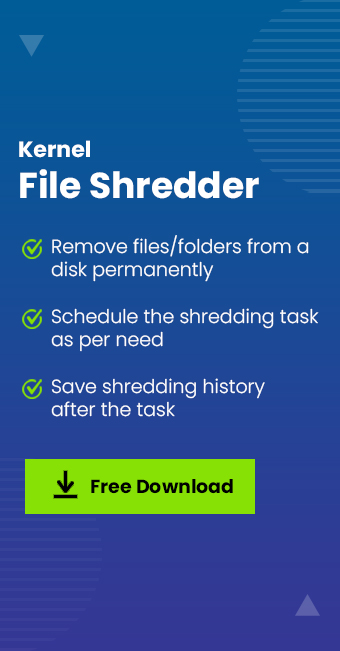
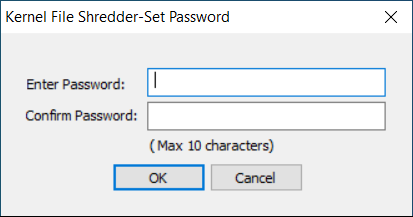
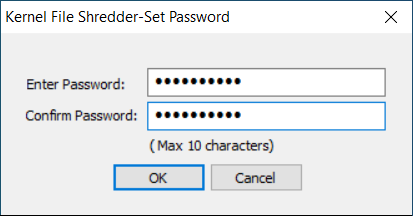
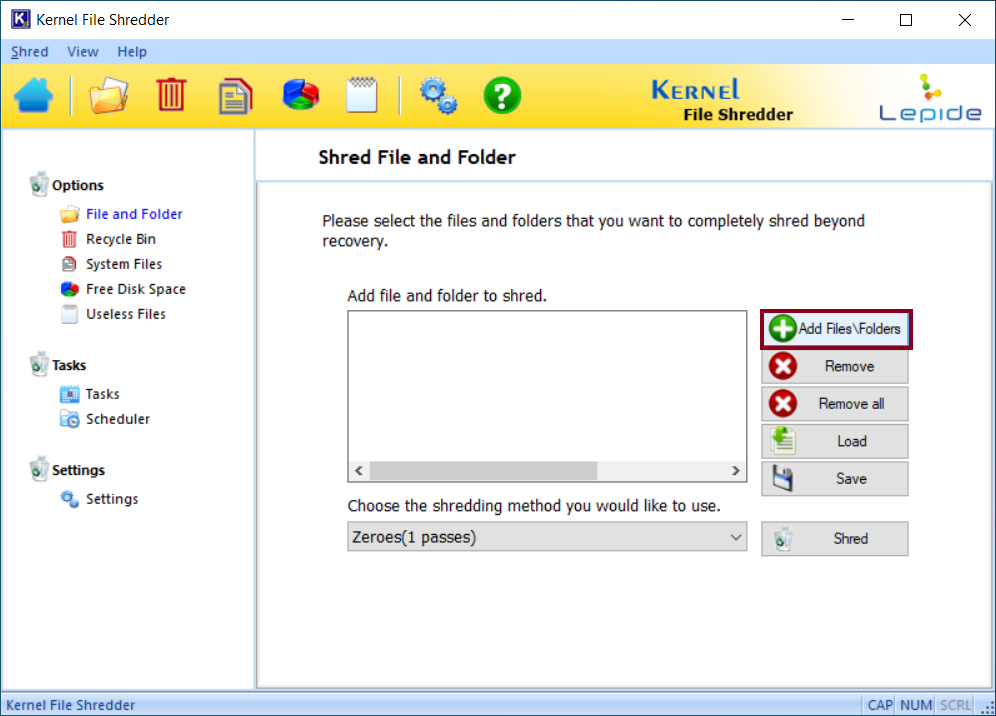
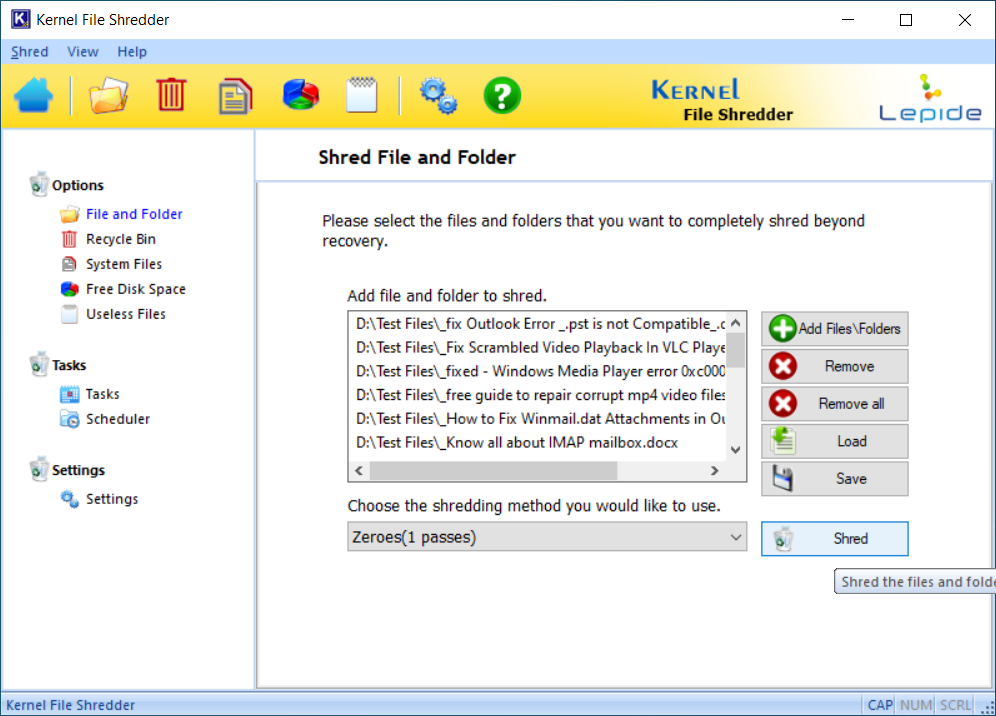
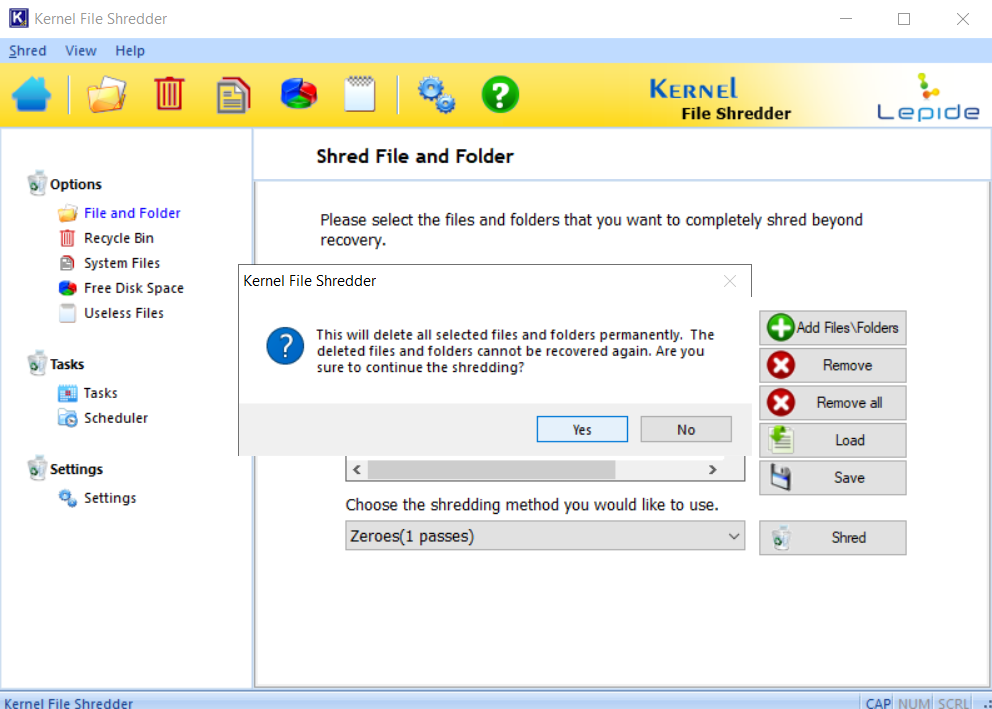
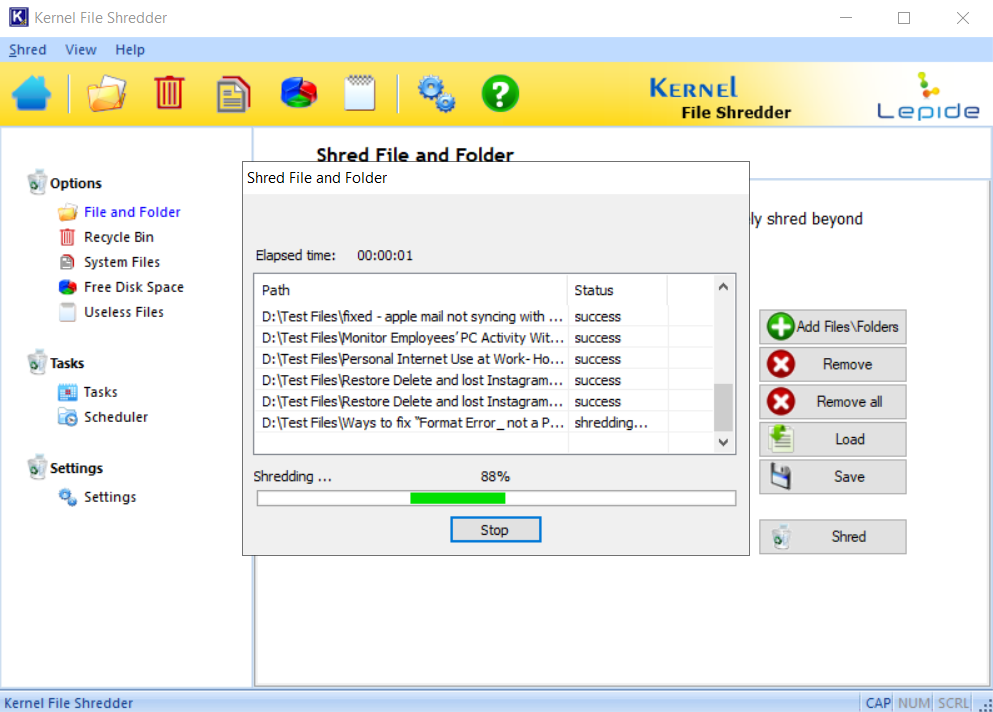
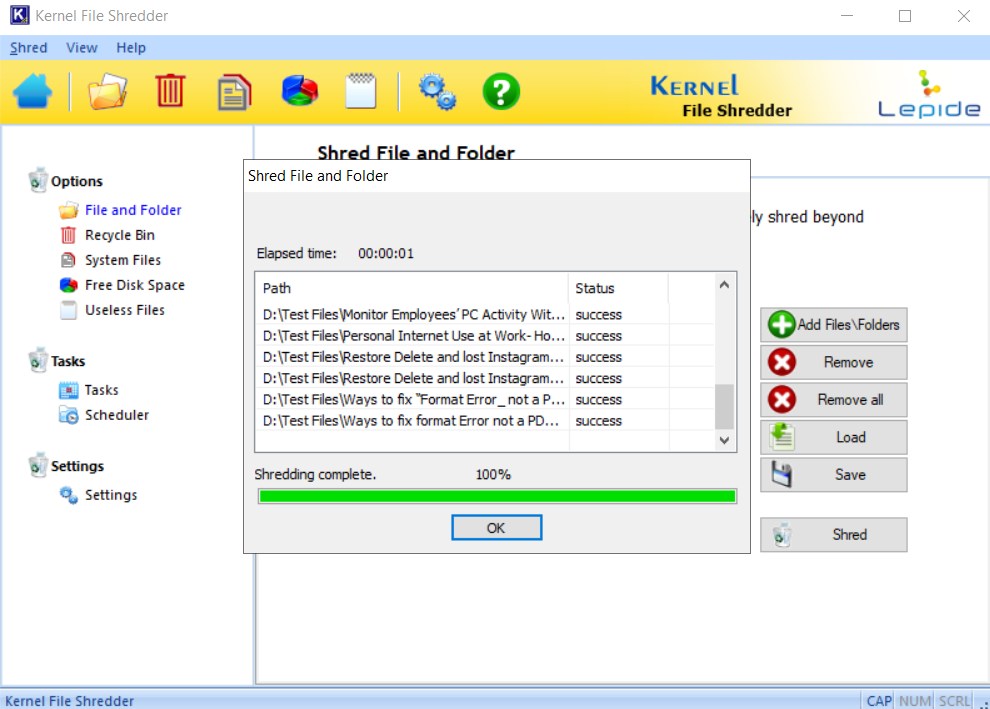
If you want to permanently delete the data in your hard drive without leaving any traces of it behind, then try Kernel File Shredder as a permanent solution to this problem. This tool makes sure that no one access your data, by shredding it and removing from your system permanently. This technically advanced tool shreds data and make them irrecoverable, by using its advanced algorithms. With this tool you can schedule your shredding at a defined time. You can easily rename the files and folders with this tool before shredding them. Not only this, with this tool you have the option to select what you want to shred and what you want to leave as it is.
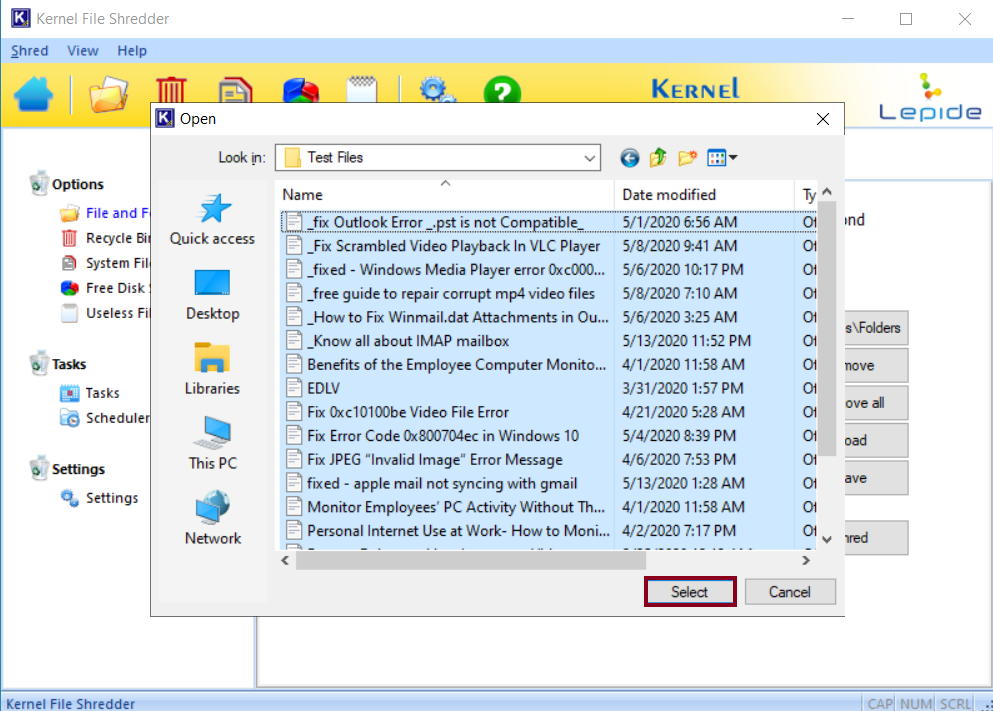
With the help of a quick demonstration, let’s know how this tool works:

In this blog, we discussed how one can remove data from hard drive permanently so that it is not revived again. We went through some methods and techniques with which you can do so. In those techniques all were doubtful or not doable except for one, which was using an automated tool. Using Kernel File Shredder made me double sure that my data will be deleted permanently.