The Kernel Email to PDF software allows you to export Email to PDF with all the attachments. Additionally, it can easily extract email addresses from XLSX, CSV, and other file formats and attachments into the original raw file format.
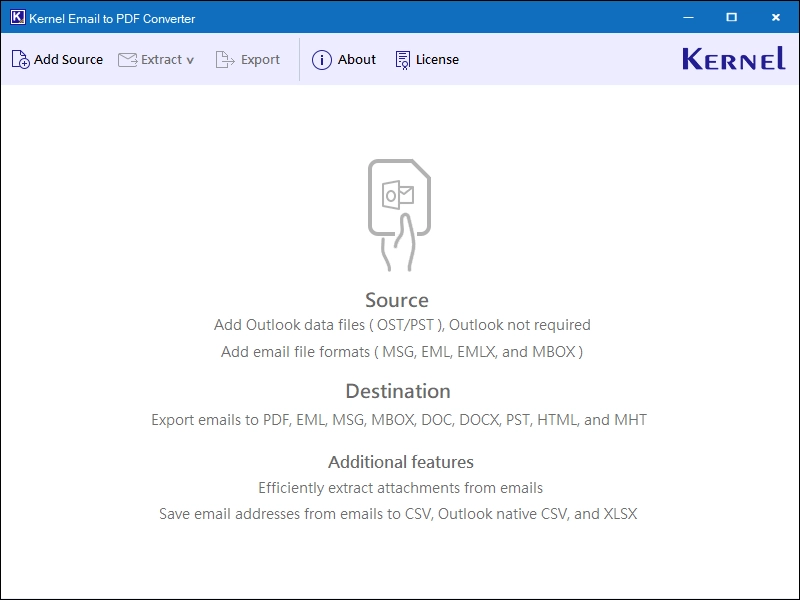
Step 1: Download, install, and launch the Kernel Email to PDF tool.
Step 2: Click on Add Source to add your email file.
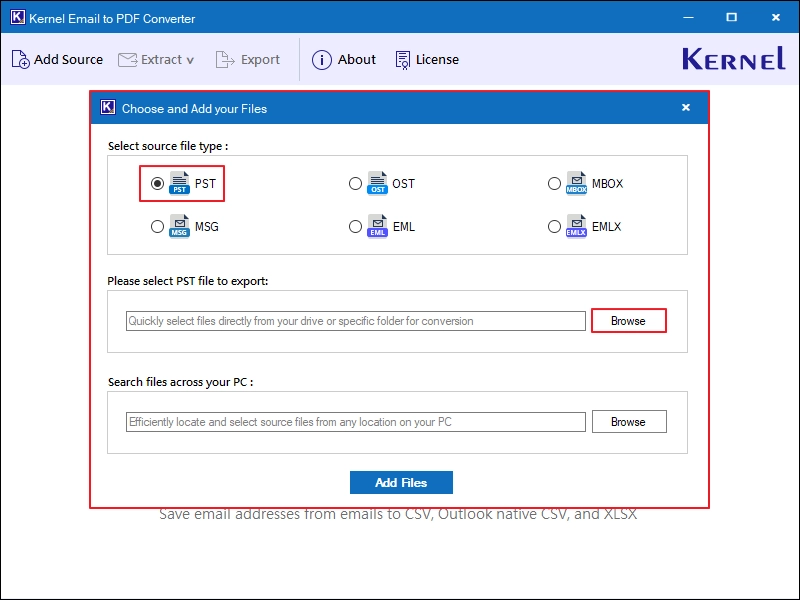
Step 3: Select source file type from PST, OST, MBOX, MSG, EML, or EMLX.
For now, we are going with PST. Click Browse.
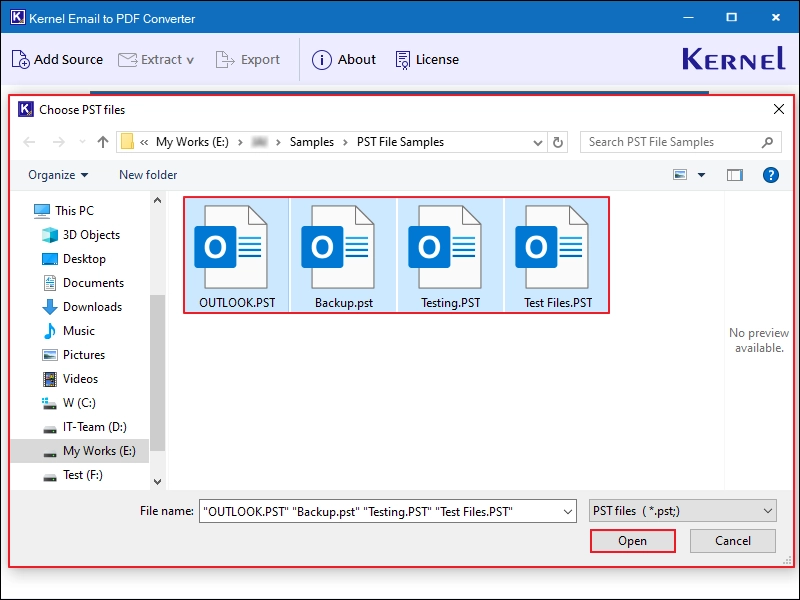
Step 4: Select your email files and click Open.
Step 5: Click on Add Files.
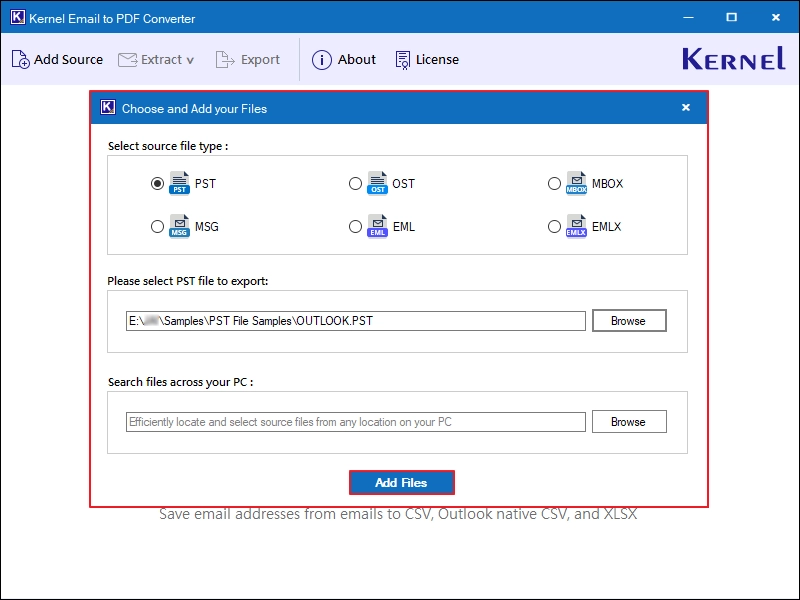
Step 6: The software will start retrieving all your emails from the source file and will show the “Please wait, loading PST files” message.
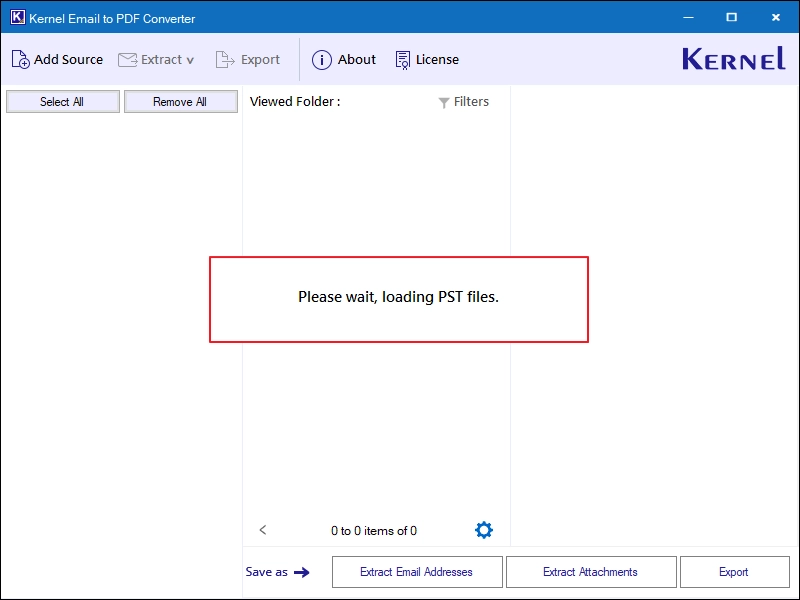
Step 7: Select any email and view its content in the Preview Panel.
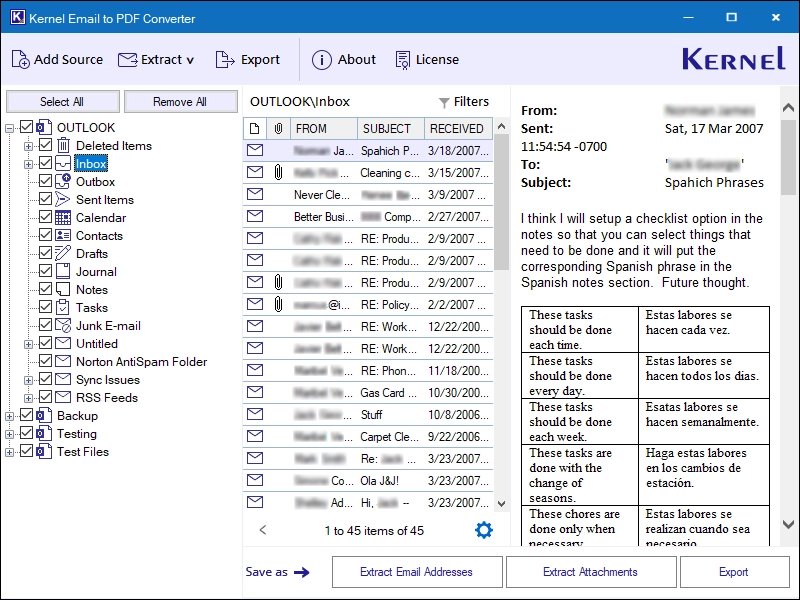
Choose Option
After previewing mail, there are three options: Extract Email Addresses, Extract Attachments, and Export.
Steps to Extract Email Address:
Step 8: Select all your necessary email files and their sub-folders and click Extract Email Addresses.
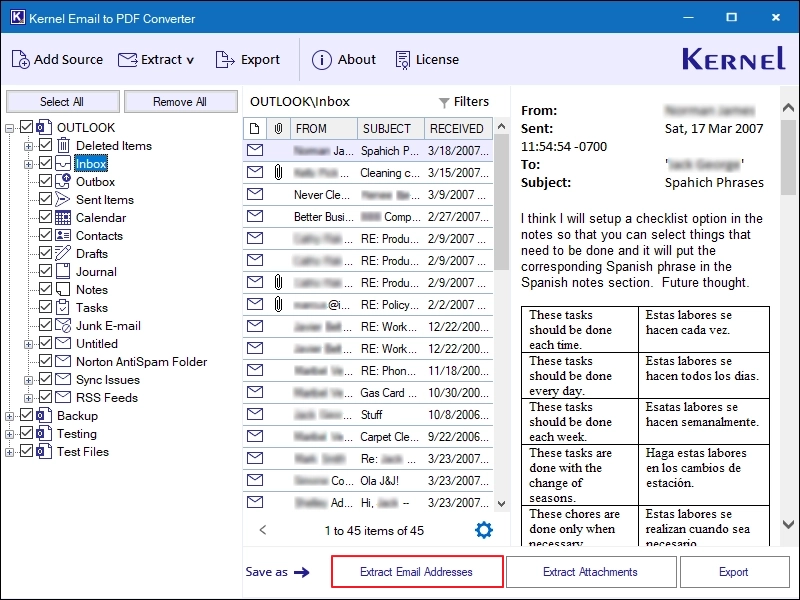
Step 9: Click on Browse in Please choose saving location option.
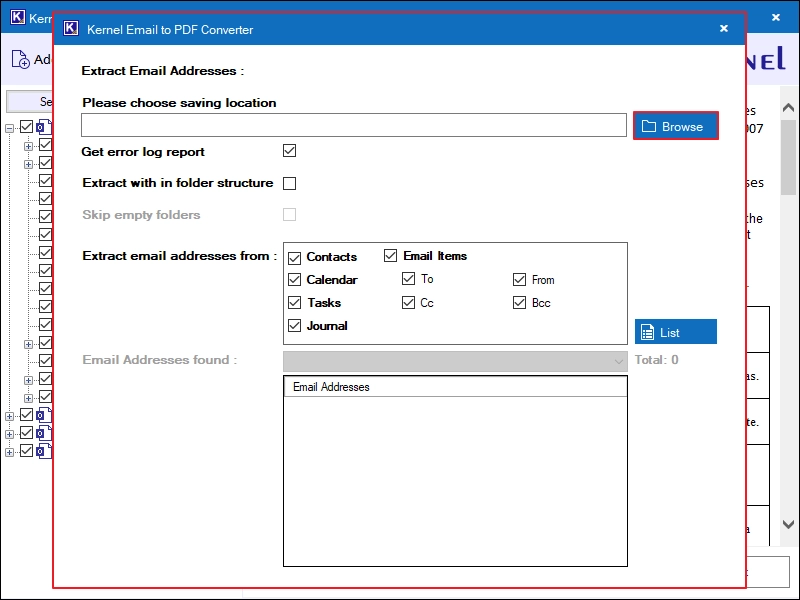
Step 10: Select your desired saving location and click Open.
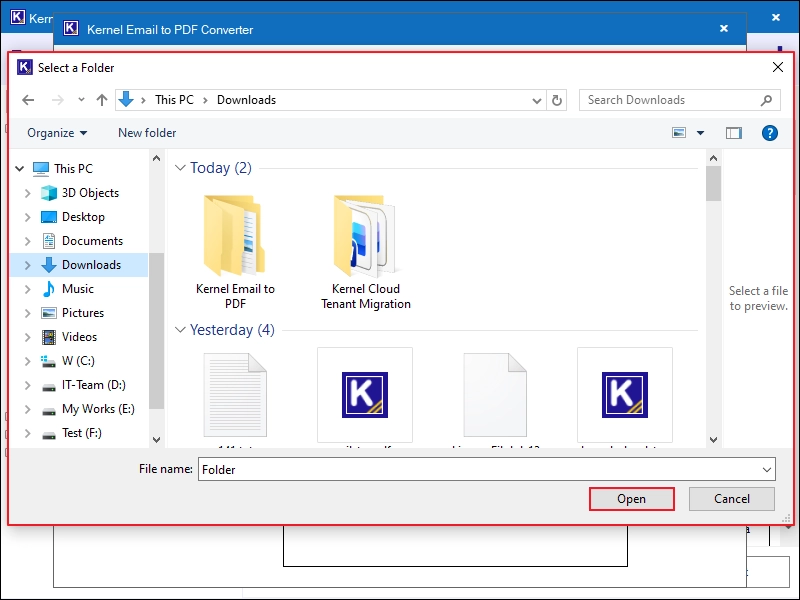
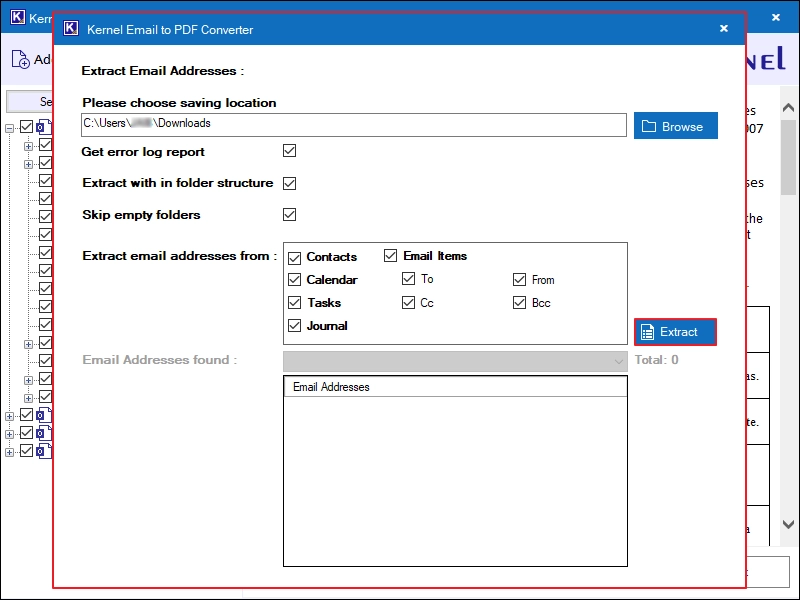
Step 11: Check all the necessary options from:
- Get error log report: Download a log report for each failed conversion file.
- Extract with in folder structure: Save all emails along with their folder structure.
- Skip empty folders: Exclude converting empty folders into the output file.
- Extract Email Address from: Contacts, Calendar, Tasks, Journal, and Email Items accordingly.
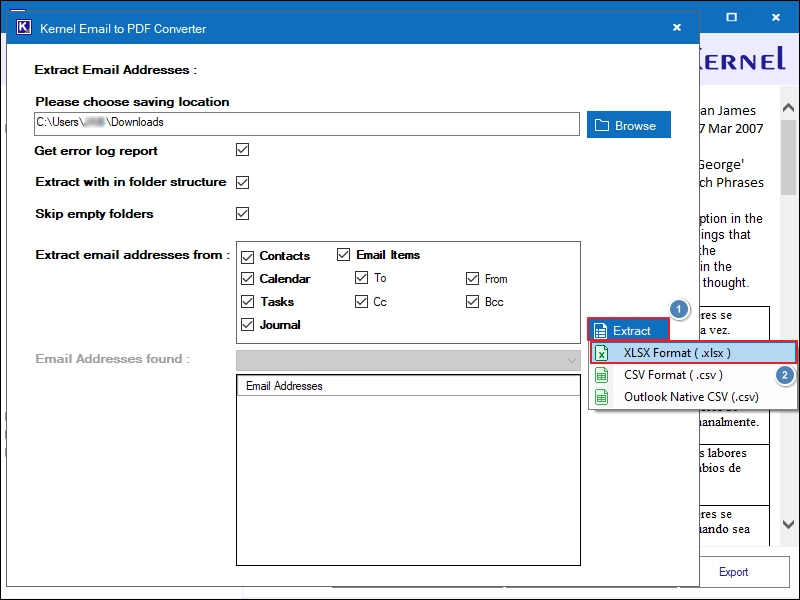
Finally, click on Extract.
Step 12: Select saving preferences from XLSX Format (.xlsx), CSV Format (.csv), and Outlook Native CSV (.csv) as per your needs.
For now, we are going with XLSX Format (.xlsx).
Step 13: The software will start extracting all the email addresses from your email file.
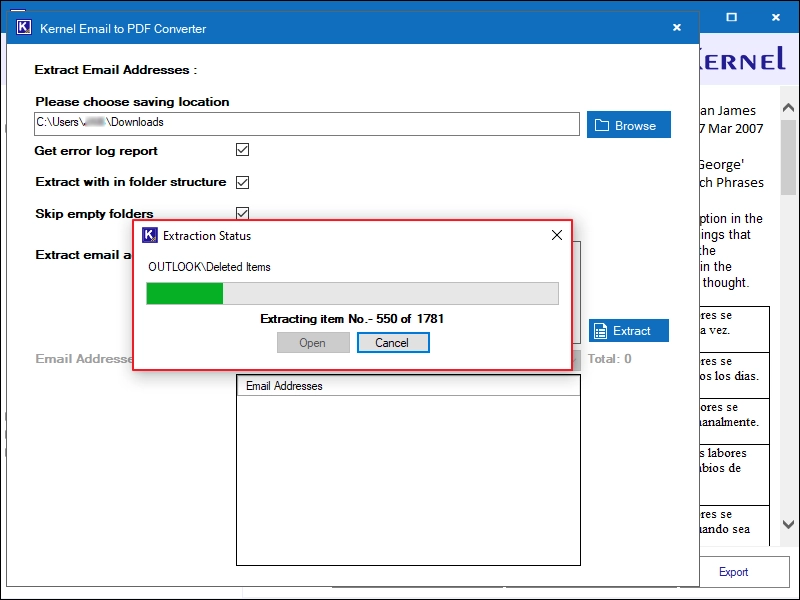
Step 14: After a successful extraction, the tool show “Extraction Completed” message. Click Open.
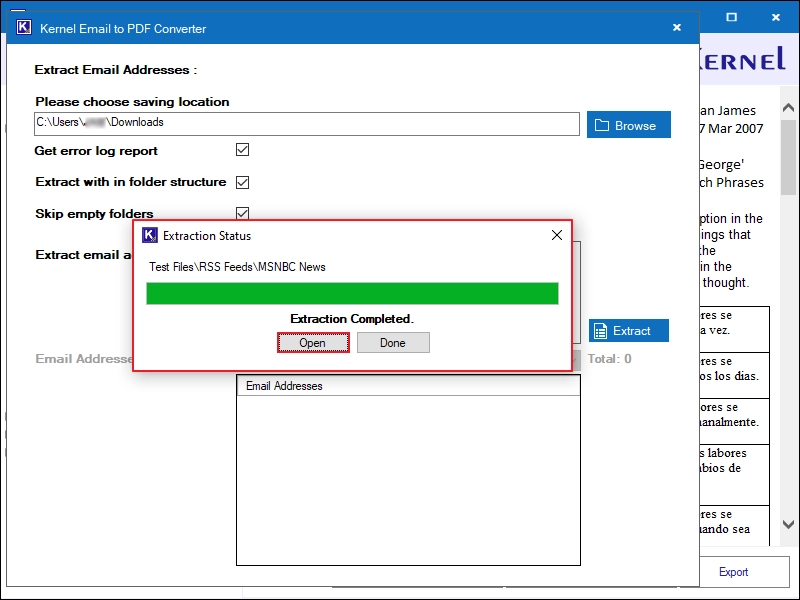
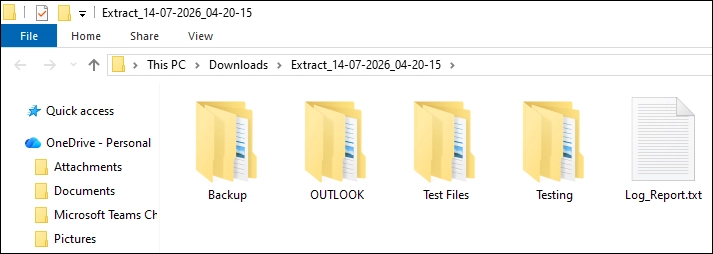
Step 15: The software will open all your exported files. Go to the Email files folder and access all your email addresses in the selected file format.
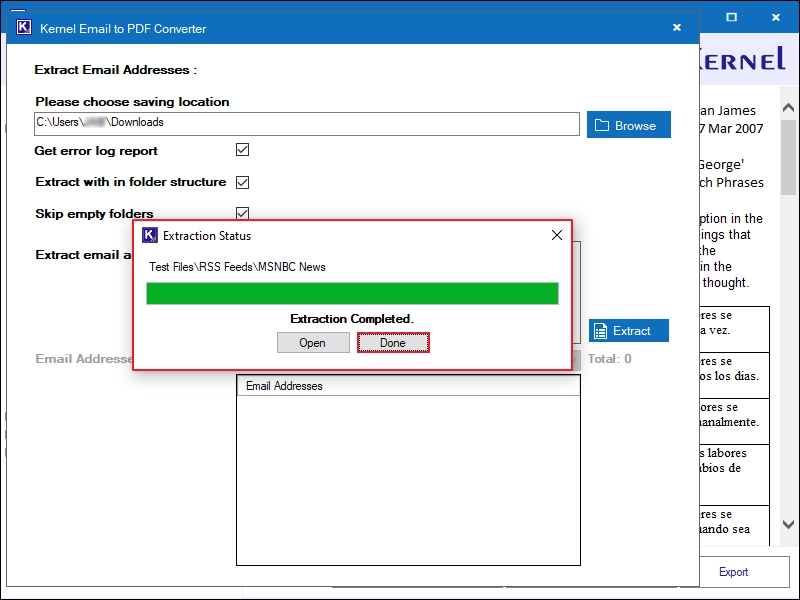
Step 16: Now, go to the tool and click Done to end the process.
Steps to Extract Attachments:
Step 8: Select all your necessary email files and their sub-folders and click Extract Attachments.
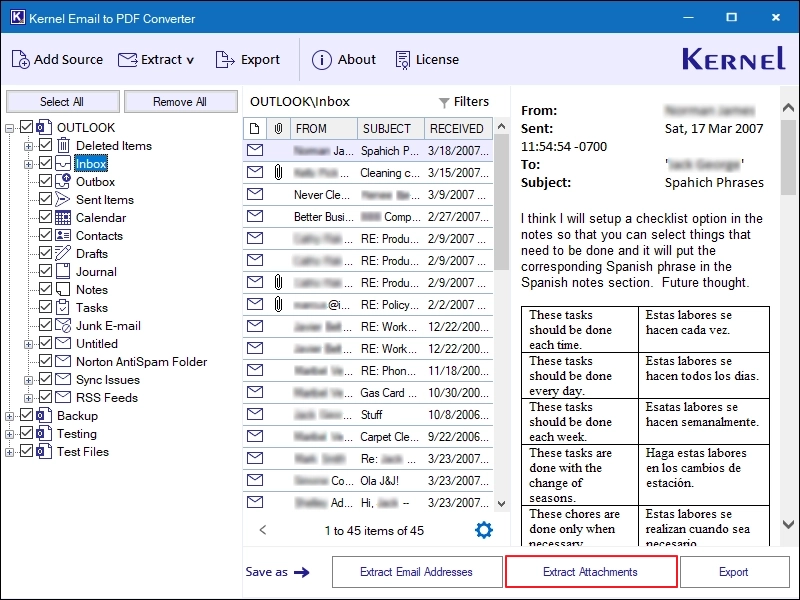
Step 9: Click on Browse in Please choose saving location option.
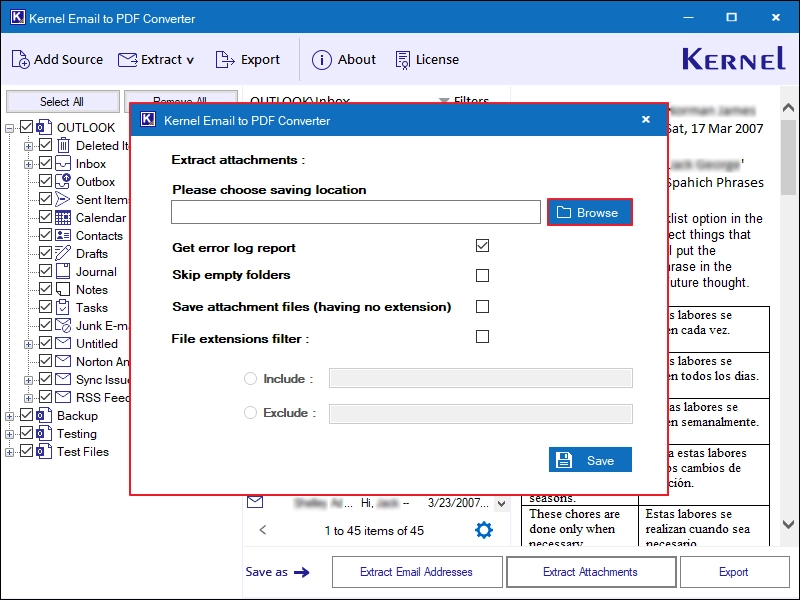
Step 10: Select your preferred saving location and click Open.
Step 11: Select appropriate options from:
- Get error log report: Generate and save a log report of all the failed conversion items with the proper reason.
- Skip empty folders: Exclude converting all the empty folders into the resultant file.
- Save attachment files (having no extension): Save all the email attachments with or without an extension in their original raw file format.
- File extension filter: Include or exclude specific file formats in the output result.
Finally, click Save.
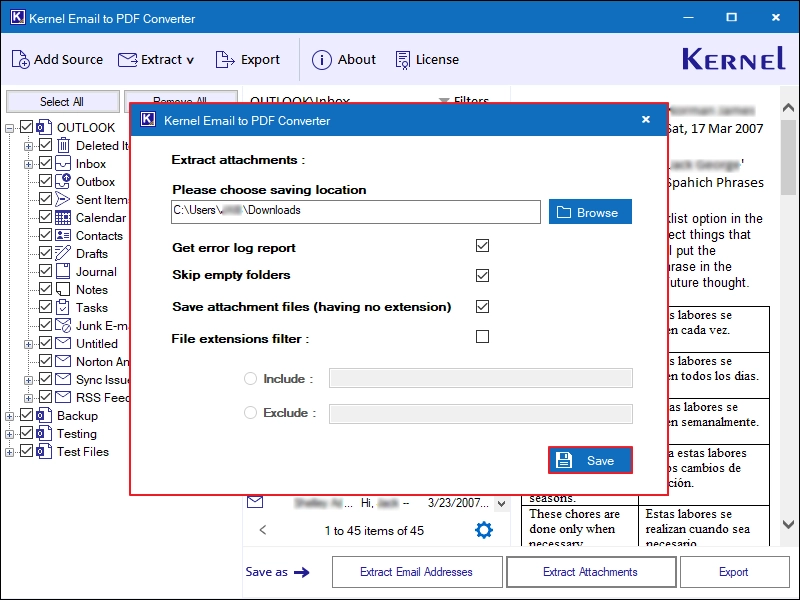
Step 12: The software will start exporting all the attachments from your email file.
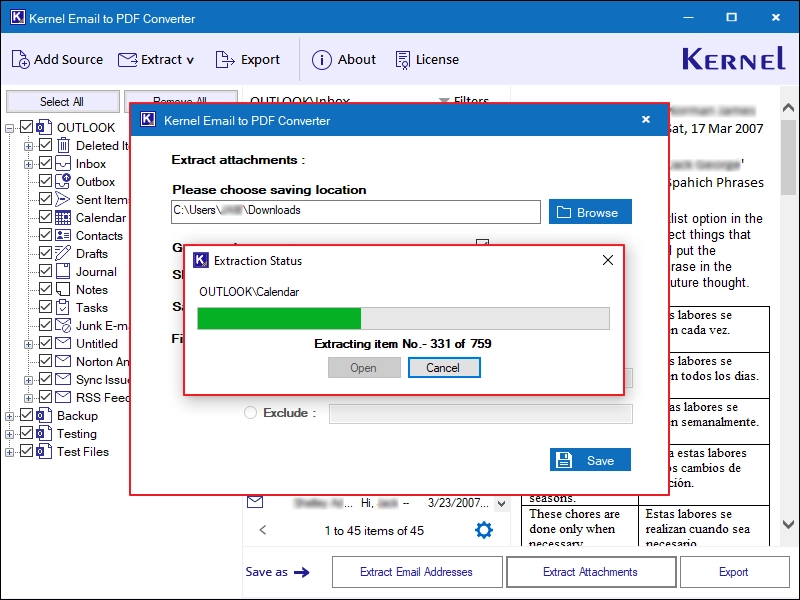
Step 13: After a successful extract, click on Open.
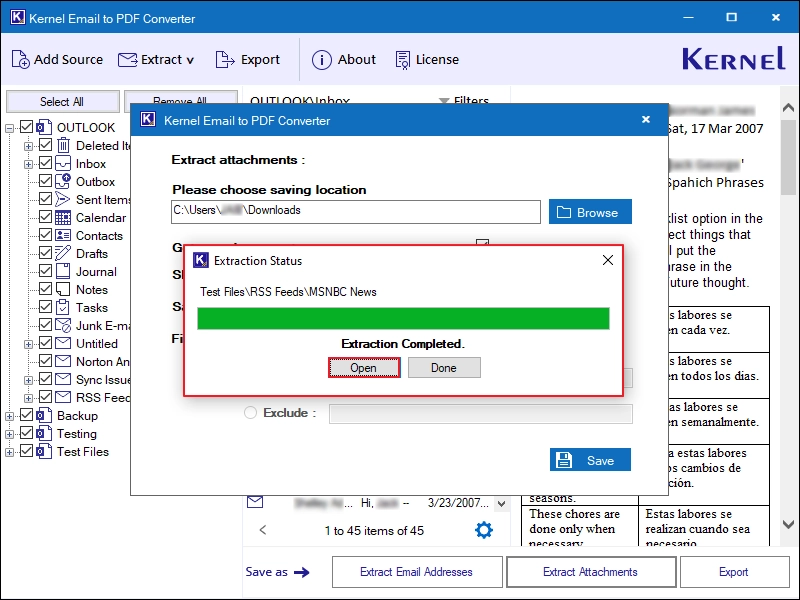
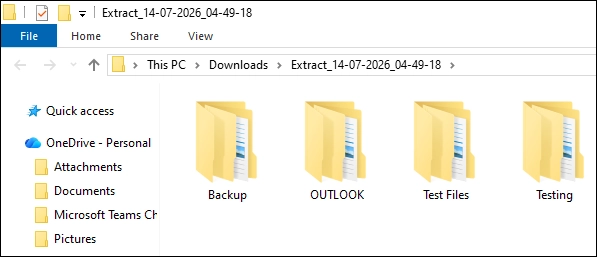
Step 14: After clicking on Open, you will be navigated to your exported data automatically.
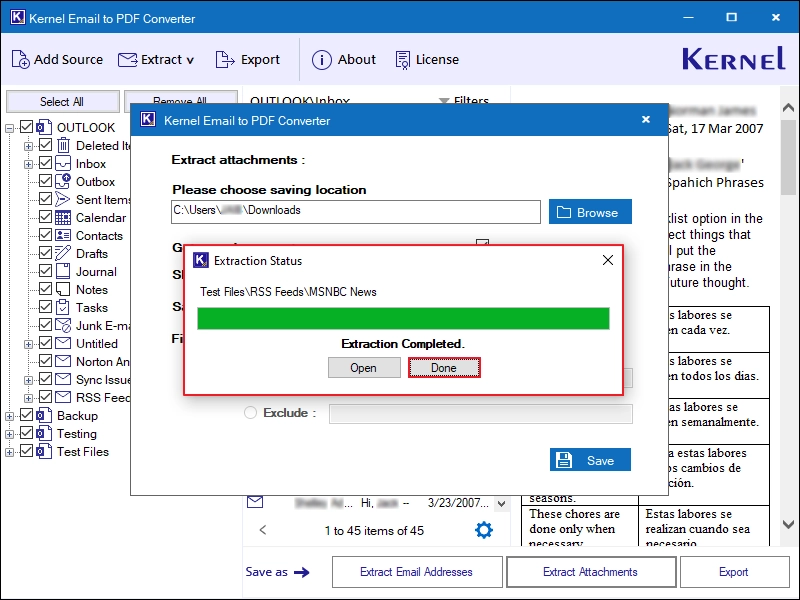
Step 15: Again, come to the tool and click Done to end the process.
Steps to Export to PDF
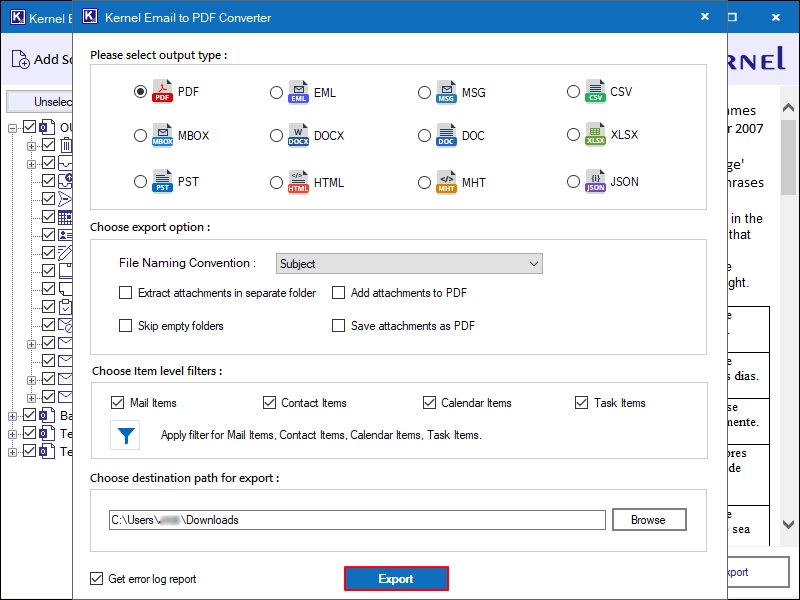
Step 8: After viewing and selecting your emails, click Export.
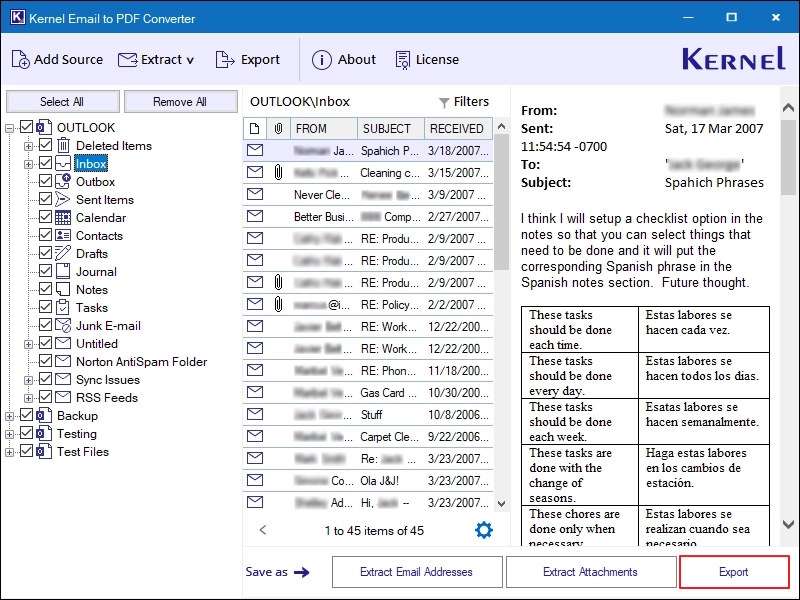
Step 9: In the following window, select options from:
Please select output type: Select PDF to convert your Email file to PDF.
Choose export options from:
- Extract attachments in separate folder: Save all your email’s attachments in to separate folder in the original hierarchy.
- Add attachments to PDF: Convert all your emails into PDF and put your attachments into that PDF.
- Skip empty folders: Skip converting all the empty folders into final converted file.
- Save attachments as PDF: It will convert all your attachments into PDF.
Choose Item level filters and check Mail, Contacts, Calendar, and Task Items accordingly.
Click on Filter icon to deeply define your Item level filters.
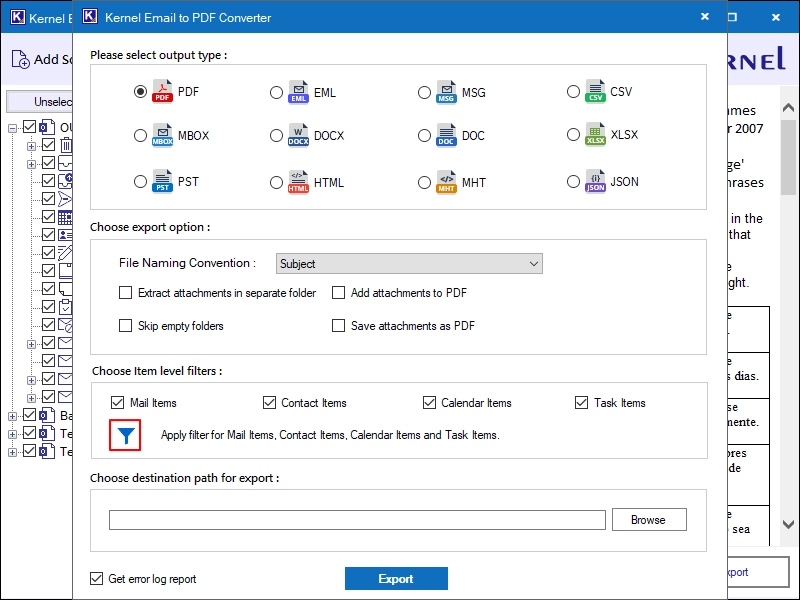
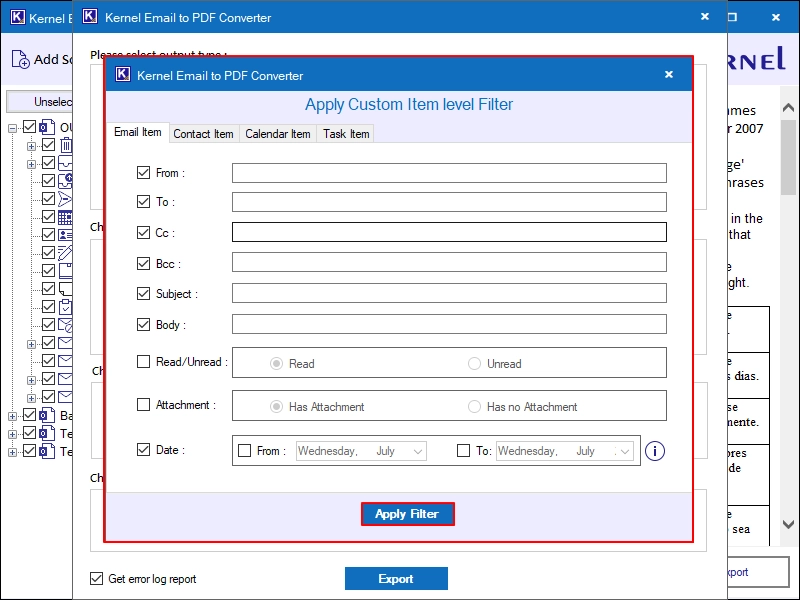
Step 10: In the Apply Custom Item Level Filter window, apply filters from Email Item, Contact Item, Calendar Item, and Task Item accordingly.
After applying all the necessary filters, click on Apply Filters.
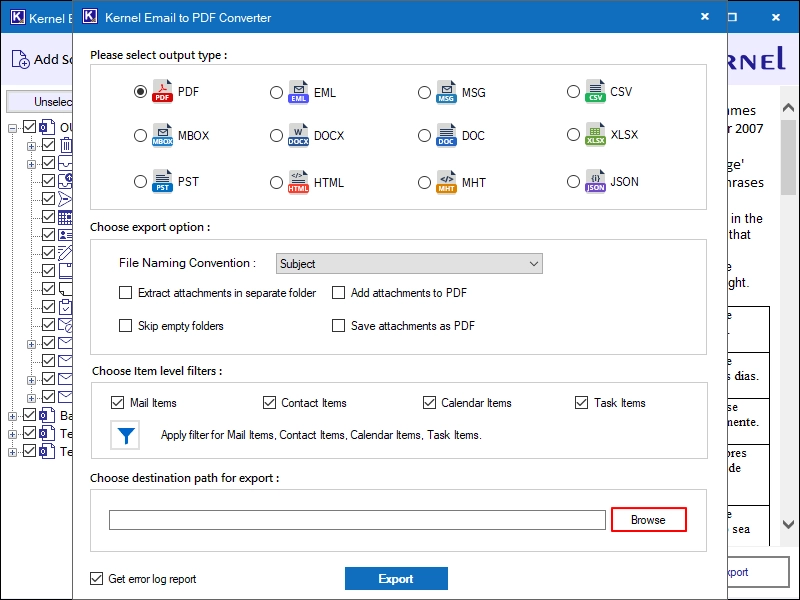
Step 11: Now, click on Browse in the Choose destination path for export option.
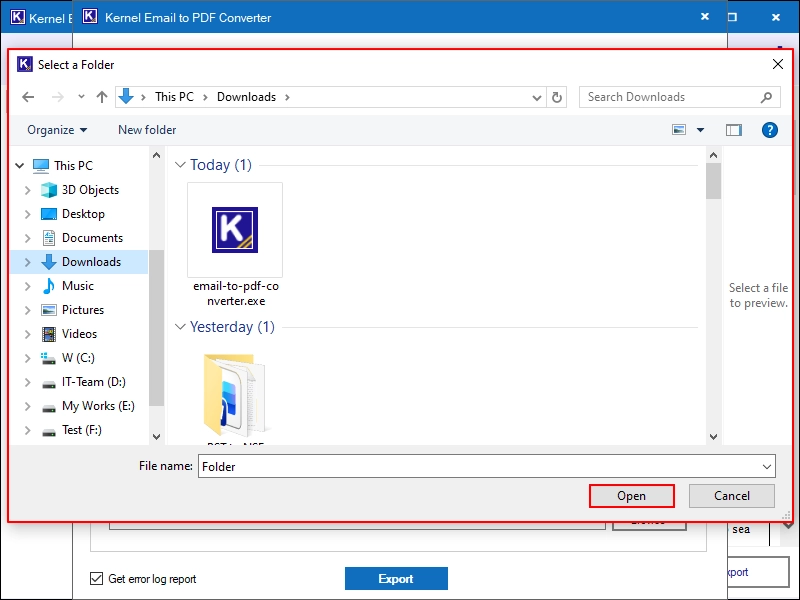
Step 12: Select a specific saving location to save your exported PDF data and click Open.
Step 13: Click on Export to start the process.
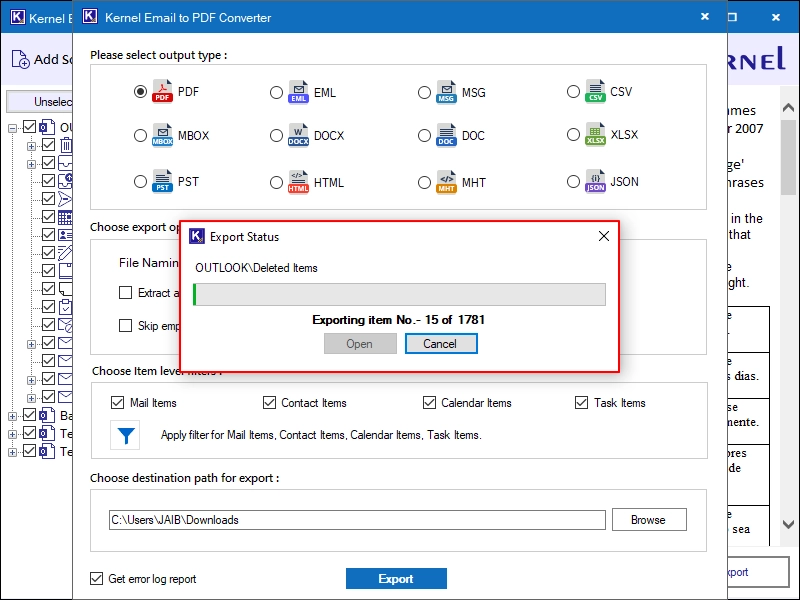
Step 14: The software will start converting all your emails to PDF.
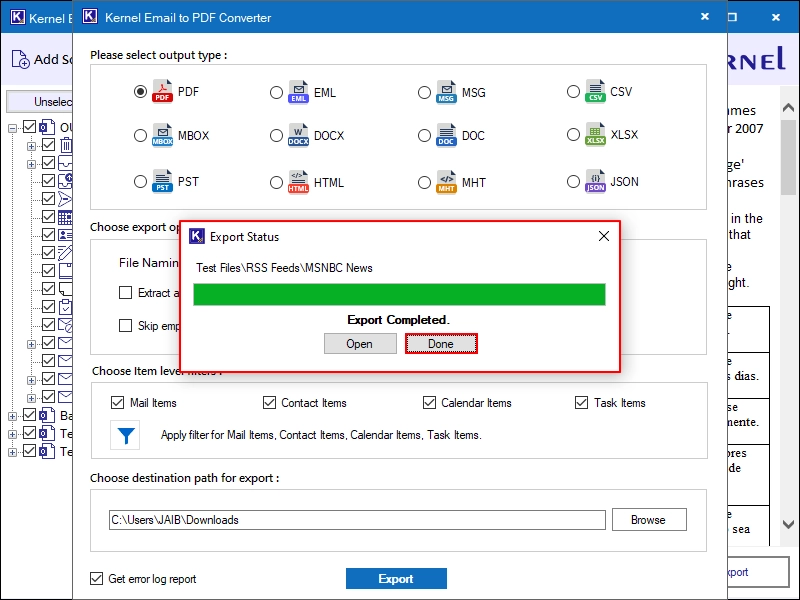
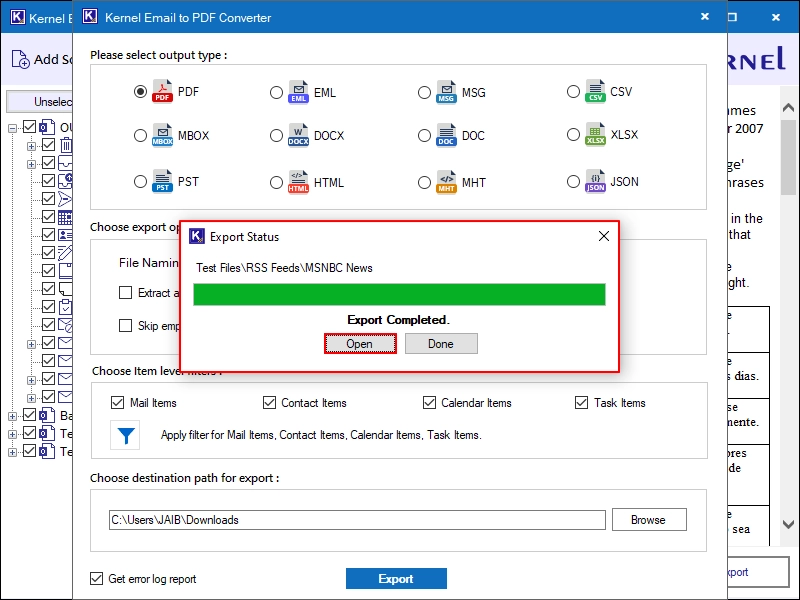
Step 15: After a successful conversion, the tool will show the Export Completed message. Click Open to go to your converted files.
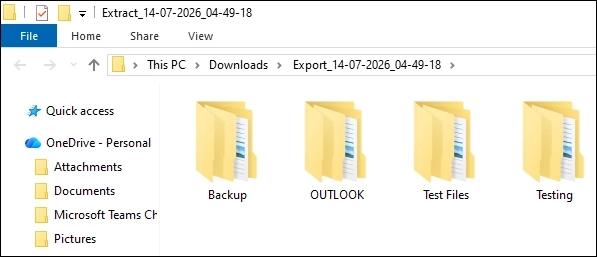
Step 16: Go to the specific folders and access all your emails and attachments in PDF.
Step 17: Come to the tool and click Done to close the process.