Step-by-Step Tutorial to Use Kernel Dicom Studio
Follow the step-by-step process to learn how to use Kernel Dicom Studio and view Dicom images without hassle:
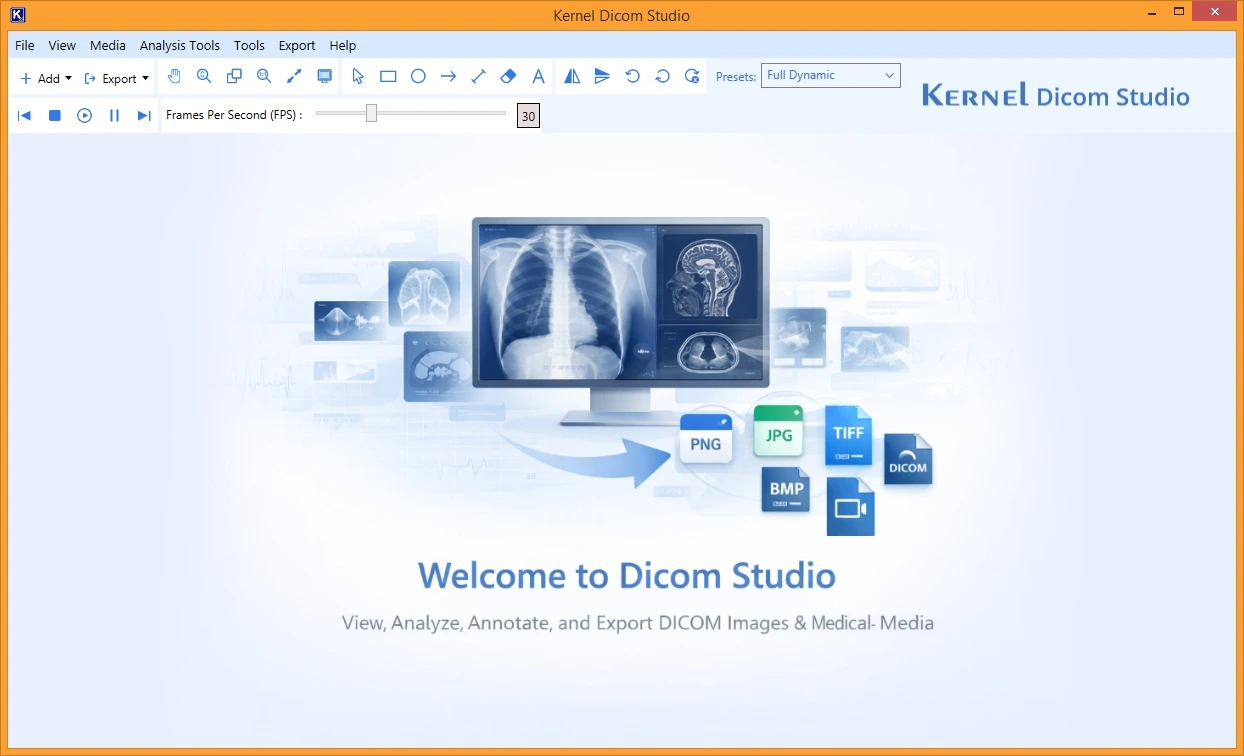
Step 1: Launch Kernel Dicom Studio on your PC to see the home screen of the tool that displays three consecutive menu ribbons.
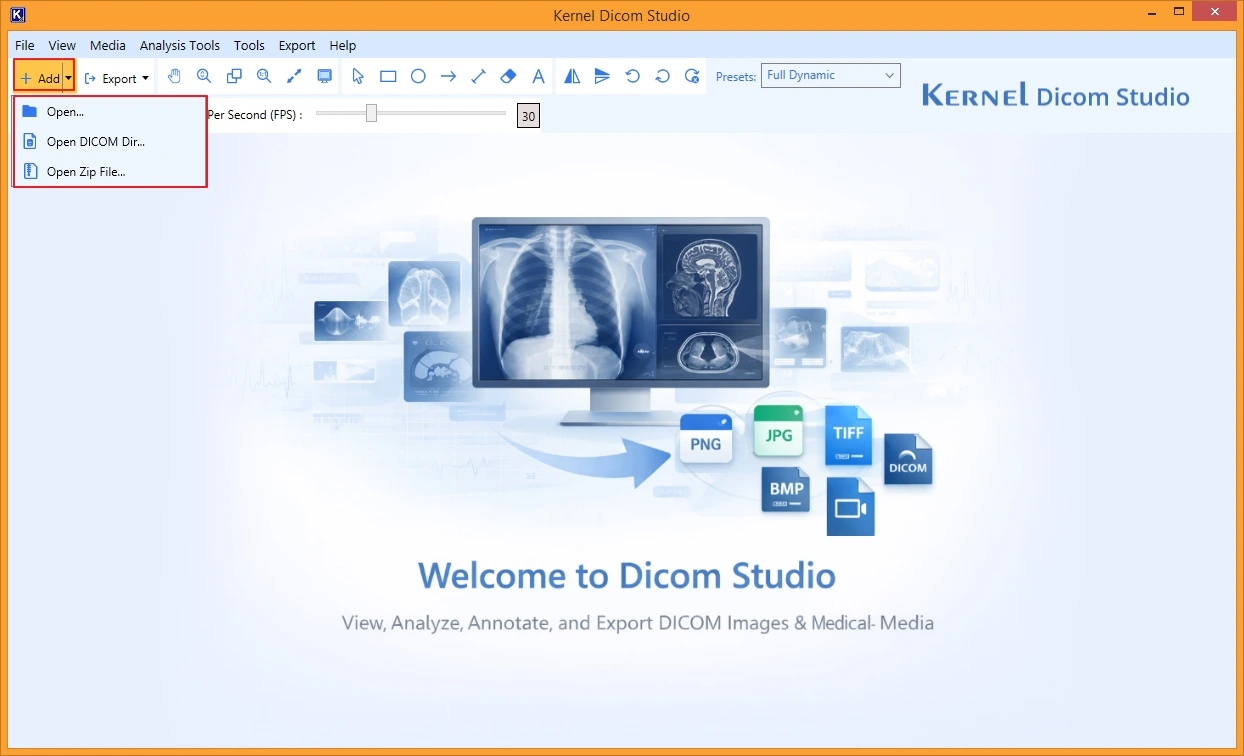
Step 2: From the mid ribbon, tap on Add dropdown to select options to add files by selecting individual Dicom files, Dicom directory, or Zip file.
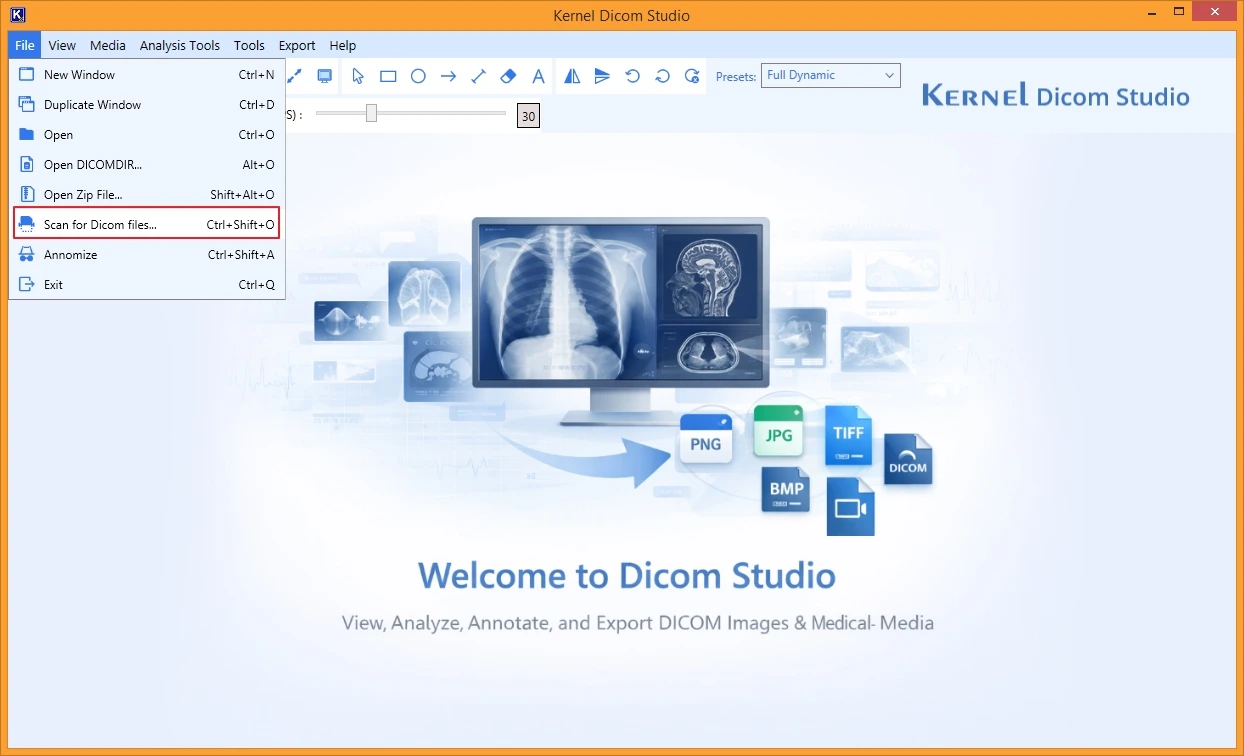
Note: If you don’t know the location of Dicom files or directory, go to File and click on Scan for Dicom files.
Step 3: From the Windows drive (external or internal), select the files and click Open.
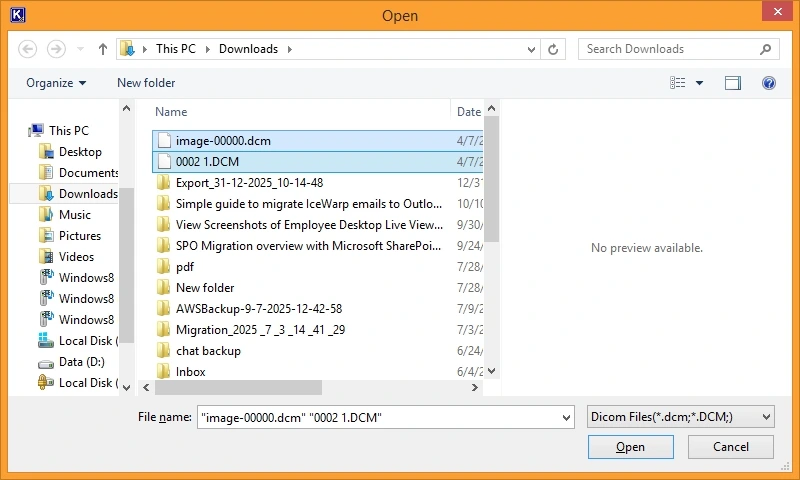
Step 4: All the selected files will be listed in the Dicom Browser within the left pane.
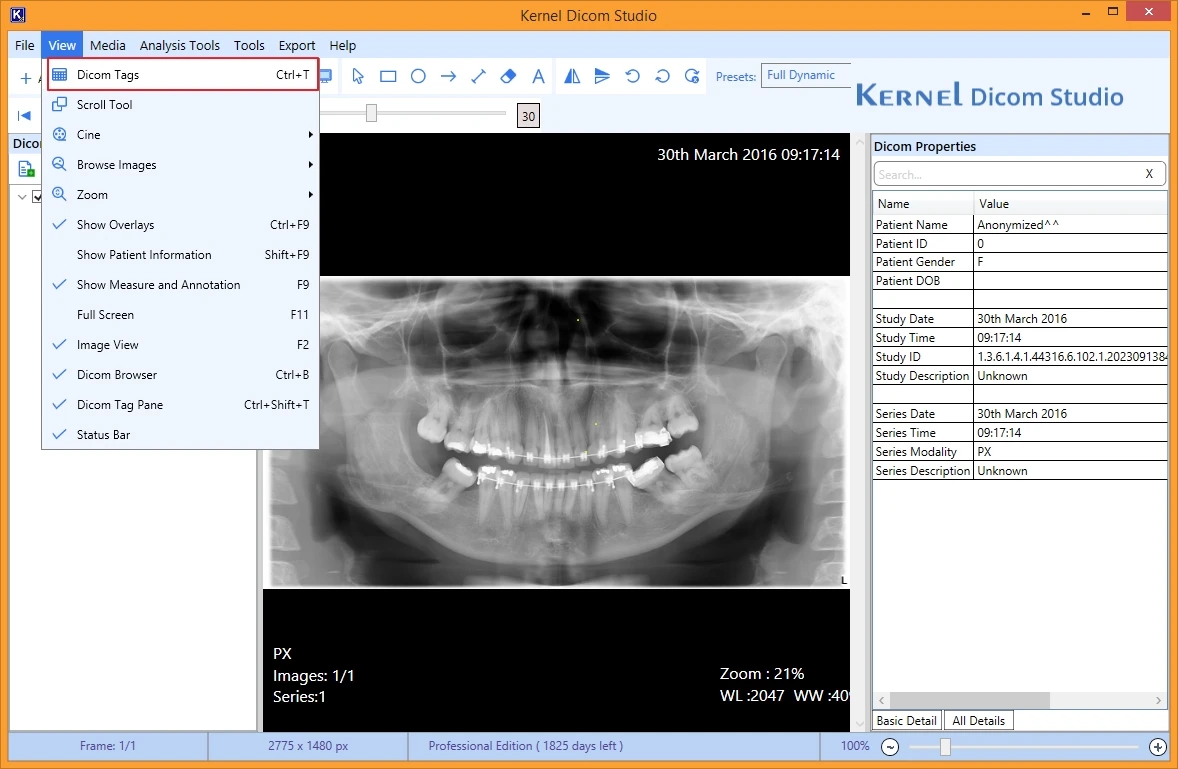
Step 5: Check out the properties of the added Dicom file from the Dicom Properties pane on the right side that provides a view of Basic Detail and All Details.
Choose Required Option
You can use different parameters like Windowsing, flip & rotate, anonymization, and other annotation tools to manipulate the DICOM images.
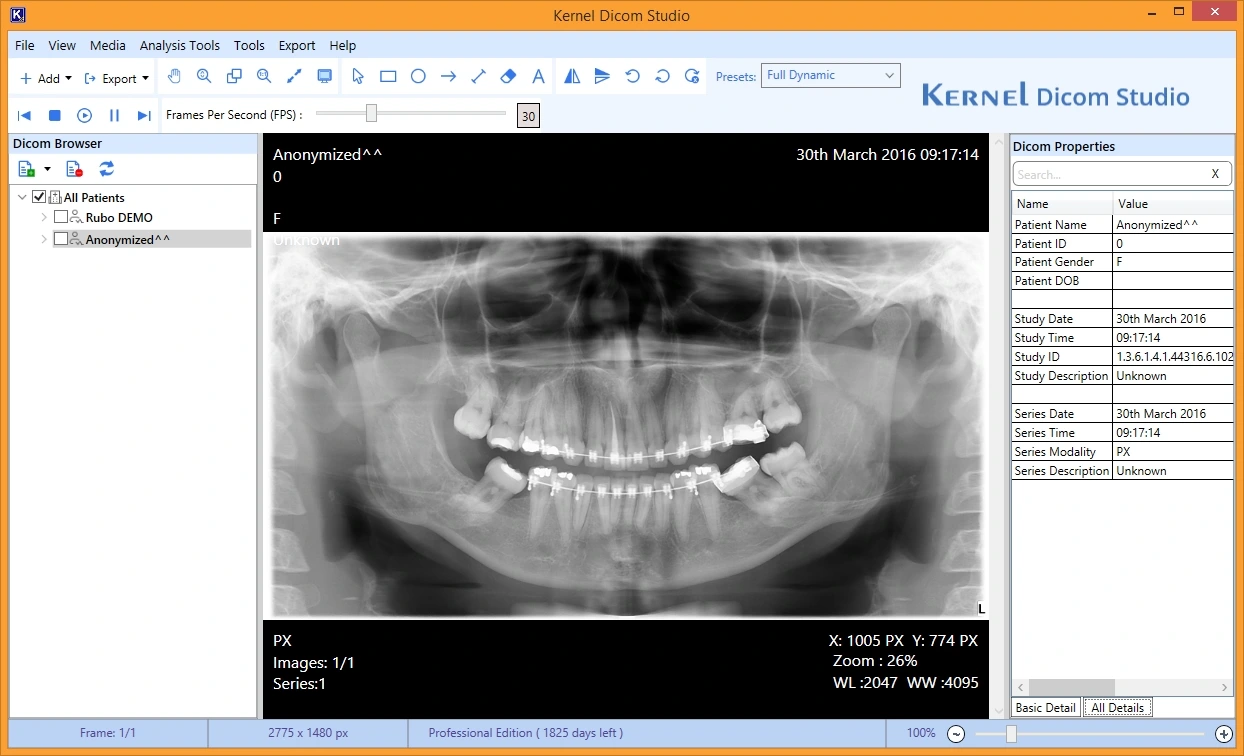
File
Step 6: Go to File and select Duplicate Window to create a duplicate window to allow you easily compare sections of images for deeper insights.
Step 7: To make the image anonymous and hide the patient details, go to File and select Anonymize.

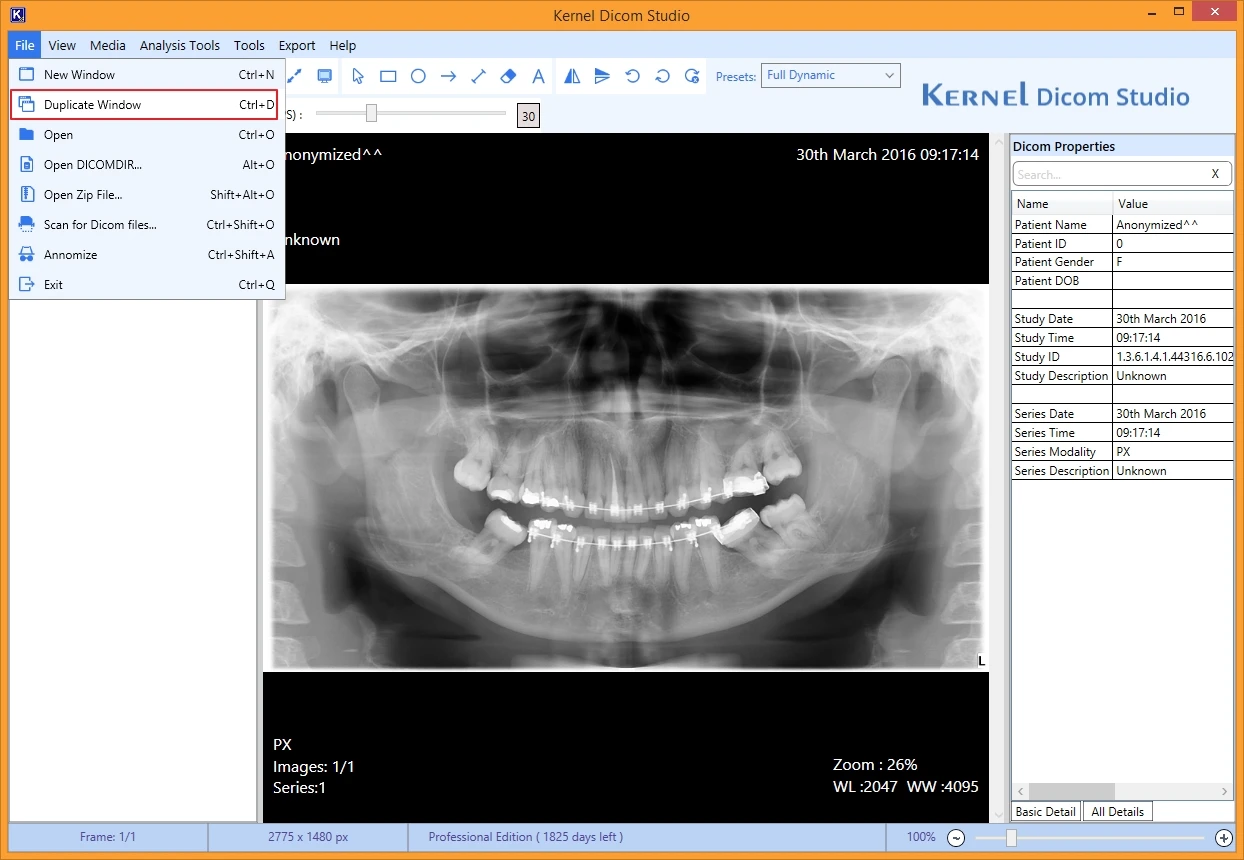
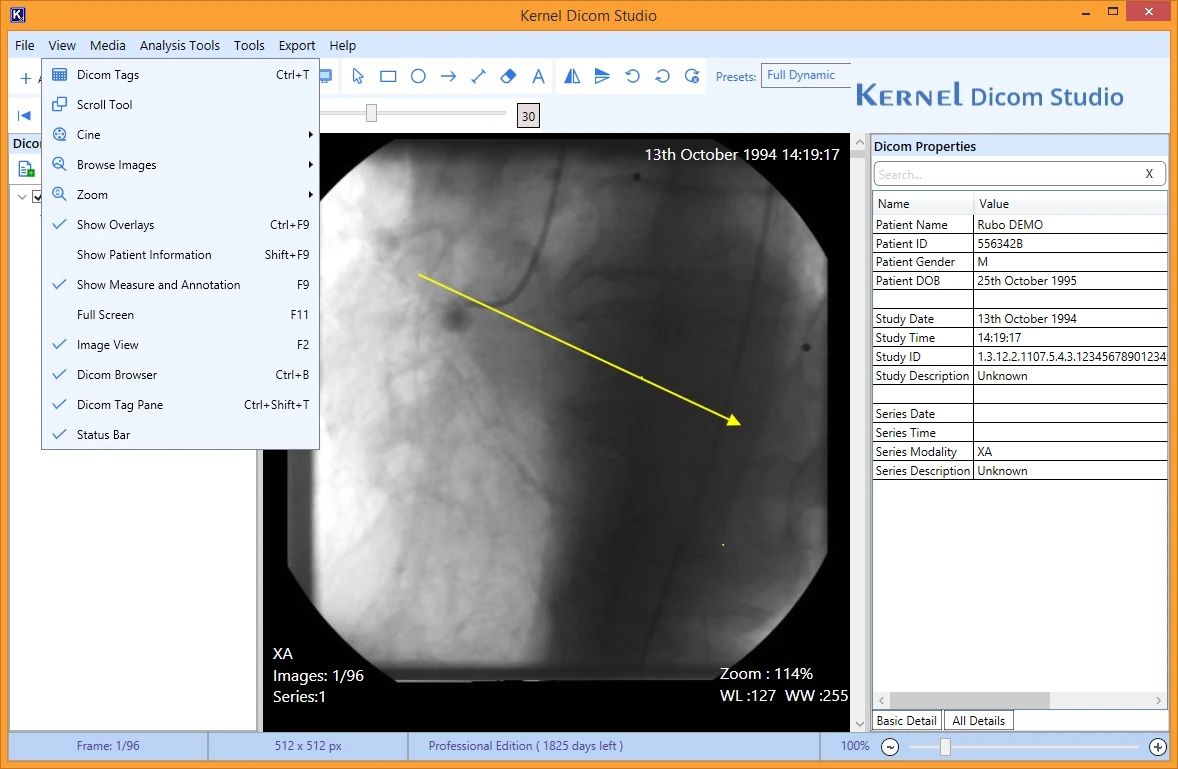
View
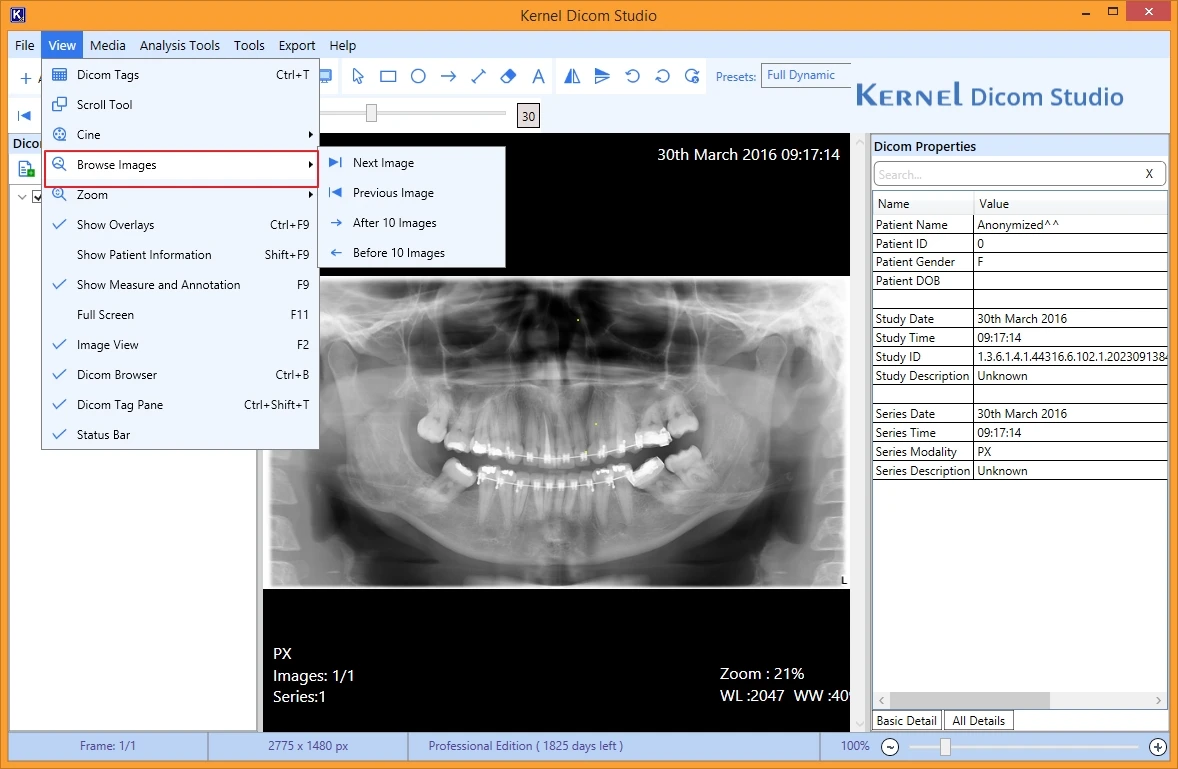
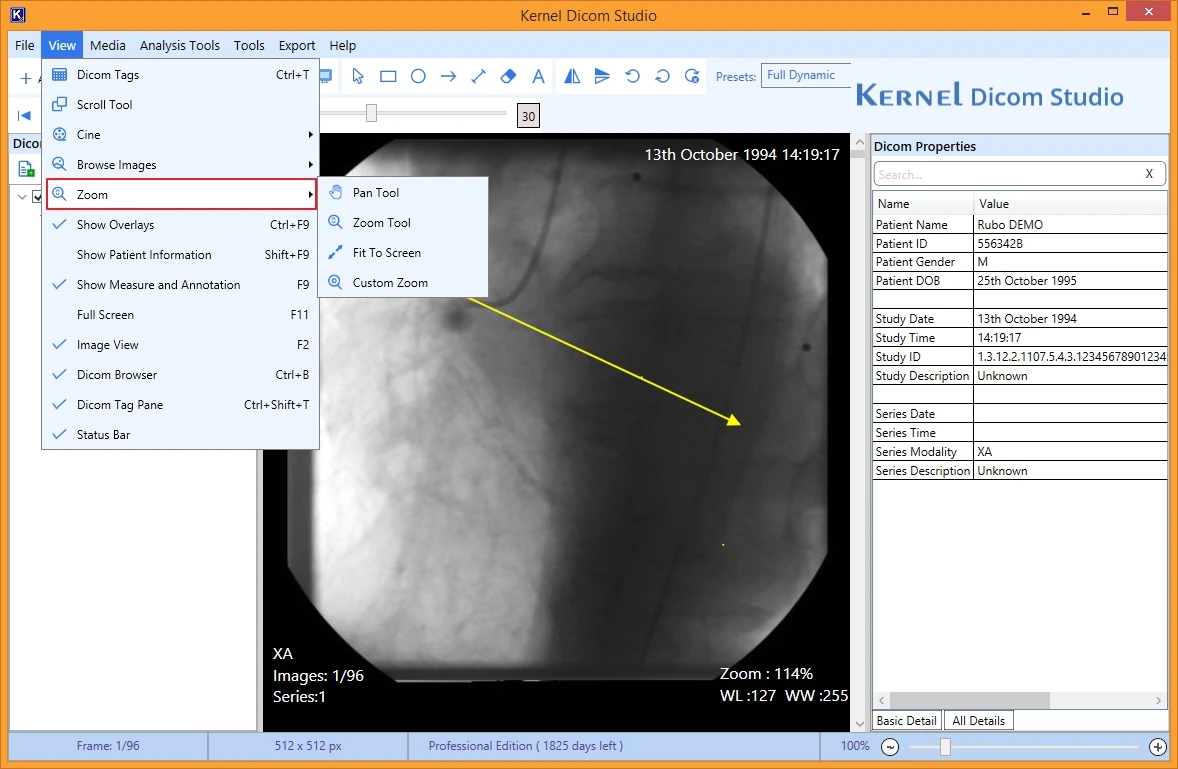
Step 6: Go to View tab on the top ribbon and select:
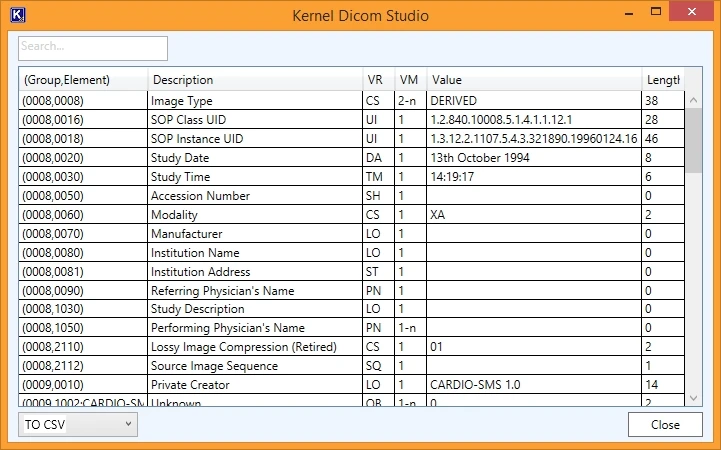
- Dicom Tags: To view Dicom Tags associated to the selected Dicom file.
- Browse Image: Use the option to go to the next, previous, after 10, or before 10 images.
- Zoom: Use the option like Pan, Zoom (in/ out), Fit to Screen, and custom zoom to view specific areas of the image clearly.
- Show Overlays: Use the option to display or hide the overlay information about the image.
- Show Patient Information: To view details of the patient whose Dicom file you are viewing with the tool.
- Full screen: Allows a bigger preview of the selected DICOM file.
Note: From the list of Dicom tags screen, you can select to save the tags to CSV or HTML file on your PC.
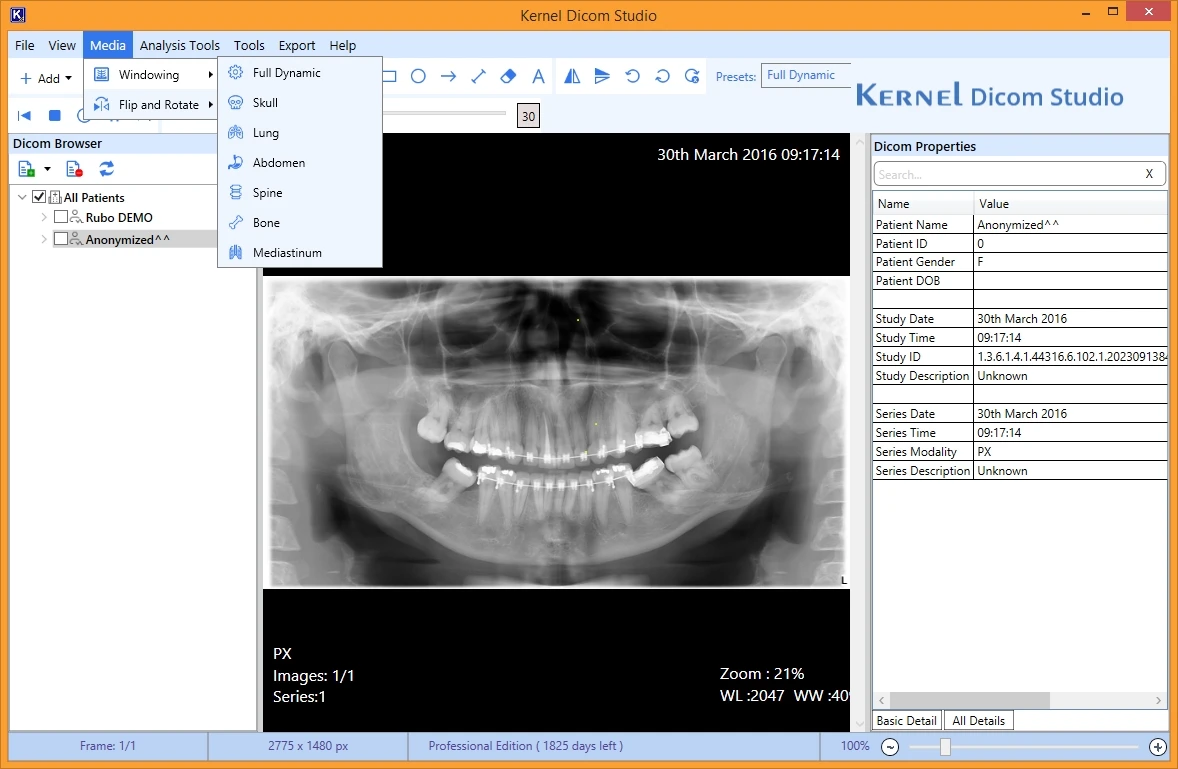
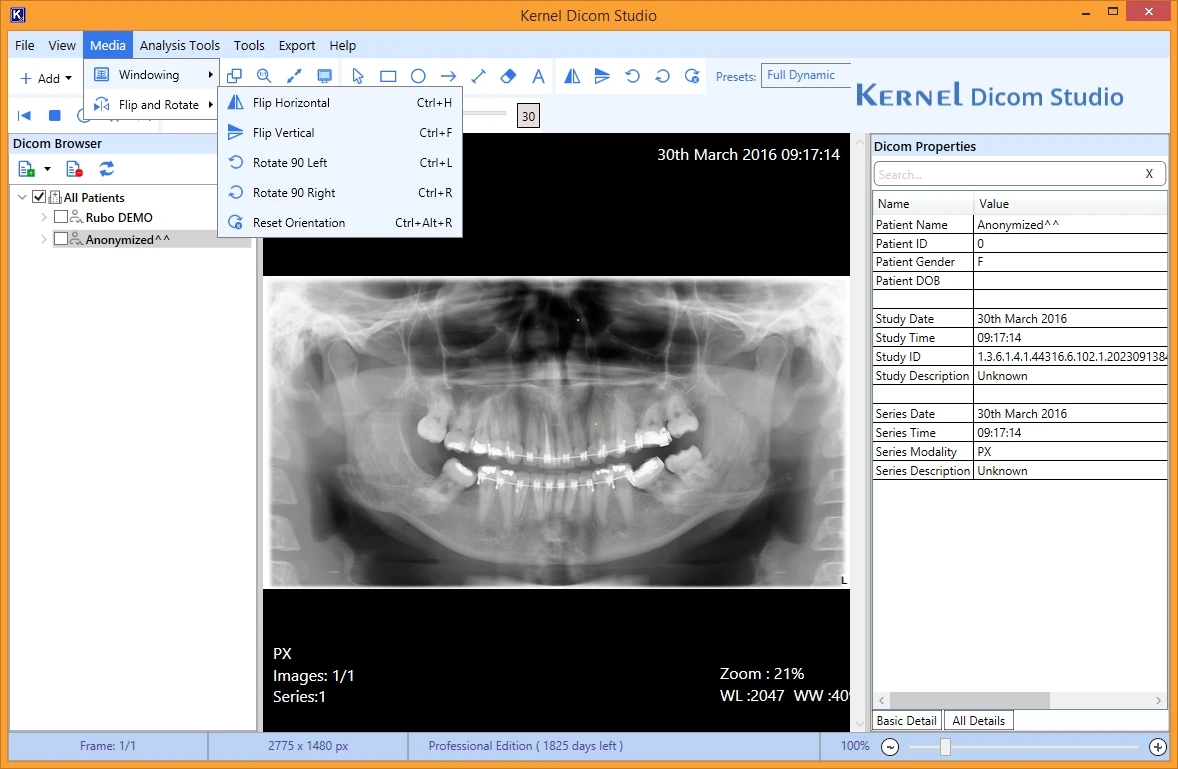
Media
Step 6: Tap on the Media tab to select and use:
- Windowing: Allows easy manipulation of the grayscale images to view and analyze particular tissues or structures. Include options like Full dynamic, lung, skull, spine, abdomen, bone, and mediastinum.
- Flip and rotate: With flip options like horizontal, vertical, 90 degree left, 90 degree right, and reset orientation rotate the image as needed for better analysis.
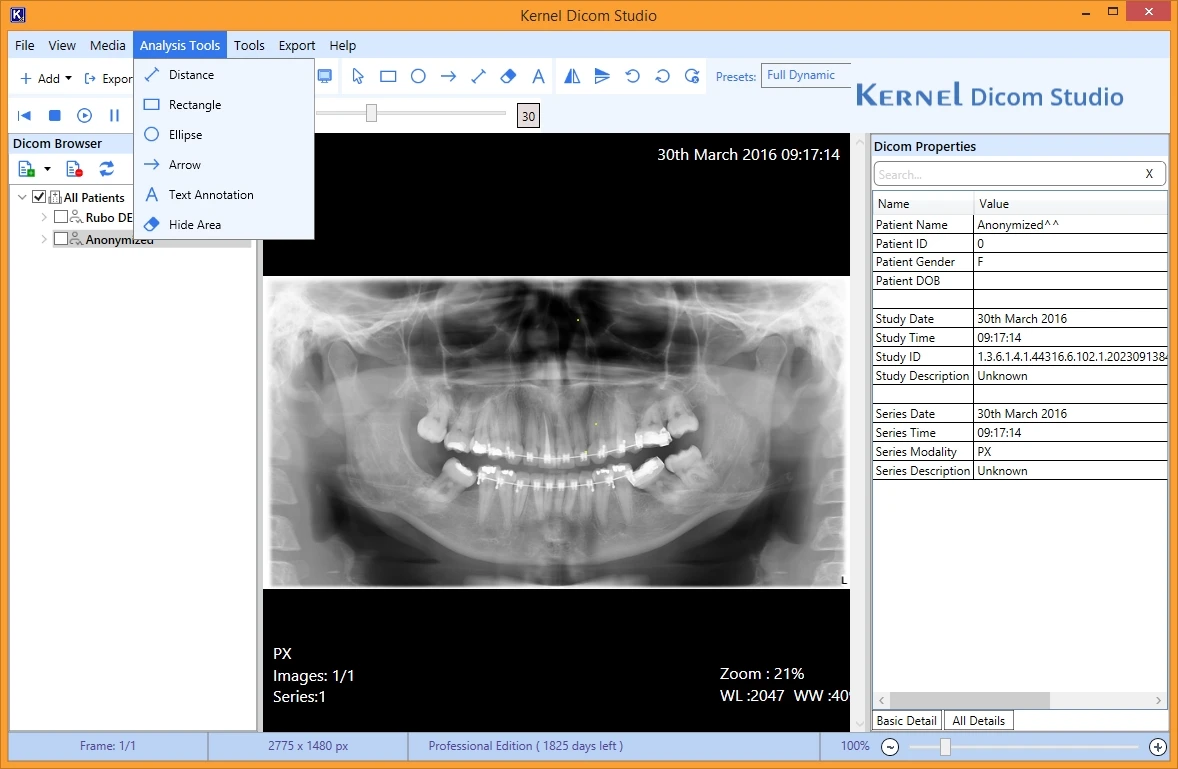
Analysis Tools
Step 6: Now, from the top, select Analysis Tools like Distance, Rectangle, Eclipse, Arrow, and others, to highlight a section of the image.
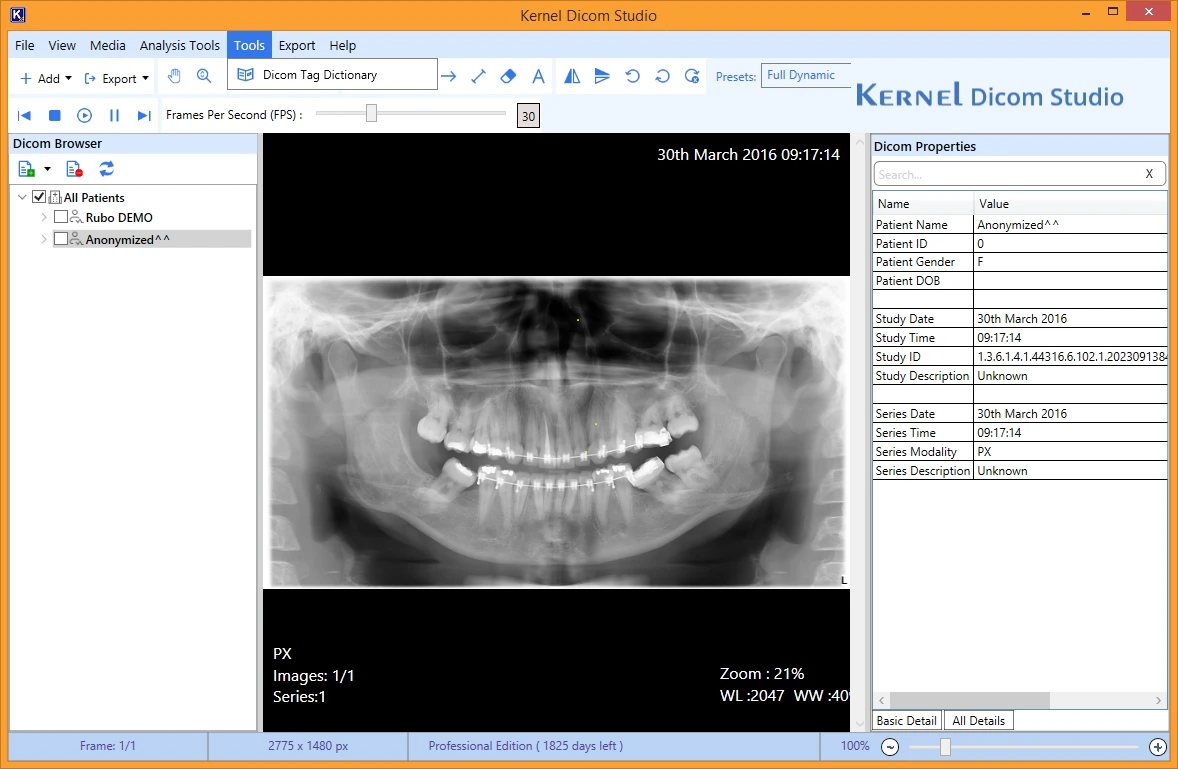
Tools
Step 6: Go to Tools and select Dicom Tag Dictionary to check all the tags related to a Dicom image.
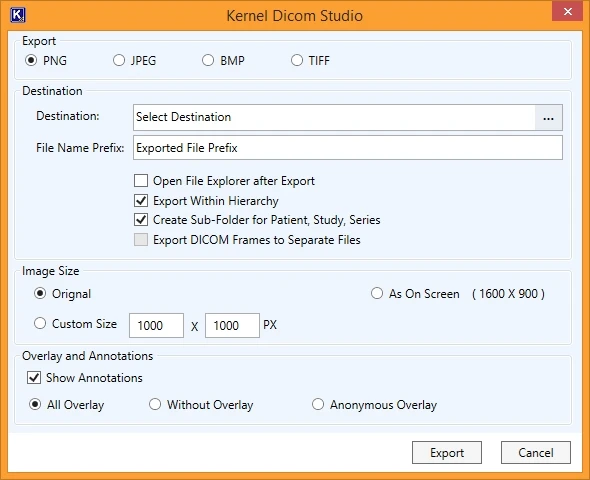
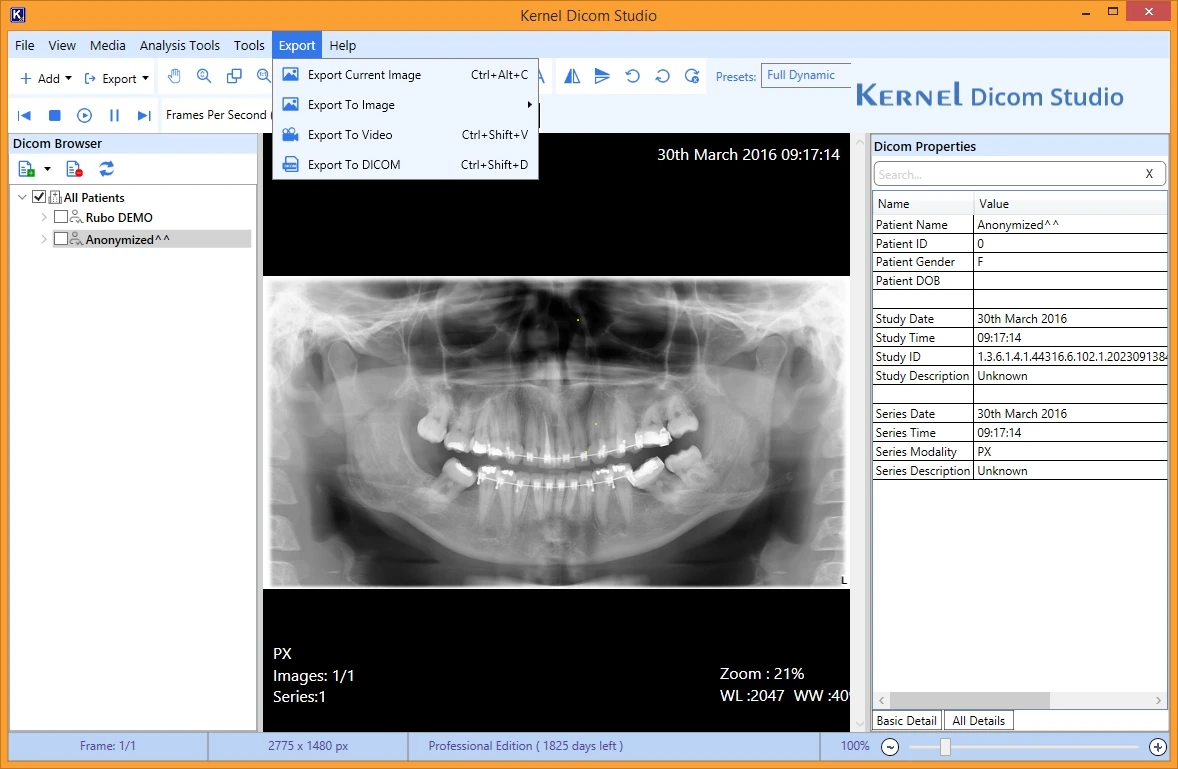
Step 7: After analyzing the image, you can export the added Dicom files using the given options:
- Export Current Image: Allows you to export the current image to PNG, JPEG, BMP, and TIFF.
- Export to Image: Export selected DICOM files to the supported image formats (PNG, JPEG, BMP, TIFF).
- Export to Video: Export selected files to video files in any of the supported file format (MP4 and AVI).
- Export to DICOM: Export files to DICOM file extension with the desired size and annotations.
Step 8: After selecting the export method, select the required output export format. Provide the destination path and file name prefix to save the exported file.
Step 9: Apply the desired file export options, adjust the Image size, and Overlay and Annotations options.
Step 10: In the end, click Export to begin the process.