Read time 8 minutes
Digital photos often are saved in formats like PNG, JPG, BMP, GIF, JPE, JPEG, TIF, JPG, and JPEG. Digital cameras, and other applications widely support these formats. However, commonly, photos and images in certain formats fail to open in some applications. For example, JPG files sometimes do not open in Windows photo viewer. Similar issues can arise after you have recovered your photos and images using a digital media recovery tool. There are many free methods to repair corrupt JPEG files. Sometimes, this issue can easily be fixed just by changing the format of the image you have recovered. This can be done easily with the help of Microsoft Paint. Here are some easy methods to help you convert the file formats of images and photos:
Why may Images Fail to Open?
There are several reasons why you might not be able to open an image file. It is essential to know what factors are responsible for this issue, so that you can find the solution to the issue. You can also keep all these points in mind and avoid making a few of the mentioned mistakes in the future. Here’s the list of the factors that may cause this error:
- The reason why you are unable to open images after recovery is that there is a chance that there might be some damage to your storage device. If your storage device is physically damaged, it will directly affect your data, and as a result, your data may become inaccessible.
- If you are unable to open images after recovery, then there is a chance that there are some bad sectors in the storage device. Bad sectors are the inaccessible areas. Such inaccessible sectors lead to a break in logical links to the file information.
- Malware or virus attacks can also lead to corruption in image files. Viruses are often developed to attack a system by editing, destroying, or deleting the contents of files. Such attacks can lead to distorted file information, thereby making the image software not to open the image or identify the image as corrupted. It can make the recovery impossible.
- Whenever a file is deleted, the pointer to the file location is removed, but the rest of the information is intact. After that, the system marks the space occupied to store this information as free so that other files can use it. The longer you take to recover a deleted file, the higher the chances of more and more of its information being overwritten by another file. Hence, the image fails to open after recovery.
- Whenever a file is saved on the system, it tries to save it on consecutive blocks of sectors. If there are not enough consecutive blocks, the file information is scattered over multiple segments over the storage device. The information related to the scattered sectors is stored in header data. A data recovery software may not be able to recover a file completely if the header data is absent or some of the segments are lost.
- If the operating system is not able to detect the storage partitions or is unable to read the storage settings, it may lead to deletion of records or a break of the logical structure of the storage partition. Such damage can lead to missing file information, making complete data recovery difficult.
- There may be chances that the file information is intact, but the system does not recognize the storage divide. The recovery software can fix such issues, but some file data may be lost in the process as the system restores a backed-up data snapshot. It may be possible that the contents of your image are overwritten in the process.
Method 1. Change the Image Format using Microsoft Paint
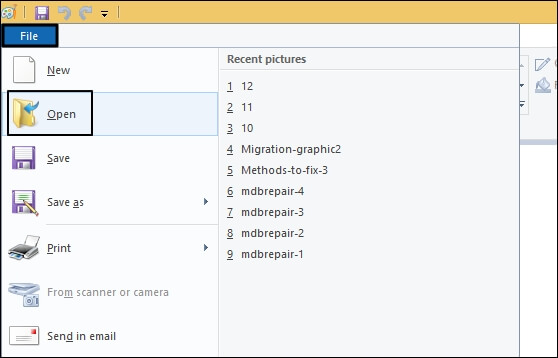
- Open MS Paint application.
- Click on File menu and click Open.
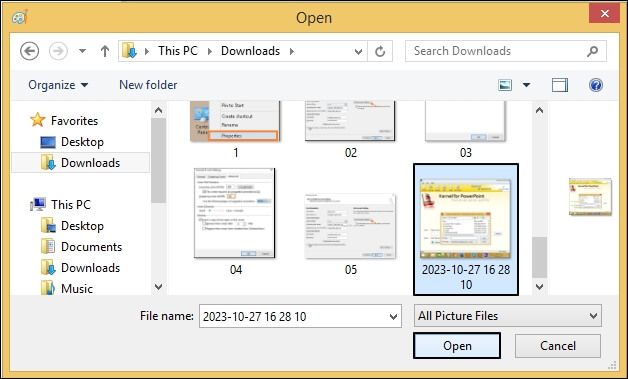
- Select the photo or image you want to open and click Open.
- Select File from the top of your menu and click on Save from the dropdown menu.
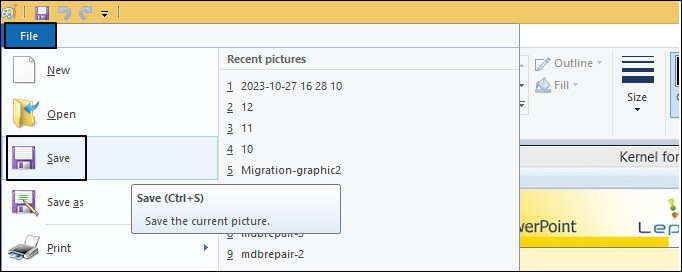
- Assign a File name, click on the dropdown arrow on Save as type, and then select PNG. Click on Save.
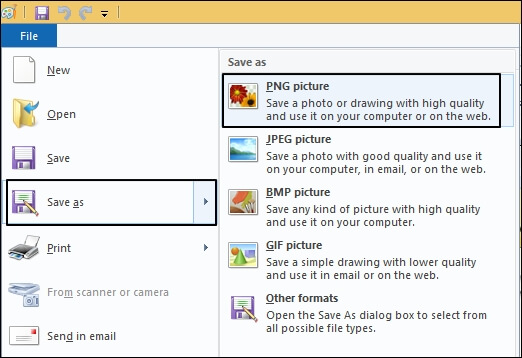
- Now, the image gets saved in PNG format, and you can open this in any application.
Method 2: Change the Format by Renaming the Image
- Begin by right-clicking the image and selecting Rename.
- Delete the file format .jpg and replace it with (any) format of your choice (say, .png).
- Hit Enter and It’s done.
- The file format of the image has been changed. It will probably help in accessing the image in the required application.
How to Recover Photos and Images that are Inaccessible?
Read Also : How to Recover Permanently Deleted Photos
Many times, users experience a scenario where photos and images misbehave while trying to open them. The most common reason behind this issue may be some bad hard drive sectors, virus infection, corrupted or broken header, incomplete JPEG scan, etc. On such occasions, you can choose to go for a third-party tool for aid, like Kernel Photo Recovery. This tool can successfully recover lost, deleted, corrupt, or any infected image and save it in your system. Download the software from the website, install it in your system, run it, and follow below-mentioned steps:
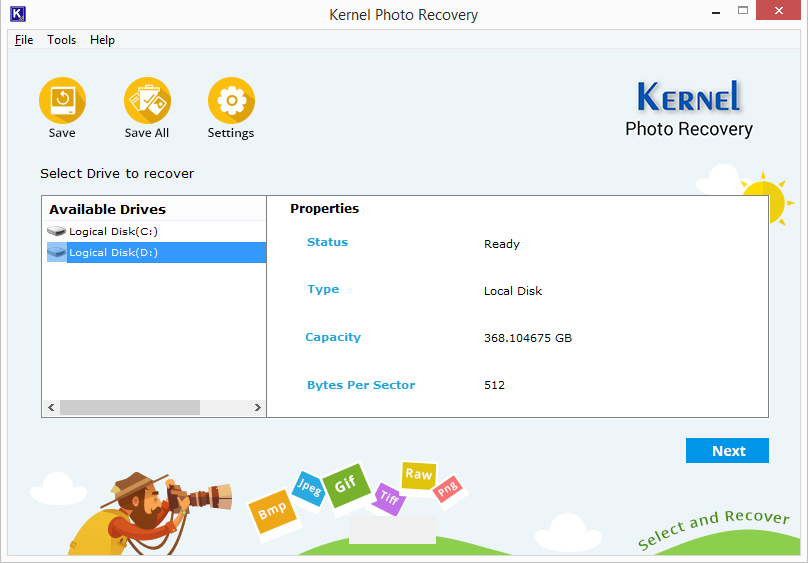
- Start with selecting the drive from which you want to recover the images.
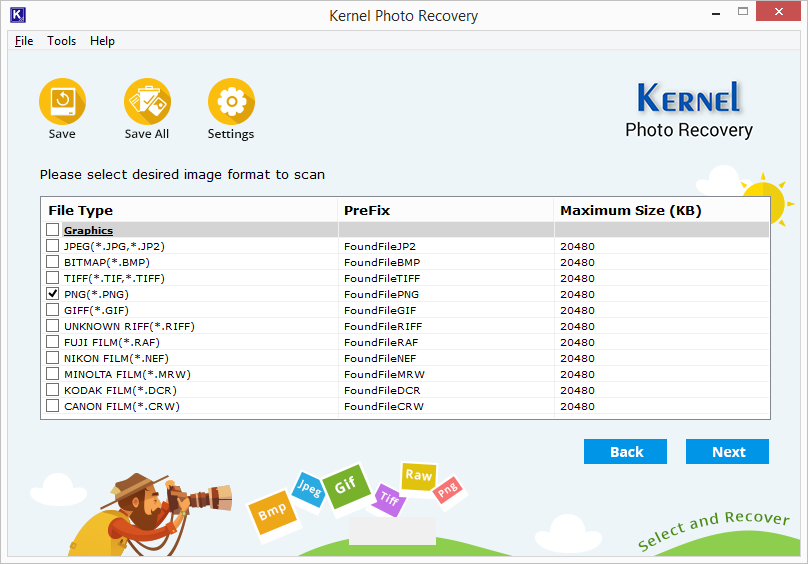
- Now, select the image format; here, I am selecting PNG to recover all the PNG format images I have lost. Select a specific format and click on Next.
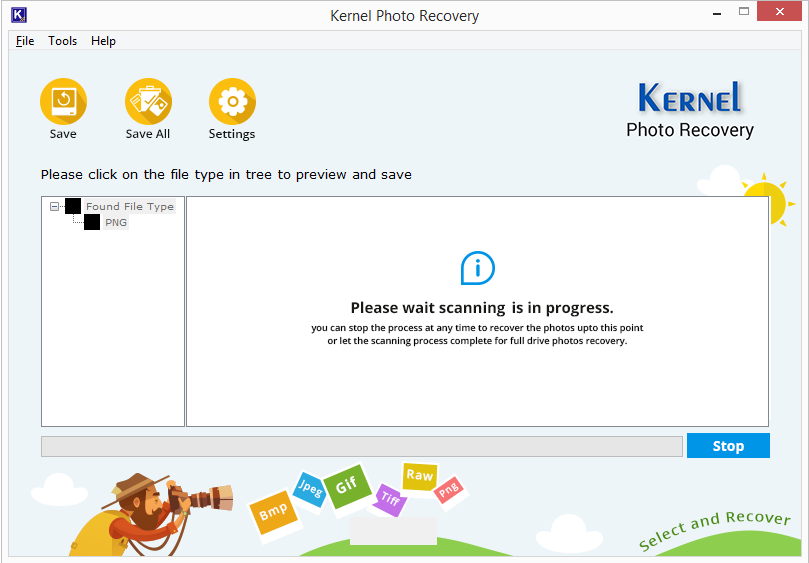
- Here, the scanning process is in progress; to stop it, click on the Stop button.
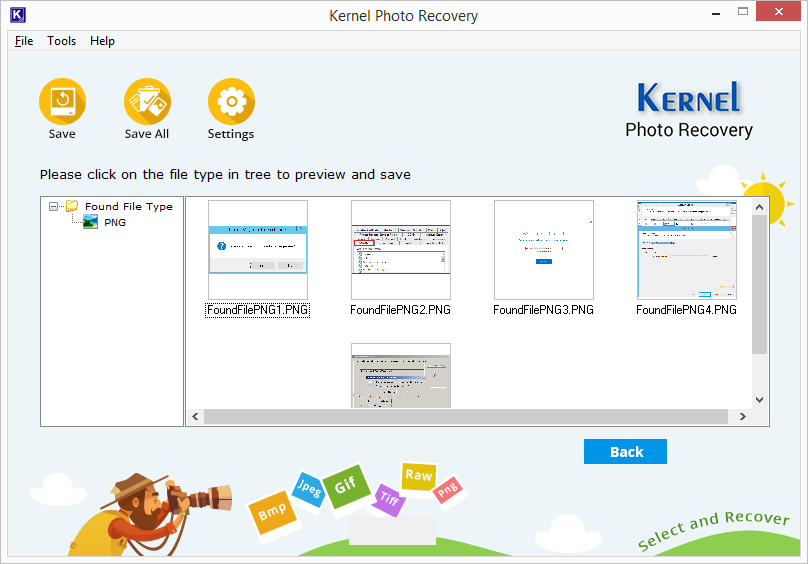
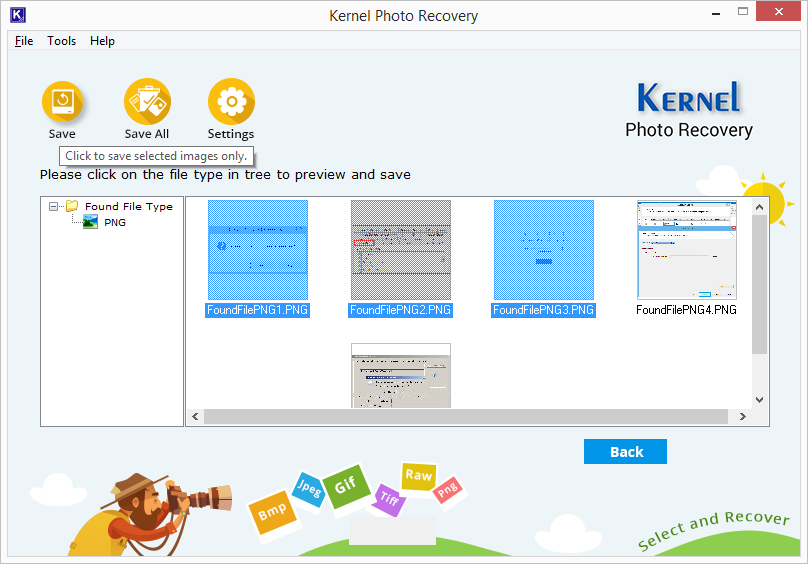
- Once the scanning process finishes, you will see the preview of recovered images, and you can select the file type from the folder tree showing on the left side of the screen.
- Once the scanning process finishes, you will see the preview of recovered images, and you can select the file type from the folder tree shown on the left side of the screen.
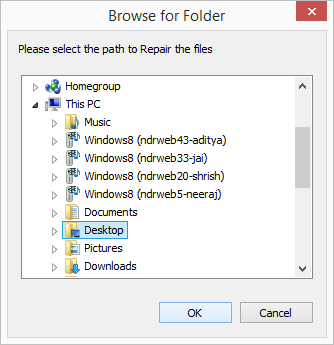
- Finally, provide a destination to save the photos and click on OK
Note: The tool offers a Settings tab where you can provide a prefix to the file and select a size for the recovery of photos. Prefix helps you recognize the folder in the drive and providing a size limit will save you from recovering unnecessary files. Once you set the standards, click on OK to proceed.

You can see how easy it is to use the software and how short the whole process is. So, try the Photo Recovery software to recover any lost images. The software comes with a trial version with which you can try all the features of the tool for free. The only limitation is that you can only have the preview of the recovered images and cannot proceed with saving them.
Conclusion
Sometimes, we recover images, and when we try to open them just after the recovery, they fail to open. In this blog, we discussed all about such instances a user may face. We discussed why images might not open after the recovery – it might be due to format support issues by your photo viewing app or due to a non-reliable source you used to fix the images, and many more reasons like that. Finally, we discussed how to fix this issue with the help of various methods. Finally, we suggested how you can open those inaccessible images with the help of Kernel Photo Recovery tool. This tool can fix such issues in a few easy steps; even you can use this tool to recover lost and permanently deleted images from your system or an external drive.