Read time: 5 minutes
SharePoint is a widely-used for SharePoint document management and collaboration. It is used by all kinds of organizations, including SMEs and big firms. However, it imposes a default upload limit of 2MB. This can be a challenge for the users wanting to upload files greater than that size. So, how do we go about it?
We know that the ability to upload files to SharePoint is quite crucial for businesses and firms dealing with extensive datasets, comprehensive reports, multimedia files, or other documents. Thus, efficient handling of these files is necessary for smooth collaboration, data analysis and information sharing. Today, we will help you with our best ways to upload file to SharePoint and bypass these limitations. Here, you will find a comprehensive guide on how to upload file to SharePoint to carry out the process conveniently.
How to upload a file into SharePoint manually?
We have a few basic methods for you to follow and upload file on SharePoint in the easiest way possible. These steps are quite simple and can be carried out by non-technical users too. So, follow the steps carefully and read on.
Method 1. Using the Upload option
- Open the SharePoint Site library.
- In the Documents tab, tap on Upload.
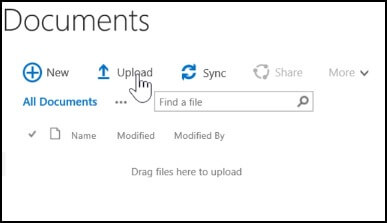
- Click on Browse and select all the files you want to upload.
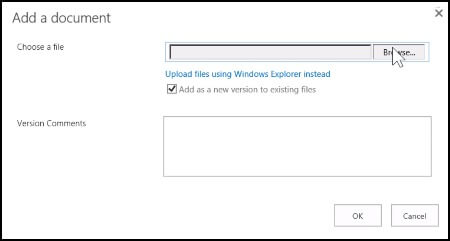
- Tap on OK and the files will be uploaded instantly.
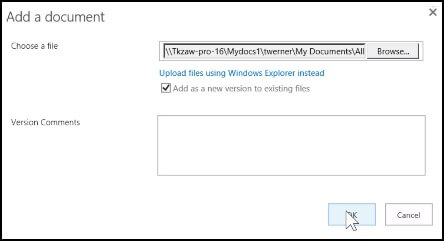
Note: The time it takes for the upload depends upon the file size. So, be patient, sit back and relax during the upload process.
Method 2. Using the drag and drop option
- Access the SharePoint Site library and go to the Documents tab.
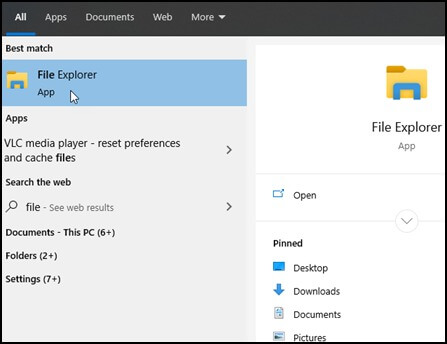
- From your PC, open File Explorer and select the documents you want to upload.
- Simply drag the files into the SharePoint library where it says drag files here. You should see “Drop here” when you hover over a file in the library.
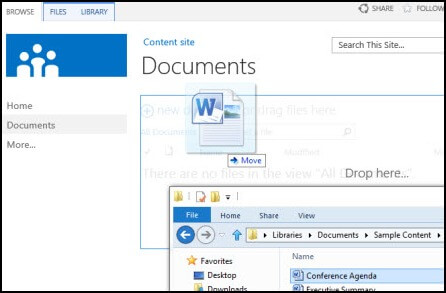
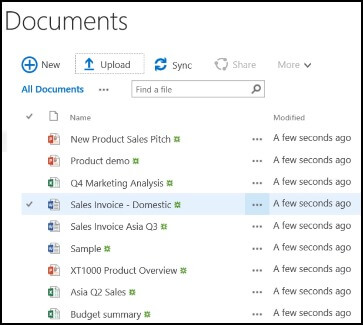
- The Document library should show your files now.
Method 3. Core.LargeFileUpload sample add-in
At times, the above methods might fail in uploading large files to SharePoint so, we are here with a simple add-in. The Core.LargeFileUpload sample add-in for SharePoint addresses the challenge of uploading large files. This provider-hosted add-in offers a robust solution for bypassing the standard SharePoint limits and assist users how to upload file in SharePoint libraries.
The add-in showcases multiple methods for file uploading, including the SaveBinaryDirect method, the ContentStream property usage, and a combination of StartUpload, ContinueUpload, and FinishUpload methods. These options provide flexibility for different scenarios for a reliable and efficient uploading of large files, vital for organizations dealing with substantial data volumes.
- Using the SaveBinaryDirect Method: Ideal for large files without size limits, especially in user-only authentication scenarios.
- ContentStream Property: Best for files smaller than 10 MB. It streams files directly into SharePoint without creating a significant load.
- Implementing StartUpload, ContinueUpload, and FinishUpload: This method is used to upload file to SharePoint in chunks. It is highly effective in SharePoint Online for files larger than 10 MB for stability and efficiency.
Let’s utilize the Core.LargeFileUpload add-in
To use the Core.LargeFileUpload add-in in SharePoint, you need to set up the environment, handle authentication, and manage large file uploads. The process involves:
- Setting Up the Environment: Download the Core.LargeFileUpload add-in from the Office 365 Developer Patterns and Practices project on GitHub. Set up your SharePoint environment and the add-in as per the guidelines.
- Authentication and Access: When running the add-in, you will have to authenticate with your SharePoint Online credentials. This step is for secure access to your SharePoint site collection.
- Handling Large File Uploads: Use the provided methods (SaveBinaryDirect, ContentStream, StartUpload, ContinueUpload, FinishUpload) to upload files.
Is there any alternative to upload files to SharePoint instantly?
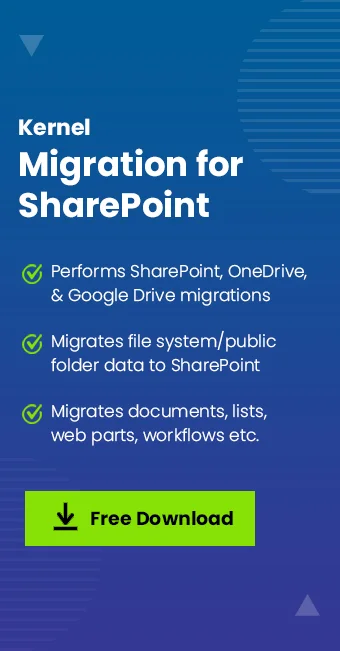
By going through the above-mentioned methods, you can upload file to SharePoint without any difficulties. But what if you have a huge amount of data on SharePoint servers, you will need to have a fully automated SharePoint migration solution. We present you with a reliable tool: Kernel Migration for SharePoint software which can automate file upload to SharePoint procedure completely.
This SharePoint Migration software is a top-quality solution for SharePoint migration designed for seamless transfer of data regardless of their size. With migration support between various SharePoint versions and to SharePoint Online, it has capabilities for bulk SharePoint migrations, scheduled migrations along with full data integrity. All in all, it is quite valuable for complex migrations and a smooth transition of data with minimal disruption.
Final thoughts
After our detailed analysis, you now know how to upload a file in SharePoint. Three top methods include: Upload option, Drag and drop option, and the Core.LargeFileUpload Sample Add-in. Choose the most appropriate method as per your file size and other requirements. For more complex SharePoint migration tasks, we recommend you go for our automated SharePoint migration tool and get all the migration issues sorted out in no time. So, get ready to counter the difficulties of SharePoint migration with ease now.