Read time 6 minutes
Microsoft Teams provides an excellent platform for seamless collaboration with your team, allowing for the effortless sharing of crucial files without disrupting productivity. This application is highly effective in facilitating file sharing and concurrent group work, ensuring a streamlined process without any potential confusion.
Many users often wonder about the process of uploading files to Microsoft Teams. While some may perceive it as complex, in reality, it is quite straightforward. There are primarily three solutions available to upload files to Microsoft Teams. This blog will discuss and present them in a user-friendly manner to ensure a quick file upload process.
Nevertheless, if you’re looking to migrate data between different Microsoft Teams tenants, a specialized tool may be required. Later in the blog, we will share an advanced tool to handle complex data migration efficiently.
3 Methods to upload files to Microsoft Teams?
Microsoft Teams comprises of different components such as Channels, Chat, Posts, etc. We will utilize 3 Teams components to share files in Microsoft Teams. Follow the 3 methods outlined below to send your documents, images, and other files in Teams.
Method 1. Upload files through channel
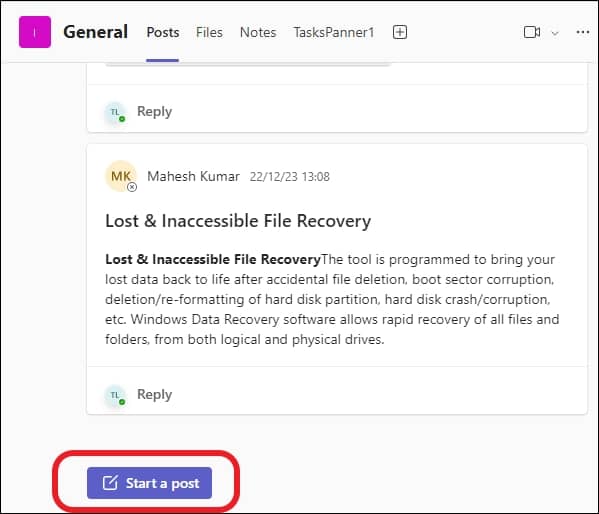
Here is the simplest method for uploading and displaying the image as a message. We will use channels in Team to share files, follow the steps below:
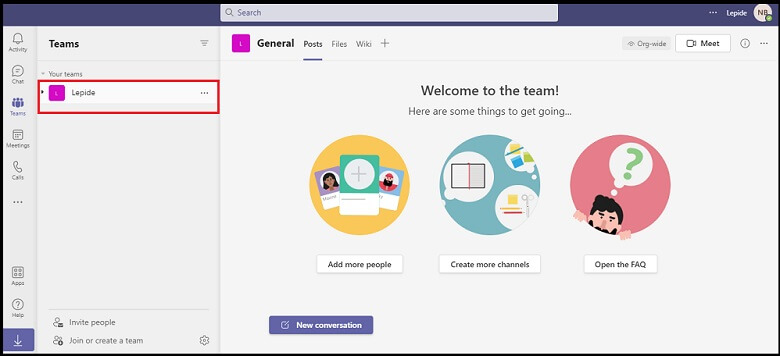
- Open Microsoft Teams and select the Teams tab, then choose the channel of your preference and click Start Post.
- Click the + icon, then select Attach file.
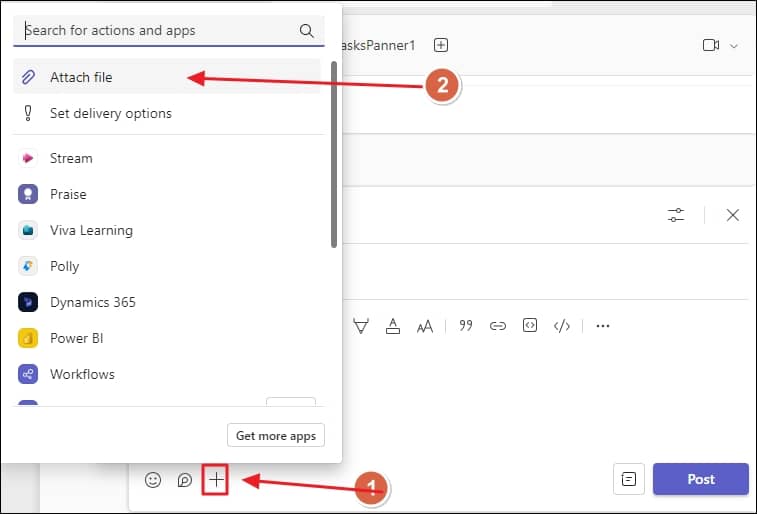
- Select Upload from this device or Attach cloud files (OneDrive).
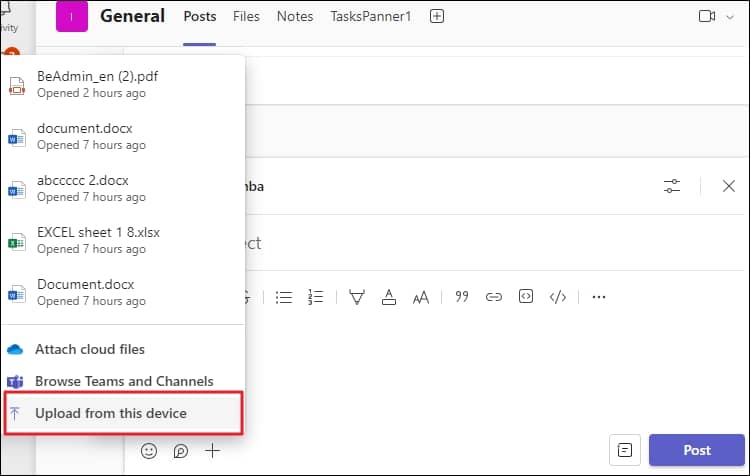
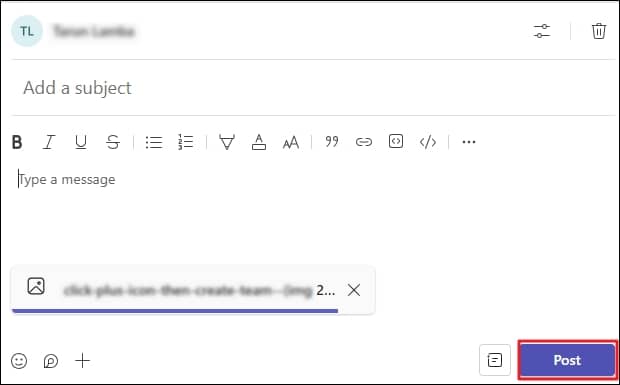
- If you select Upload from this device, system file explorer will open. Select the file to upload and click Open.
- Once the file is uploaded in the message section, click Post to send it.
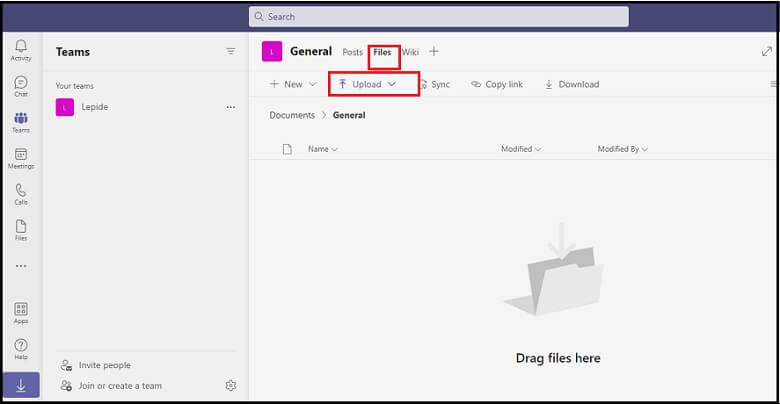
- Open Microsoft Teams and select the channel.
- Open the Files Tab. Click on the Upload option.
- You can either select Files or the Folder.
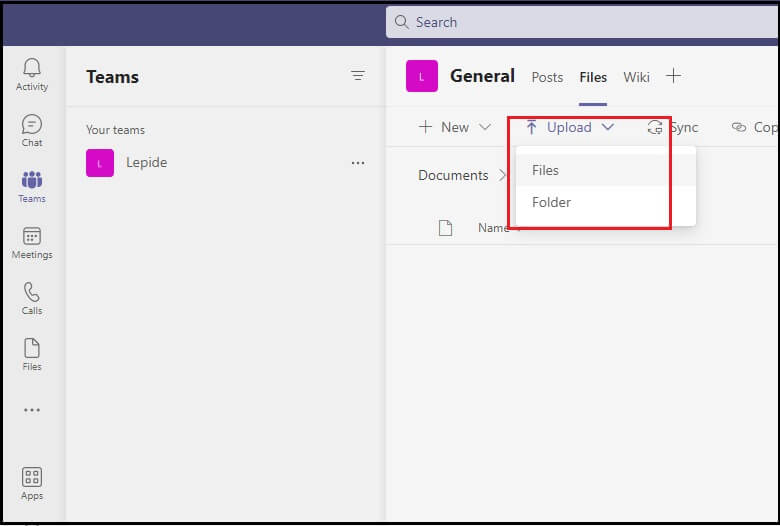
- System file explorer will pop up. Select files or folders as required and upload them.
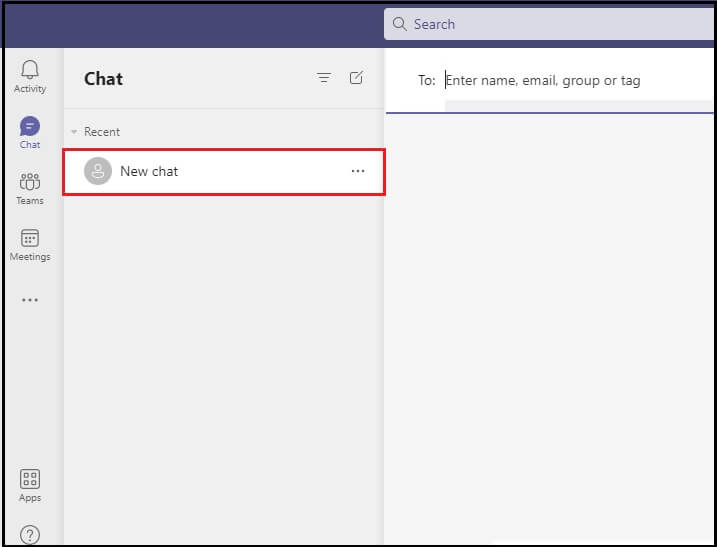
- Open Microsoft Teams and click on the Chat option.
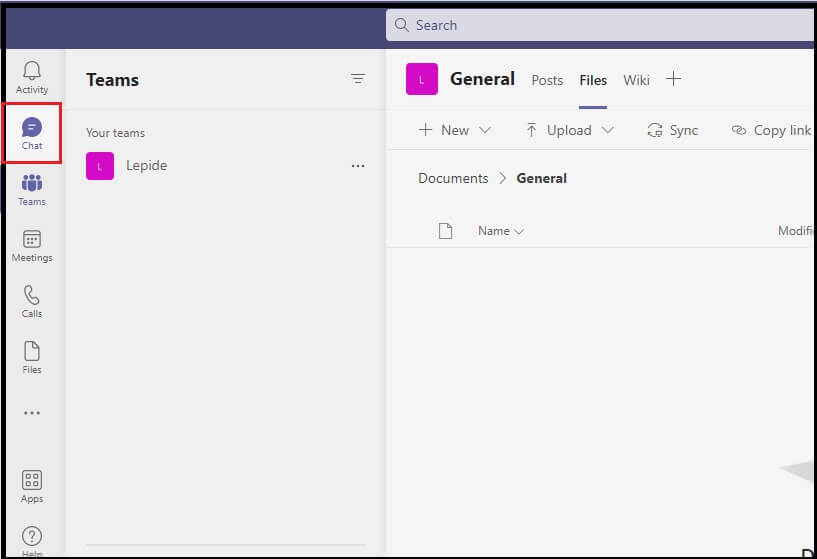
- Either select a recent chat or start a new one.
- In the chat window, at bottom right, click the + icon and choose Attach file.
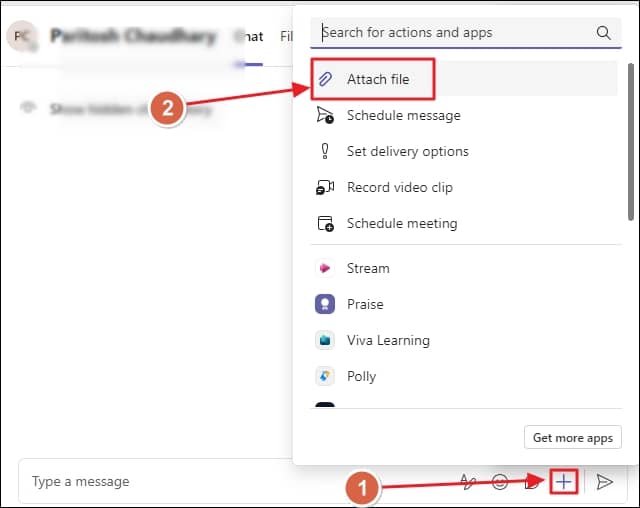
- You can either upload files from local system (Upload from this device) or upload them from OneDrive (Attach cloud files).

- Migrate complete Team content, including chats, channels, files, tabs, call, among others.
- Along with data transfer, users define configuration and settings such as group and privacy settings.
- Migrate one-to-one Teams chat and private channels accurately over a secured & reliable connection.
- Team mapping functionality displaying all Team present in source & destination to enable smooth migration.
- Preserves complete data integrity and maintains original hierarchy of files and folders.
Method 2. Upload files through the Files tab
In Team channel, you get a dedicated Files section. You can utilize this to upload various files in Team. The process to use Files tab for file sharing is given below:
Method 3. Upload files using the Chat tab
Another method to share your files in Team is using the chat feature of Microsoft Teams application. Follow the steps below to do so:
Migrate Microsoft Teams
Up until now, our focus has been on transferring data from a local PC to Microsoft Teams. However, there are scenarios, such as mergers, acquisitions, and account consolidations, that necessitate Teams data migration to different Office 365 tenant. To ensure the secure preservation of crucial information, such migration requires a specialized tool capable of handling complicated migration tasks easily.
Kernel Microsoft Teams Migration is an automated tool to effortlessly migrate single or multiple Team from one tenant to another. The tool performs a precise and accurate migration of all Microsoft Teams data. What sets it apart is its ability to migrate the complete dataset, encompassing text, emojis, messages, and crucial files. Furthermore, it seamlessly transfers threaded conversations along with all attachments within the chats.
Prominent features of the Team migration tool:
Conclusion
To address the query of how to upload files to Microsoft Teams, there are several methods available. If you’re acquainted with the process, it’s straightforward. You can achieve this through the Channel, File tab, or Chat tab. Nevertheless, when it comes to transferring data between different Microsoft Teams tenants, a specialized tool is necessary. In such cases, we recommend using Kernel Microsoft Teams Migration, a professional-grade solution.