Read time 5 minutes
Everyone who uses Outlook surely is aware of its Autocomplete feature. It is one of the most important features of Outlook and knowingly or unknowingly everyone uses it every time they use Outlook.
Every time you send an email, it saves the email ids used in that email and suggests you the most relevant ids while drafting an email again. Autocomplete feature uses cache memory to provide you with the closest possible match for the email ids you want to enter.
Now, we are going to mention a few important tips with which you can make the most efficient use of the Autocomplete feature.
1-Delete irrelevant email ids ASAP
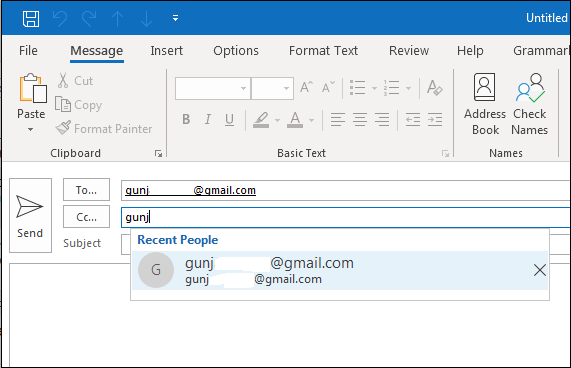
As we know that the Autocomplete feature of Outlook aids while typing an email id by suggesting the most relevant email ids. Sometimes, while saving the useful email ids, Outlook also saves the incorrect ones and the ones you won’t need any further. In such cases, you would like to delete or remove the Email ids you don’t need any further. For this, start creating a new email and type the email address you think has an incorrect version of it. As you type the email address, the Outlook will start suggesting you with the similar email ids you would have entered earlier. From the suggestions drop-down box, select the irrelevant or incorrect email id and click on the Cross (X) icon to delete the email id instantly and permanently.
2-Regularly remove unwanted Eemail ids
Outlook has a limit to save email ids for autocompletion, which goes from 1000-2000 depending on the version of Outlook you are using. If the limit exceeds, Outlook will automatically start removing the email ids you don’t use that frequently now. To avoid this situation, it is better if you yourself start removing and managing the entries.
3-Manage the Autocomplete option
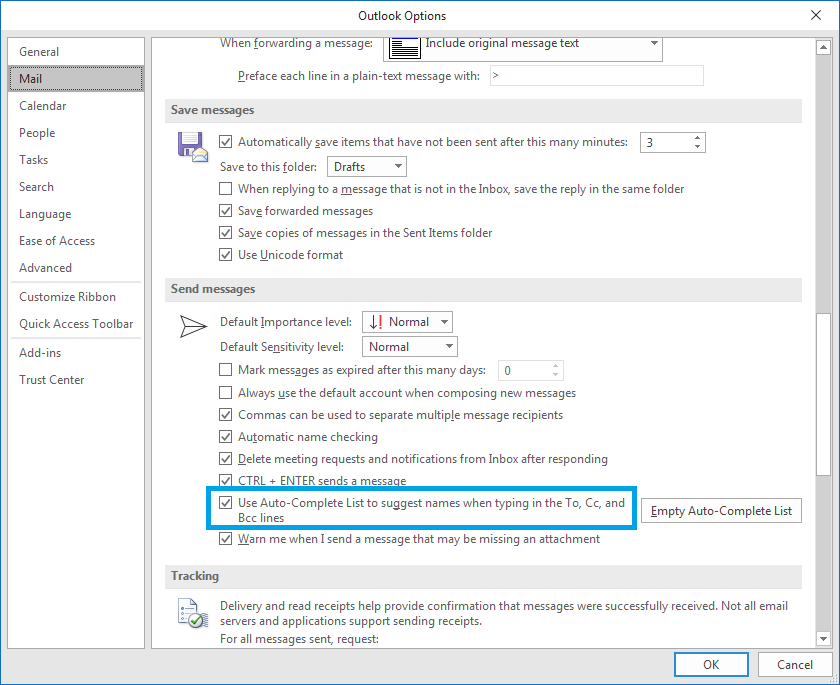
You can always manage and control all the features in Outlook, and hence you can also manage the Autocomplete one too. You can either enable or disable the Autocomplete feature as per your convenience. To do this, click on the File menu and select the Options to open the Outlook Options dialogue box. Now, click on the Mail category and trace the Send Messages section and uncheck the box “Use Auto-Complete List to suggest names when typing in the To, Cc, and Bcc lines.” This will disable the Autocomplete feature from your Outlook profile. Once done, click on, OK.
Follow the same process to enable it again.
4-Empty the AutoComplete list
If you do not want any of the saved emails in your Autocomplete list anymore and want to start with fresh ones, then you can empty the whole list. To empty the Autocomplete list, you need to click on the File menu in Outlook, select Options from the list; this will open the Outlook Options dialogue box.
In the Outlook Options dialogue box, select Mail from the category and locate Send Messages from the category details, and click on the Empty Auto-Complete List. As you click on this option, all the Auto-Complete history will be cleared, and you can start from all new emails. Click on OK while leaving.
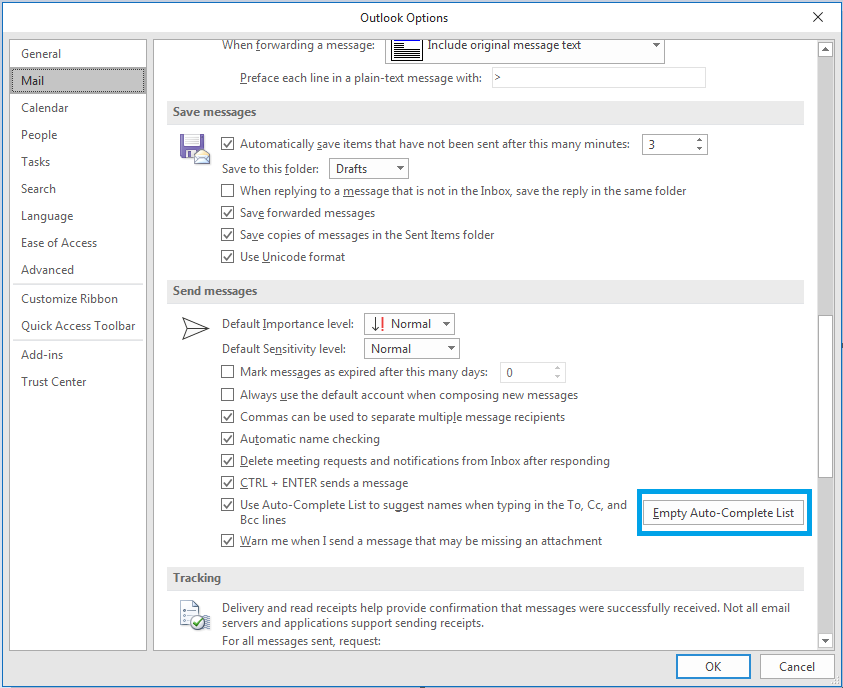
Note: By clicking on Empty Auto-Complete, only the Auto-Complete address list will be deleted and won’t make any changes to your contact list.
5-Add bulk email Ids to AutoComplete list
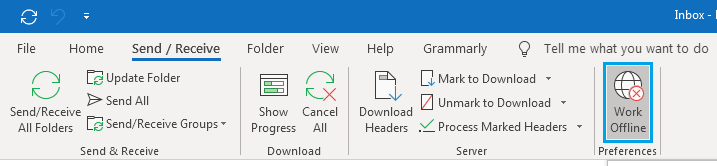
You can add bulk or multiple emails to the AutoComplete list from the Address book of Outlook. For this, you first need to put the Outlook in Offline mode and start creating an email. For activating Offline mode in Outlook, click on the Send/Receive tab and then click on the Work Offline button.
Now, click on the Home button, select Address Book. Now, select all the contacts you want to add by pressing the Ctrl key simultaneously. Now, click on the Add the Selected Contacts; once it is done, click on the OK button.
Now back to creating the email, click on the Send button to move the email to Outbox. Once the email is moved to Outbox, go to the Outbox folder and delete the email. Make Outlook Online again and Voila, all your contacts are added to AutoComplete list now.
Conclusion
Here, we have discussed how the Auto-Complete feature helps in making Outlook experience better and how we can use it to its best extent. I hope you will find all these tips helpful. For more Outlook related issues and errors, especially with PST, try Kernel for Outlook PST Repair software .