Read time: 6 minutes
Offline Storage Files or OST files store user mailbox information on a local machine when they are registered with Exchange Server or IMAP server through Microsoft Outlook. After Microsoft Outlook connects and find the Exchange server address for the first time, this file is automatically created. As soon as the file is created, it is synced with the email server, so the data is available online and offline even if the email server is unreachable.
OST files contain all the items in your mailbox, such as emails, contacts, notes, tasks, & more. When the size of the OST file increases, it will negatively impact Outlook performance. Additionally, the user may lose access to their important data if the size of the OST file leads to corruption. This is the problem with large OST files that force users to split them. Users can either split the OST files manually or with a reliable OST splitter utility. Before going for the splitting method, let’s know the disadvantages of large OST files.
Disadvantages of oversized OST file
v
- The Outlook program performs poorly.
- Synchronization problems occur.
- There is a delay in sending and receiving emails.
- Occasionally, Outlook freezes or fails to respond.
- Outlook does not respond.
Now, let’s go to the stepwise manual methods that help to resolve oversized OST files issues effectively.
Effective methods to split OST files
First of all, you will have to remove all Outlook add-ins from the Outlook email client on your system. By disabling add-ins, you can improve Microsoft Outlook’s performance when it comes to opening, processing tasks, sending & receiving emails. Then try the following methods to solve oversized OST file issues:
Method 1. Archive OST data (Manual way)
You can easily split the OST file and reduce the size via archiving the OST data. Once you archive the OST data, you can prevent the OST file size from exceeding the default file size limit.
Step 1. Open Outlook account, tap on the File menu, hit on Tools and go to the option Mailbox Cleanup.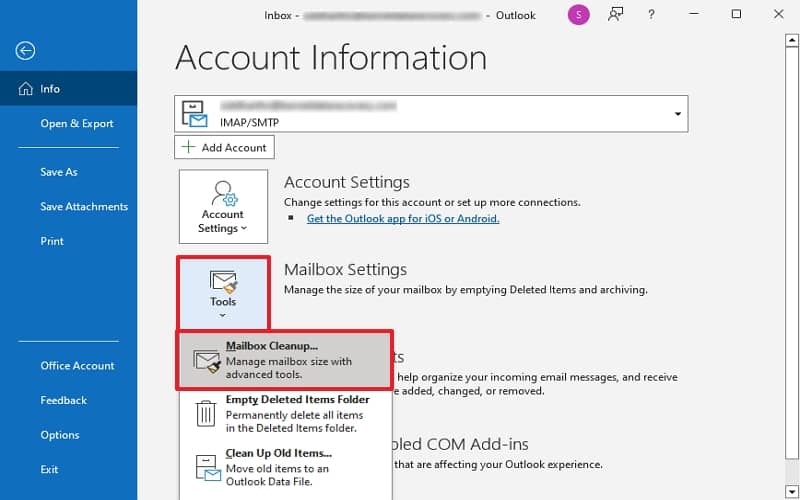
Step 2. Now, click on AutoArchive to move old mailbox items to the archive folder. Users also have the option of deleting items that are not needed.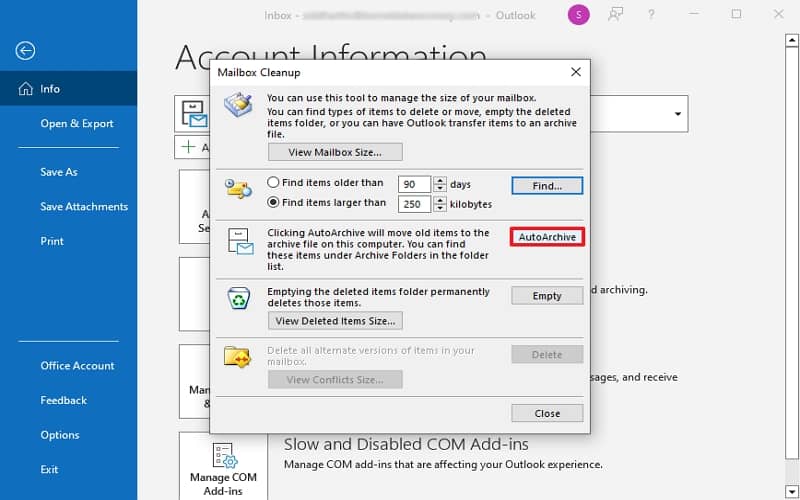
Archiving is a good option to reduce the size of the OST files.
Method 2. Automated way to split OST files
However, the manual way to split OST file is not reliable as it contains certain limitations. You can’t recover your deleted items while splitting OST file. So, it recommended to use OST splitter software to escape the limitations of manual approaches. Kernel for OST to PST Converter converts OST files to PST files of specific sizes. So, you can save large OST files in multiple PST files. It can save email data, attachments, contacts, and calendar data even from corrupted OST files. Furthermore, this OST to PST converter supports all versions of Exchange/Outlook OST files.
Additional features of Kernel OST to PST Converter
Along with splitting OST files it also has many advanced features that are helpful to the users in many ways. The features are:
- Multiple saving options including PST, MSH, EML, MBOX, PDF, and many more.
- Direct migration facility to several cloud platforms and email clients.
- Previews the original hierarchy of OST folder while keeping the data intact.
- Multiple file sizes available to split OST files.
- Provides advanced filter for specific OST file data.
Simple stepwise procedure of professional tool to split OST files
Managing large PST files becomes easy with its splitting function, which lets you split OST files according to size of 1GB, 2GB, 3GB and more. Below, we will see how to use this tool and split OST files as easily as per your desired size requirements.
Step 1. Download and install Kernel for OST to PST Converter software.
Step 2. Open the tool to split OST files by size and click the Browse button. To add more than one OST file, tap the + button.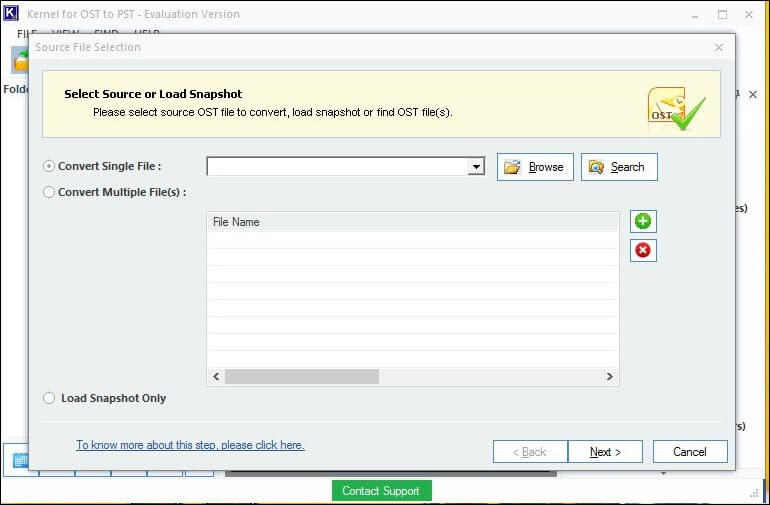
Note: Use the option Search if you cannot locate your OST file.
Step 3. Now, you need to select your OST file and tap OK.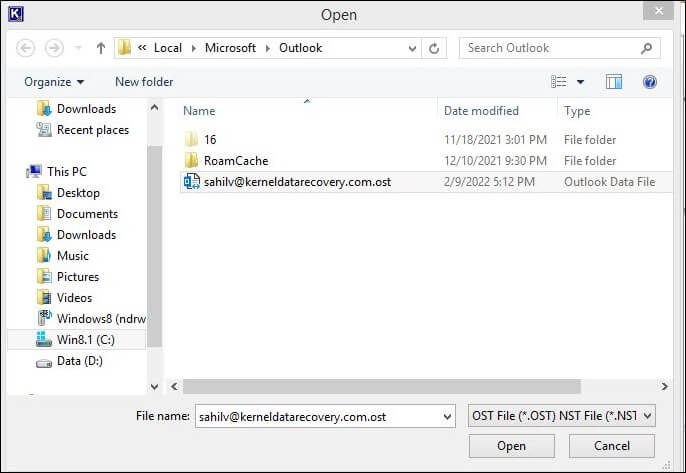
Step 4. View and confirm your selected OST file and tap on Next.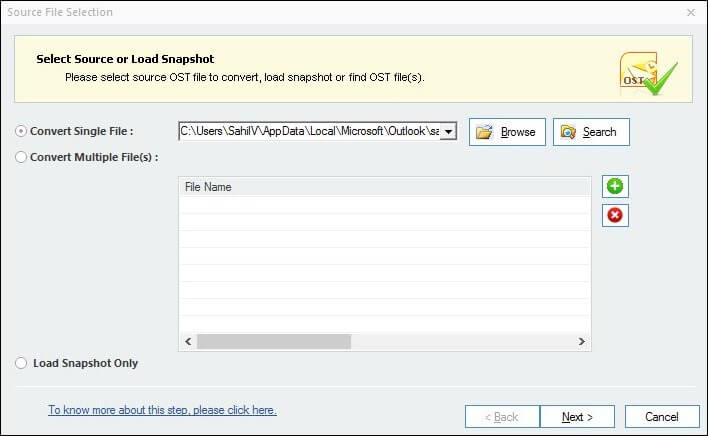
Step 5. During the process, click Next and view your OST file data.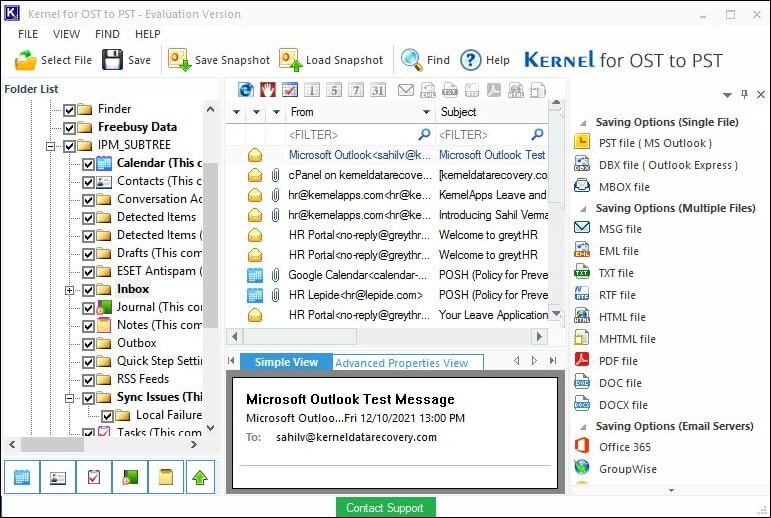
Step 6. Then, select the PST file as your output file type to convert OST to PST file and click Next.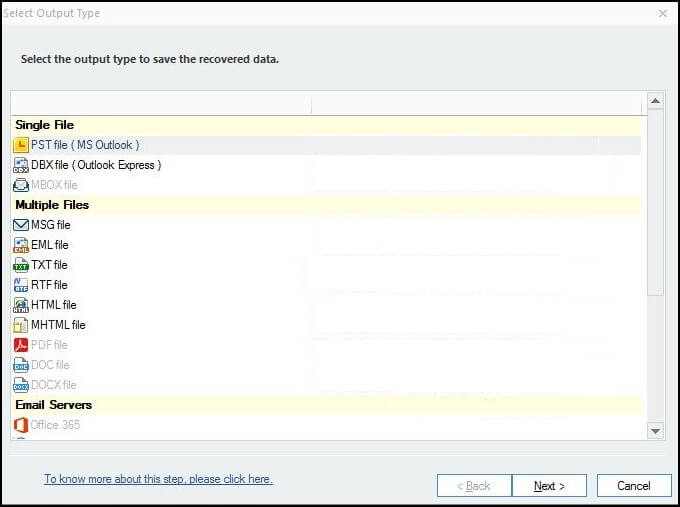
Step 7. You can even select the desired filters namely Date Range, Item Type, etc. and save specific items to the PST.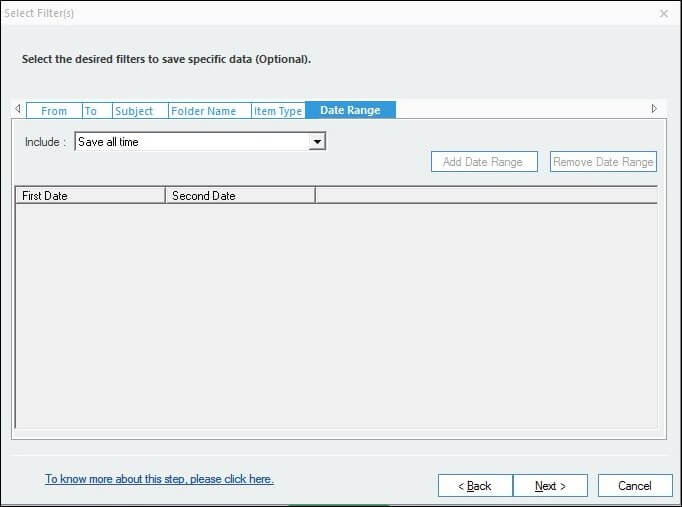
Step 8. Next, you’ll see the Split Option. OST files can be split by size from 1 GB to 45 GB. Select the size within the drop-down menu.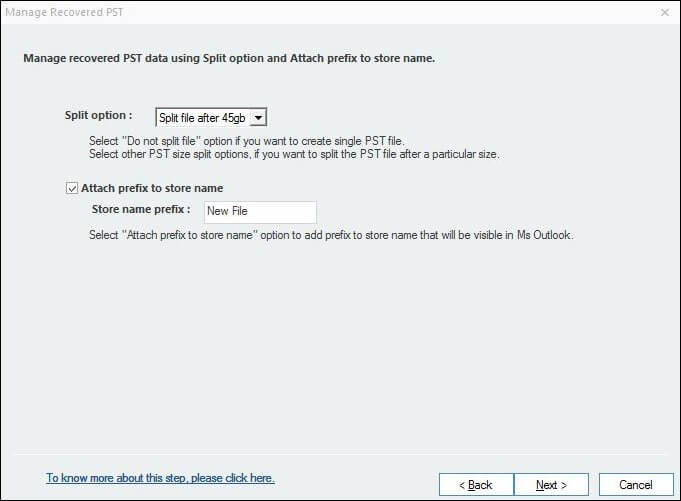
Step 9. Now, pick a destination for your file. Tap on Ok and Finish.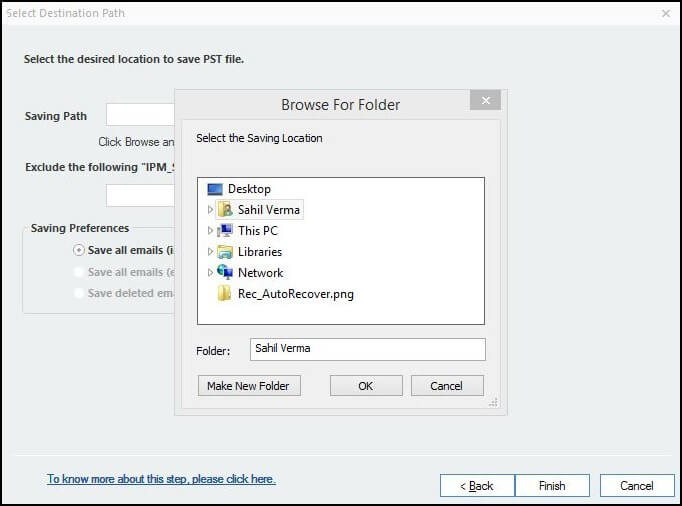
Step 10. In a few seconds, the process of splitting the OST file by size will be completed.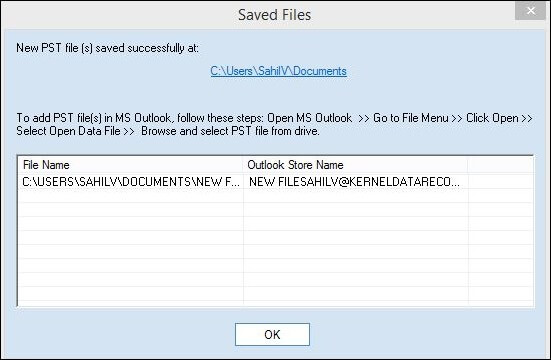
Conclusion
We have provided the best solutions with stepwise procedure to split the OST files manually or via the OST file splitter tool. With our stepwise instructions, you can easily split OST files within seconds. It is recommended to keep a reliable OST converter on your system, it will make your process easier, better, and more reliable. Utilize the software now!