Read time 4 minutes
Outlook never fails to impress users with its most powerful email management facilities. You can easily compose, send and receive emails through Outlook. It is essential to make sure that grammar is perfect while composing an email message. If the email message is written with the wrong grammar, the entire meaning of the sentence will change. Outlook offers a special feature, “Spelling and Grammar” for ensuring the written email message is grammatically correct. Somehow, if spell check in Outlook is not working, it can be problematic. Through this blog, we will provide some methods to fix the Spelling and Grammar check is not working in Outlook.
Causes of the Spell Check is Not Working in Outlook
The automatic spell check in Outlook saves us from making blunders in our professional emails and reports. But, when spell check in Outlook is not working, we may make some gruesome mistakes that we overlook due to the automatic spelling checks. There can be different reasons behind such sudden stopping of spell checking.
- Spelling and Grammar feature is disabled
- The grammar checker does not support the language of the email.
- The Outlook version is old.
- An update is pending for Outlook.
- Malware attacks or third-party add-ins may be stopping this feature.
Methods to Fix Spell Check is Not Working in Outlook Issue
Here are some ways that will help you fix the problems of the spelling and grammar check not working in Outlook.
Method 1. Check Manually for Spelling and Grammar before Sending
You can check for spellings with the F7 shortcut key on your keyboard or you can click the Review tab from the menu bar and click on the Spelling & Grammar.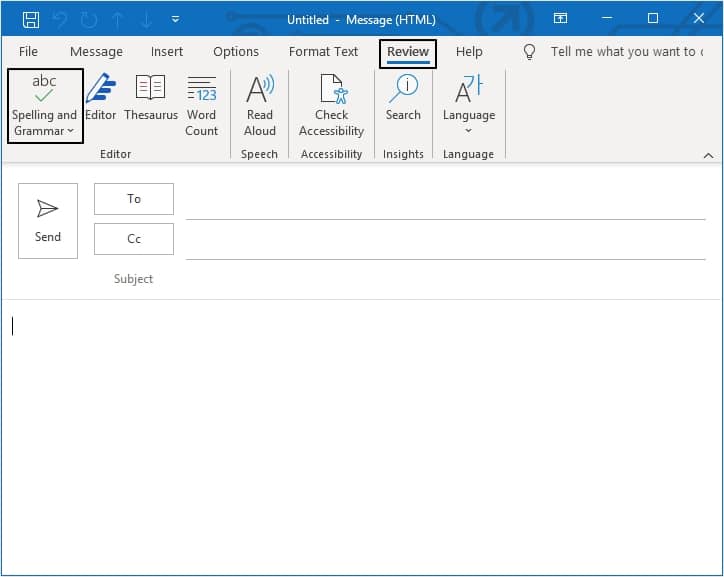
This method might not work for all versions of Outlook, therefore, here’s another way to set up spelling and grammar check in different versions of Outlook.
For Outlook 2019, 2016, 2013, 2010
Steps to conduct Spelling and Grammar check in Outlook versions 2019, 2016, 2013, and 2010 are listed below:
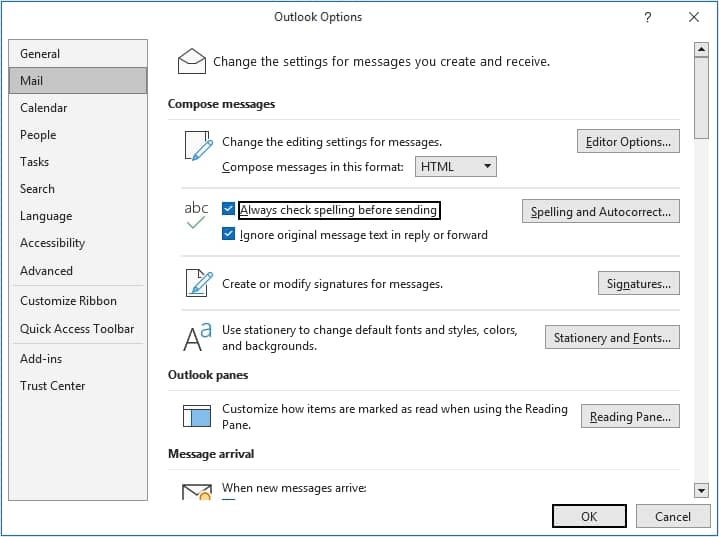
- Open Outlook and go to File
- Now go to Options and click on Mail.
- Under Compose Message, select Always check spelling before sending. And click on the OK.
For MS Outlook 2007
Steps to enable Spell and Grammar check for Outlook version 2007 are listed below:
- Click Tools and go to Options.
- Click the Spelling tab and select Always Check Spelling before Sending.
Method 2. Enable Proof Reading at Template Level using Language Options
You can also enable and disable spelling and grammar checking at the template level for every email message you send. Here’re the steps to do it according to the Outlook version you use.
To enable proofreading at template level in Outlook version 2019, 2016, 2013, and 2010, follow the steps mentioned below:
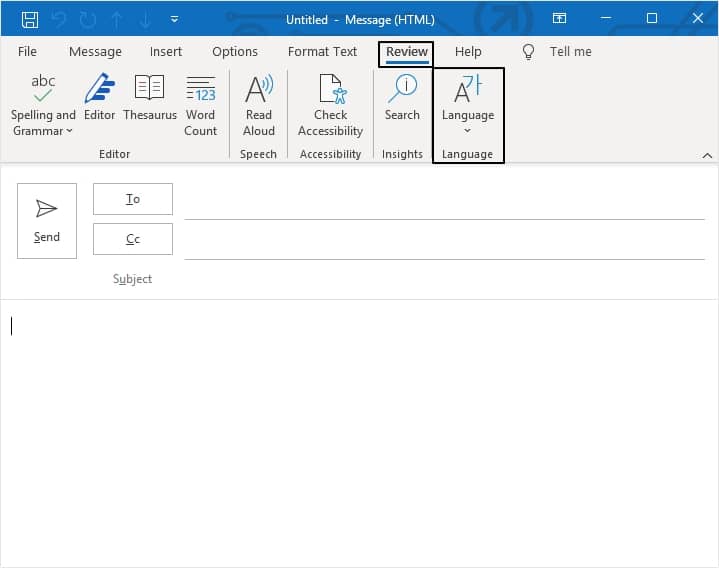
- Click on New Email.
- Now click Review and go to Language.
- Now select Set Proofing Language option.
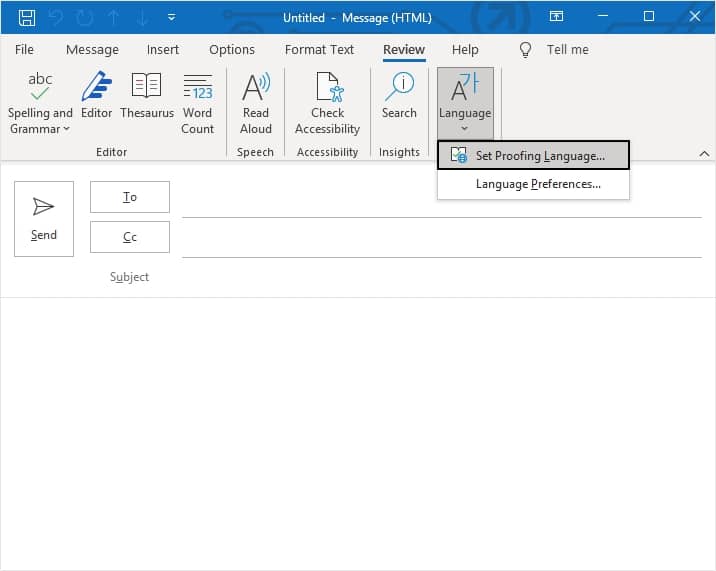
- Now uncheck Do not check spelling or grammar and click Set as Default.
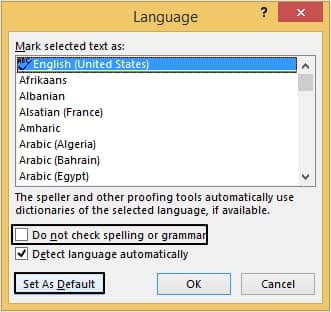
- Hit the OK button to finalize the settings.
For MS Outlook 2007
Here is the easy process that you can follow to email message’s proofreading:
- Click on New and select Mail Message.
- In the Home tab in the Proofing group, go to Spelling.
- Now in Set Language, uncheck Do not check spelling or grammar.
- Click the Default button.
By following the above steps, you can disable and enable spelling and grammar check in Outlook for different languages as required and apply the changes at the template level.
Conclusion
Spelling and Grammar feature of Outlook is very helpful for users. However, if you are unable to utilize this feature, you need to fix this issue quickly. From restarting Outlook, setting Outlook Auto Check, disabling message ignoring, to manually running spell checks, there are many methods to resolve this. You can easily fix and repair “spelling and grammar check is not working in Outlook” and other Outlook PST related issues with Kernel for Outlook PST Repair tool easily.