Read time: 4 minutes
In this blog, we shall discuss a few easy ways in which we can delete the media files permanently from computers and connected storage media devices. There are two ways to delete video files – normal deletion and permanent deletion. We will see both cases here.
Delete photos and videos from the system
First, we will see the case of the normal deletion of photos and videos from the system. In this case, media files will be stored in Recycle Bin for some days before they are deleted forever. Here is the process of deleting a video file:
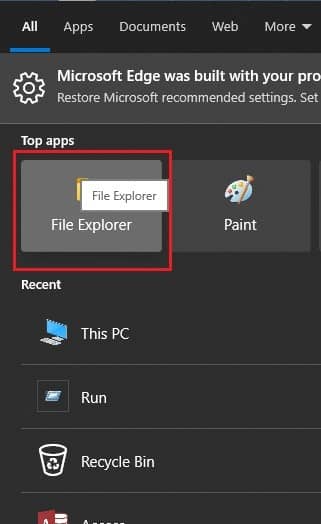
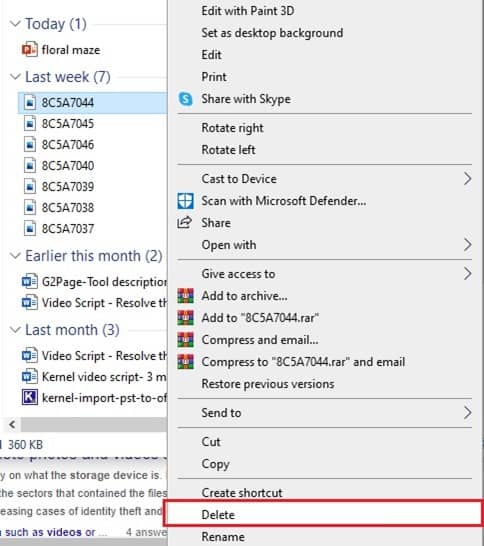
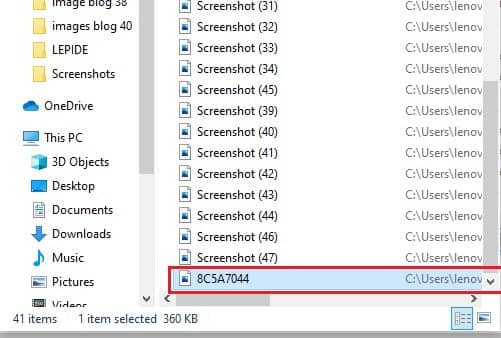
- Go to File Explorer on the system.
- Select the image or video file you want to delete.
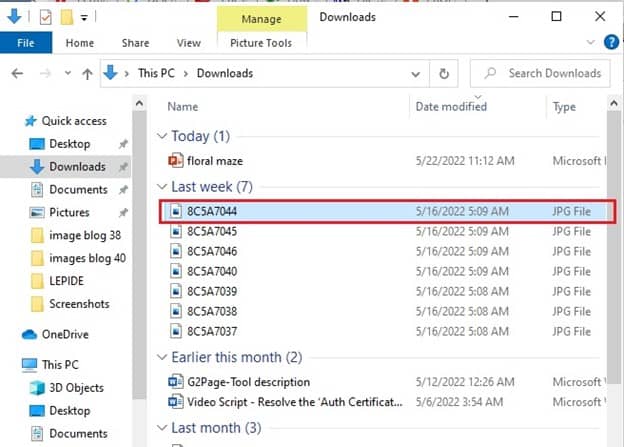
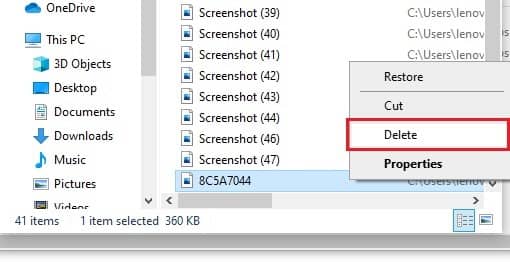
- Right-click on the selected item and click on Delete.
The items deleted so will then be moved to Recycle Bin. Such temporary deleted video files can be easily recovered, which can be risky from the point of privacy.
Restore deleted photos and videos
A video file or image file moved to Recycle Bin can be restored very easily as:
- Go to Recycle Bin.
- Right-click on the photo or video you want to restore. Select the option Restore.
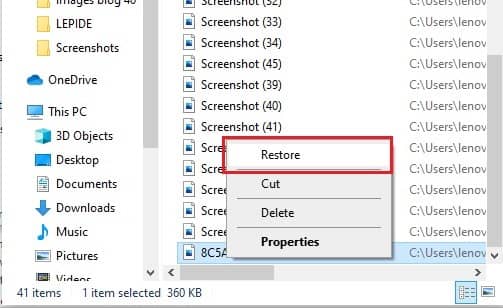
- The item will then be restored to the original file location.
Note: You can also select Properties and then select Restore.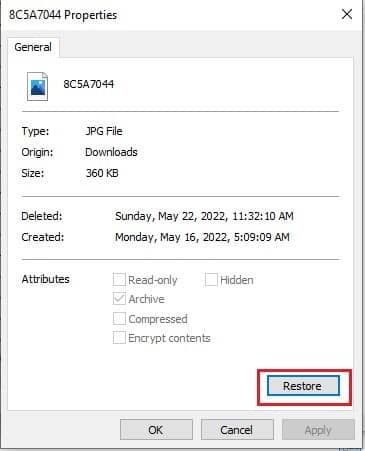
Delete photos and videos permanently
As you have seen, the video file or image file can be easily restored after normal deletion. However, if you delete the image or video file from Recycle Bin, it cannot be recovered easily (unless you use a file recovery tool). So, if you don’t want the video file to be recovered by others easily, you need to delete the video file permanently.
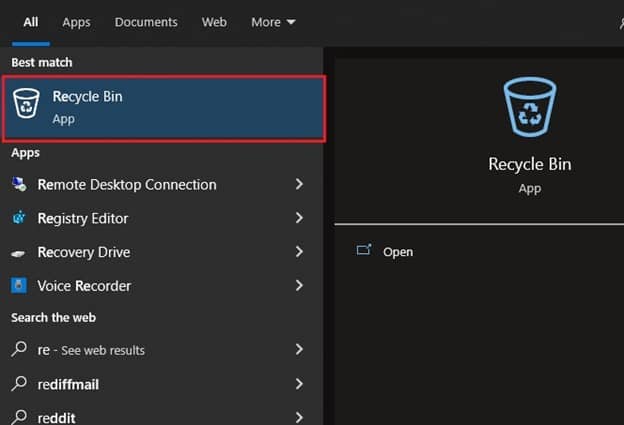
- Go Recycle Bin folder on your system
- Select the image or video file you want to permanently delete.
- Right-click on the item and select the option Delete.
To recover permanently deleted items, one should use a file recovery tool.
You can also press the Shift + Delete combination key on the keyboard to permanently delete the photos and videos.
How to delete video files beyond recovery?
Even after permanent deletion, the files remain in PC or storage media until their space is overwritten by some other data. A good Windows data recovery tool can easily recover even permanently deleted video and image files. However, you can shred these files using a professional tool to make them irrecoverable. One such impressive tool is Kernel File Shredder. It is an effective utility that comes with powerful shredding methods by which the files are deleted beyond restoration. Using this you can easily delete files permanently from your windows recycle bin. The software comes with multiple options such as Shred Fie and Folder, Shred Recycle Bin, Shred Useless file, etc. It supports all Windows versions and storage media.
Summary
Even after deleting sensitive and confidential data from computer or storage devices, there is always a threat of data leakage. As the manual deletion options do not guarantee permanent data shredding, it is important to switch to Kernel File Shredder, which guarantees complete deletion of video files beyond restoration and delete data permanently from PC.