Read time: 11 minutes
OST files in Outlook cache the Exchange Server data on your system. It is created automatically when you add the Office 365 account in Outlook. Often, the requirement comes to transfer the OST file to a different system.
Quick steps to move OST files to a new computer:
Step 1: Find the location of the OST file.
Step 2: Convert the OST file to PST.
Step 3: Transfer the PST to new system and import it to Outlook.
Moving further in the blog, we will discuss the above steps in detail. But before that, let’s see the reasons why you may need to move the OST.
Why migrate OST file to new computer?
The primary reasons that trigger the need to transfer OST files are:
- To move and view OST file data on a new computer.
- Moving the OST file for the purpose of creating an OST file backup.
- Events like Business mergers compel you to move your mailbox to a new location.
- You have an old, inaccessible OST file and need to move it for OST recovery.
- Current system hardware is old and unsupported, so switching to a higher performance system.
After understanding the perspectives of the Outlook users above, let’s learn how to move OST file to new computer.
How to move OST file to new computer easily?
As I said above, you have to convert the OST to PST and then move the PST file. For the conversion, you may use free methods to convert OST files to PST or try a professional tool, as per your need. But before conversion, you must know where your OST file is.
Part 1: Know the name and location of your OST file on your system
To know the name and location of your OST file on your system, follow the steps mentioned below. The process is the same for almost every version of Windows.
Step 1. Go to Control Panel, click on Mail, and choose the Data Files option.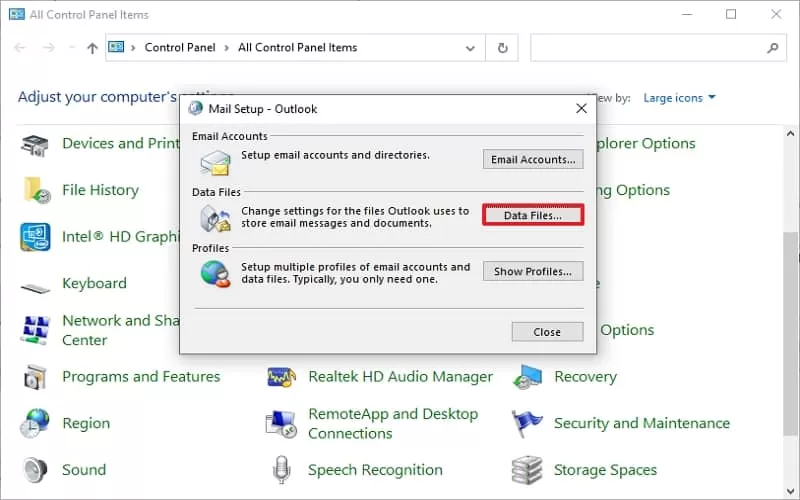
Step 2. Once done, an Account Settings window will open. Go to Data Files tab, select the account for which you want to know the OST file location. You will notice that a location is mentioned. Click on the Open File Location tab to go to the folder directly.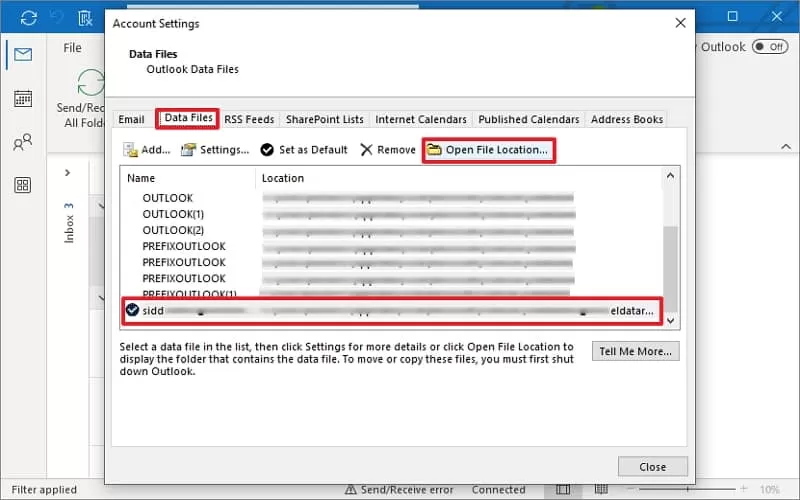
Step 3. The directory containing your OST file will open.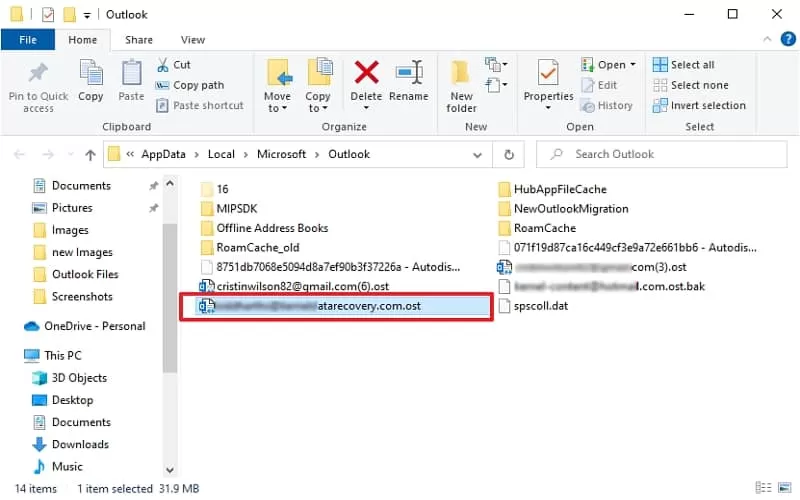
After knowing the OST file location, use either the Outlook’s built-in Import/Export feature or an advanced OST converter tool to convert OST to PST.
Part 2: Export OST file with Outlook application
Outlook, with its abundance of advanced features, also offers an export utility to export and transfer OST file to new computer as a PST file. Follow the steps mentioned below in the same manner:
Step 1. Launch Outlook, click File from the menu, and select Open & Export, then click Import/Export.
Step 2. In the Import and Export Wizard, select Export to a file and click on Next.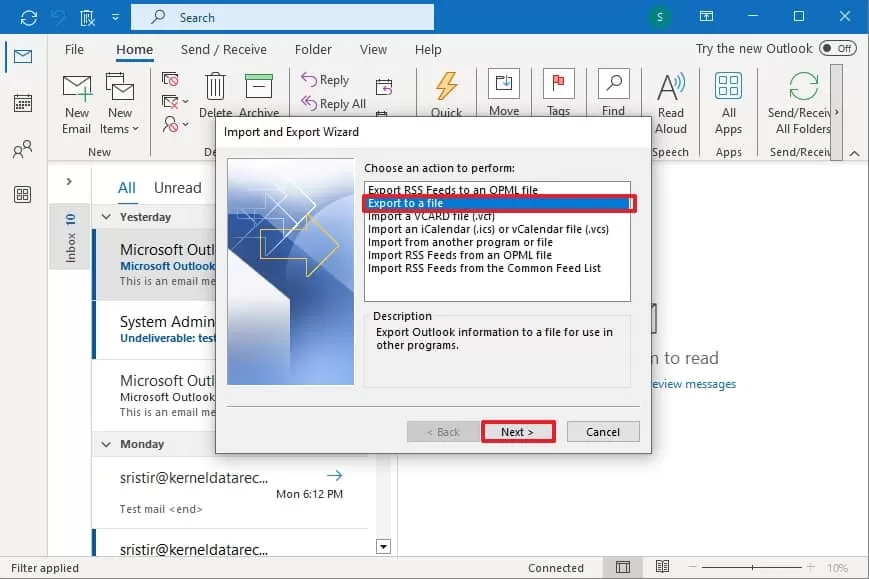
Step 3. Select Outlook Data File (.pst) and click on Next.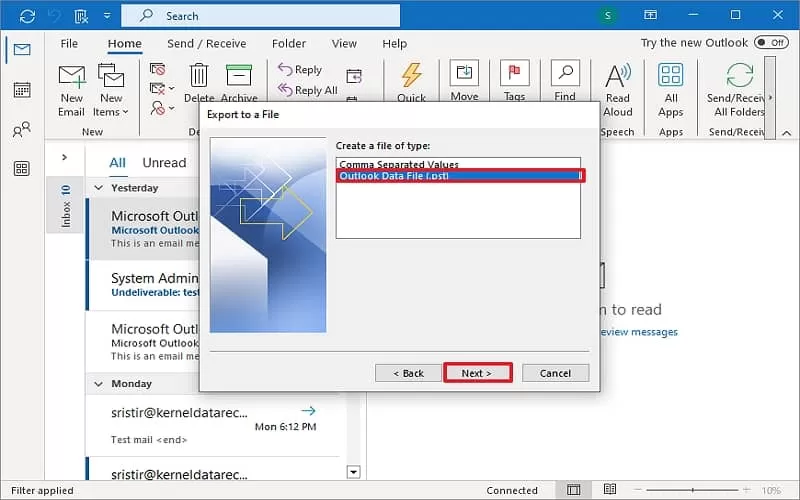
Step 4. Now specify the folder you want to export and ensure to check the Include subfolders checkbox. Click Next.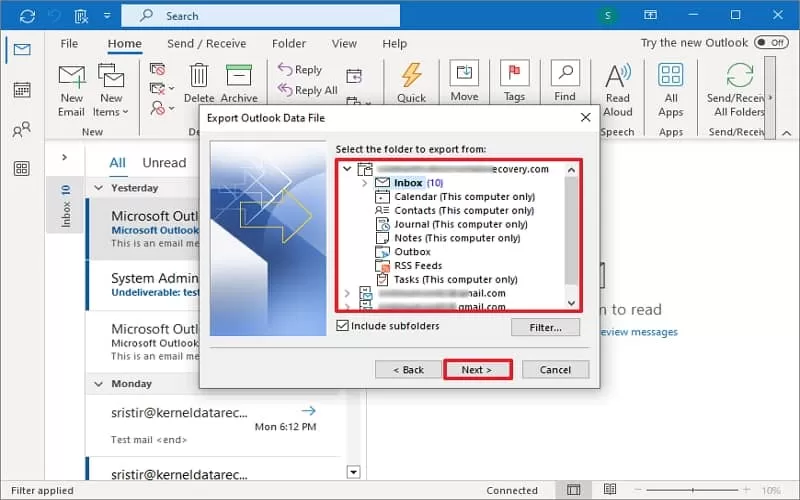
Step 5. Click Browse and choose a location to save your PST file, and click Finish to initiate the exporting process.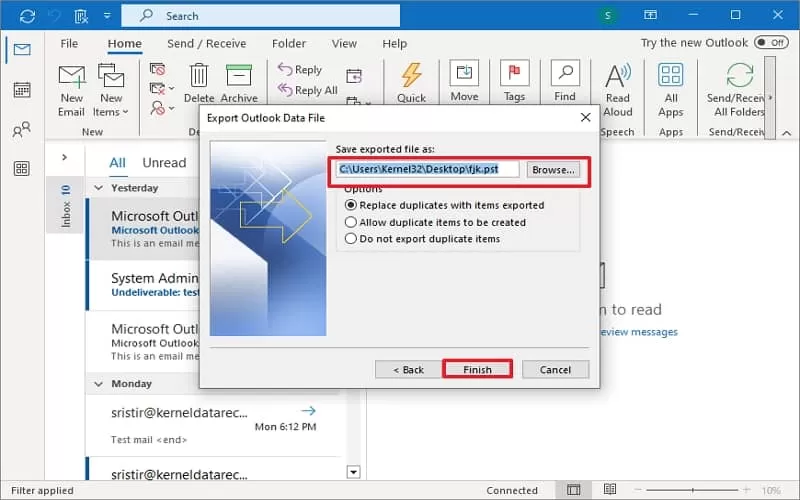
Navigate to the location specified in the previous step and verify your PST file.
Convert OST file with an advanced OST to PST converter tool
If the OST file you want to move is orphaned and cannot connect to Outlook, you will not be able to export it to PST. In such a case, you should use our professional OST to PST converter tool for conversion. Moreover, if you have multiple OST files to migrate, exporting each to PST manually will take hours or maybe days (depending upon size). But with a specialized tool, you can save a decent amount of your time.
The Kernel for OST to PST Converter tool supports all types of OST files, orphaned, inaccessible, or corrupt, and allows you to repair and convert them into PST. It’s easy to use and saves each mailbox item from OST without losing a single bit of data.
Steps to convert your OST file to PST with the tool are:
Step 1. Download and install the software.
Step 2. Run the software and click on the Browse button and select the OST file. Click on the Next button to proceed.
Note: Using the tool, you can search for OST files too (use the Search button).
Step 3. Here you can have the preview of the items in the OST file. Click Save to save the OST file in PST.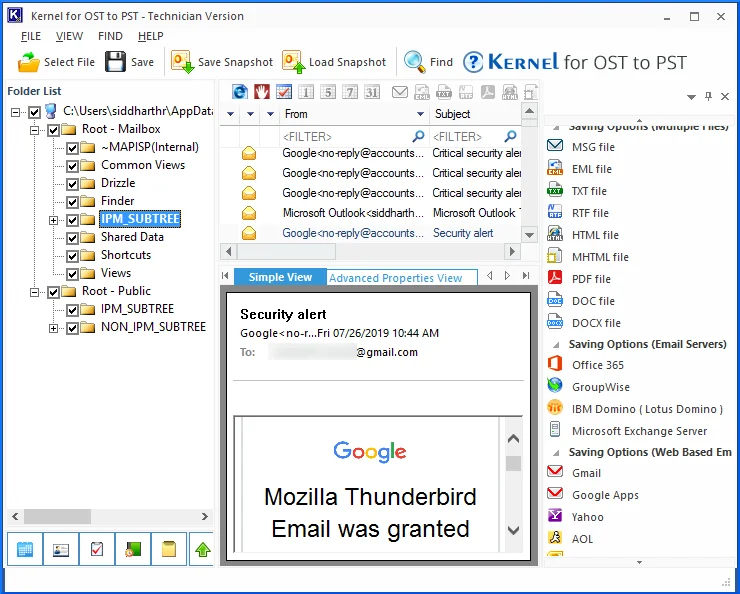
Step 4. Select PST file (MS Outlook) and click Next.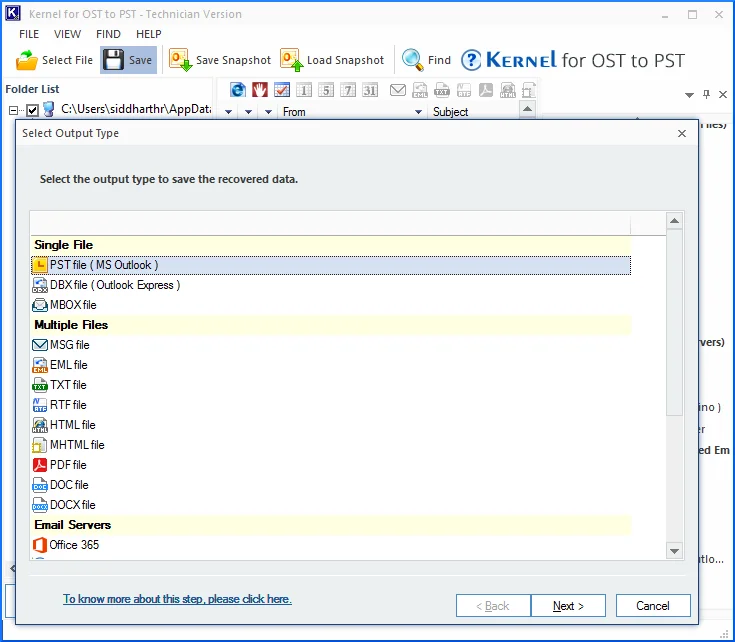
Step 5. Apply mailbox data filters as per your requirements. Click on Next.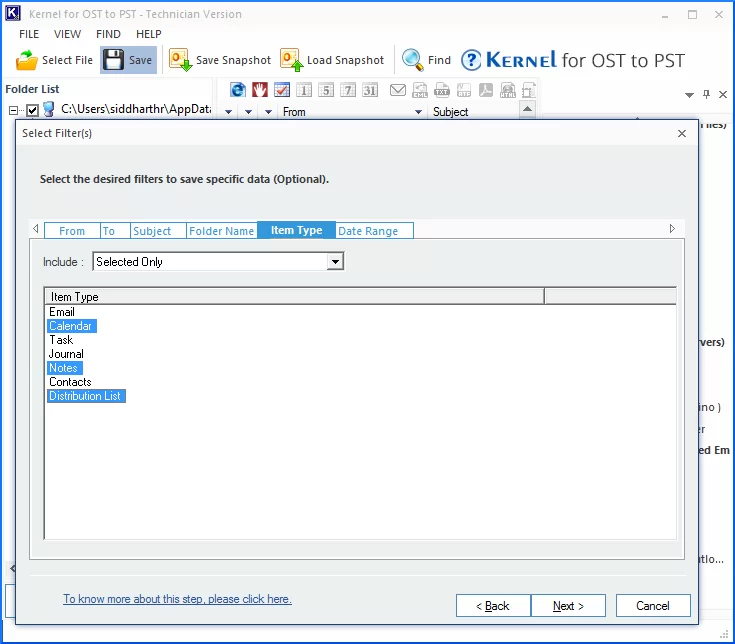
Step 6. Manage PST file by deciding whether to split it or attach a prefix. Click Next.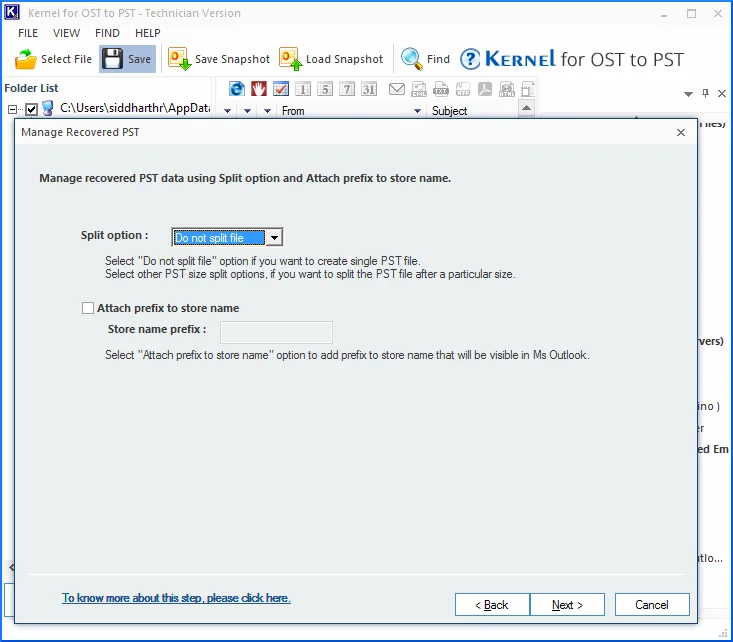
Step 7. Click Browse to provide a destination to the new file and select your Saving Preferences. Click on Finish to start the saving process.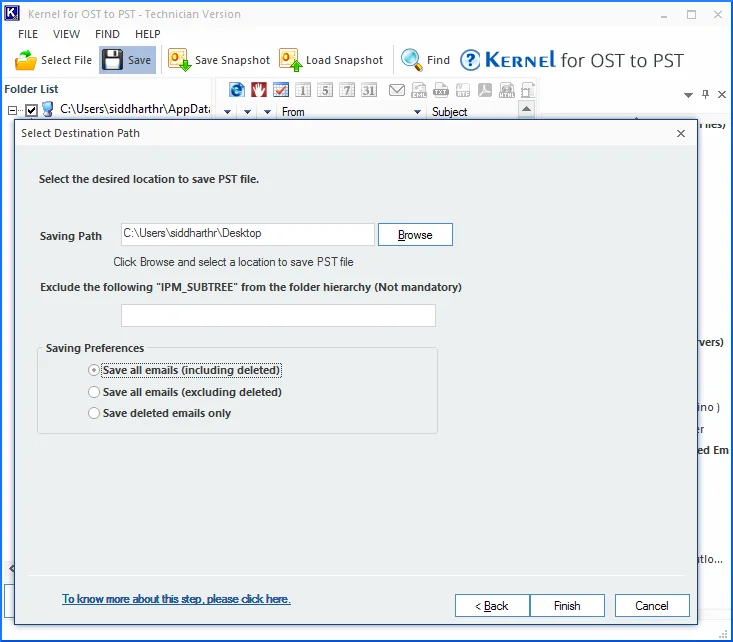
Step 8. After saving the data, click on OK.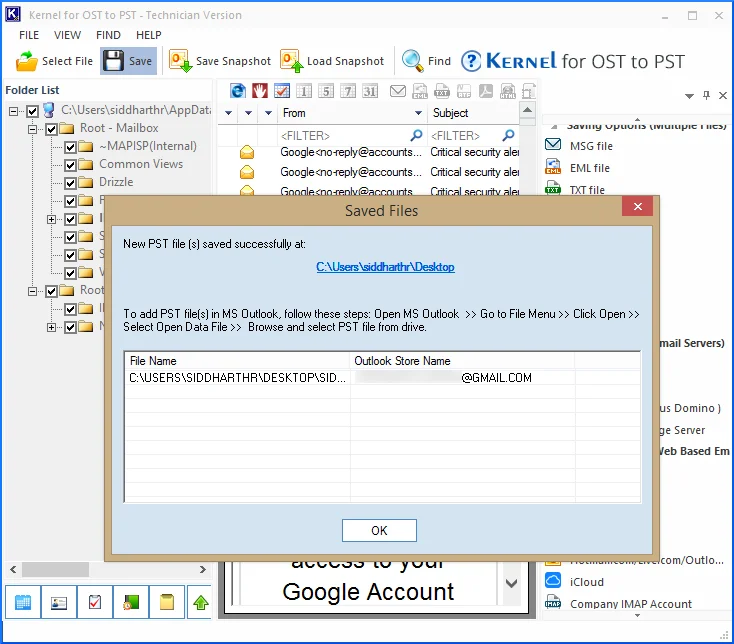
It is powerful enough to convert all OST items along with their attachments. The tool has many exciting features, like retrieving data from orphaned files, exporting contacts from Outlook exporting contacts from Outlook, recovering deleted items, etc.
Part 3: Copy the PST file and create a new Outlook account
Copy or share the newly converted PST file to the target user’s computer after you are done exporting and converting the OST file with Outlook or OST to PST tool. Also, create a new Outlook profile in the destination system’s Outlook. Alternatively, you can also import the PST file data into an old Outlook profile if needed. Now, after you are done with the task of moving the OST file to a new computer, we will begin the process of importing and integrating the file into Outlook.
Import PST to Outlook application
Follow these steps to import PST to Outlook:
Step 1. Open Outlook and click on the File button on the top left corner of the screen. In the Open & Export category, select Import/Export.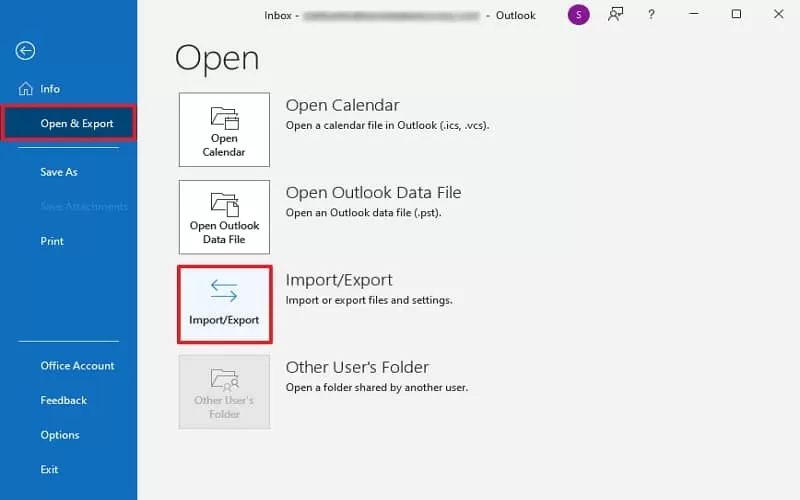
Step 2. Use the option Import from another program or file (in Import and Export Wizard) and click on Next.
Step 3. Here, select Outlook Data File (.pst) and click Next.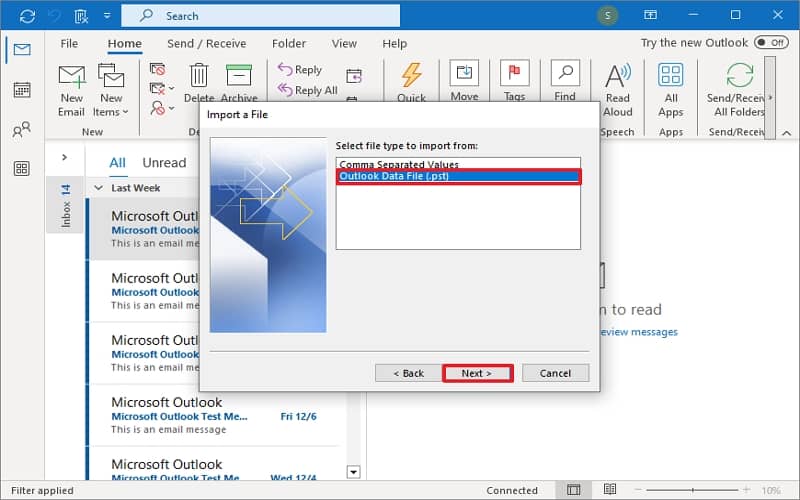
Step 4. Browse and select the file to import, select your preferred choice from Options and click on Next.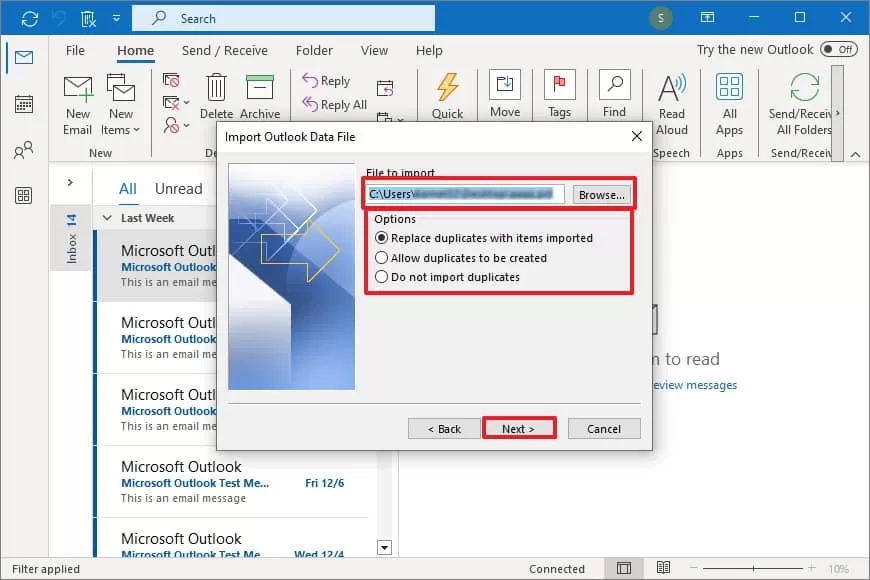
Step 5. Here, select the various folder options as required. Click Finish.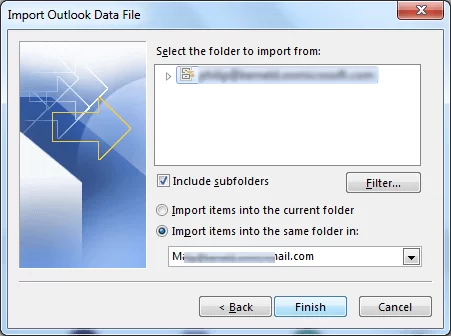
Author Verdict
OST file conversion is mandatory to move OST file to new computer. For a single OST file, use Outlook for conversion. But for multiple OST files, the recommended OST to PST converter is the better choice. Moreover, after moving the OST file to new computer, make sure to do this:
- Match the emails and folders on both systems (old & new).
- Verify if all the attachments are accessible.
- Recreate Outlook rules on the target system (PST file cannot move rules).
Frequently Asked Questions
Ans. The OST file architecture is different from the PST. Also, the OST file is linked to a specific MAPI user profile. Moving the OST breaks up this link and makes it impossible for Outlook to validate the OST file and access its content.
Ans. Yes, but only with a professional OST converter tool. Outlook’s native export feature does not support it.
Ans. To import PST to Office 365, you can follow the following methods:
1. Import PST to Outlook (configured with the target Office 365 account).
2. Use the Microsoft Purview portal (Drive Shipping or Network Upload).