Read time 5 minutes
Microsoft’s Outlook has been entrusted by so many users on a big scale, over the years, because of a wide variety of advanced features that comes handy for daily communications. Outlook is simple enough for a person to understand how to use it. This standalone application is interactive and has been accepted by millions of users worldwide.
For businesses, responding to emails or customer queries is crucial for both growth & positive response. But handling a mailbox with thousands of emails or more than a single person can deal with, the task becomes intense and requires high attention. The person has to take a couple of things under consideration while addressing to all the emails, for example; if the right information is given to the customer, non-public information shouldn’t be sent under pressure mistakenly, etc.
In such a situation, distributing the load would allow the email responder to concentrate better, and to achieve this goal. So, allowing other Outlook users to have access to the specific Outlook mailbox would come in handy.
In this article, we’ll guide you through how you can administer an Outlook mailbox and allow another user(s) to manage the emails for you.
For multiple users to administer a single Outlook account, it is necessary for the users to have folder permissions and delegate access; without permissions to read, write and modify or act on behalf, the non-owner user won’t be able to manage the Outlook account.
How to add a different mailbox to the Outlook profile?
As an Outlook user with the role of Manager, follow the steps below:
- Right-click on the root folder of the mailbox and click Folder Permissions.
- Click on the Delegate’s name.
- Click on the Permissions tab; under the other section, checkmark the Folder Visible option, and click Ok.
Note: Here, the delegate is the other Outlook user who requires folder visibility permissions.
For the Delegate Outlook user, follow the steps below:
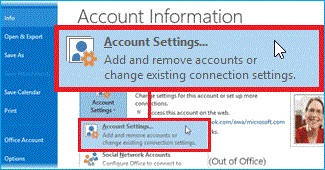
- Click on the File tab, then click Account Settings > Account Settings.
- Inside the Email tab, click on the Exchange Account type > click Change, click More Settings.
- On the Advanced tab, below the Open these Additional Mailboxes, click Add.
- Enter the Mailbox name of the user whose mailbox you wish to add to your user profile.
Assign Delegate Access permissions to Outlook users
Before jumping to the steps on how you can authorize the Outlook user with Delegate Access permissions, let’s go through a couple of terms related with the Delegate Permissions. For example, reviewer, author & editor.
- Reviewer: The Delegate with the permission level of the Reviewer, can read all items of the mailbox.
- Author: The Delegate with Author level permissions, can read and create items; he can delete or change items he or she creates.
- Editor: With Editor level permissions, the Delegate can have the permissions of an Author plus he or she can change or delete items that the manager has created.
This is how you can assign access permissions to delegates:
- Click on the File tab.
- Click on the Account Settings > Click Delegate Access and select Add.
- Type the name of the Outlook user whom you wish to assign with Delegate Access Permissions.
- Click Add > click OK.
- Accept the default permission settings inside the Delegate Permissions dialog box.
- Checkmark Automatically send a message to delegate summarizing these permissions check box.
- To allow the delegate to see the private items, checkmark the Delegate can see my private items check box.
- Click Ok.
Note: In case the Add option is not there, an active connection may not exist between Outlook & Exchange (Outlook Status bar displays the connection status).
Note: In your organization’s Exchange Global List – GAL, the delegate’s name should be listed.
Note: You can set custom rules/permissions in this step.
Note: If you don’t wish for the delegate to get notified, uncheck the checkbox with the above option.
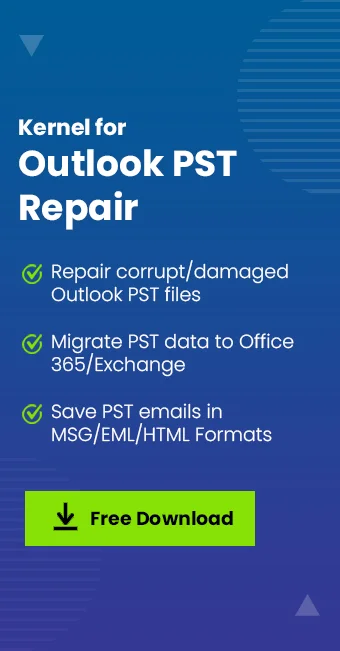
Use automated PST repair tool
It is a professional tool to crack the issues and problems related to the Outlook PST file. The Outlook PST repair tool utilizes advanced algorithms to repair the corrupt or damaged Outlook PST file and recover deleted emails and other data upon completion of scanning process. With wide support of all Windows Versions, the tool is available to download in one click.
Conclusion
Sharing the mailbox items can prove to be helping in various aspects; the overall workload can be distributed among multiple users in case of businesses and organizations. If you come around the situations when the Outlook PST file becomes corrupt or gets damaged, and the whole work-flow depends on the continuation of incoming & outgoing emails, Kernel for Outlook PST is the best & professional solution around, the tool comes handy in all the situations like resolve PST corruptions issues or data recovery from PST file etc.