Read time: 7 minutes
Summary: A SharePoint site isn’t just a set of some pages and contents. It includes one or more subsites, along with the lists, libraries, folders, and documents. A SharePoint administrator might sometimes need to move subsites to another site in SharePoint. The methods of migrating a subsite are different from the ones used to move a complete site, which you will learn in the process explained further in this write-up. Moreover, most administrators prefer professional SharePoint migration tool to transfer the sites efficiently.
SharePoint subsites migration is a difficult transfer as it involves complex URL structures, issues in resolving flat architecture of subsites, and broken permission inheritance. This is particularly because there’s no native support from Microsoft to migrate subsites to another site. However, with the proper techniques, you can move the subsites’ data, minimizing the hassles and achieving business continuity. Without any delay, let us get to the methods that will help you walk through the process.
Manual method to move subsites to another site in SharePoint
Use the following methods as described one-by-one to move subsites to another site in SharePoint:
Use SharePoint Admin Center to move subsites
This method uses the functionalities of SharePoint admin center to migrate subsites between sites:
- Login to SharePoint using the Administrative credentials.
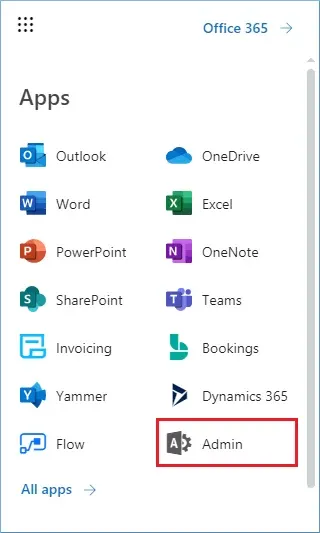
- Click the Admin icon.
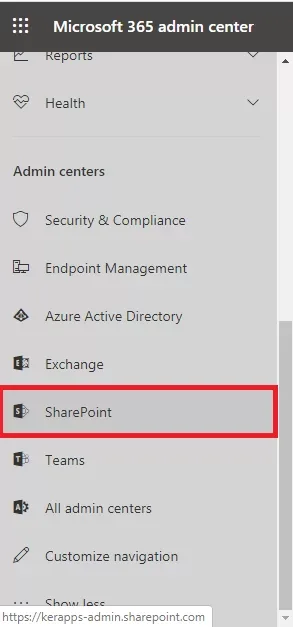
- Go to Admin center section and select SharePoint.
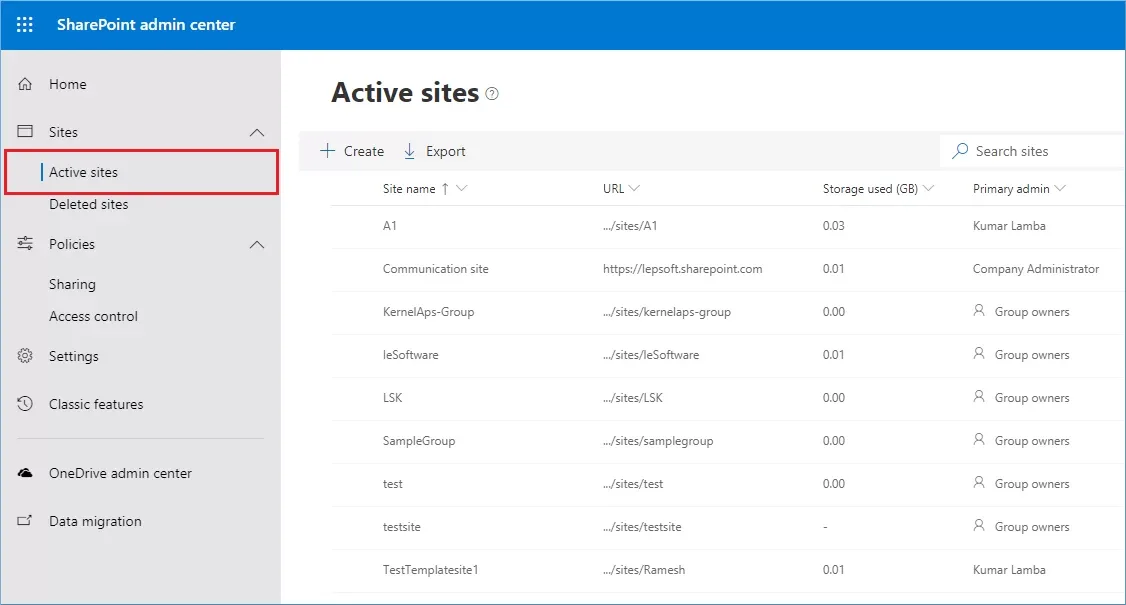
- In the SharePoint Admin Center, go to Active Sites. It will enlist all the active sites in your account. You can click the URL of any site that you want to move to another site.
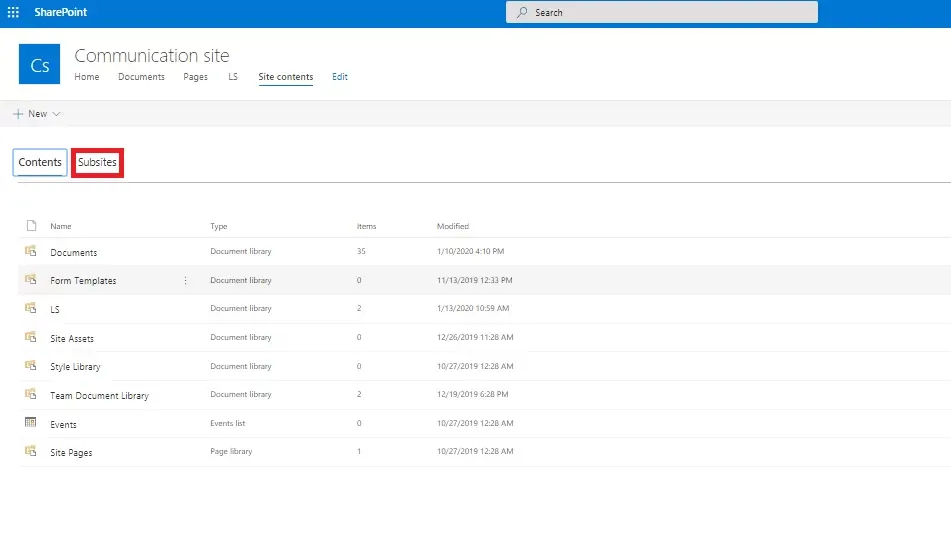
- Go to Settings option after opening the site. Click the Site contents.

- The site contents present the Contents and subsites of the current site. Go to Subsites section.
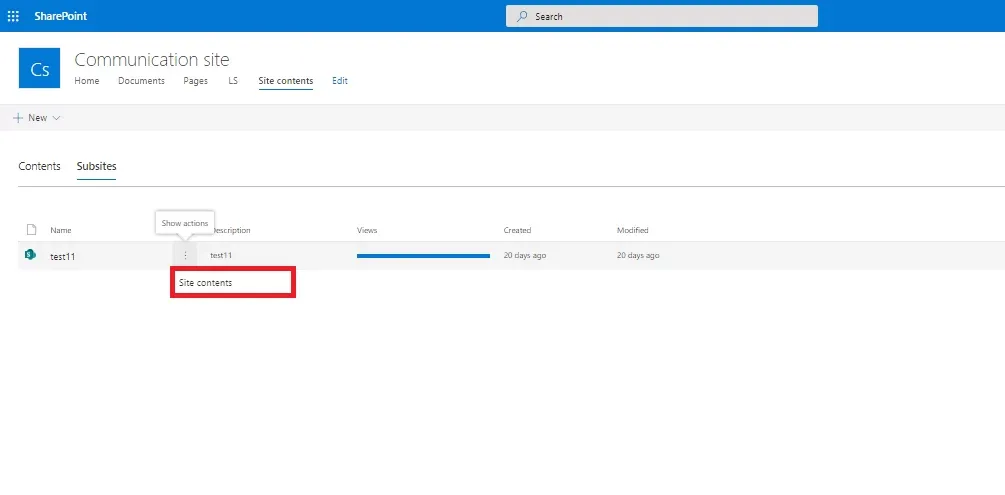
- In the Subsites section, click the Show actions icon and select Site Contents.
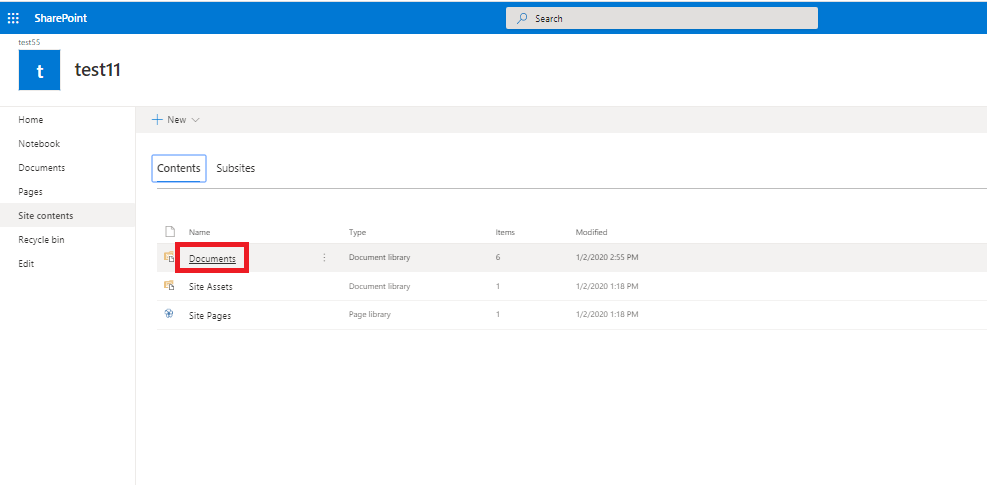
- Select the content of the site by double-clicking it.
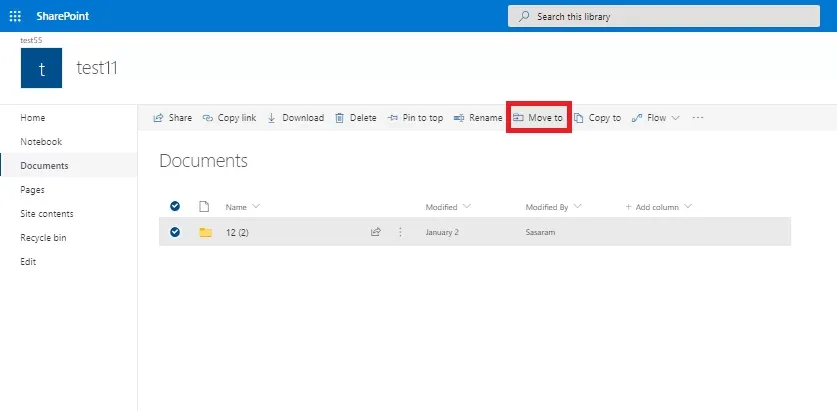
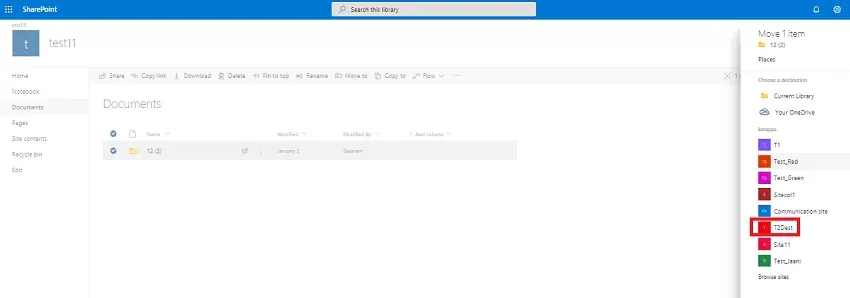
- Select any folder or item and click the ‘Move to’ option.
- Select any site (TestSub1) from the list at the destination for the respective content.
- The content is moving to the site.
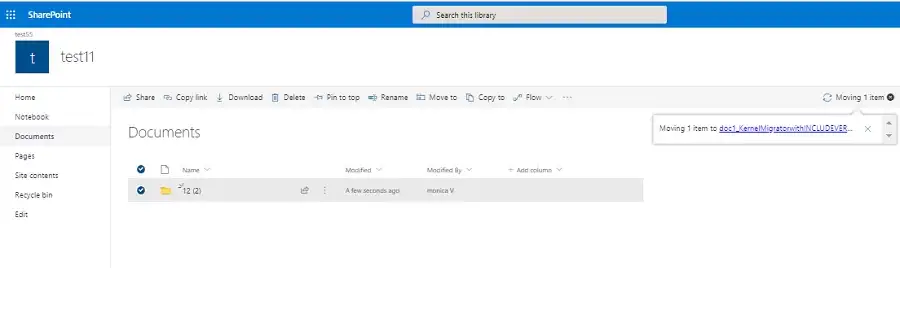
- Finally, the status of the progress changes to Done after successfully putting the data at the site. You can go to TestSub1 site and check the f1 folder present there.
NOTE: You can complete the method only when the publishing feature is enabled in SharePoint.
The above method is direct migration of a site/subsite to another site. But there is another method where you can save the site as a template and later use the template at any other site.
Save the SharePoint site as a template
- Go to Active Sites list, select any site, and click Site Settings.
- Choose the Save site as a template under Site Actions.
- Provide a proper name to the new template file at the File name text box.
- Mention a Template name and Template Description.
- Check the box Include Content to add all the content of the site in the template.
- Click OK button to save the template.
Using PowerShell to move subsites to another site in SharePoint
Below we have given a simple command line that you can use to move subsites to another site in SharePoint. Read below.
$SiteURL = “https://kernel.sharepoint.com/sites/wriritng/us/2022”
$NewSiteURL = “/sites/writing/2022”
Connect-PnPOnline -Url $SiteURL -Interactive
$Web = Get-PnPWeb
$Web.ServerRelativeUrl = $NewSiteURL
$Web.Update()
Invoke-PnPQuery
This moves the subsite under https://kernel.sharepoint.com/sites/writing/us/2022 to https://kernel.sharepoint.com/sites/writing/2022.
Note: You can only use this method within a site collection. You must use top third party migration tools to copy or move a subsite to another site collection.
Upload the site template
- Click the Site Settings.
- Go to Web Designer Galleries and click Solutions.
- Click Upload in the commands group, then click Browse button at the Add a Document dialog box.
- Locate the template file, then click Open, and then click OK.
- Click Activate option to enable the template in the Commands group.
Advantages of template in SharePoint
- The template removes the need to enable the publishing feature at the SharePoint.
- You can move the template at different site collection.
Disadvantages of template in SharePoint
- The maximum size of a site template cannot be more than 50 MB. So, if the size of the site is more than 50 MB, then you cannot create a template of the site.
- It is suitable for smaller sites only.
Final words
The process to move subsites to another SharePoint site is quite complex, using the sites’s built-in option to create a template within SharePoint, PowerShell scripting, etc. To make the process easier and achieve greater control over the site movement, using a professional SharePoint Migration tool will be a perfect option for you. Kernel Migration for SharePoint allows you to run migrations between any SharePoint server versions, File Server to SharePoint, OneDrive to OneDrive, Public Folder to SharePoint, and Google Drive to Google Drive.
Frequently Asked Questions
A . This can be due to any of the reasons mentioned in the section below:
1. You do not have the EDIT permissions to move files from the subsite.
2. Sometimes, the Move to button is hidden within the ellipsis (…) on the smaller screens.
3. The search visibility of your subsite is turned off.
4. Maybe you’re unable to move as the destination folder is hidden.
A . This is because of the rigid and complex hierarchies of subsites that create issues with access permissions and migration. Microsoft generally recommends using a flat site collection architecture over subsites.