Read time: 10 minutes
In modern business organizations, the size and volume of data are increasing exponentially, and storage space is filling quickly. Cloud platforms give the flexibility to increase the storage space, but it requires constant monitoring and management to protect the data. The number of emails, attachments, documents, chat messages, and other items fills any storage in the least time. Efficient management is necessary for the following reasons-
- Reduce the risk of data loss due to litigation or login breach – Deleting older and unimportant data and saving accounts from unauthorized access.
- Following the industry regulation and protocols – Several industry regulations compel businesses to keep their older data indefinitely. For example, in the United States, the business must follow the Sarbanes-Oxley Act, in which you must keep the document for seven years. Best SharePoint Backup solutions maintain the data structure and help the user keep optimum use of the retention policy.
- Sharing useful knowledge between the users – You should help the users provide the latest and relevant information for completing their tasks.
Retention settings in Office 365 help the business to centralize the control of managing their content two actions mainly-
| Action | Reason |
|
|
Why should you set up retention policies in SharePoint?
While working with SharePoint sites, you might need to implement retention policies. Two important reasons for setting up a retention policy are hereby mentioned.
- Legal undertakings: According to the legal norms, it is important to have certain documents in the system for a specific duration of time.
- Unintentional deletion of files: There are possibilities of deleting important files and documents unintentionally, and if you want to restore them later, retention policies are what will help with such situations.
How does the retention policy affect the data in Office 365?
When any data is included in the retention policy, it does not show any symptom or message to the data. The user can continue to access their documents like nothing has changed. But, when the user deletes any item or changes them, a copy of the same file will be placed separately.
- OneDrive and SharePoint items are saved in the Preservation Hold library.
- The copy of Exchange mailboxes is saved in the Recoverable Items folder.
- The items of Teams and Viva Engage messages are retained in SubstrateHolds as a subfolder in the Recoverable Items folder of Exchange.
How to apply a retention policy on SharePoint Online items?
You can collectively apply a retention policy for SharePoint Online Site collection and even certain retention tags to an individual or all folders.
You can apply a retention label to any item like Word, Excel, or even OneNote files in a SharePoint library. The non-MS Office files like PDFs, images, notes, and sites are also available for retention.
SharePoint always keeps a copy of the deleted or modified documents, which are available in the Preservation Hold library. This will cause enhanced consumption of storage allocation.
Where can SharePoint data retention policies be applied?
Retention policies in SharePoint Server are applicable across various platforms, including:
- Exchange Mailboxes
- SharePoint Classic and Communication Sites
- Skype for Business
- Microsoft 365 Group Mailboxes and Sites
- OneDrive Accounts
- Exchange Public Folders
- Teams Channel Messages (both Standard and Shared Channels)
- Viva Engage Community Messages
- Teams Chats and Copilot Interactions
- Teams Private Channel Messages
- Viva Engage User Messages
You can implement these policies proficiently either across multiple locations simultaneously or targeted to specific locations or users.
Regarding the initiation of the retention period, there is an option to choose between the date of content creation or, specifically for files in SharePoint, OneDrive, and Microsoft 365 Groups, the date of the last modification.
How long does it take for retention policies to take effect?
The time it takes for retention policies to take effect involves a multi-step process:
Upon creating and submitting a retention policy, you need to wait of up to seven days for its implementation:
- Distribution Phase: The retention policy initiates distribution to selected locations.
- Application Phase: Following distribution, the policy is applied to relevant content.
To monitor progress, check the distribution status on the Retention Policies page in the Microsoft Purview compliance portal. If you encounter delays, investigate by selecting the policy and reviewing the status in the flyout pane. If an error is indicated or if deployment is taking longer than expected, consider reattempting by executing the Set-AppRetentionCompliancePolicy or Set-RetentionCompliancePolicy PowerShell command.
Planning the SharePoint Online Retention Policy
Implementing a SharePoint Online retention policy requires understanding its impact on all documents, including those created pre-policy. Options include basing document retention on creation or last modified dates, affecting deletion timelines. This policy, once applied, universally affects a site’s documents, potentially leading to the immediate deletion of older documents. It’s crucial to communicate the policy’s workings to users clearly.
The policy permits customization in applying different retention durations to diverse documents and SharePoint sites. This aspect allows for the consideration of varying retention or deletion needs for specific documents. It also includes the possibility of user discretion in marking particular documents to be exempt from the retention policy.
Upon finalizing these considerations, you are all set to create the retention policy.
Configure retention policies in Office 365 Admin Center
The retention policy is not a rigid system, but a flexible policy creates different approaches to protect data from various threats. There are several pre-defined compliances that you can also apply to the policies.
- First, log in to Microsoft 365 Admin Center and go to the Admin dashboard.
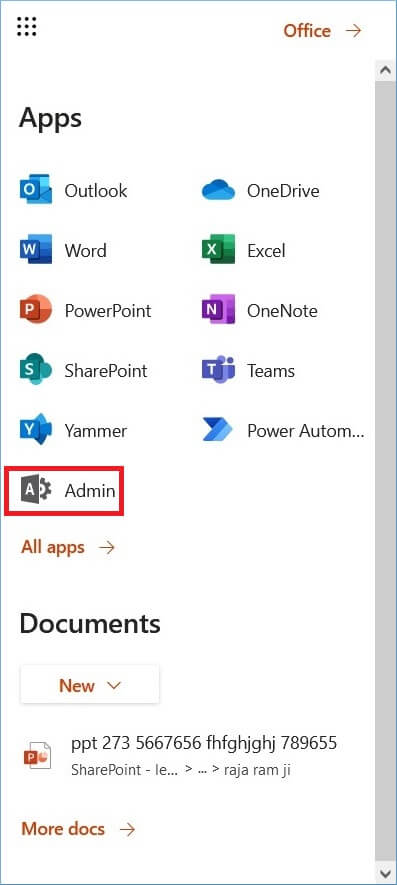
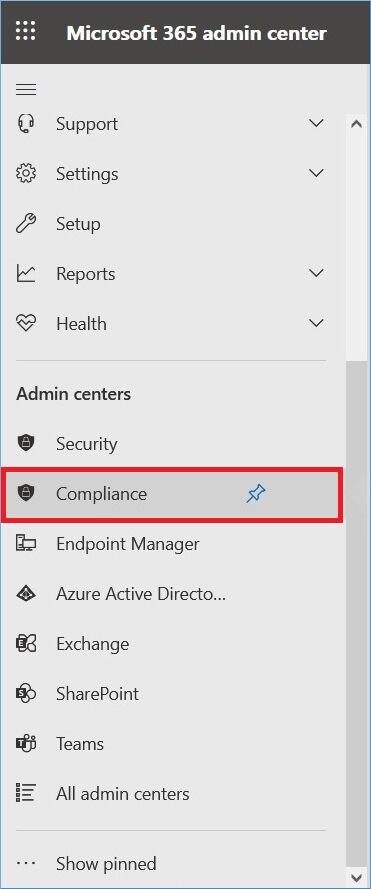
- In the Admin Centers, click Compliance.
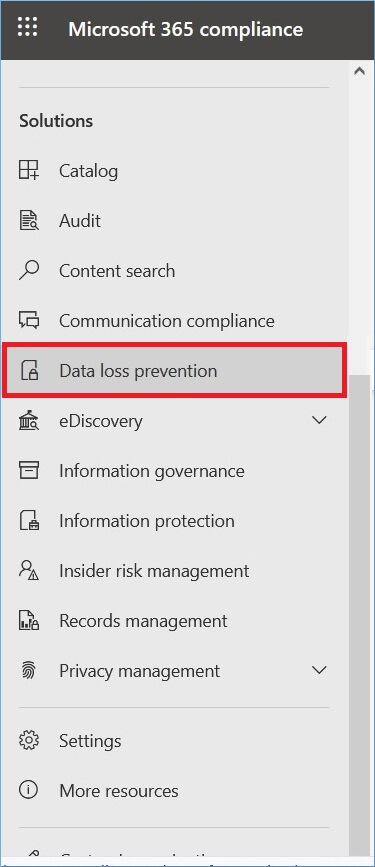
- Choose the Data Loss Prevention option.
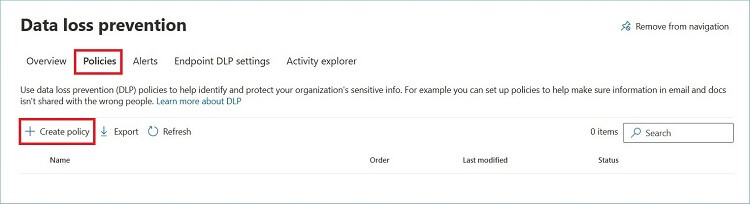
- In the DLP section, create a new policy. Go to the Policies tab and click Create Policy.
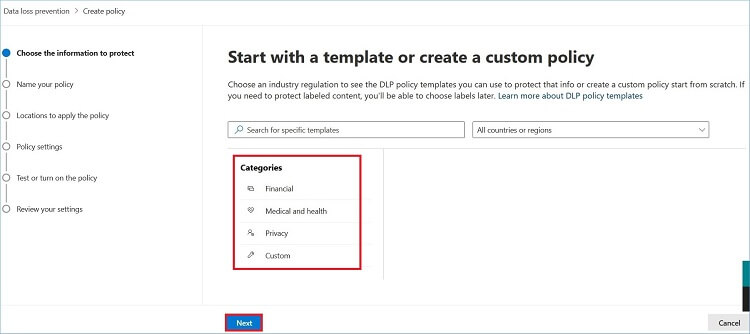
- There are several categories you can choose to create a DLP policy. You should also choose the country or region for the business. Make your selection and click Next.
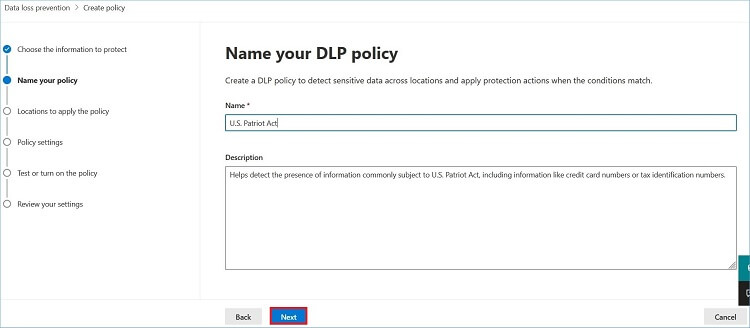
- In the example, a U.S. Patriotic Act has been selected as the policy. You can provide a new name and description. Click Next.
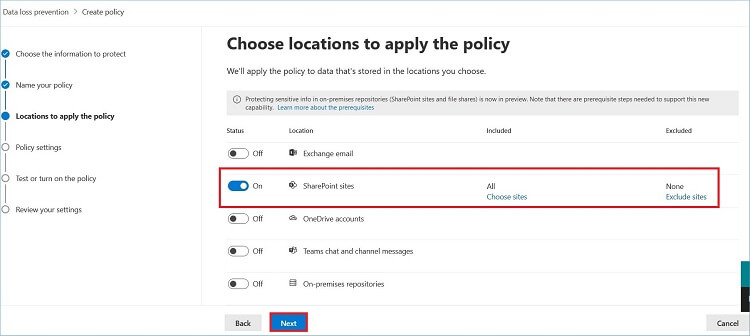
- In Choose locations to apply the policy, disable others and choose SharePoint sites. Use Include or Exclude to select parts of sites. Click Next.
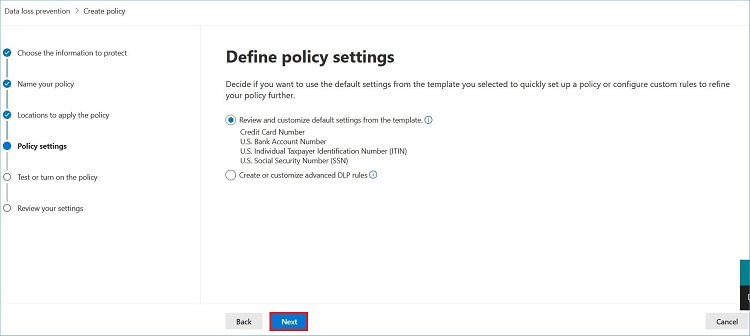
- On the Define Policy Settings page, you can either follow the same settings in the selected policy or create a custom setting by providing additional details. Click Next.
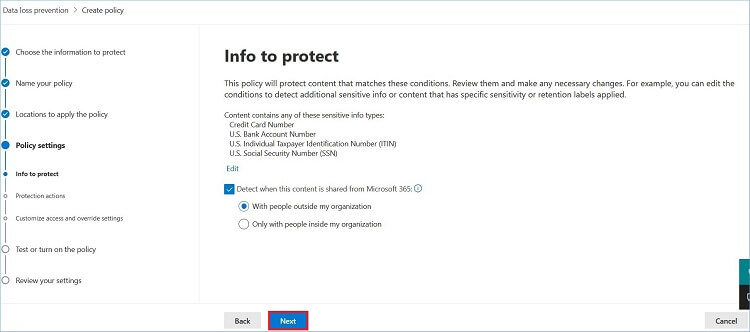
- Choose the option to detect when the policy will work on Office 365 data. Then, click Next.
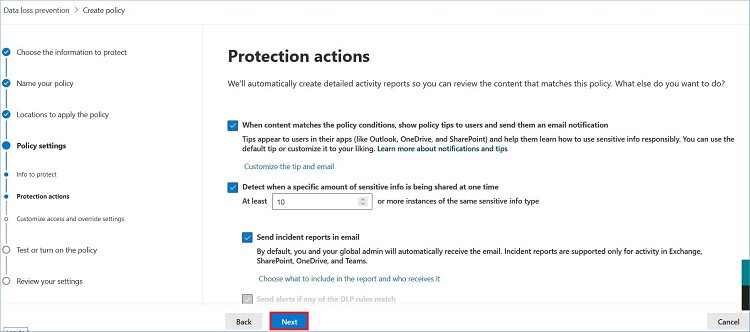
- Select the protection actions and use the checkbox to select useful actions. Click Next.
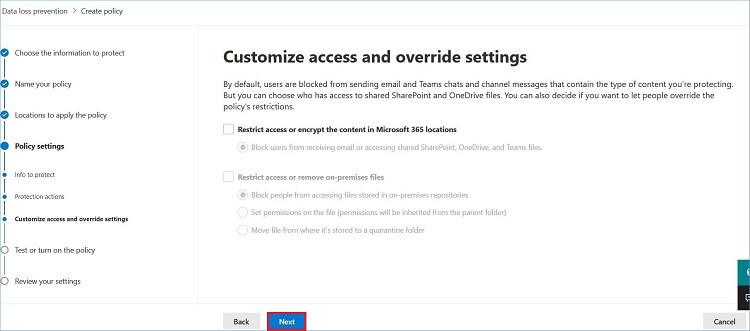
- Choose who has access to shared SharePoint and OneDrive files. You can also leave the settings to their default type. Click Next.
- You can test the policy, turn it on or off instantly, or keep it off. Select and click Next.

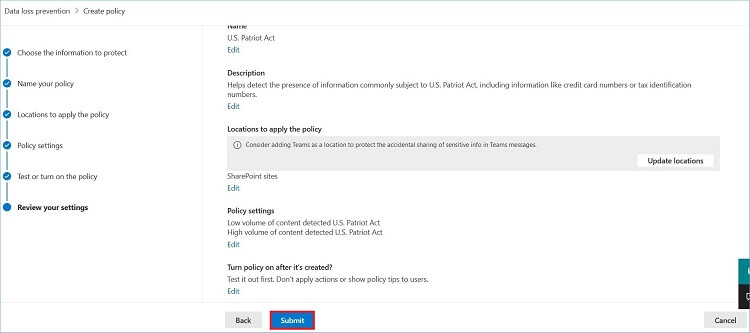
- Review the settings and click Submit once you are satisfied with the terms of the policy.
It will take 24 hours to finalize and enable the policy for the entire organization. After that, you can apply this policy to any item in SharePoint Sites.
Limit policy changes with Preservation Lock
Use Preservation Lock to control modifications to policies. In certain instances, organizations must adhere to regulatory mandates like SEC Rule 17a-4, stipulating that once a retention policy is activated, it must remain enabled or become more stringent.
Preservation Lock safeguard, ensuring compliance with such regulations. This feature essentially locks a retention policy or retention label policy, preventing any modifications—be it turning off the policy, deletion, or relaxation of restrictions—by anyone, including administrators.
Releasing a policy for retention
When you are releasing retention policies for SharePoint, the content that needs to be retained will be preserved for a grace period of 30 days to prevent any data loss.
In this 30-day grace period, the deleted content is also retained and added to the Preservation Hold library. However, as a result, the timer job of cleaning these files recurringly is suspended. It allows you to restore these items if you need them.
Note: An exemption to the grace period is that if you amend this policy to spare a few SharePoint sites, the timer job will delete these files in the location of the Preservation Hold library without waiting for 30 days.
Conclusion
Retention policies make it possible for administrators to recover even deleted files in SharePoint and OneDrive. However, retention policies alone can’t help in recovering deleted data beyond the grace period provided by these policies. Users must take regular backups of their SharePoint sites collections, sites, libraries, and lists to avoid any discrepancies. Use professional tools and software to take SharePoint backups and for an easy SharePoint migration.
Kernel Migration for SharePoint helps you back up all the contents of SharePoint. Also, the SharePoint Migration tool will migrate the data to a new account as per the user’s needs.
Frequently Asked Questions
Ans: Retention policies in Microsoft 365 helps you define a set of rules to establish a time period for which the information will be retained. Additionally, it also mentions what will happen to that data once the cycle ends.
Ans: To check SharePoint retention policies, follow the given steps:
1. Login to Office 365 as an admin and go to Microsoft Purview or Compliance Center.
2. Click on Policies and then Policy lookup on the Policies/Data lifecycle management page.
3. Select Site from the dropdown and enter the URL of the site to view policies and click Search.
4. You can see all the applied policies and make edits if required.
Ans: Once the retention period for any set of data stored within the SharePoint ends, the data is moved to the second-staged recycle bin. And once the period of 93 days is over, there’re permanently deleted from the server.