Migrating from Exchange public folders to SharePoint provides the opportunity to connect & collaborate with team members. Tools like Teams, OneDrive, and Power Automate help to synchronize workflow, accompanied by enterprise-grade security. This shift can be difficult, but it is immediately beneficial. Let’s learn together how to migrate public folder to SharePoint with a step-by-step guide.
Reasons to Migrate Public Folder to SharePoint
- With version control, reverting to previous iterations is easy on SharePoint.
- SharePoint uses metadata tagging to sort and filter data.
- Easily allow access and set granular or item-level permissions with SharePoint.
- SharePoint features data retention policies and record management that integrate well with Microsoft Purview.
Is there a native method available to migrate Public Folder to SharePoint?
Yes, there is a manual method available to migrate data. However, the process is a bit lengthy, and you need to perform it in three different parts. Here’s how to execute public folder to SharePoint migration:
Part 1: Create a new PST file in Outlook.
First, to initiate the migration process, you need to setup a new Outlook PST file that helps you to store all your Exchange data in it. In the Outlook application, which is configured with an Exchange account, you should create a new PST file. 
Part 2: Move public folders data to the PST file
After creating a new PST file, you can manually export data from the Exchange public folder to the PST file. You should select only such things that you want to migrate to and leave the rest. The benefit of copying the data from public folders is that if data is lost in the migration process due to any technical error, then you can again access the data from the public folder.
Part 3: Migrate the PST file to SharePoint
After creating the PST file containing files from the public folder, you can transfer the data from PST to your SharePoint account. Start by opening SharePoint in your web browser and go to the respective document library. After accessing the document library, convert the URL of the library to UNC (Universal Naming Convention).
After converting the URL to the UNC format, you can map the drive to SharePoint. It is done by conducting the drag-&-drop function from PST to SharePoint library. After migrating the data, you can refresh the document library, and the data will be present in the list.
Easiest Way to Migrate Exchange Public Folder to SharePoint
The manual process can help you migrate data from public folder to SharePoint, but it works well only with small data sets. The process will take unnecessary time and resources when you need to move a large number of emails and other data. To escape the issues of missing data or interruptions during the migration, use the Kernel Migration for SharePoint tool to migrate public folders to SharePoint. Step-by-step process for public folder to SharePoint migration
- Run the SharePoint Migrator software, go to the source pane, and right-click on Public Folder.
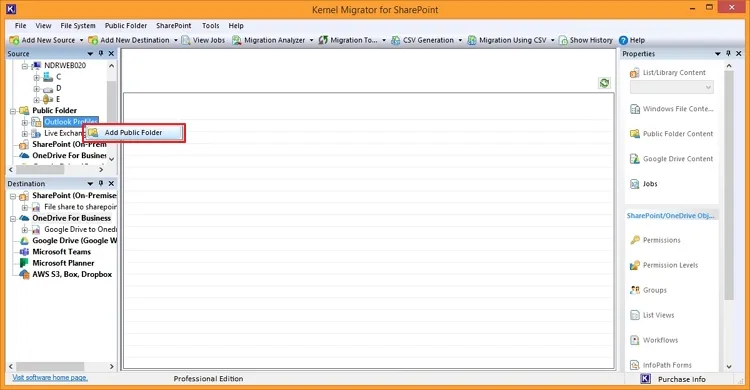
- Select Add Public Folder and then select the source type from the next screen. Click Next.
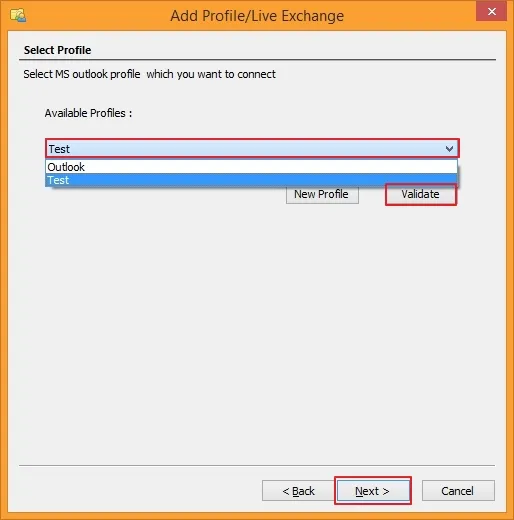
- Select from the available Outlook Profiles having the desired public folders and click Validate.
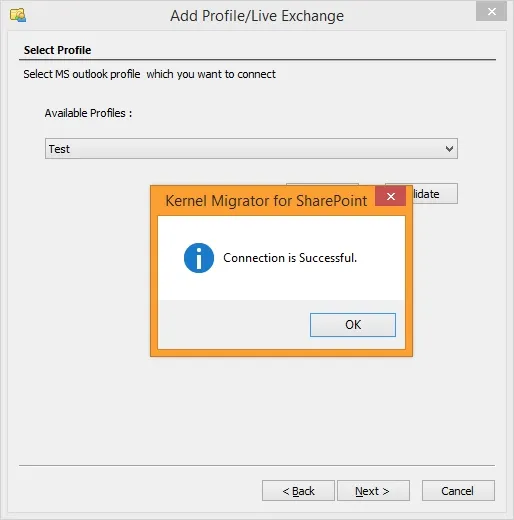
- On the screen showing connection confirmation message, click OK, and then Next.
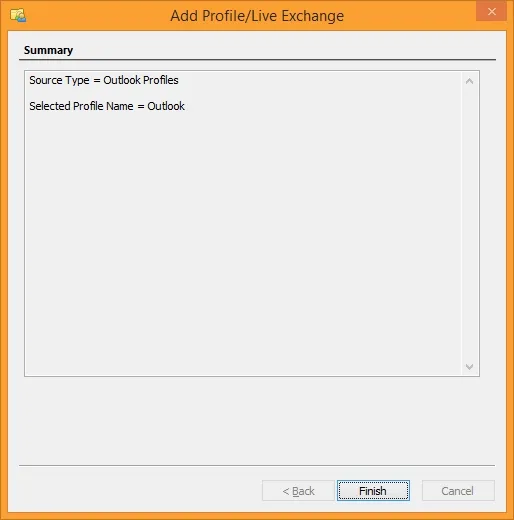
- Verify the connection summary and click Finish.
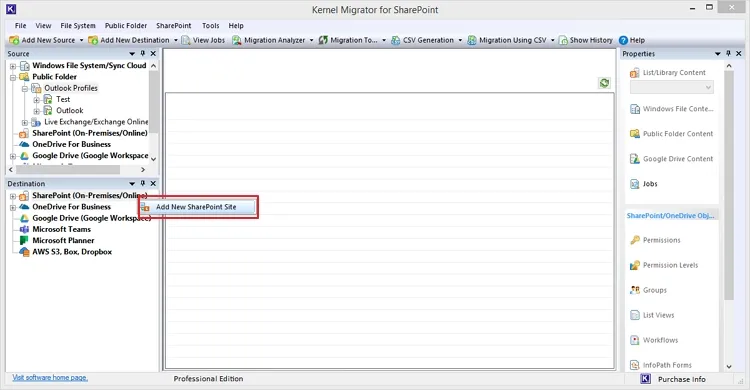
- Now go to destination pane and right-click SharePoint (On-premises/Online) to select Add New SharePoint Site.
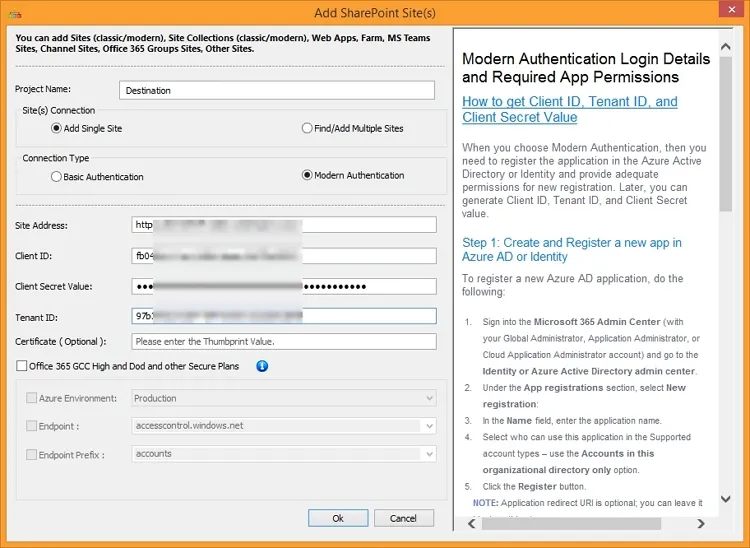
- Enter the Project Name and asked credentials and click Next to connect with the site.
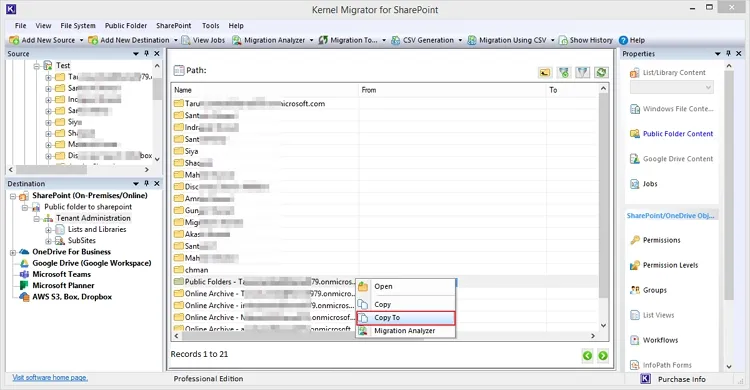
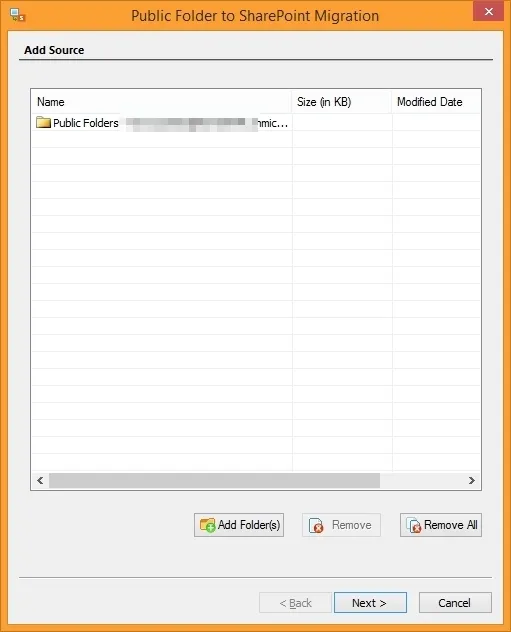
- From the list of folders, go to the public folder and select Copy To.
- Verify the added source and click Next to continue.
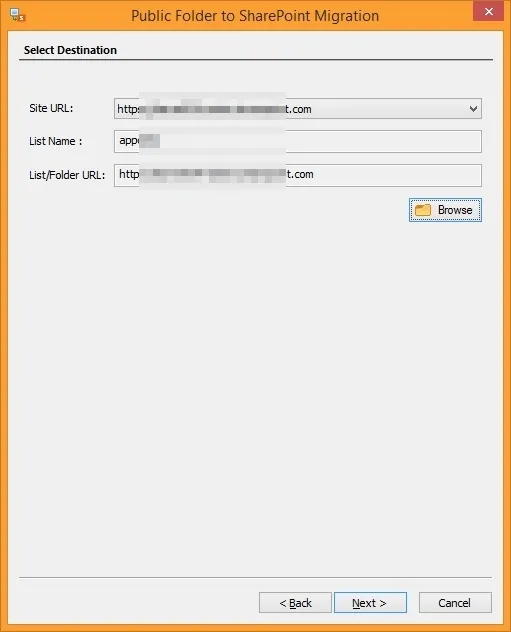
- Click on Browse to provide the path of SharePoint destination. Tap on the Next.
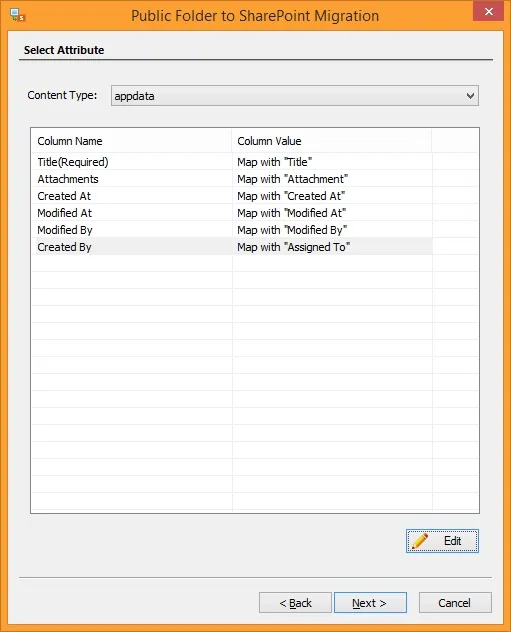
- Select the desired attributes from the column value to map with and hit the Next button.
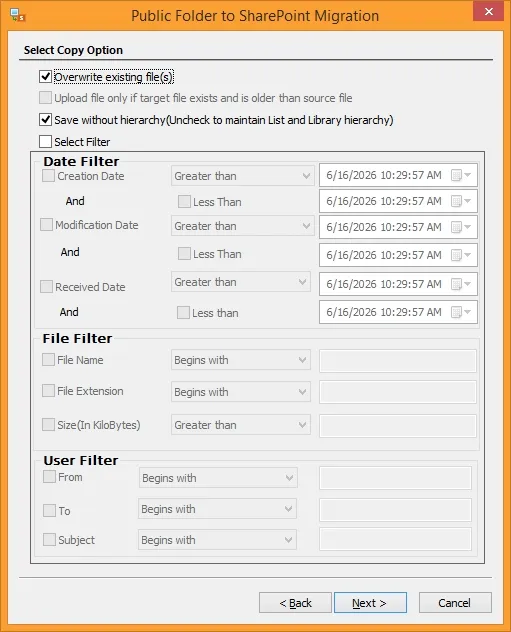
- Select from the available copy options and then apply the desired data filters to migrate data selectively to the SharePoint tenant.
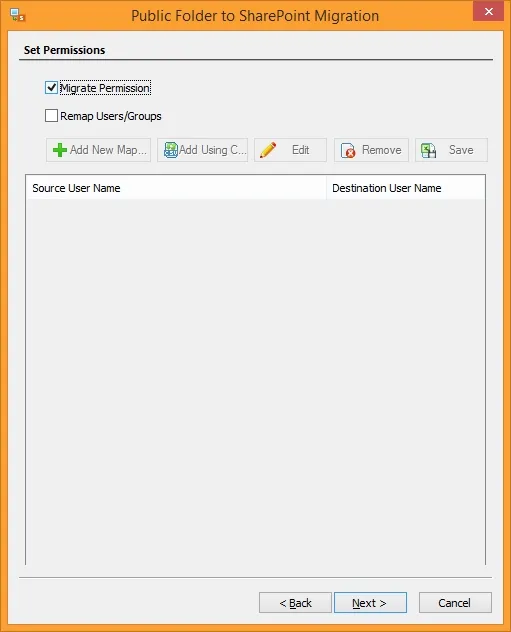
- Select Migrate Permission to allow the tool to migrate SharePoint permissions easily. Click Next after checking the required option.
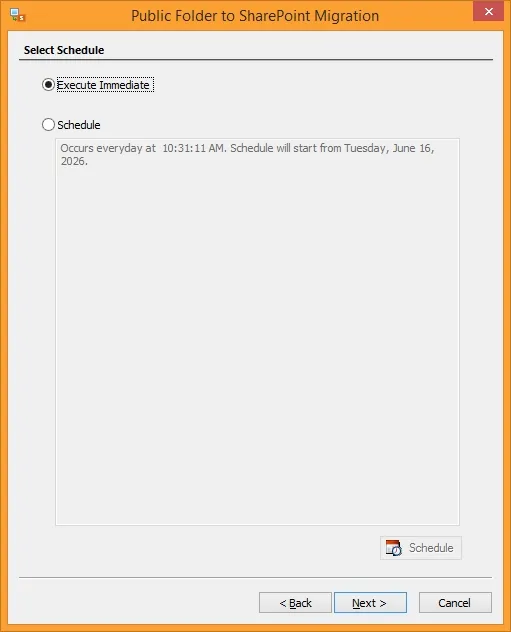
- Click "Execute Immediate" option to start the migration instantly.
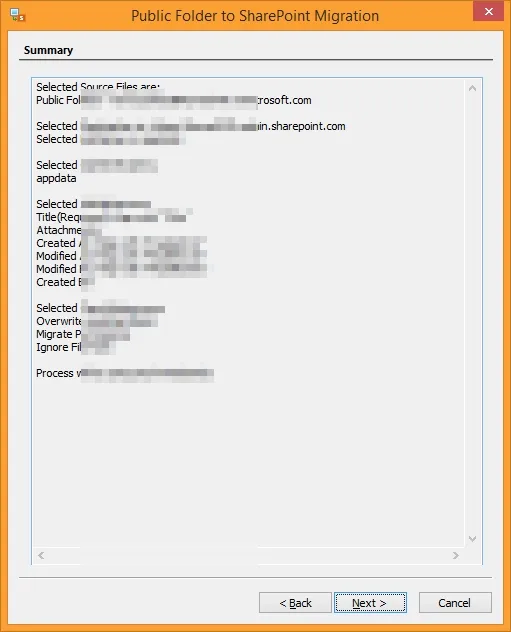
- Review the migration summary before running the process. Click Next.
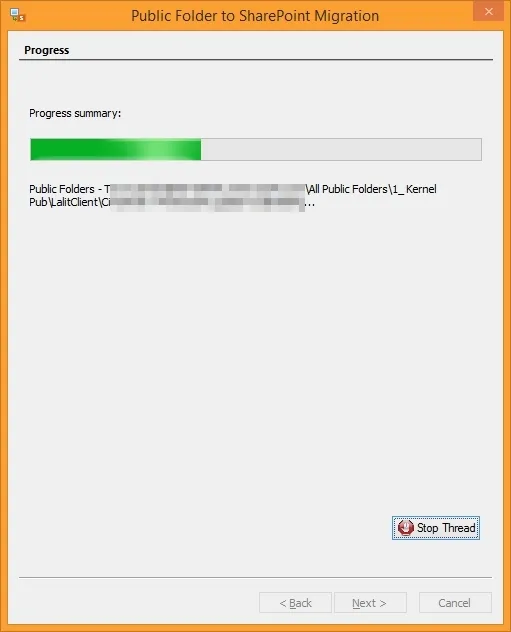
- The migration process will begin with the progress on the screen.
- After a successful migration, you can save the migration report with complete information and status of each item.
Note: Here we are adding Outlook Profile as the source.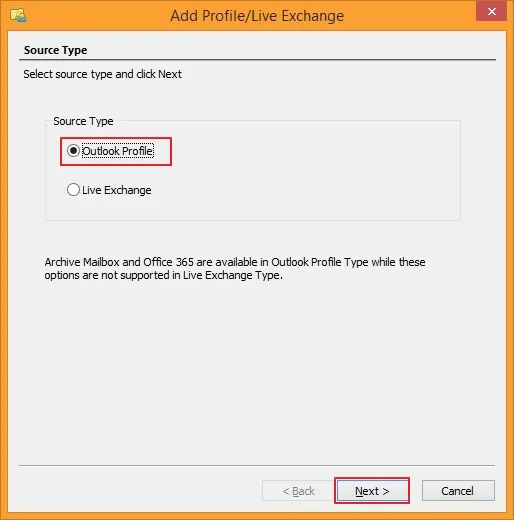
Conclusion
The manual migration of the Exchange public folder to SharePoint can be challenging, but Kernel Migration for SharePoint software executes the process efficiently. We recommend you take a quick trial of this tool and see how it migrates public folders to SharePoint, safeguarding your data.
Frequently Asked Questions
Explore common user queries to avoid errors during Exchange public folders to SharePoint migration
When should I migrate Exchange Public Folders to SharePoint?
For large organizations, SharePoint can be handy with its features like Advanced search, workflow management, document management, etc. When you want to increase collaboration and access scalability in your organization, you can easily switch to SharePoint.
How to move public folder to SharePoint using Outlook?
Here are the steps to migrate:
- Export your public folder contacts from Outlook to a CSV or Excel file.
- Now go to your SharePoint site and select New>List.
- Pick your Contacts template and then click Import to upload the contacts file.
- Map the columns accordingly and set the permissions cautiously.