Read time: 9 minutes
If you are navigating through the Exchange Admin Center (EAC) looking for a button to export Exchange public folders to PST, you will not find one. Public folders work on a different architecture than that of the standard user mailbox. Therefore, the normal export to PST option in EAC is missing for public folders.
Currently, Microsoft only allows two native ways for the extraction of data from public folders. You can either use Outlook’s Export feature or the Exchange Management Shell (EMS). However, the above two options only work when your Exchange database is active and healthy. In case your requirement is to export a public folder from an orphaned EDB file, you must use a professional Exchange recovery tool.
Ways to export public folder to PST
The two manual working methods to export your data from the public folders are:
Way 1. Export the public folder to PST using Outlook
The first and easiest method to export Exchange public folders to PST is using Outlook. However, Outlook must be configured with an Exchange account from which you need to export data. If not, add the Exchange account in Outlook and then follow the steps below.
Tip: Reorganize the public folders and remove obsolete data to speed up the process.
1. Start Open Outlook and click the File option in the menu. Then click the Open & Export option. Open & Export option.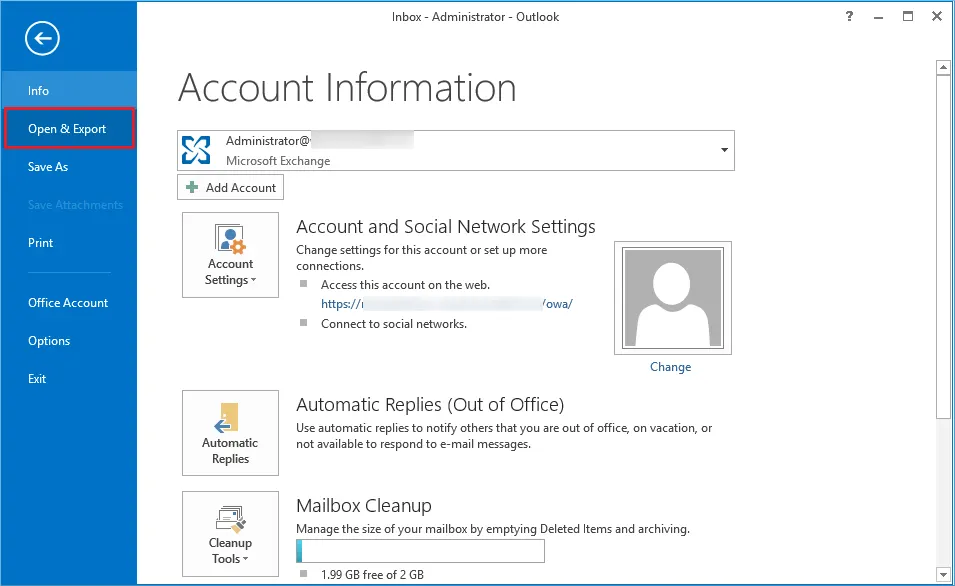
2. Choose the Import/Export option.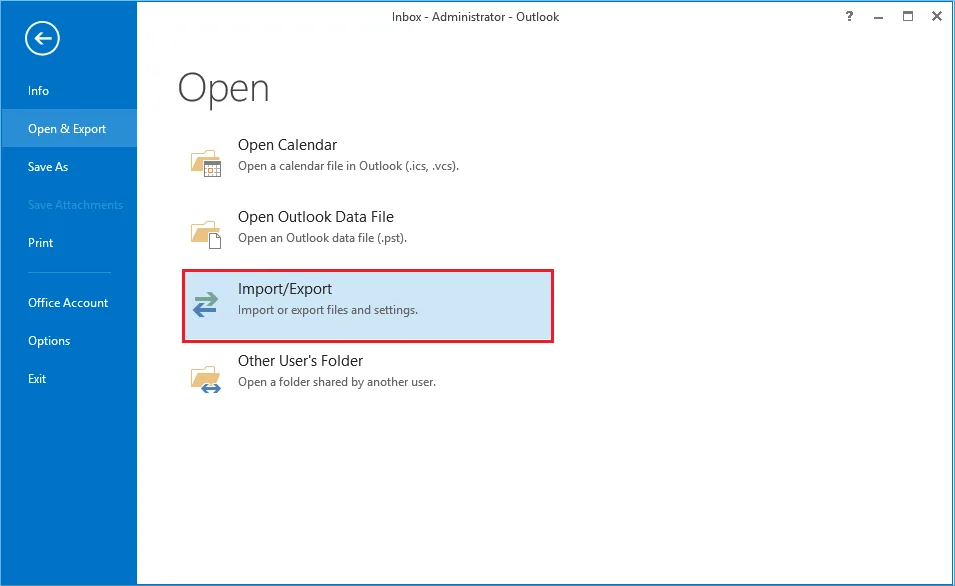
3. Select the option Export to a file and click Next.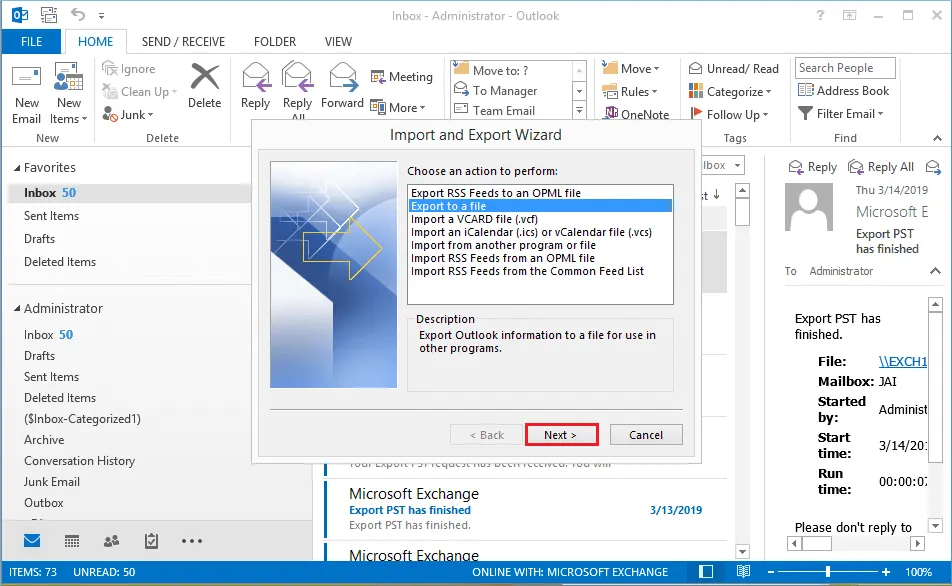
4. Choose the option Outlook Data File (.pst) and click Next.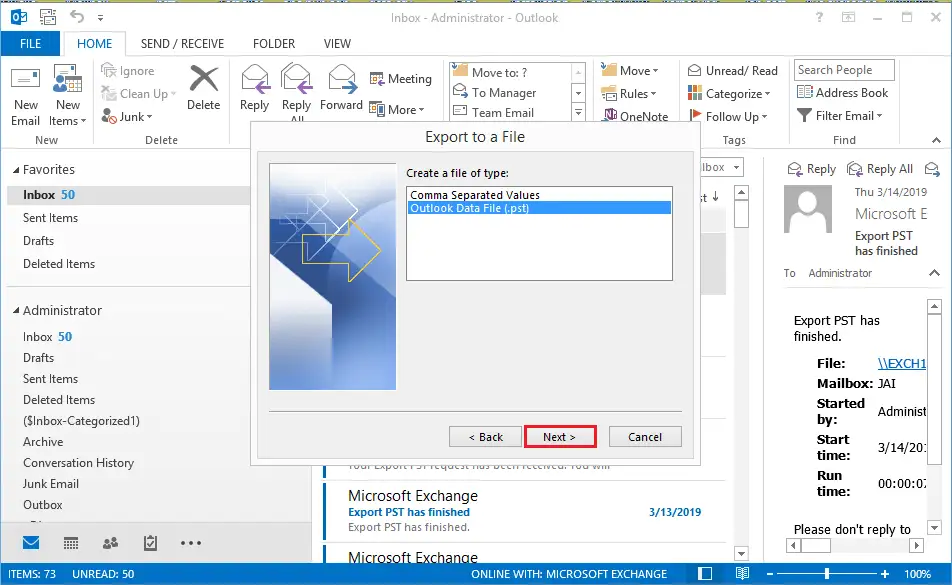
5. Select the public folders and tick the Include subfolders checkbox option. Then, click Next.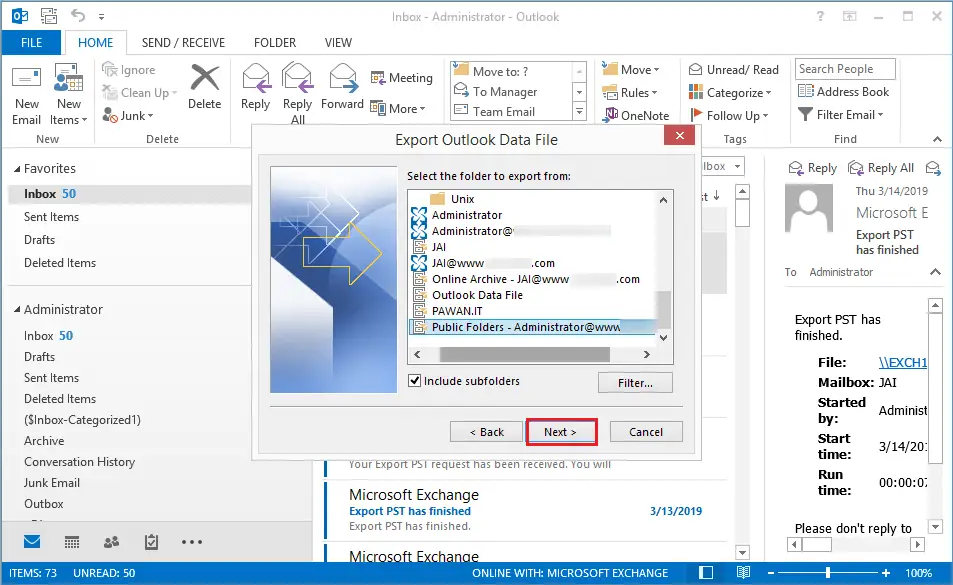
6. Click the Browse button and specify the location to save the PST file. Choose your requirement under the Options section and click Finish.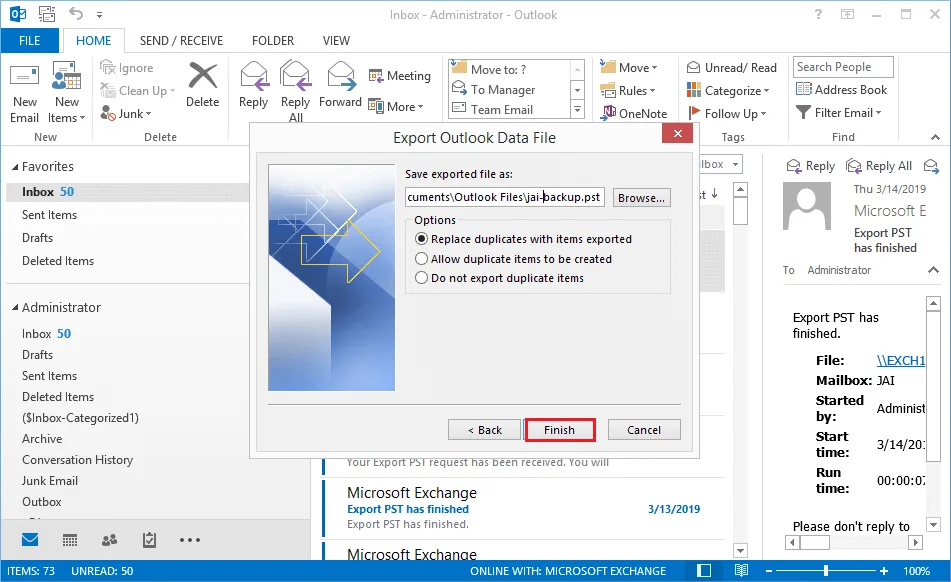
Outlook will begin to export the public folders to PST. Once the operation is completed, go to the destination you selected in the last step to view the PST file. In addition to the above steps, you can also create and add a new PST file in Outlook and then drag & drop the data from the public folder to the new PST file.
Way 2. Export public folder to PST using EMS
Another method to export Exchange public folders to PST is to use the export cmdlets in the Exchange Management Shell. For this method, you’ll need to have the Mailbox Import Export role and the Read/Write permissions (for the directory where you will save the PST file) assigned.
When you have required permission, execute the following command in the EMS to create an Export request.
New-MailboxExportRequest -Mailbox “Public Folder Mailbox” -FilePath “\\Server\Export\Folder\PSTFileName.pst”
To check the status of the above export request, you can use either Get-MailboxExportRequest or Get-MailboxExportRequest | Get-MailboxExportRequestStatistics.
When the export public folder to PST process is completed, go to the file path you provided in the export command to find the PST file.
When to use a professional tool to export Exchange Public folders to PST?
The manual solutions work, but only when you are dealing with a healthy and active Exchange database file. But, if your database is corrupt or dismounted, the native methods will fail. In such a case, you must first repair the EDB file, mount it back to the server, and then export the data.
Alternatively, you can use an Exchange database recovery tool that can access the orphaned EDB file and extract the public folder data from it to PST. Here, I recommend using the Kernel for Exchange Server software. This tool can read a damaged Exchange database and allows you to save the recovered data into an Outlook PST file at any location on your system.
Author’s Verdict
You can use either Outlook or EMS to export public folder to PST when your Exchange Server database is running without errors. However, the users with an inaccessible or corrupt EDB file, the Kernel for Exchange Server is a reliable option. The tool can repair the corrupt Exchange database and export the data directly to a PST file or to an Exchange Server (On-Premises or Online).
Frequently Asked Questions
A. The maximum number of public folders that can be easily migrated from Exchange 2010 to 2016 public folder migration is 500,000.
A. Administrators often do the export process to archive the data and create more free space on the server to avoid performance issues due to an oversized EDB file. Additionally, saving public folders locally to PST also helps in migration; users can import the PST file directly to their Office 365 account.
A. Yes, you can use both the methods, Outlook and EMS, in the Exchange Subscription Edition version without any issue.
A. The delay could happen due to a few reasons. Either you are exporting large public folders (more than 50 GB), or the issue is Exchange internal throttling policies and the back pressure feature. To avoid these issues, I recommend doing selective extraction in batches.
A. Outlook struggles to export data when the public folder has a deeply nested folder structure, and there are multiple folders greater than 100 MB in size. In such a case, the export operation will often stall and have the risk of failure. A better alternative here is to use a dedicated EDB to PST converter tool.