Read time: 6 minutes
Microsoft Teams can be invaluable for streamlining communication, collaboration, and productivity among your team members. But all that data storage means you’ll encounter an occasional need to clear the cache to free up space, refresh your system and boost performance. Clearing your cache in Microsoft Teams can be a tricky task, and it’s one that many users overlook while troubleshooting technical issues with the application.
But mastering some simple steps will help you have top Teams performance, ensuring quick access and optimization of how you interact with all available content. This guide provides comprehensive instructions on how to easily clear the cache in Microsoft Teams so you can get back to working more efficiently. Read on to learn how to improve system performance by clearing the cached data.
Like any application, Teams can also become sluggish over time & can even lead to Microsoft Teams not Loading issues due to the accumulation of data stored in its cache. Clearing the cache can help improve performance and make sure everything is running smoothly. Here are four the reasons why you should consider clearing your cache in Microsoft Teams.
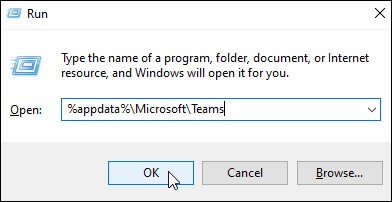
If you are a Windows OS user, you may have noticed that the Microsoft Teams app tends to take up quite a bit of storage space. This is due to the caching of data on your system. Here, we’ll go over the two methods to clear Teams cache data in Windows & improve Microsoft Teams performance.
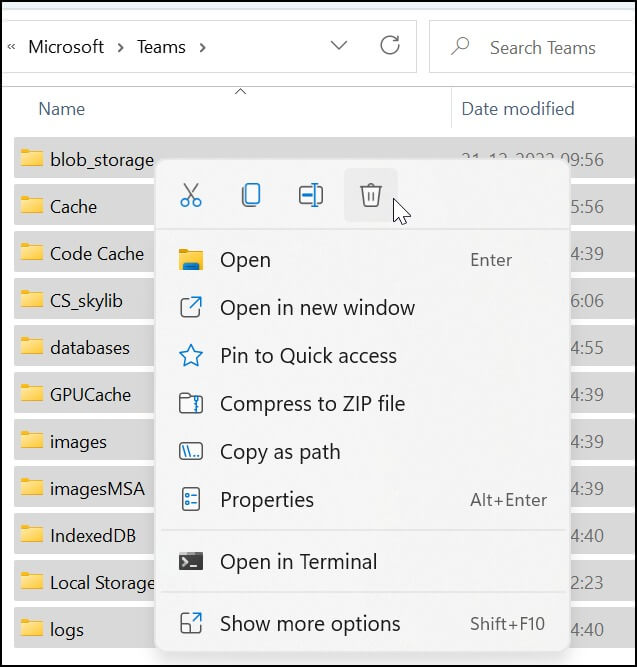
You should now see that all your cached data has been cleared from the application, allowing it to run more smoothly and efficiently than before.
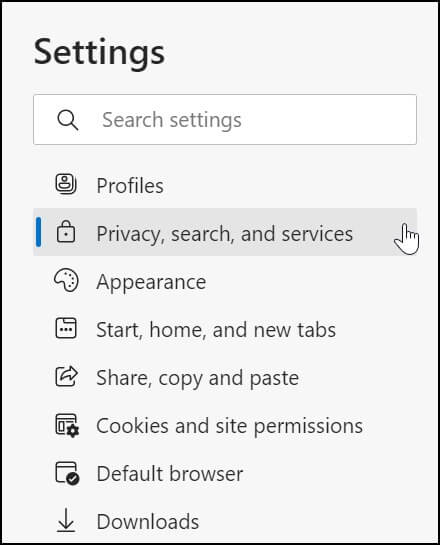
Another way to clear your cache data is by deleting specific items from within Microsoft Teams itself. Within the application, click on “Settings” and then select “Privacy, Search & Services” from the left-hand panel.
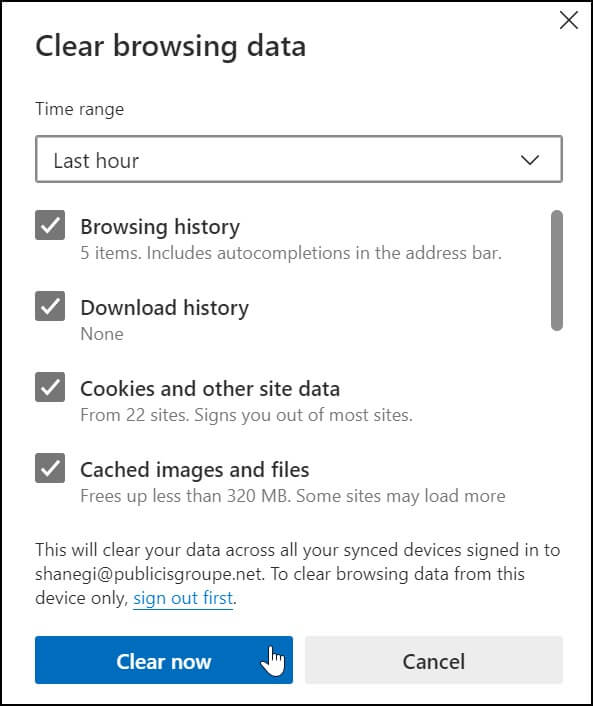
Here you can choose which items to delete from your cache, such as cookies, saved passwords, or browsing history, under the “Clear browsing data” option. When finished selecting which items to delete, click “Clear Now” at the bottom of the window.
Have you ever had an issue with Teams running slow or not working correctly on your Mac? Clearing the Teams cache may be just what you need to get things back up and running. Just follow these steps for a quick and easy solution.
Press Return. This command will delete all the cached files stored by Teams on your Mac.
Clearing the browser cache can be a beneficial activity in terms of optimizing system performance and freeing up storage space, but if it is done incorrectly or without proper backing up, then it can lead to data loss. This is why businesses need to be extremely careful when managing their Teams data, as any misinformation stored or settings corrupted could severely derail their operations.
To help with this process, there are various tools available that provide an easy and reliable way of migrating Teams databases without risking any data loss. To ensure that valuable Teams data is transferred securely, safely, and efficiently, the Kernel Microsoft Teams Migration tool is the perfect solution. It offers a variety of features that ensure a smooth transition, free from the risk of any data loss.
Features of the Tool
If you’re a Microsoft Teams user, then you might have come across the issue of cache. In this article, we have mentioned some simple steps to clear the cache in Microsoft teams. We hope this blog is helpful for you and you can follow the steps without any issues. In case you need help with Teams migration, you may try the Kernel Microsoft Teams Migration tool. This tool can help you migrate your data and settings from one account to another without any hassle.