Setup G Suite (Google Workspace) Account for Your Business Easily?
Himanshu Goyal
|
Updated On - September 27, 2023
Read time 9 minutes
The free Google account gets a total storage of 15 GB that is shared between all the application. G Suite’s Business Standard subscription provides 2 TB of space, so you can understand the huge leap in the benefits of accounts. The benefits are not limited to storage space, but there are numerous applications that are not present in the free account.
Due to the features and great number of applications, G Suite becomes an ideal candidate for a business whether small or large.
The following article will enlighten you towards G Suite and after completing the article, you will have a clear picture regarding G Suite and how you can enable it in your business.
G Suite is not limited to one application; it is a collection of multiple tools and applications that can help in managing the entire processes of your business. For instance, the Gmail application from Google Workspace is one of the best email platforms for handling internal as well as external communications.
With G Suite, you can host your email for yourself with your domain name, which means if you have a WordPress site using the Gmail interface, and then it could work as an email hosting solution for your business. Moreover, the apps included in the G Suite are ideal for almost every task in business operations. G Suite provides you with the business versions of:
Besides, you get the email address with your domain name like yourname@companyname.com, as well as you get 30 GB of storage space for every user. And the benefits are not limited; it expands based on the subscription plans.
We will move to the setup process of G Suite, but before that, there are some things you need, such as:
Once you have access to all these things, you can set up the G Suite account for your business.
Generally, there are multiple steps involved in setting up a G Suite account. Here, we have concluded that process in 4 simple steps:
Let’s go thorough each of these steps:
First of all, you need to register for a G Suite account, which could be done quickly by following the below steps:
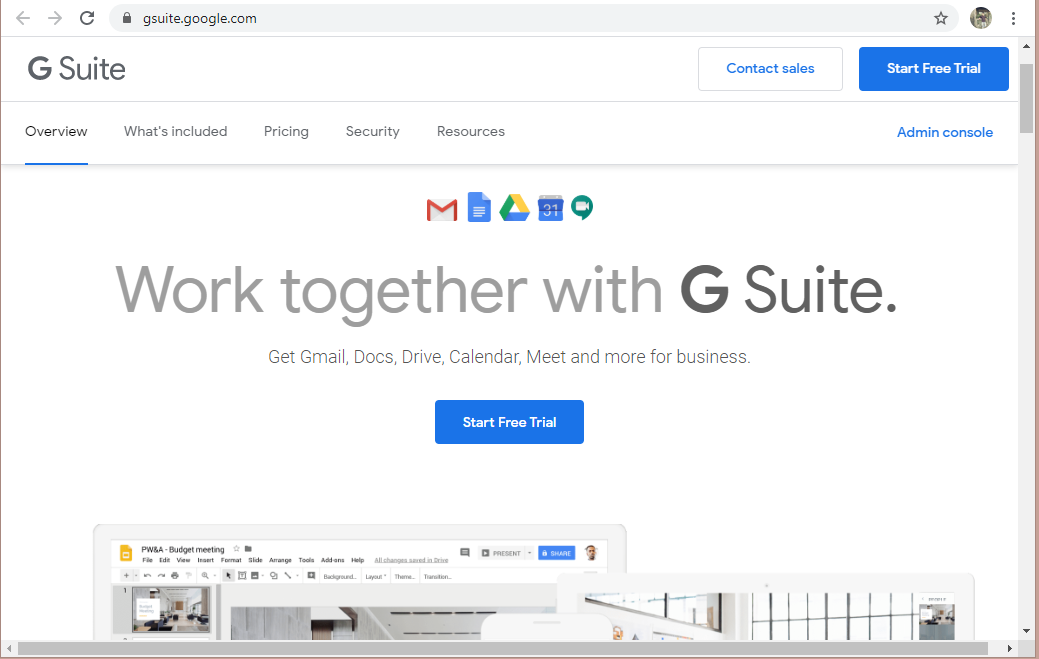
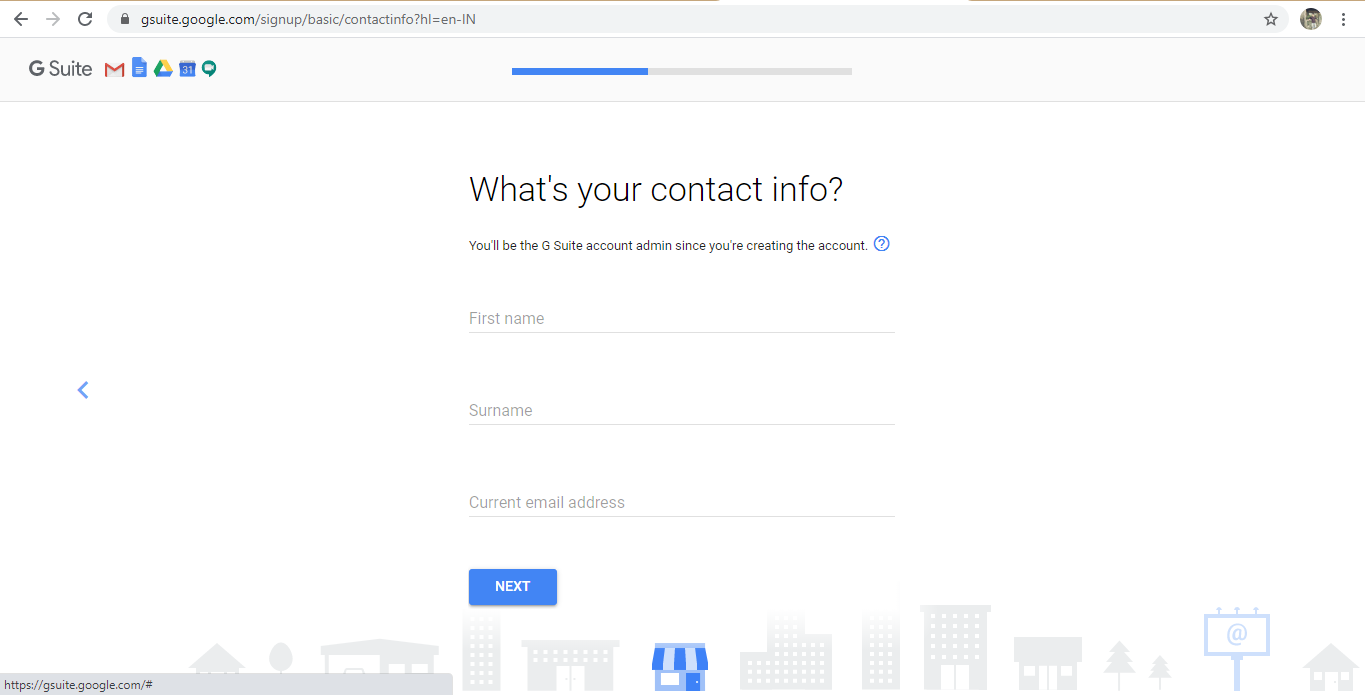
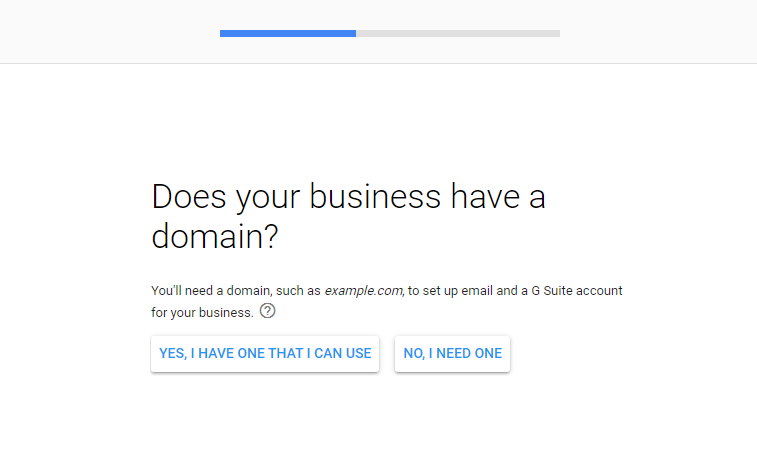
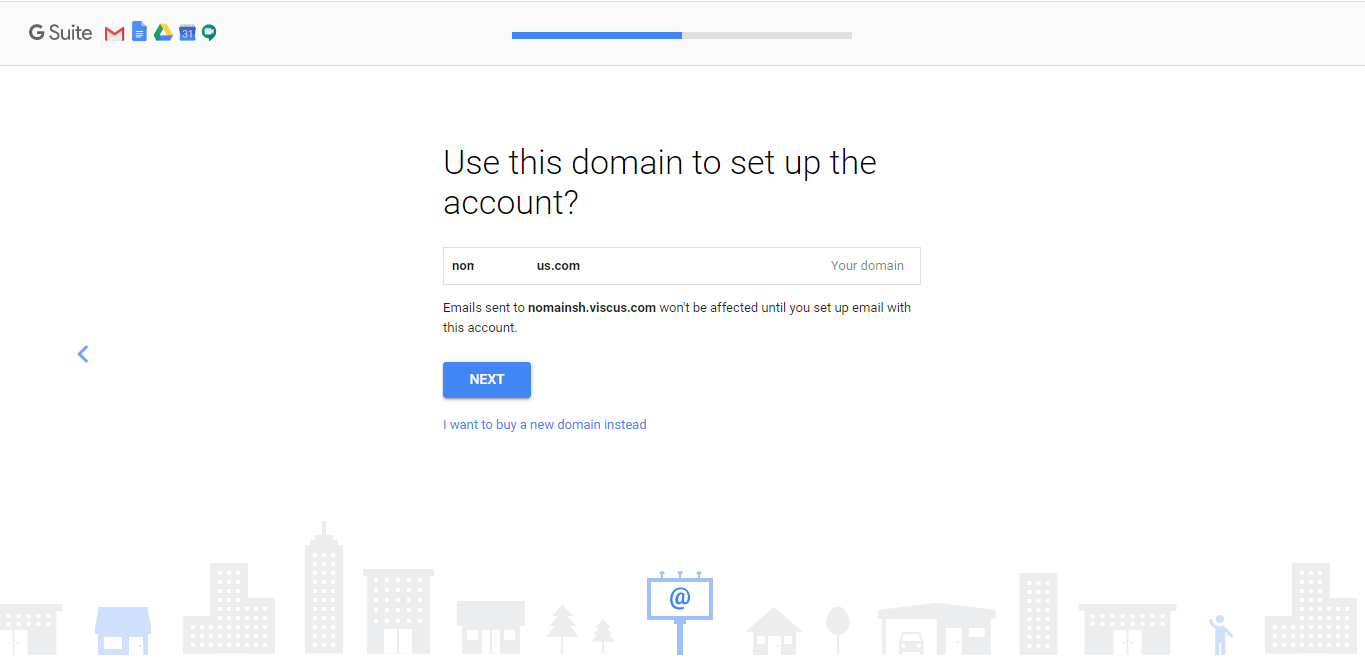
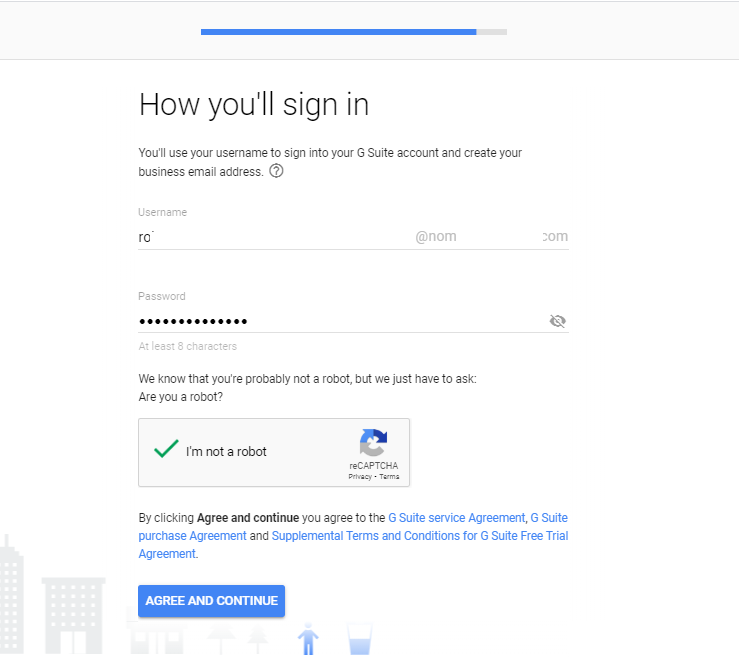
After completing the G Suite account setup, you can add other users to your account. To do so, follow the below steps:
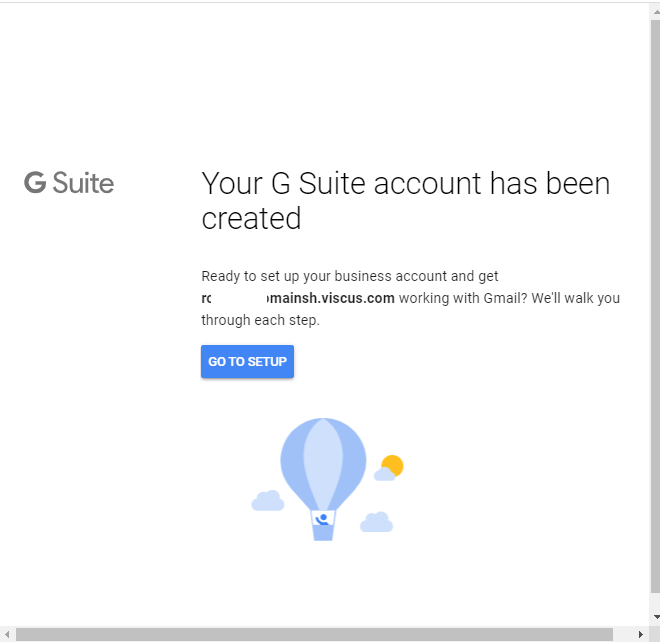
This way, you can add users to your G Suite account.
Now, verify your domain name with Google, which could be done by adding a TXT record. Google will detect the location where your domain name is hosted with step-by-step instructions to help you verify your domain name.
The instructions are pretty helpful, and you can follow them to verify your domain name. However, you can also check the domain name with the cPanel of your site dashboard.
Now you have to finish the G Suite account setup. The last step involves adding MX Records, which allow a G Suite account to handle email for the domain name. You can add the MX Record from the cPanel of your hosting plan or through Google MX records.
Note: Updating the MX records is required only if you want to use Gmail. If you decides to continue using your existing email service, then do not change the MX records.
If you don’t find the above instructions helpful for setting up the MX records, then you can follow these generic steps.
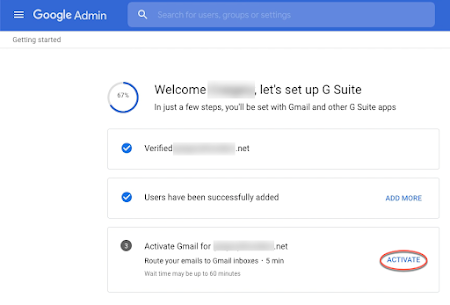
It will take around 6 hours to send and receive messages to your new G Suite email address; it may take about 48 hours for your G Suite email address to send and receive emails.
Now, if you want to use Gmail from G Suite account, then sign in to admin.google.com with G Suite username and password. From the top-right corner, click the App Launcher and select Mail. That’s how you can set up your G Suite account easily. Although it is a complicated process, you can smoothly perform it with the above steps.
Setting up a G Suite account is pretty simple if you follow the above step-by-step process. But, if you’re already using G Suite in your organization, then you may need to backup your mailboxes and other G Suite data time-to-time to avoid any data loss.
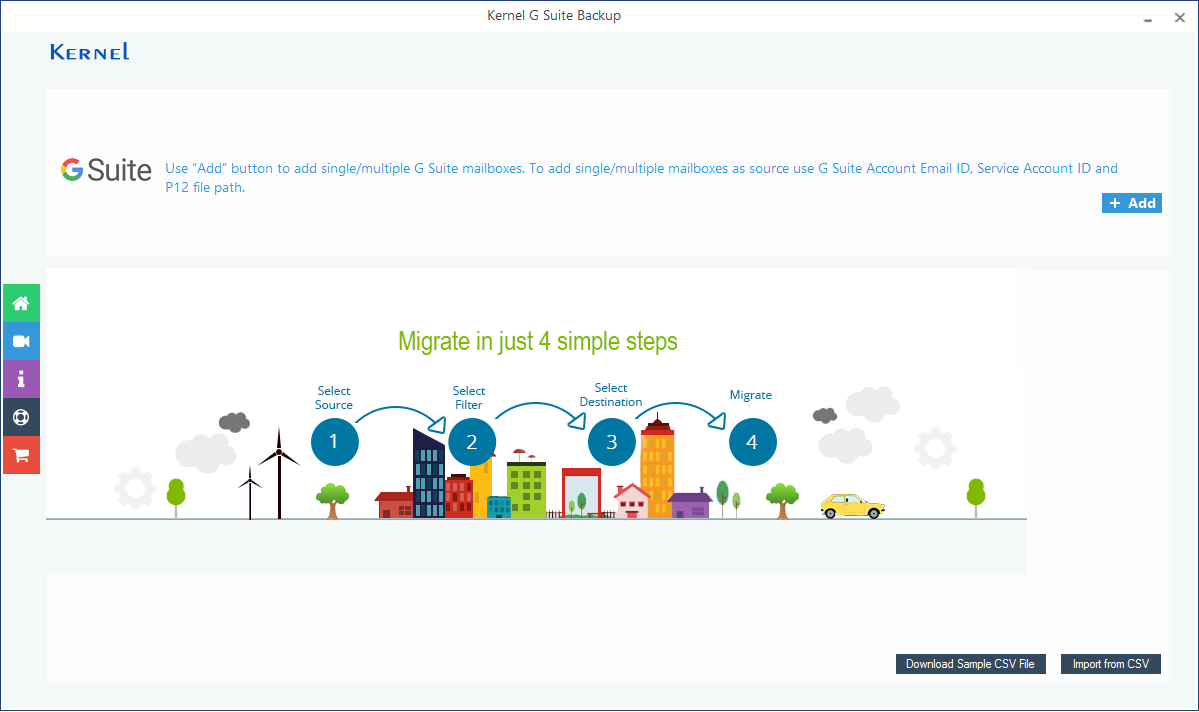
But there is no secure manual method to backup G Suite data. So, it becomes a little complicated for users to backup the G Suite data. However, with the help of an automated solution like Kernel G Suite Backup, you can easily backup the entire G Suite data in one go, including G Drive, Google Hangout, Gmail, etc. The backup file will be saved locally, which later can be used to access the data in case of data loss events.
Most organizations heavily rely on Google for their internal and external communications because it is a powerful platform. But, they need to set up a G Suite account to have email addresses with their domain name and add multiple users to it. In this article, we discussed how you could set up a G Suite account in four simple steps. Besides, we also talked about an automated solution that can be used to backup Google Workspace data.