Here is a detailed step-by-step process to use the Kernel XPS Converter tool:
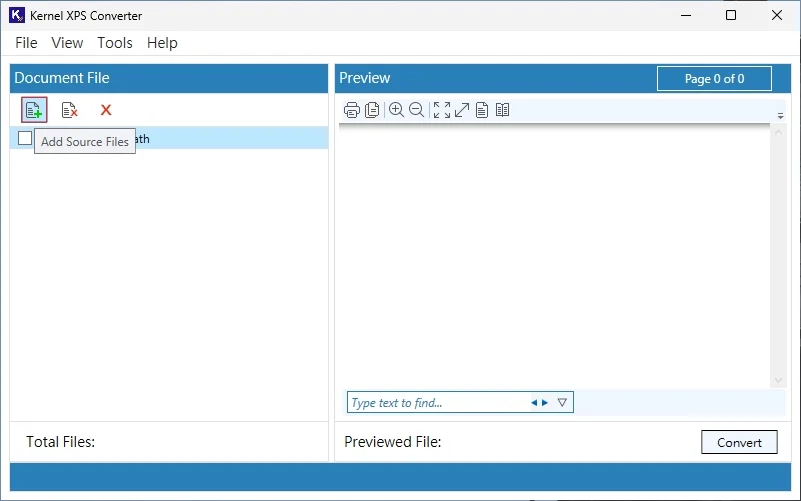
Step 1: Download, install, and launch Kernel XPS Converter in the system.
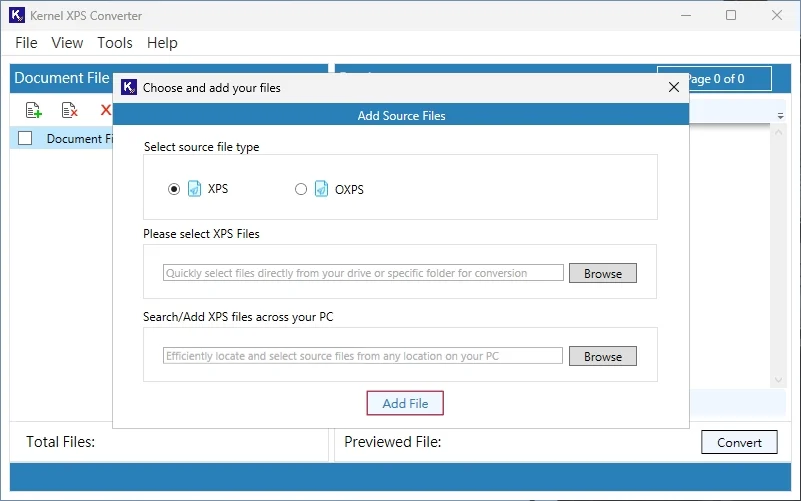
Step 2: Tap on the Add Source Files icon to load a file into the tool. You can also add files via the File tab.
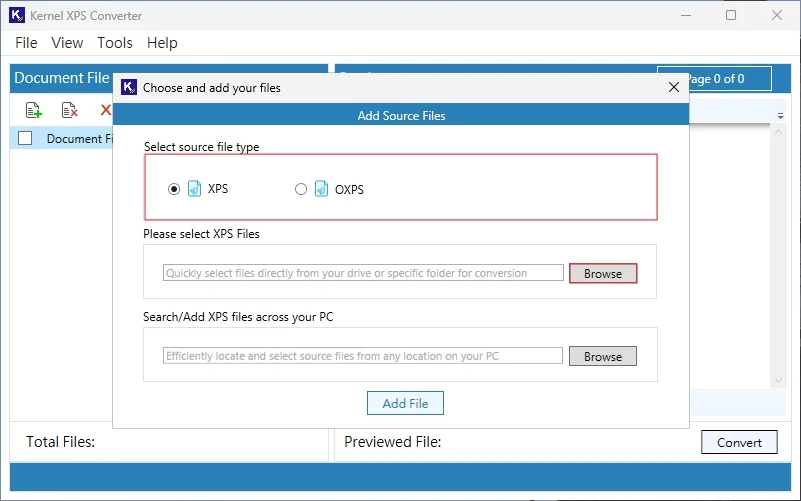
Step 3: Choose the file option (XPS or OXPS) and click on Browse to select files.
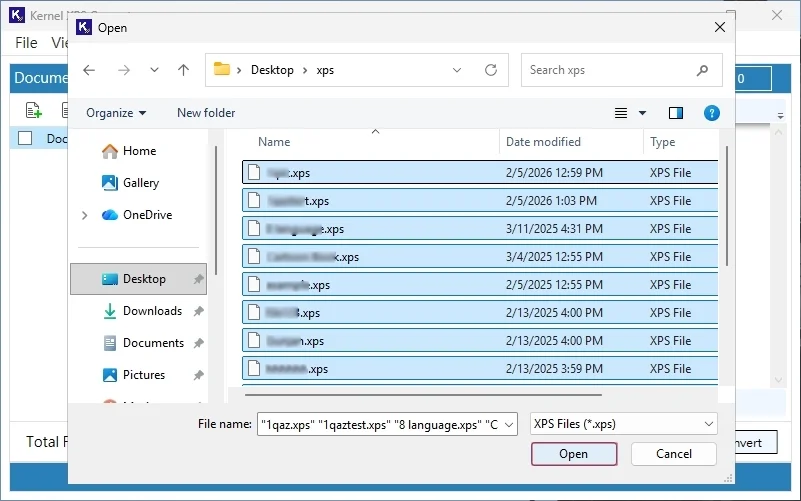
Step 4: Locate and select the XPS files from the system and tap on Open. You can select multiple files at once.
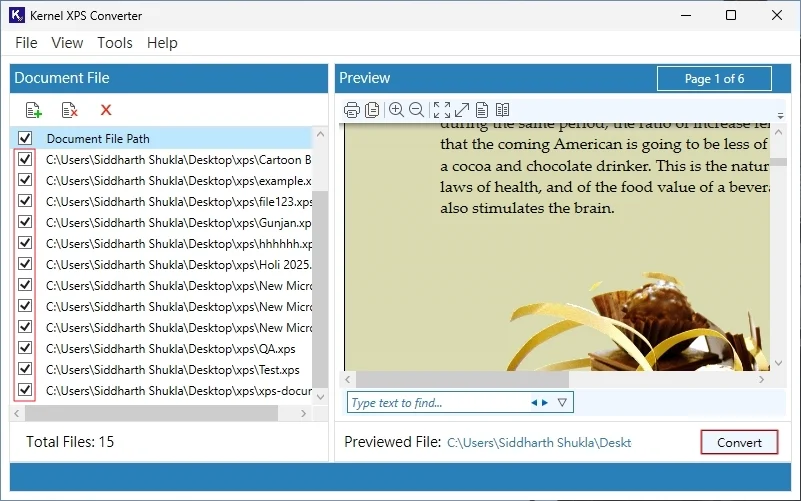
Step 5: Click on the Add File button to load files for conversion. All XPS files will be listed.
Step 6: Tap on the files one by one and preview them if needed. Mark the files from the checkbox that needs to be converted and click Convert.
Note: You can use the below functionalities accordingly:
- Print the XPS/OXPS file directly from the utility.
- You can use the Theme Setting option from the View
- Use the Zoom control button to preview the XPS file data.
- Enter specific text in the ‘Type text to find’ box to search within the file.
- Select the XPS data and copy it via the given button.
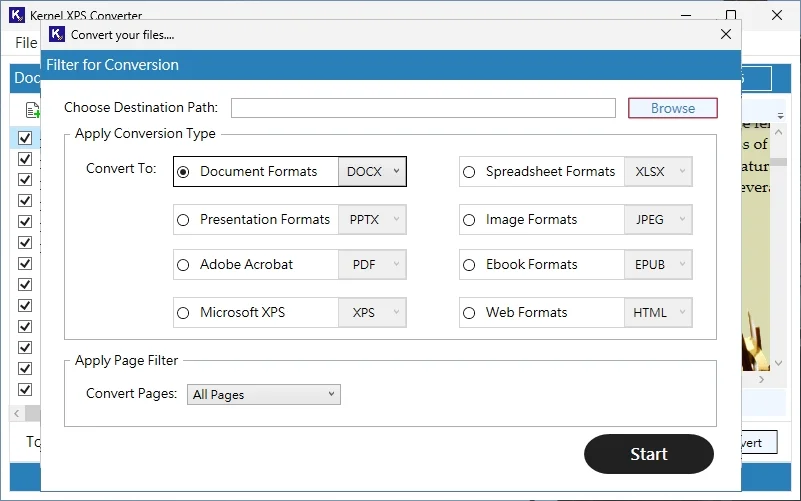
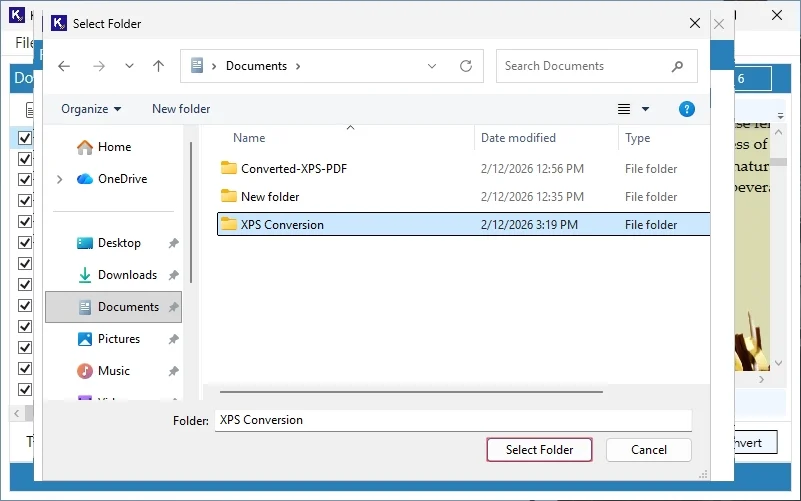
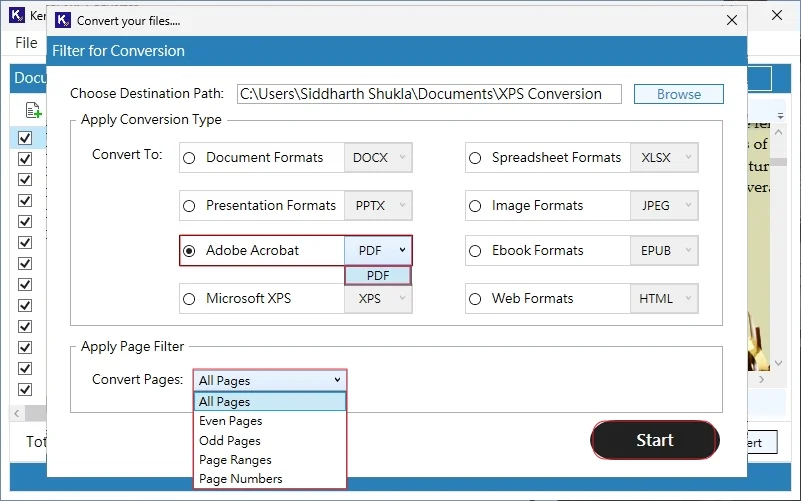
Step 7: Click on Browse to provide the saving location for the converted resultant file.
Step 8: Select the folder/location in the File Explorer and tap on Select Folder.
Step 9: Choose the Apply Conversion Type and apply the Page Filter accordingly. Click Start.
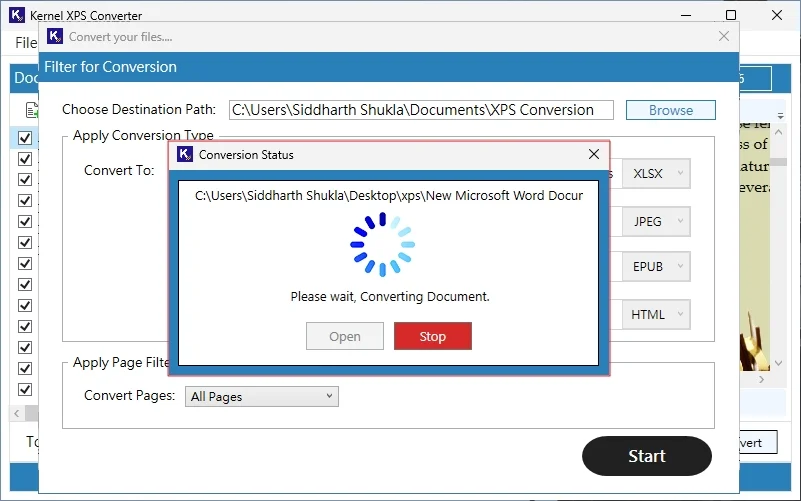
Step 10: The XPS conversion will start. Wait for a few minutes.
Step 11: Once the conversion is complete, the 'Document Converted Successfully’ message will pop up. Click Open to view resultant files.
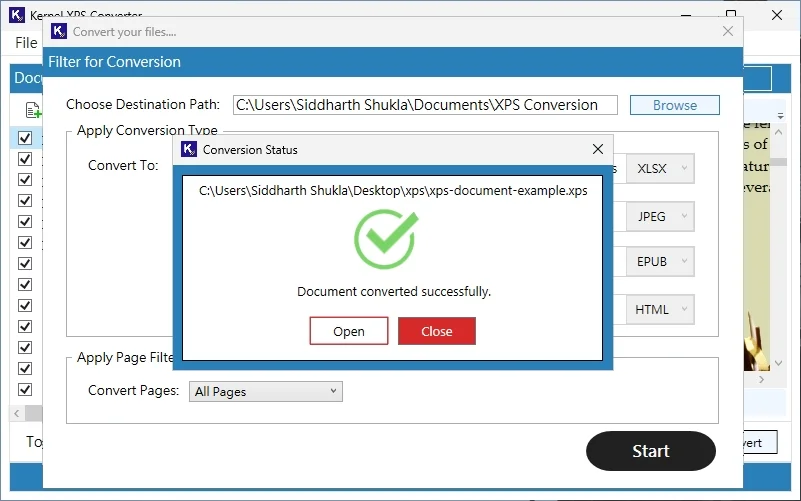
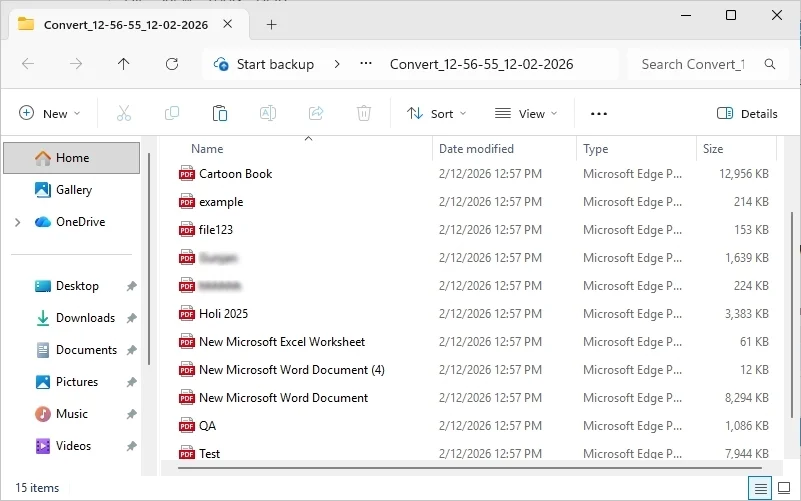
Step 12: The tool will redirect you to the folder where converted files (PDFs) are saved.