Here are the detailed steps to use and convert the OST file to PST format using the Kernel for OST to PST Converter tool:
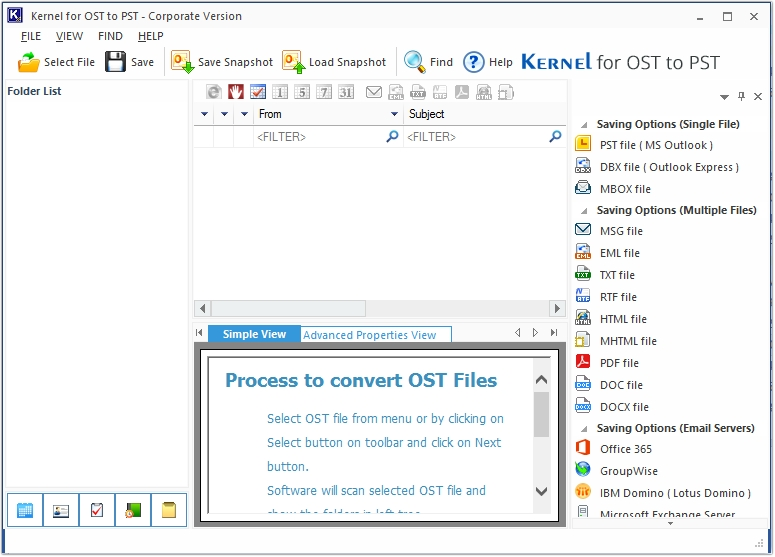
Step 1: Download and install the Kernel for OST to PST Converter tool.
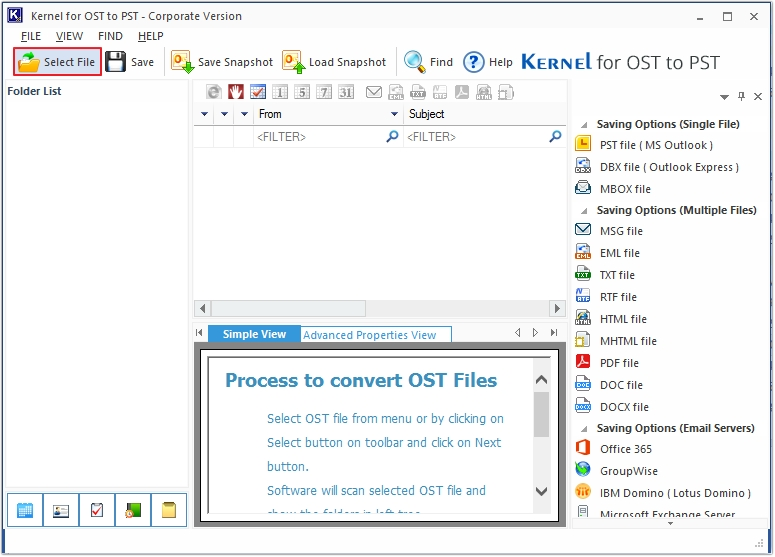
Step 2: Click on the Select File option to add OST files.
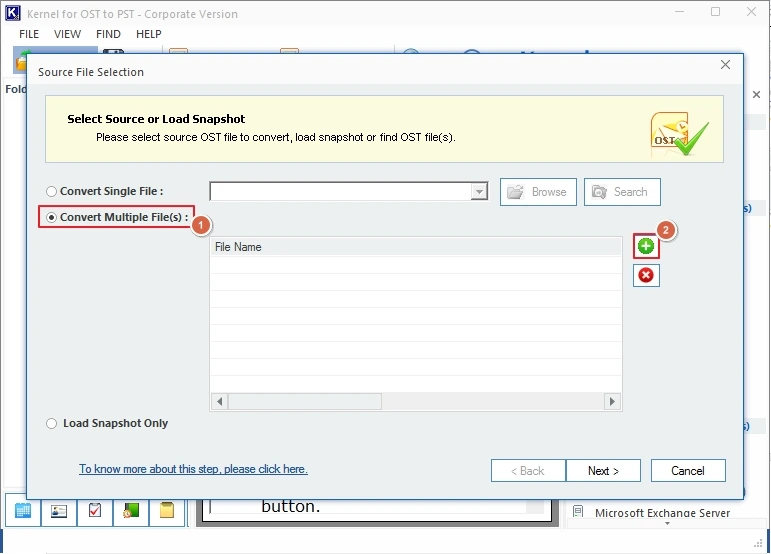
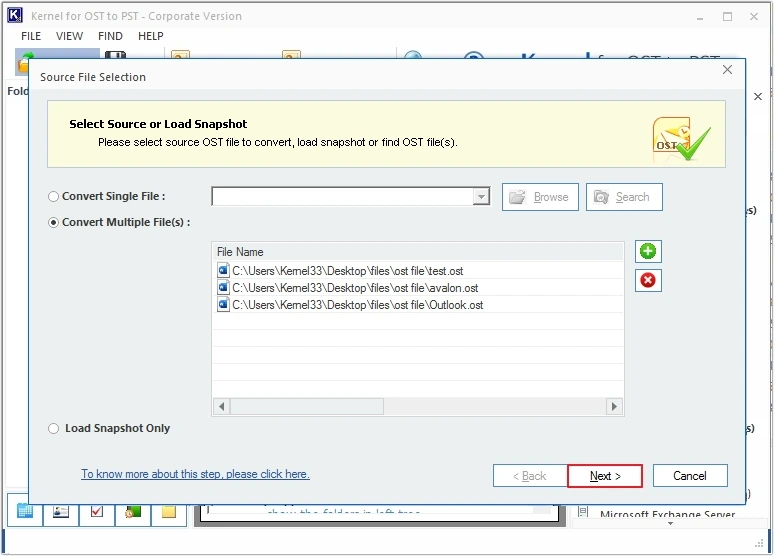
Step 3: Select Convert Multiple Files(s) option, then click on the “+” button to upload the bulk OST files.
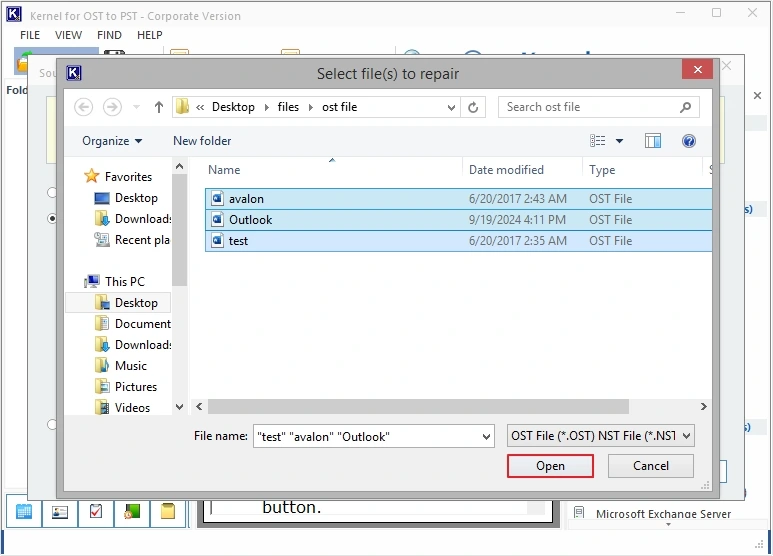
Step 4: Select the required OST files and click on the Open button.
Step 5: Once the files are added, click on the Next button.
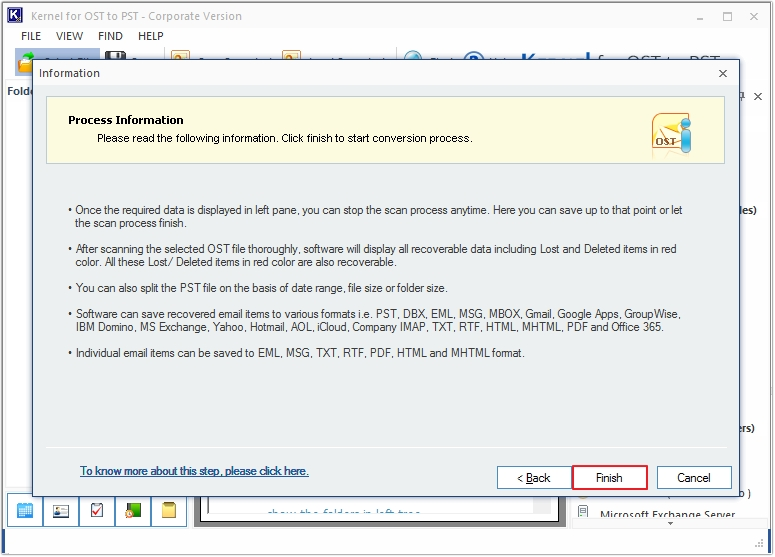
Step 6: Click on the Finish option to proceed.
Step 7: You can click on any folder or email message to get its detailed preview.

Step 8: Click on the Save button to move forward.

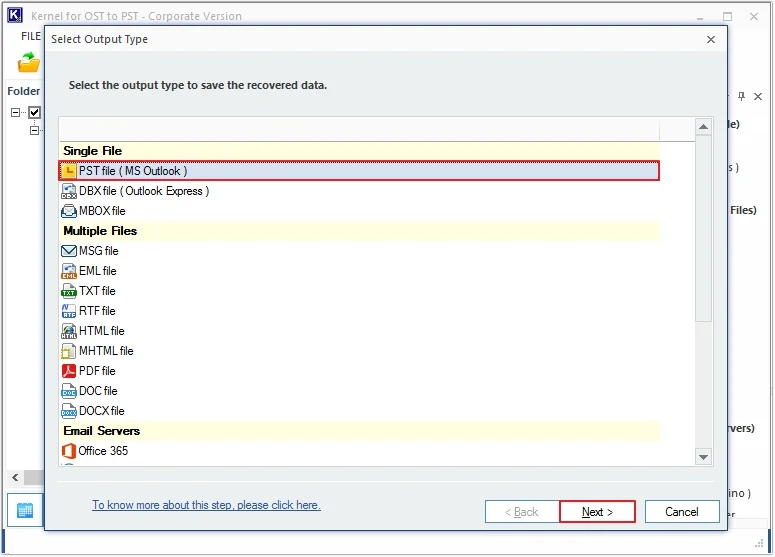
Step 9: Select the PST file (MS Outlook) as the Output Type and click on the Next button.
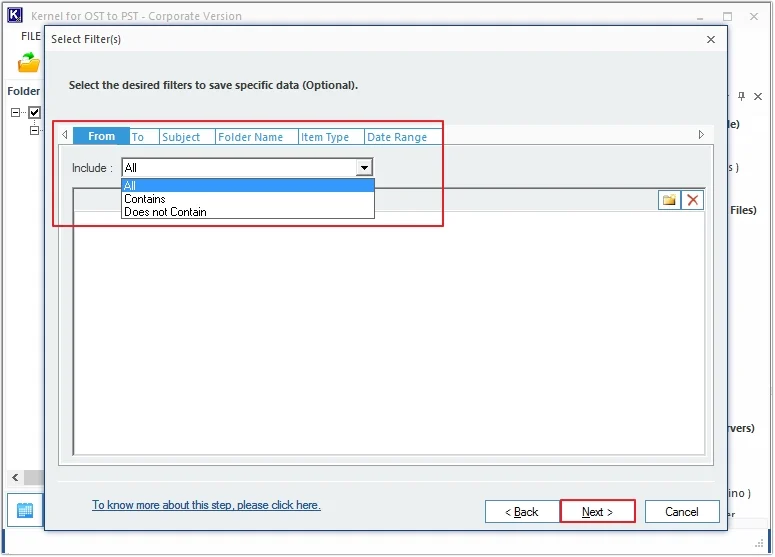
Step 10: Apply the required filters, including From, To, Subject, Folder Name, Item Type, and Date Range. Click on the Next option.
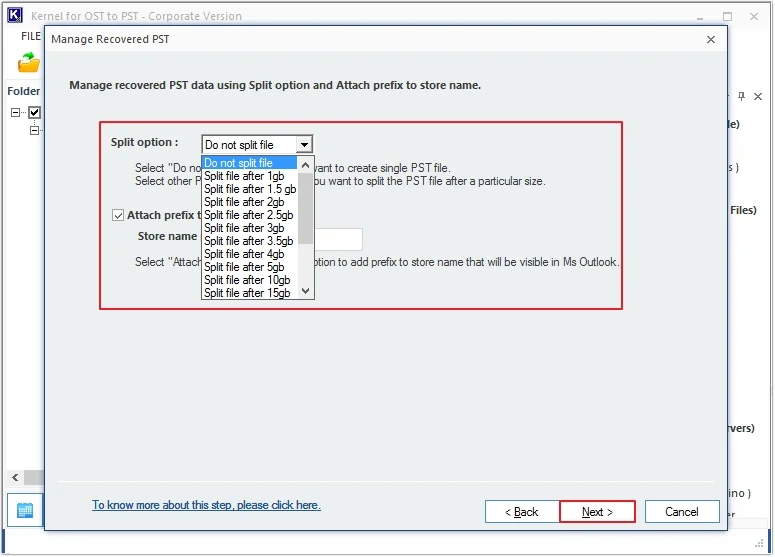
Step 11: If you want to split your resultant PST file, then apply the Split option (split PST ranging from 1 GB to 45 GB) and click on the Next button.
Step 12: Click on the Browse button to provide the destination to save converted files.
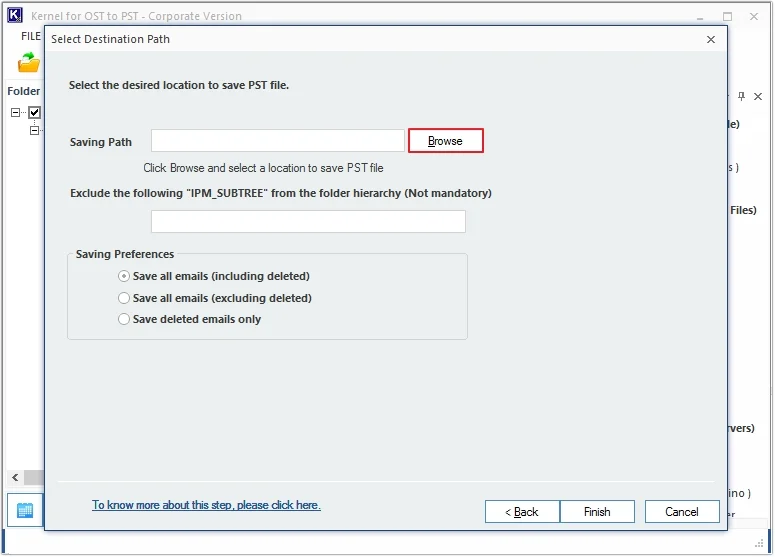
Step 13: Select the required folder or location from your local system and click on OK.

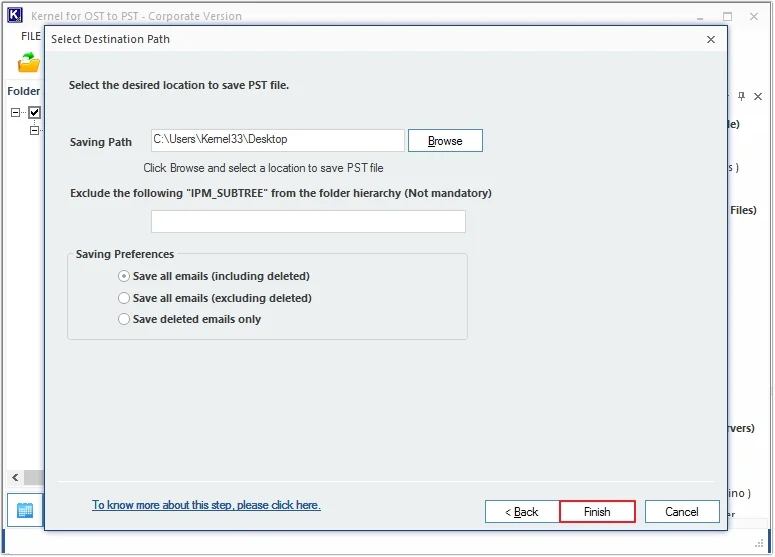
Step 14: Apply Saving Preferences and click on the Finish button to start the conversion process.
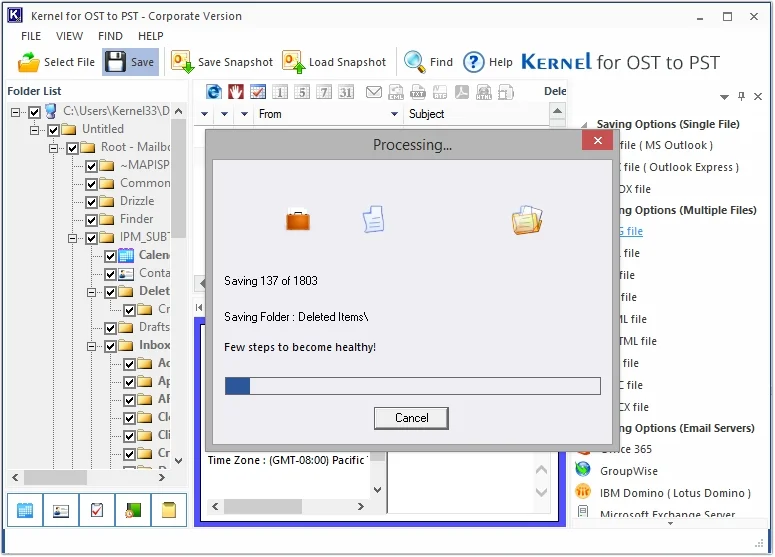
Step 15: The software will begin the OST to PST file conversion process, and you can view the progress status.
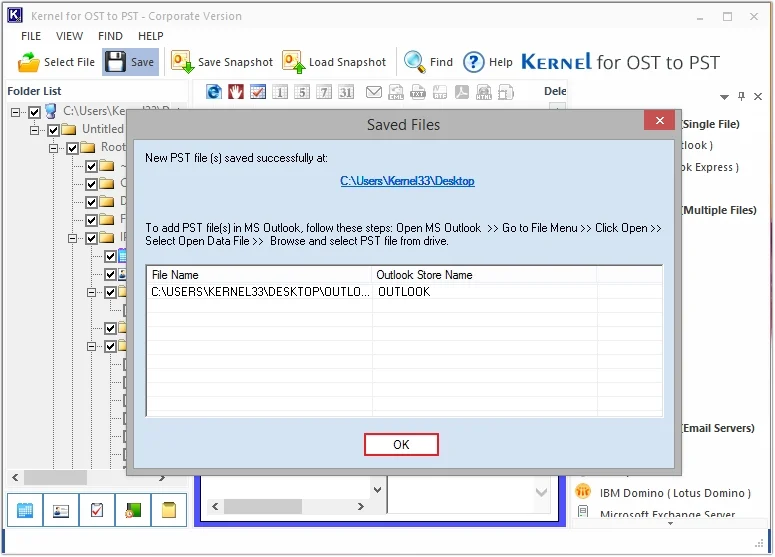
Step 16: Wait for a few minutes, and your OST file will be successfully converted into PST format. Click OK to end the process.