Step-by-Step Guide to use Kernel PST Converter Pro
Step 1: Download and install Kernel PST Converter Pro tool.
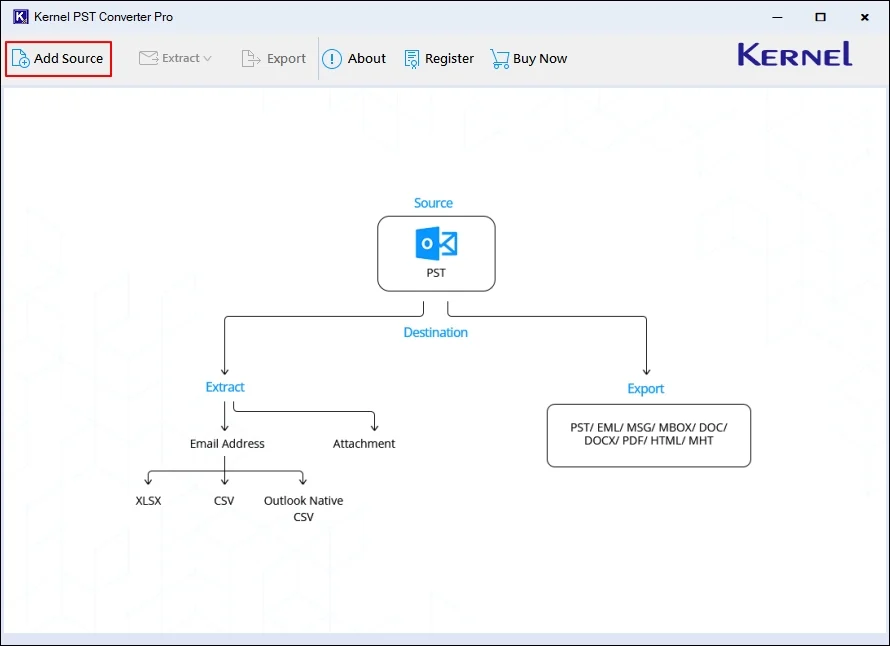
Step 2: Launch the software and click on Add Source on the software's home page.
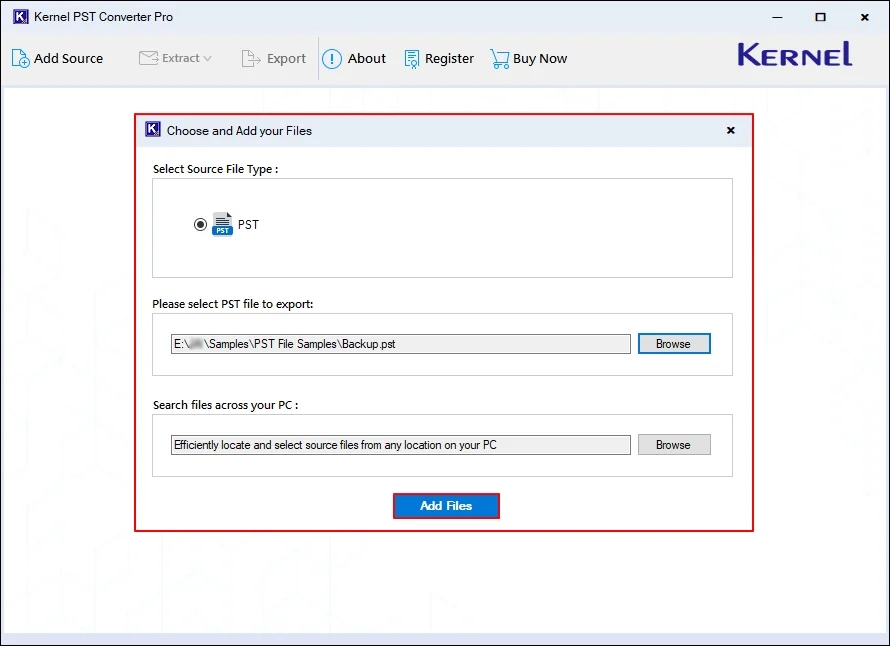
Step 3: In the Choose and Add your Files wizard, click on Browse.
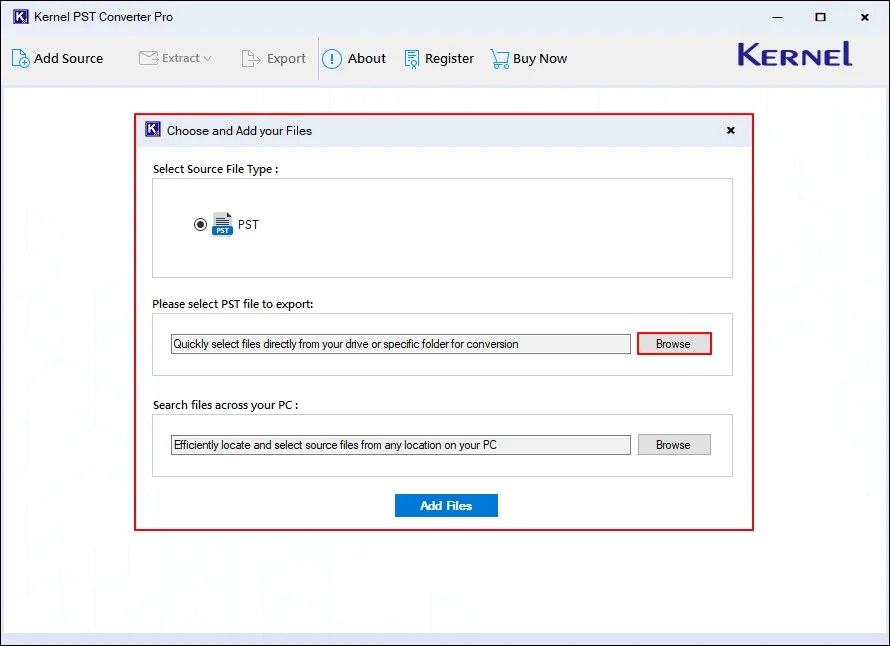
Step 4: Select PST files from your local drive and click Open.
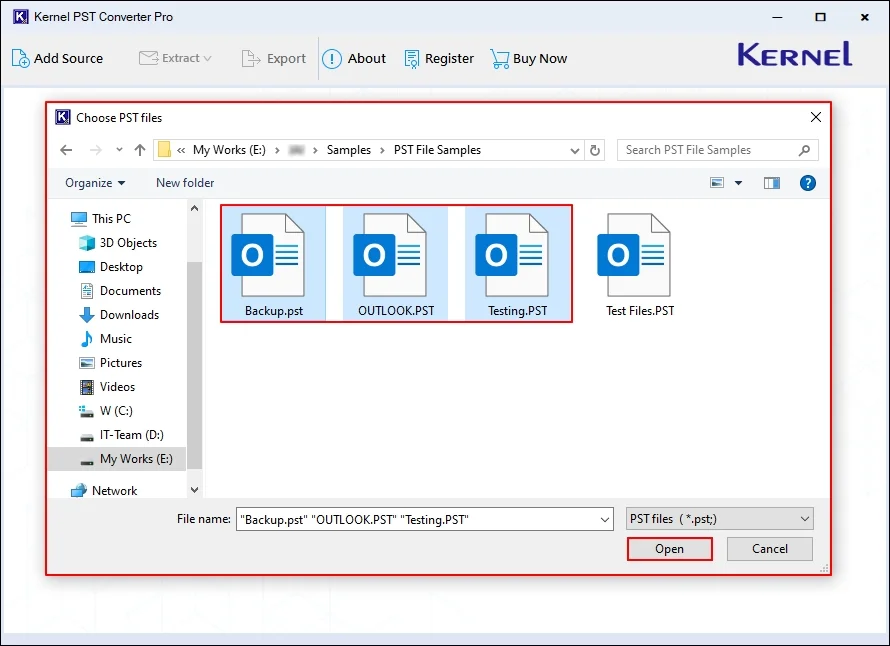
Step 5: Click on Add Files to proceed.
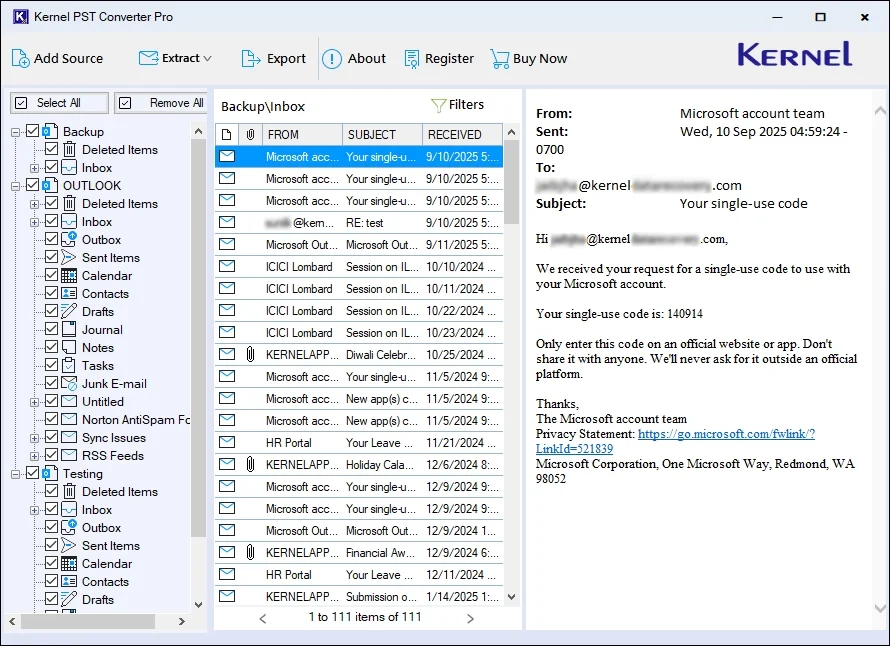
Step 6: The software will list all the PST file data. You can easily select any file and preview its data.
Choose Required Export Option
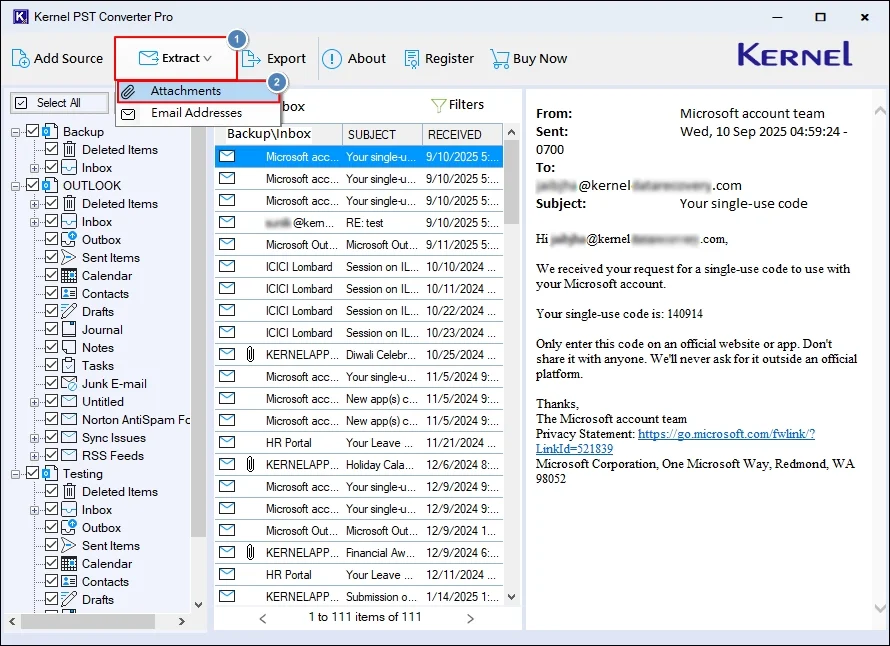
Now, the software provides you with three different options, including extract attachments, extract email addresses, and export PST data. Below is the step-by-step process for all three. Proceed with the one according to your needs.
Extract Attachments
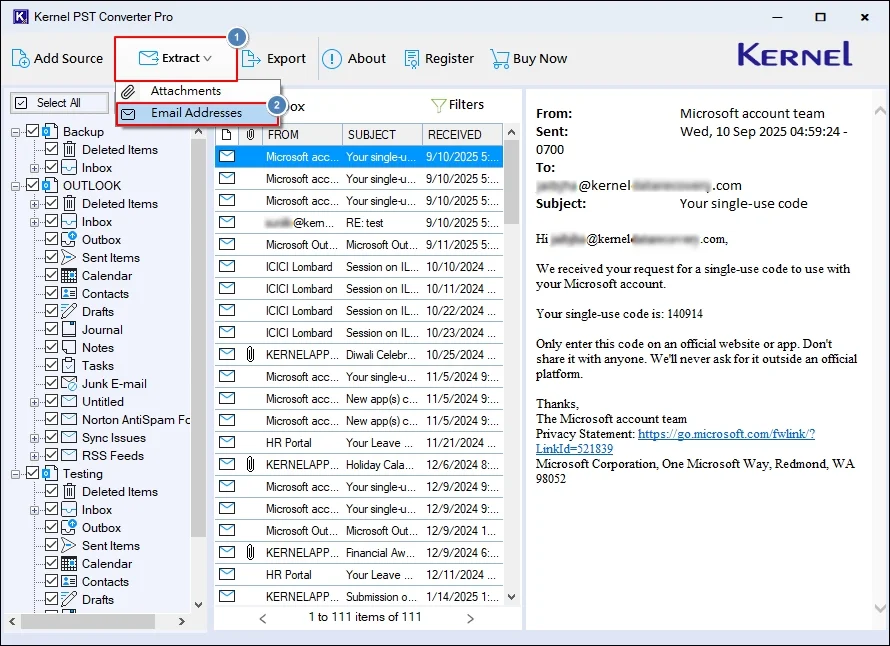
Step 7: Access the specific PST file data. Click on Extract and then Attachments.
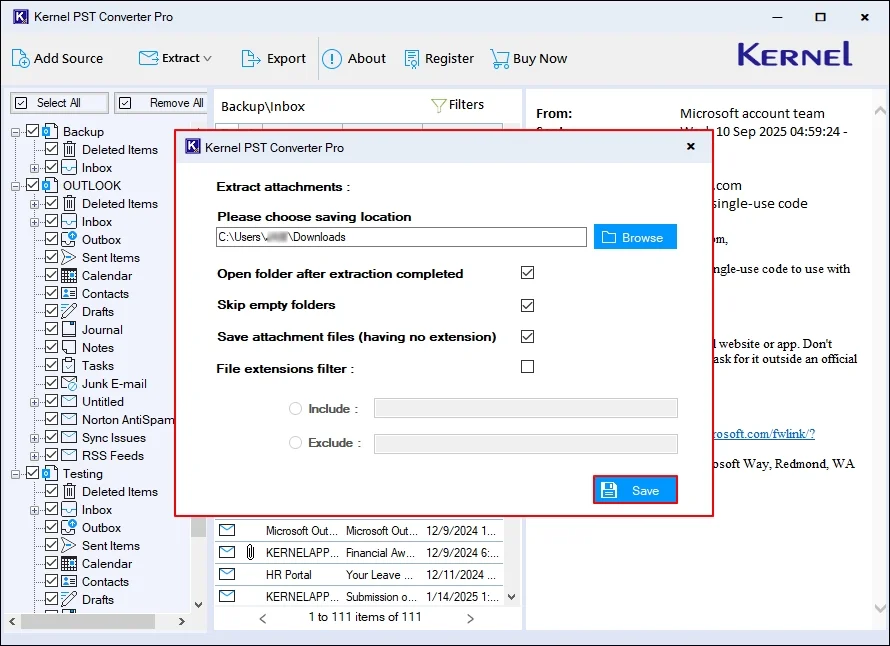
Step 8: In the following window, click on Browse to provide a saving location.
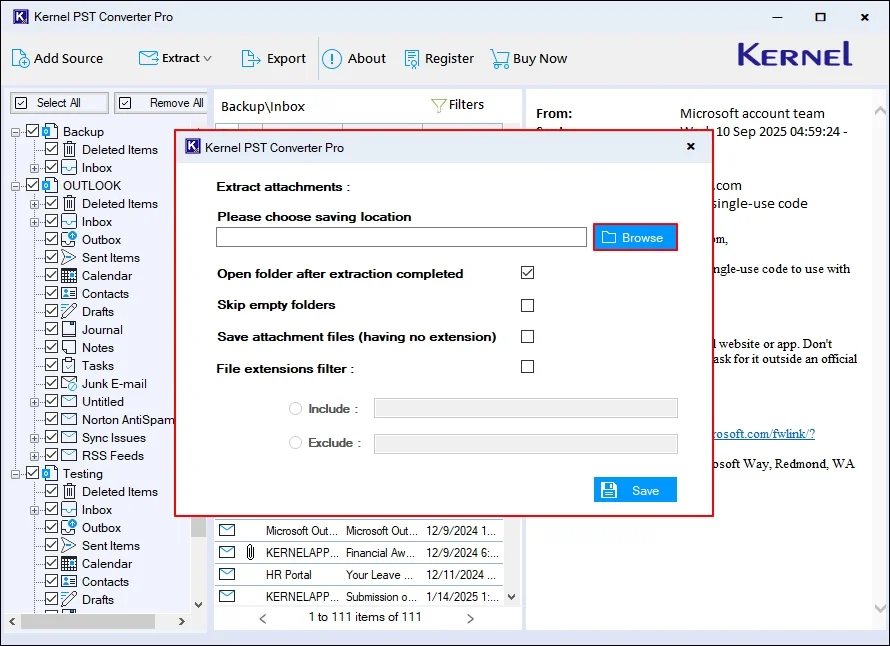
Step 9: Select a specific location on your system and click Ok.

Step 10: Now, select the necessary options from:
- Open folder after extraction completed: Immediately access all the extracted data after a successful extraction process.
- Skip empty folders: Exclude extraction of empty folders.
- Save attachment files (having no extension): Extract all the attachments that don’t have an extension.
- File extension filter: Enter Include and Exclude folders names and export specific data.
After applying the required options, click Save.
Step 11: The software will start extracting attachments from the selected PST files.
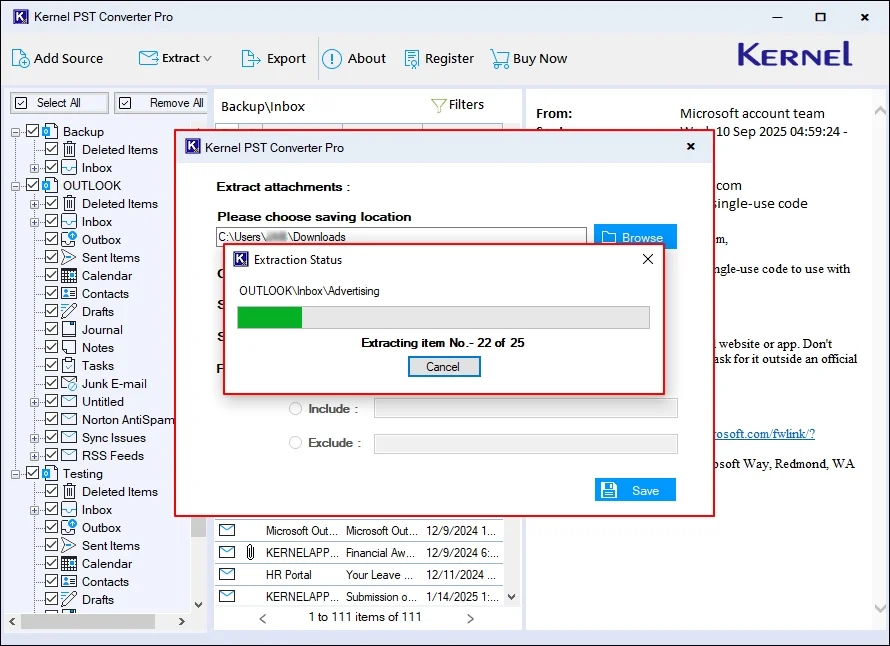
Step 12: After extracting data, you will get the “Extraction Completed” message. Click Done.

Note: The software will redirect you to the output folder location after a successful export process.
Extract Email Addresses
Step 7: After accessing the PST file data, click Extract and choose Email Addresses.
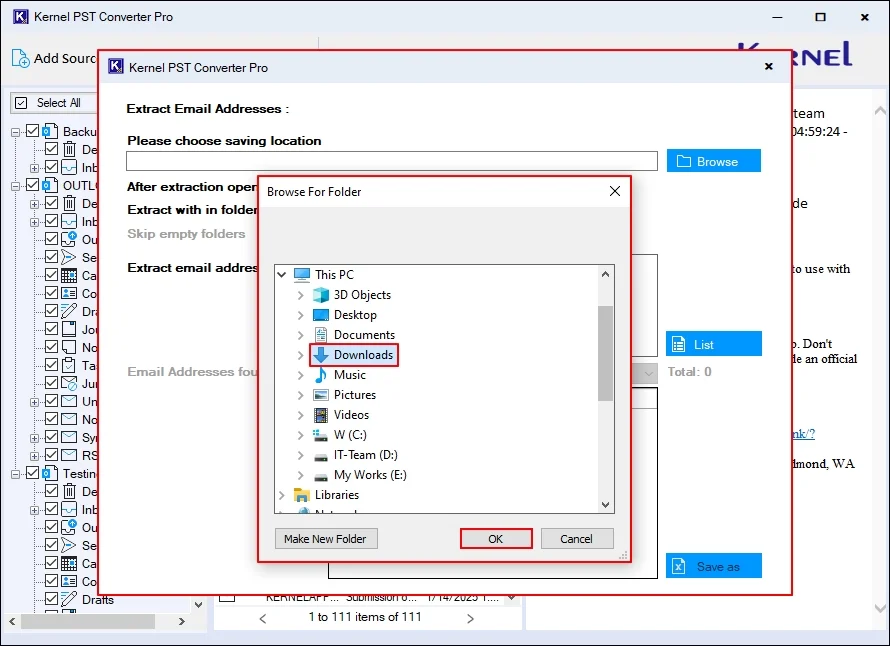
Step 8: Click on Browse in the following wizard to provide saving location.
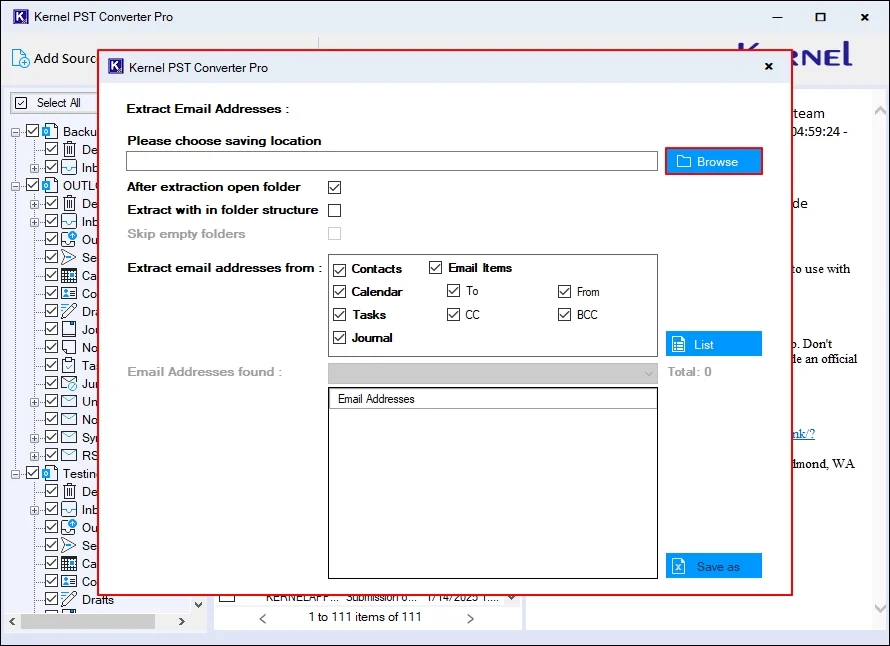
Step 9: In the following window, select a specific location and click OK.
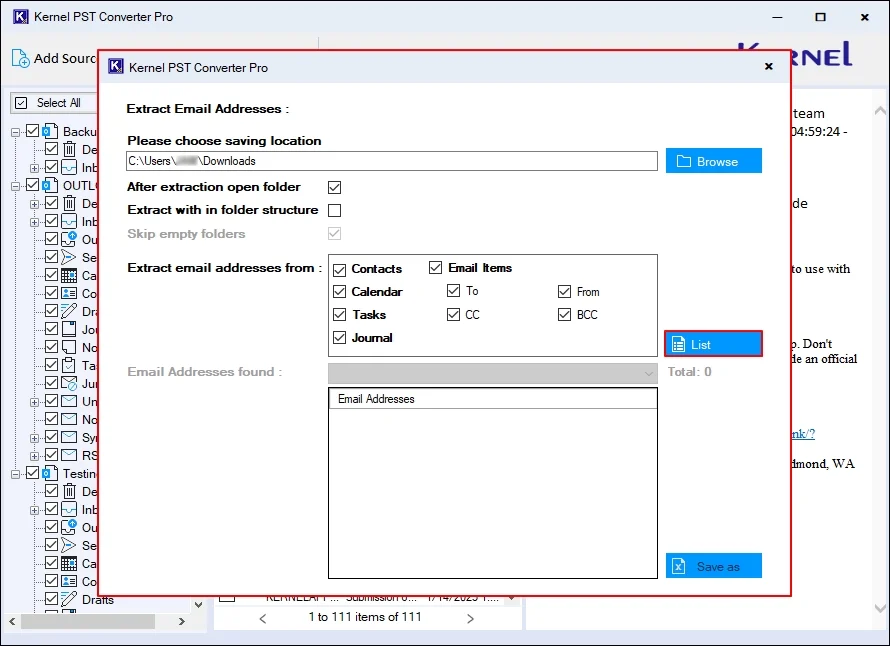
Step 10: Now, apply the necessary options from:
- After extraction open folder: Access all the output data in your local drive immediately.
- Extract with in folder structure: Extract all email addresses in the original folder structure as same as source.
- Skip empty folders: It will exclude extracting empty folders of source file.
- Extract email addresses from: Contacts, Calendars, Tasks, Journal, and Email Items.
After applying all the required options, click List.
Step 11: The software will start extracting email addresses from the given PST file.
Step 12: After getting “Extraction Completed” message, click Done.
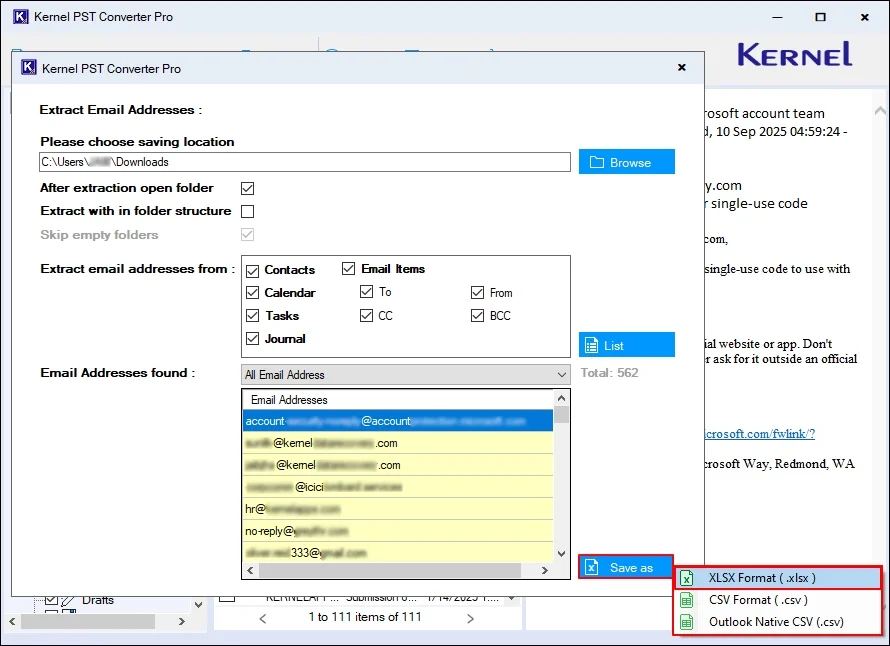
Step 13: The software will list all the email addresses in the Email Address Found section. Click Save as and select from XLSX Format (.xlsx), CSV Format (.csv), and Outlook Native CSV (.csv).
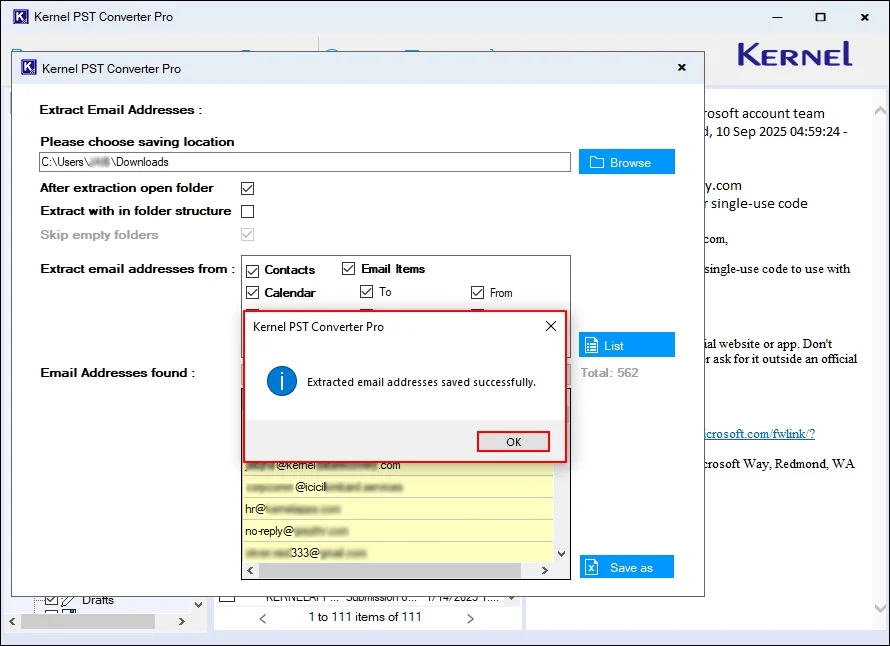
Step 14: The software will save your exported data in the selected output format and pop up “Extracted email addresses saved successfully” message. Click OK.
Export PST Data
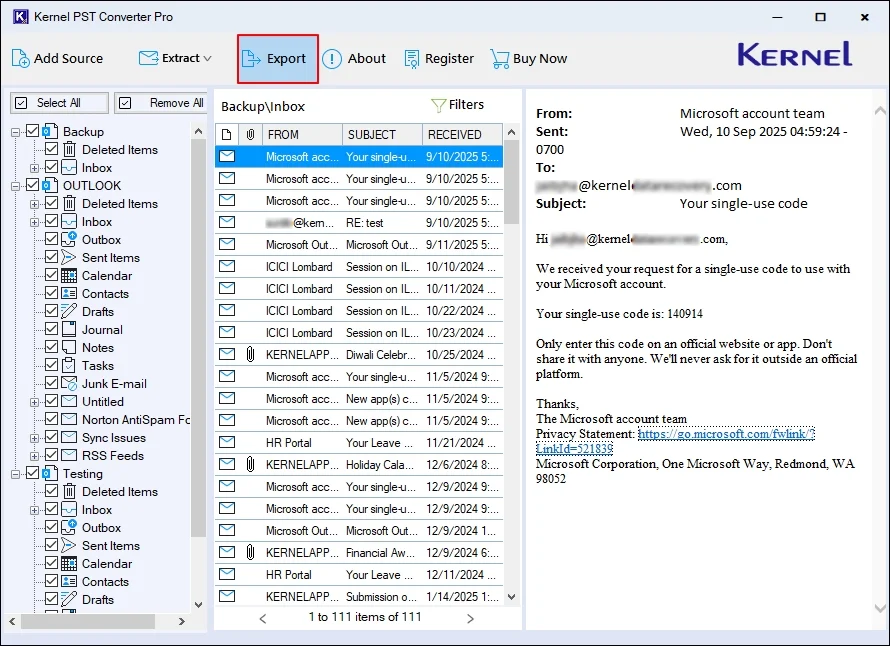
Step 7: After previewing the added PST file data, click Export.
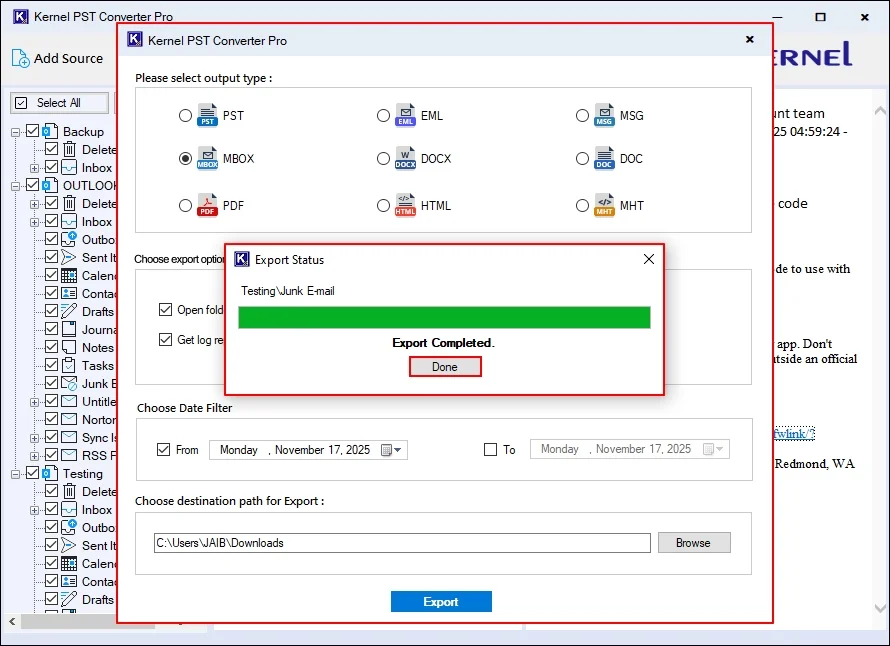
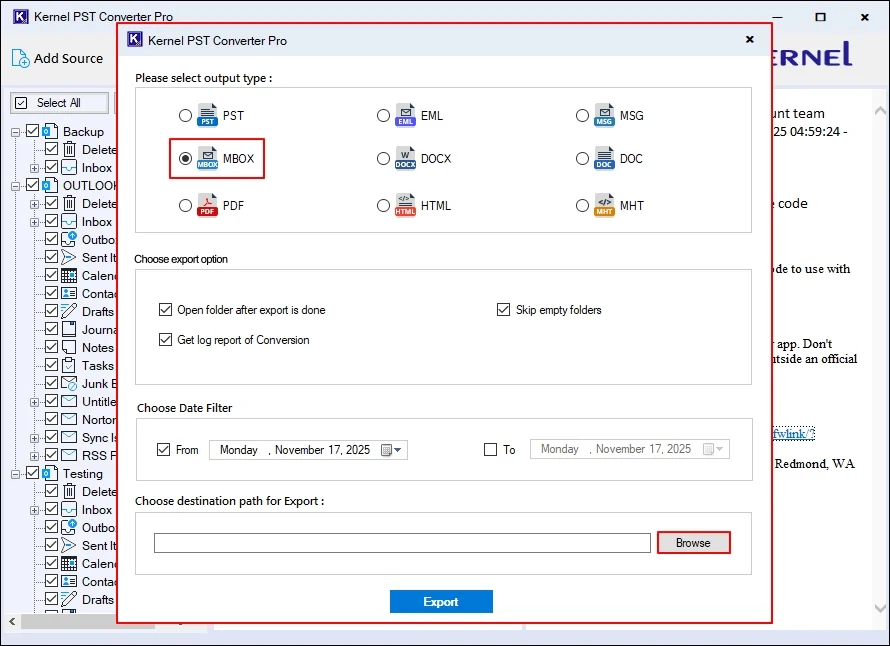
Step 8: The software offers multiple output formats to export data. For now, we are proceeding with MBOX format. Apply the required export filters/options according to the selected output format.
Now, click on Browse to choose destination path for export.
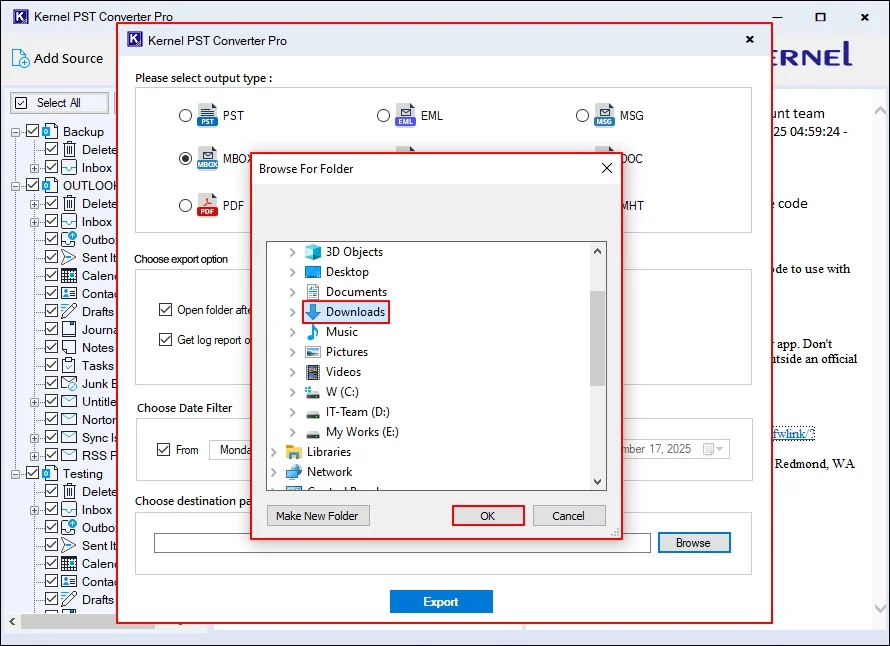
Step 9: Select a specific folder to save the data and click OK.
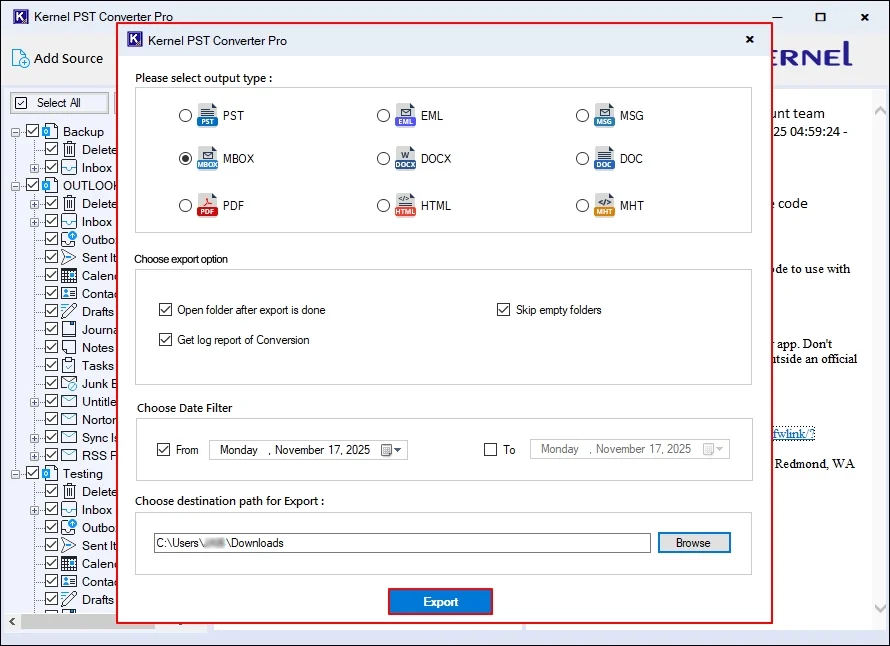
Step 10: In the following window, click Export to start the process.
Step 11: The software will start exporting data and show the live progress.

Step 12: Once process completed, click Done to automatically access your exported data on your system.