Step 1: Welcome Screen to perform the required Outlook PST File recovery
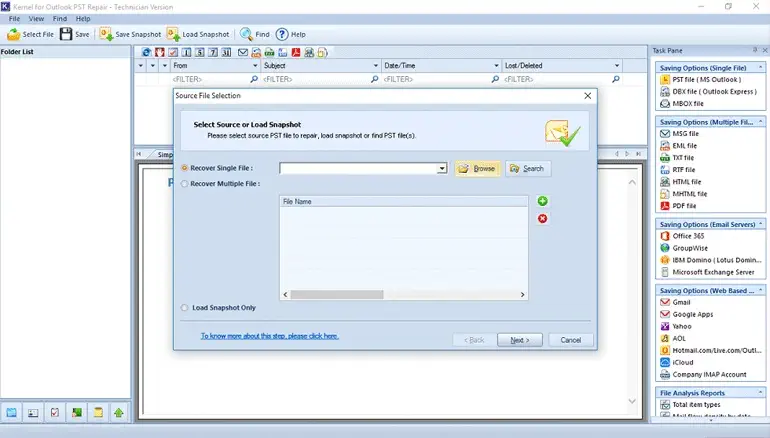
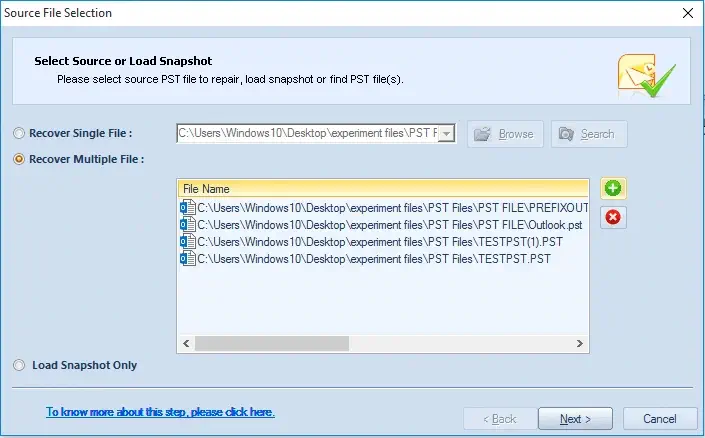
Step 2: Select the single or multiple PST file(s) from a drive
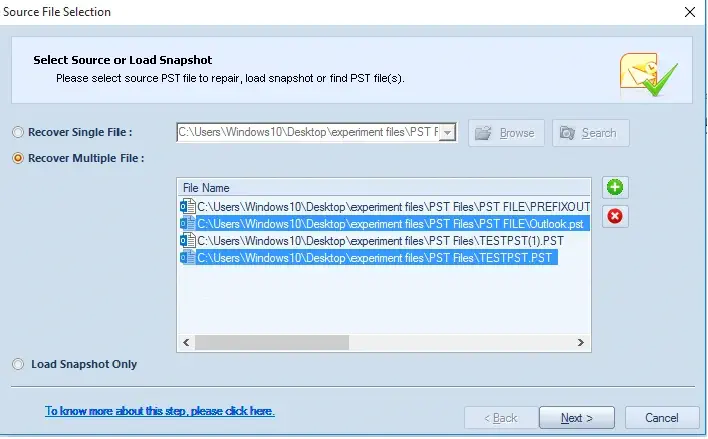
Step 3: Exclusion of default selected PST file(s) before recovery
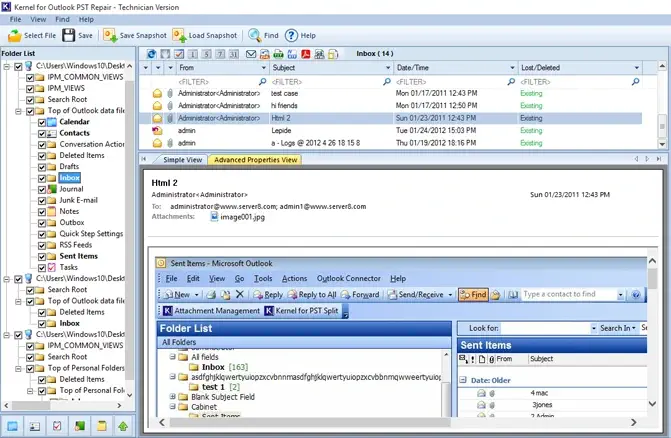
Step 4: Complete preview of all the added Outlook PST files' email items.
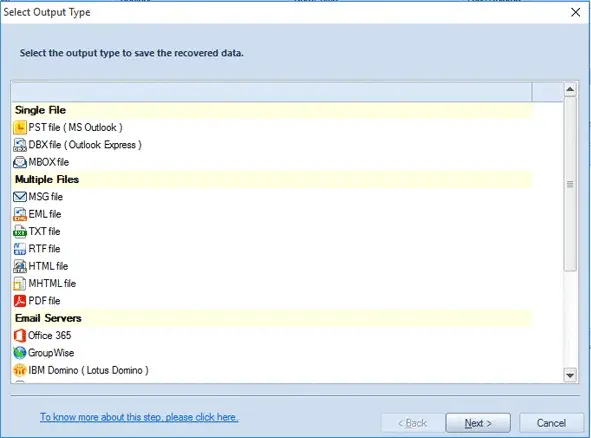
Step 5: Selection of the output type to save data of PST File(s)
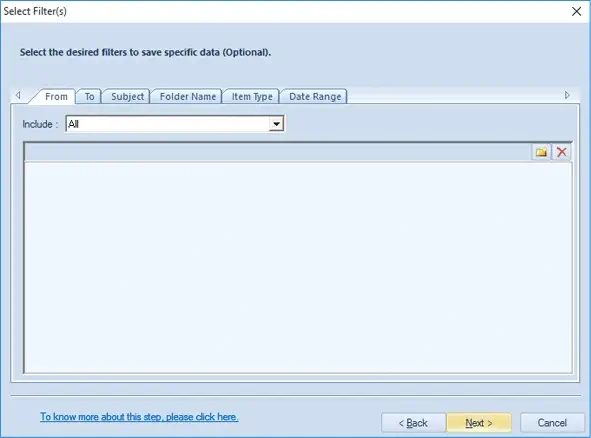
Step 6: The in-built criteria to filter out the specific data.
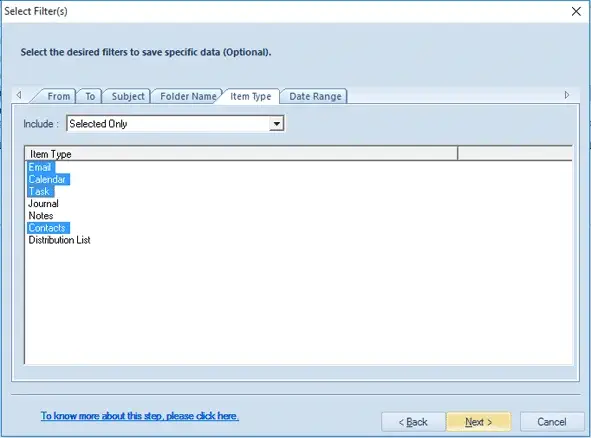
Step 7: Filtration of data based upon different item types.
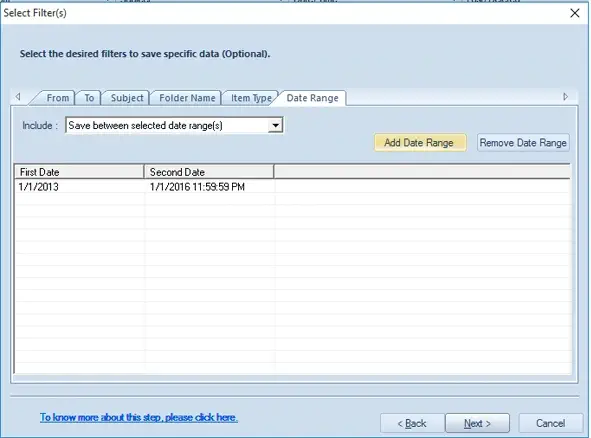
Step 8: Filtration of data based upon date range.
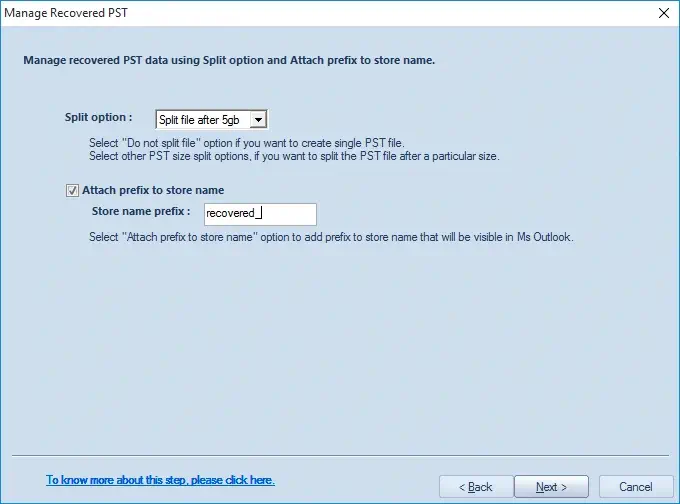
Step 9: Define the size to split or add prefix to the resultant PST File.
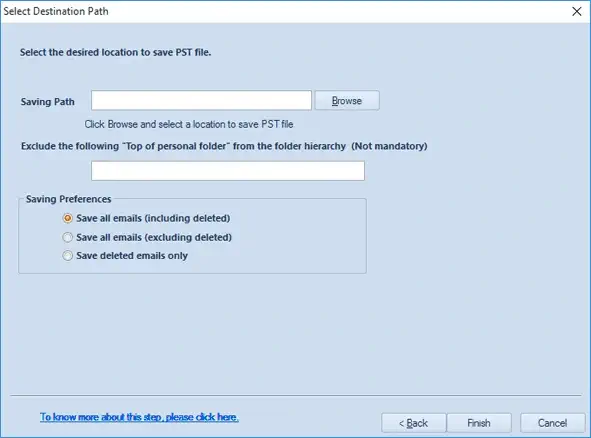
Step 10: Provide the required location to save the data into PST File.
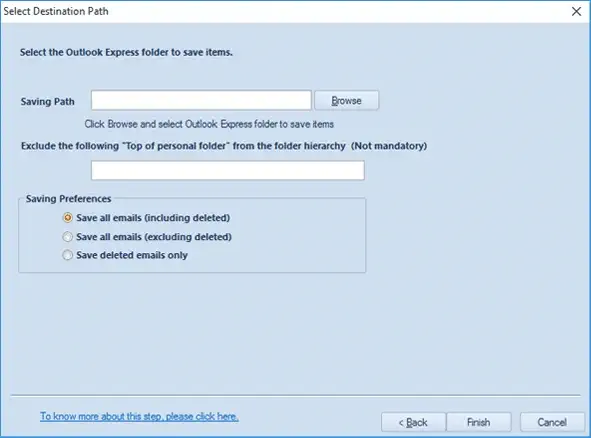
Step 11: Provide the location to save the recovered data into DBX File.
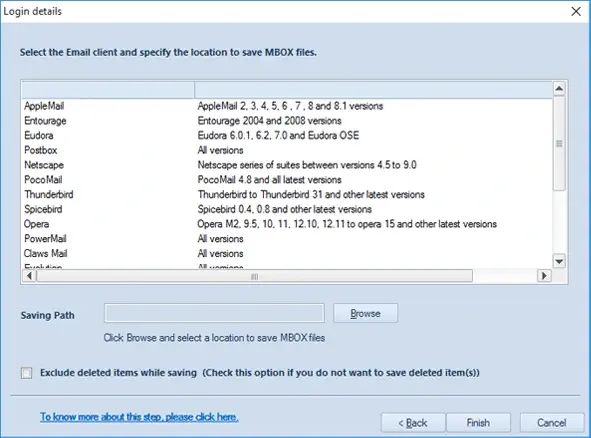
Step 12: Select Email Client and define the location to save data in MBOX File.
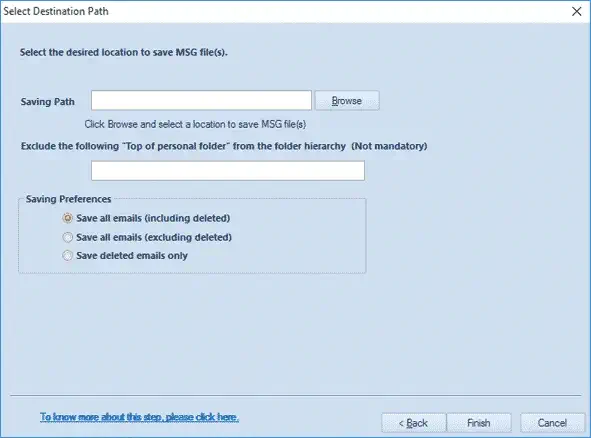
Step 13: Provide the location to save data into MSG File.
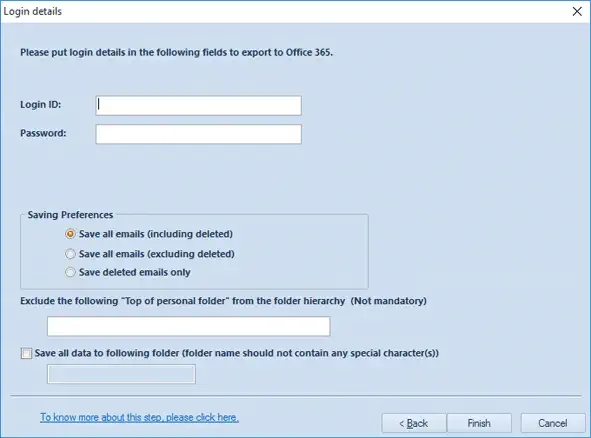
Step 14: Provide login credentials to save data to Office 365
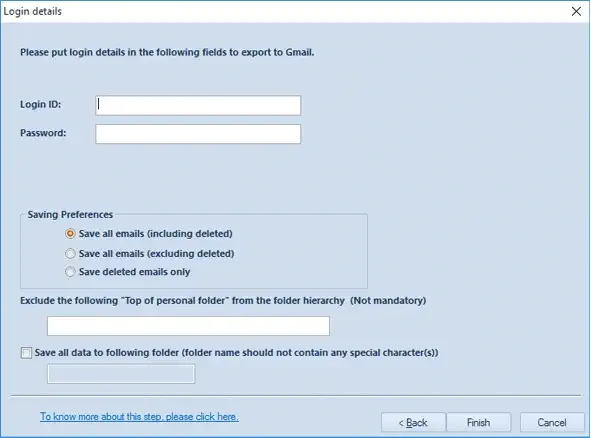
Step 15: Provide the required login credentials to save data to Gmail.