How to Use (Export OST to other formats)
Step 1: Launch the OST Converter Pro tool.

Step 2: Click on the Add Source button to add the source OST files.
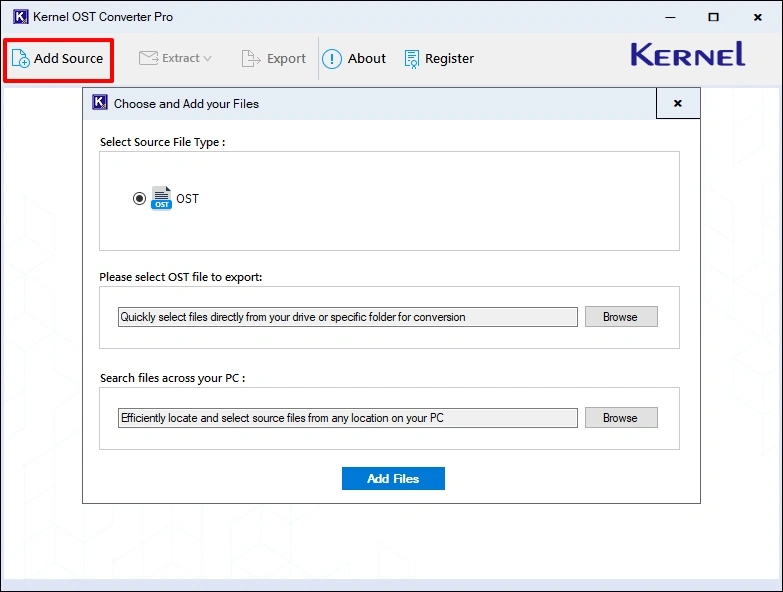
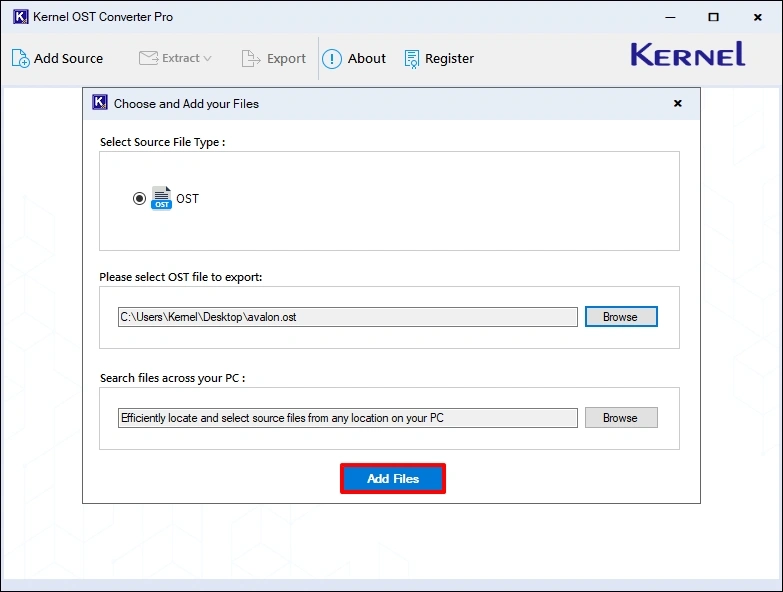
Step 3: Click the Browse button and go to the location where the OST file is stored. Select the file and click Open.


Step 4: After adding the OST file (manually or with the search option), click the Add Files button.
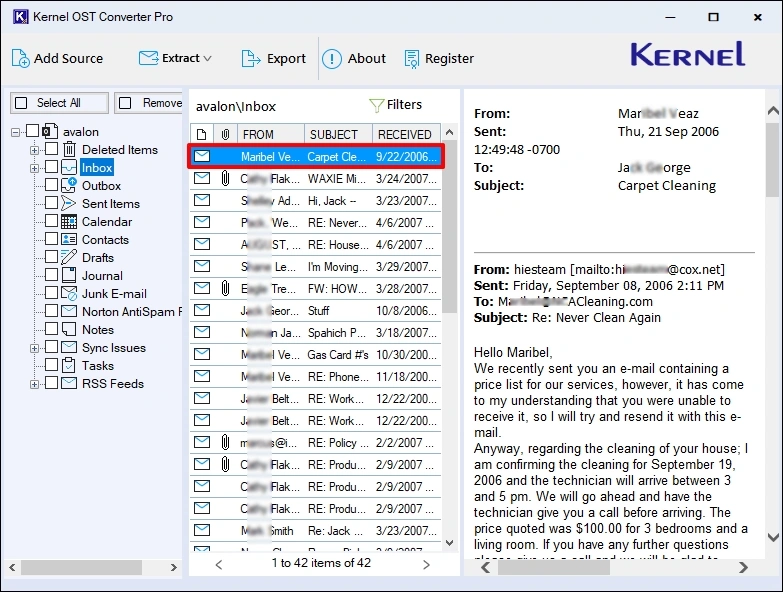
Step 5: To preview the email, select any folder and click on the email file. On the right side pane, the tool will display the complete email with the original message and metadata.
Step 6: To sort the email list, click on the Filters button. Choose the parameters according to your requirements and click Apply Filter.

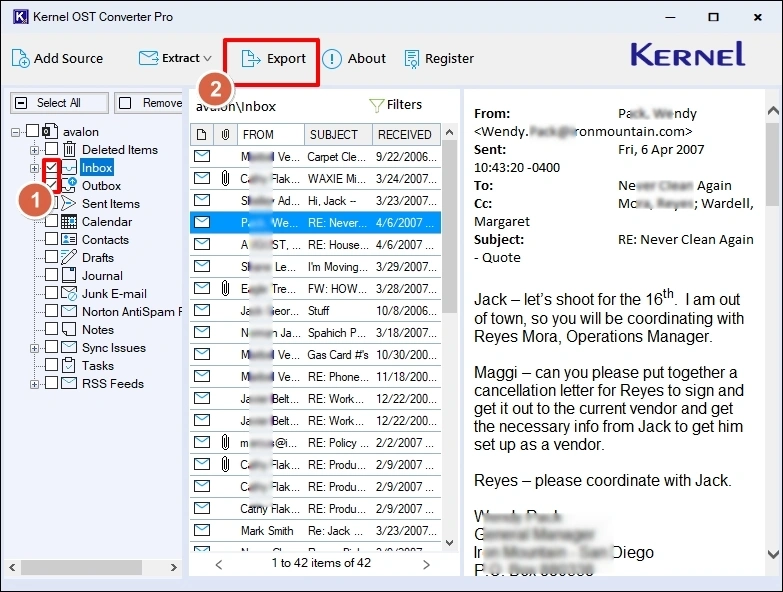
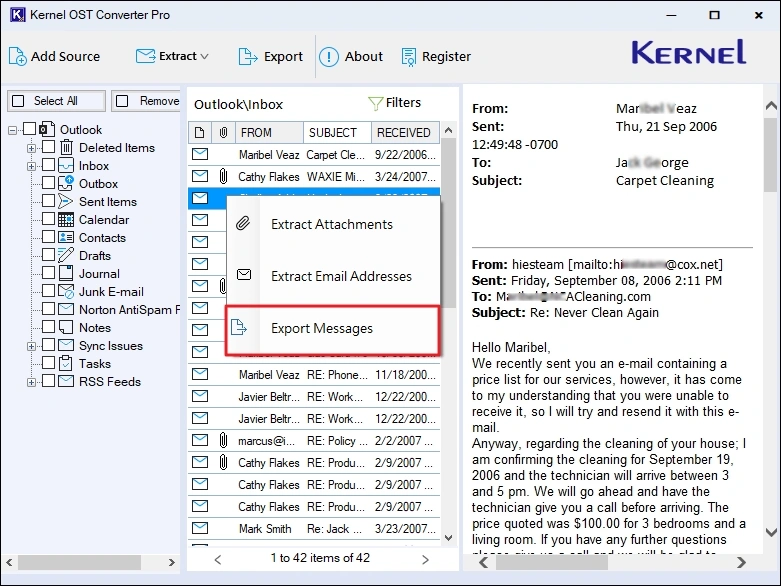
Step 7: To convert the emails, select the folder you want to include in the output file and click the Export button.
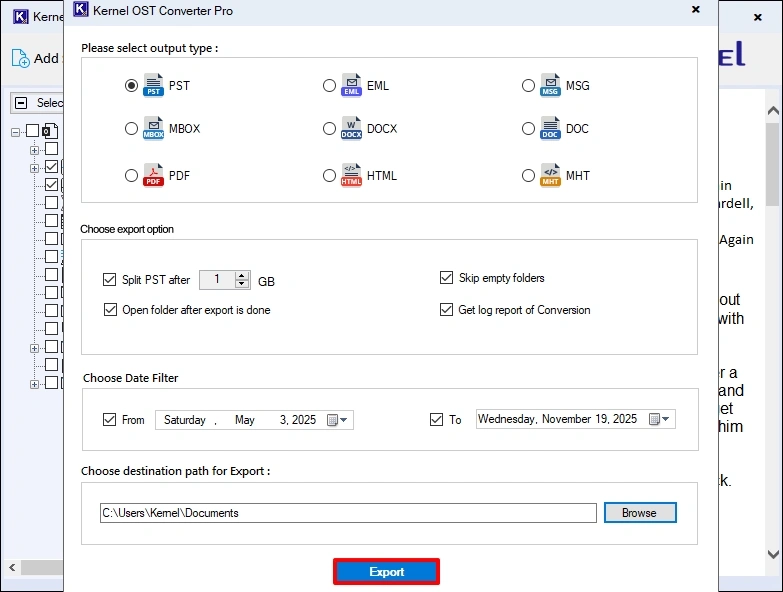
Step 8: Choose the required output file format, select export options, set the date filter, and click Browse to specify file saving location. Then, click Export to start the conversion.
Step 9: When the conversion is finished, you will receive an “Export Completed” message.

Step 10: Click Done. The tool will automatically open the output file location (if the option “Open folder after export is done” was selected before conversion)

How to use (Extract attachments from OST)
Step 1: Launch the OST Converter Pro tool.
Step 2: Click on the Add Source button to add the source OST files.
Step 3: Click the Browse button and go to the location where the OST file is stored. Select the file and click Open.
Step 4: After adding the OST file (manually or with the search option), click the Add Files button.
Step 5: To preview the email, select any folder and click on the email file. On the right side pane, the tool will display the complete email with the original message and metadata.
Step 6: To sort the email list, click on the Filters button. Choose the parameters according to your requirements and click Apply Filter.
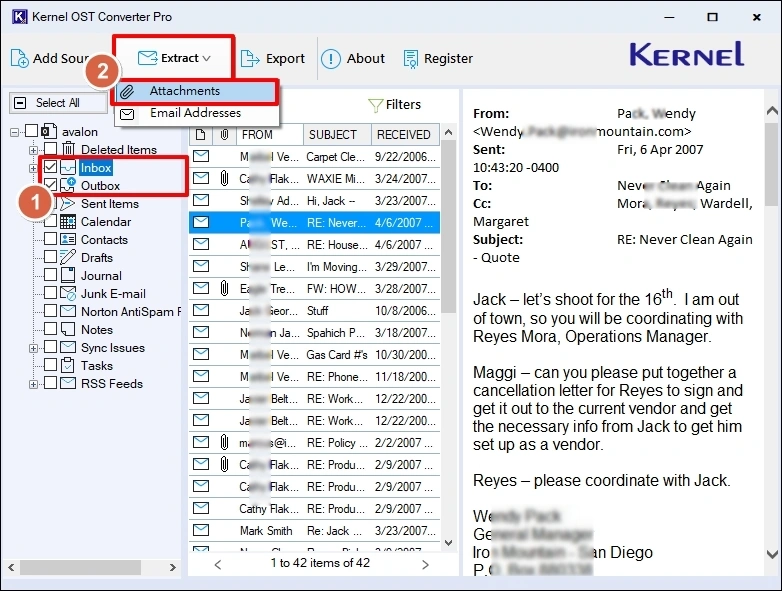
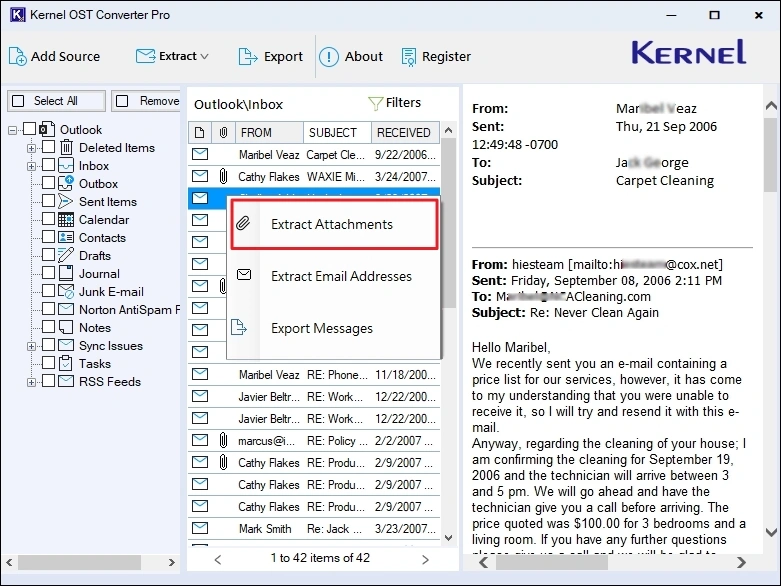
Step 7: Select the folder from which you want to extract attachments. Click the Extract button and select the Attachments option
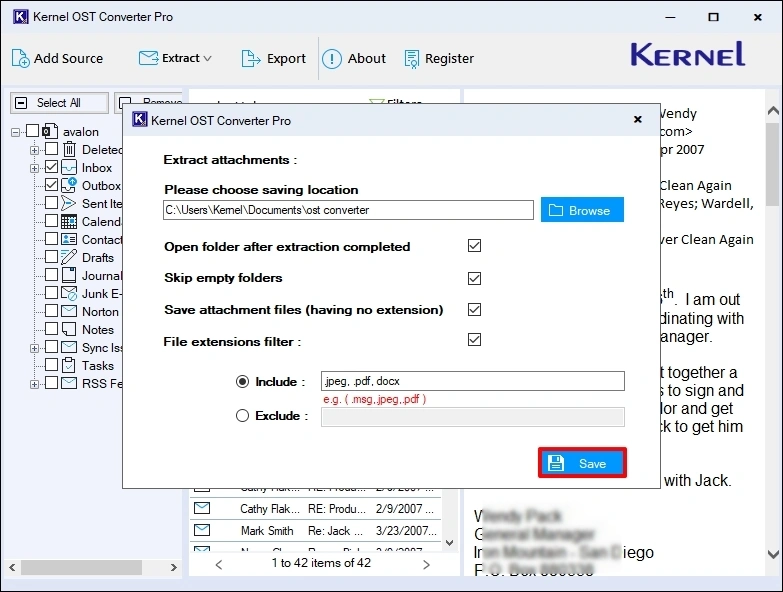
Step 8: Click Browse to choose the location where you want to save the attachments and select the other options as per your requirements. To extract specific types of files, tick the “File extensions filter” option and specify file types. Finally, click Save to start the extraction process.
Step 9: The OST Converter Pro will give the “Extraction Completed” message when the process is finished.
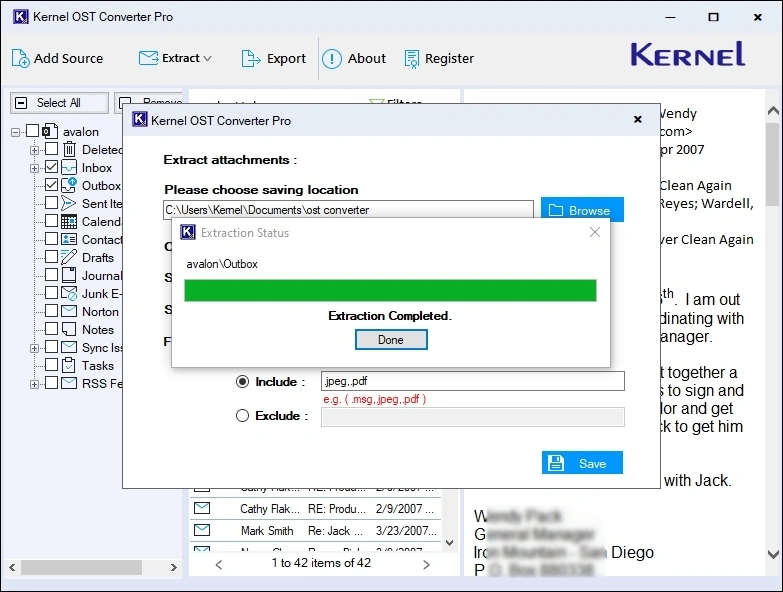
Step 10: Click Done. The tool will open the output folder automatically (if the “Open folder after extraction completed” option was selected before extraction).

Extract Email Addresses
Step 1: Launch the OST Converter Pro tool.
Step 2: Click on the Add Source button to add the source OST files.
Step 3: Click the Browse button and go to the location where the OST file is stored. Select the file and click Open.
Step 4: After adding the OST file (manually or with the search option), click the Add Files button.
Step 5: To preview the email, select any folder and click on the email file. On the right side pane, the tool will display the complete email with the original message and metadata.
Step 6: To sort the email list, click on the Filters button. Choose the parameters according to your requirements and click Apply Filter.
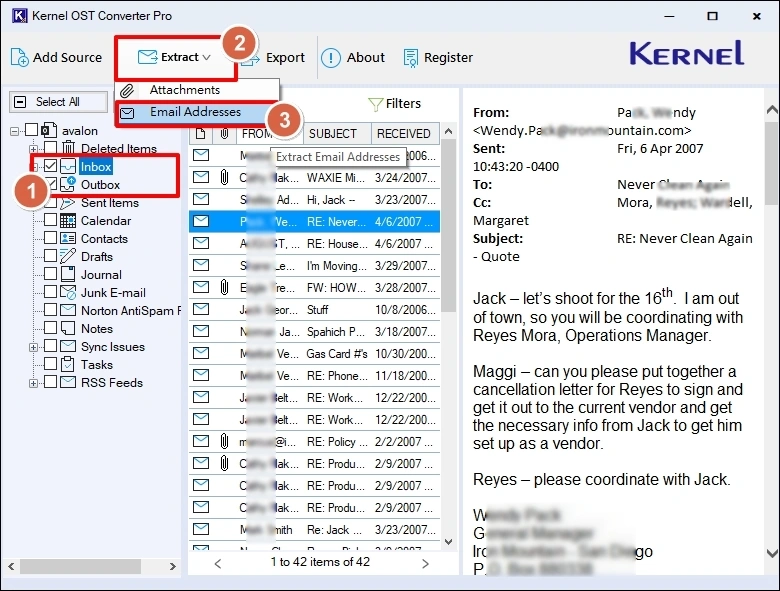
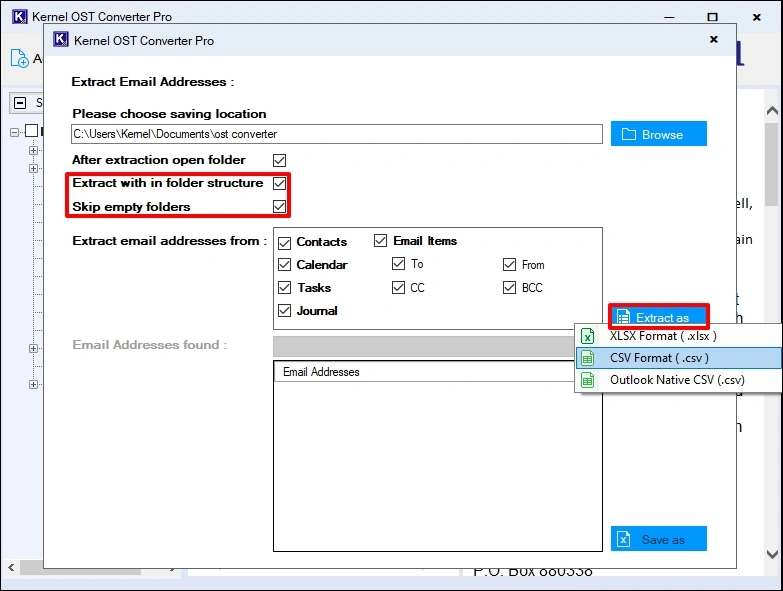
Step 7: Select the folder from which you want to extract email addresses. Click the Extract button and select the Email Addresses option

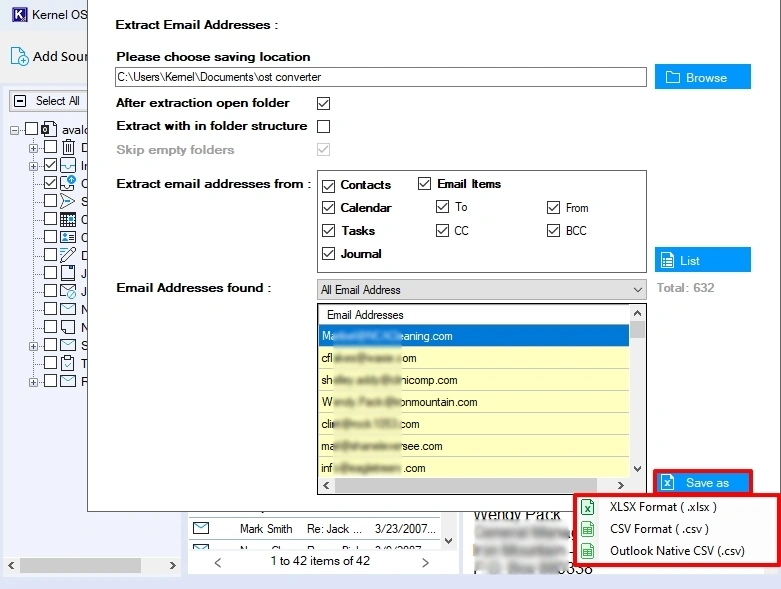
Step 8: Click Browse to select the output file saving location and choose the options in the “Extract email addresses from” section. Then, click List to view all the emails. Finally, click Save and select the output file type format to start extraction.
Step 9: When the extraction is finished, the tool will give the “Extraction Completed” message.

Step 10: Click Done. The tool will open the output folder automatically (if the “After extraction open folder” option was selected before extraction)