Step 1: Download, install, and launch the software on your Windows system.
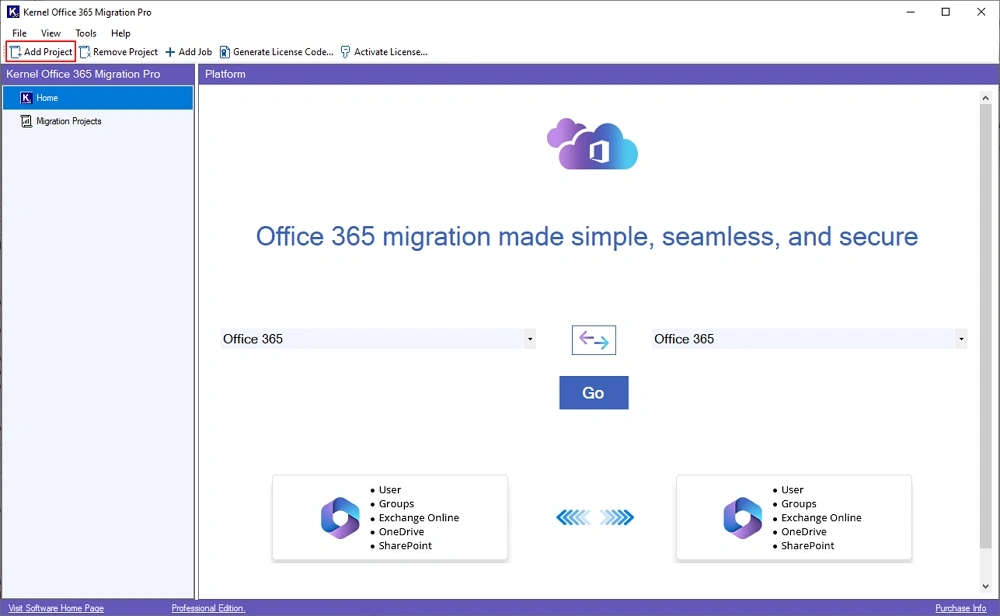
Step 2: Open it and click on the "Add Project” option.
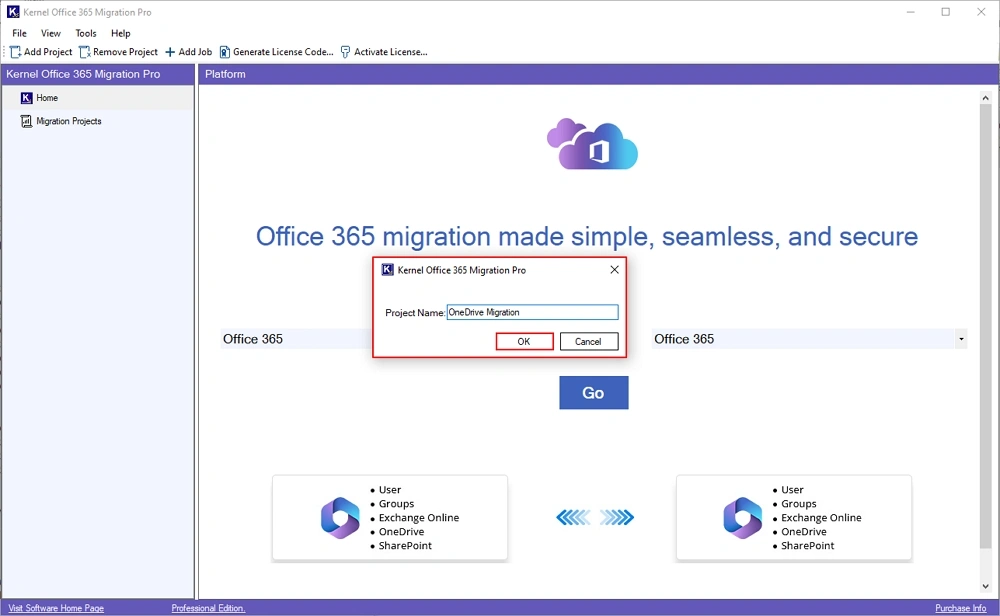
Step 3: In the following wizard, enter Project Name and click OK.
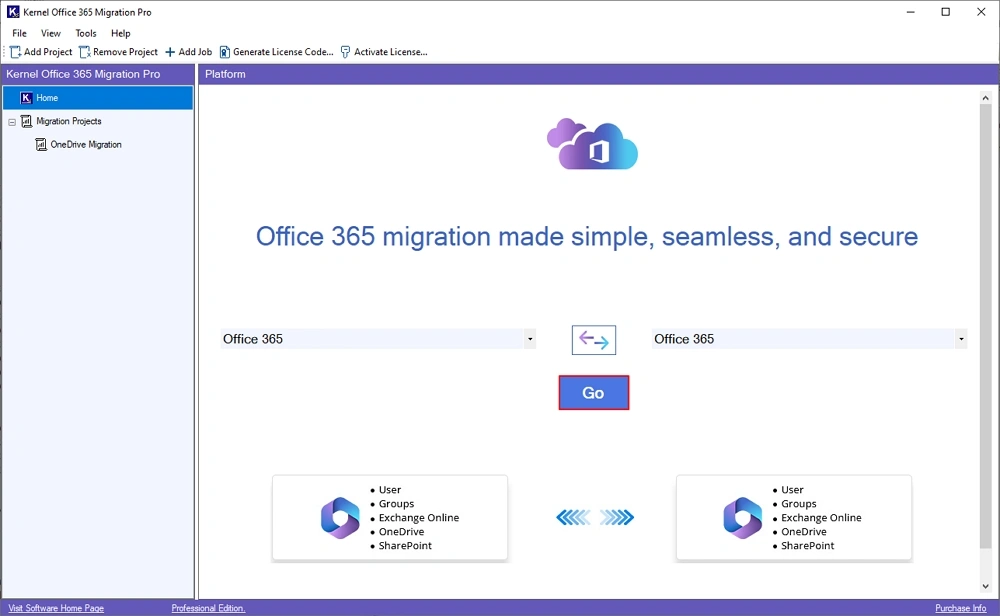
Step 4: After creating the Project, click on Go under the Office 365 selection tile.
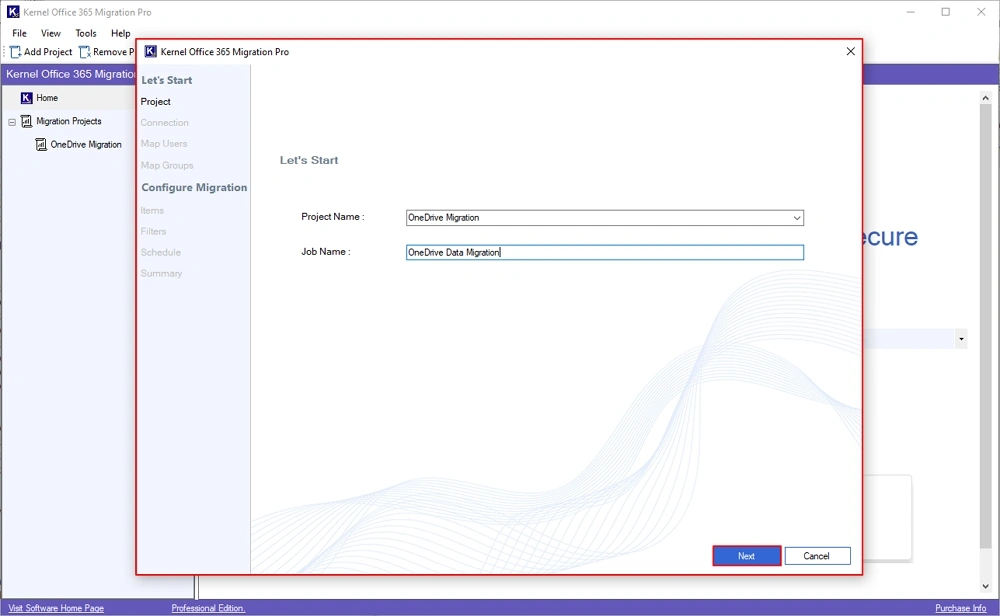
Step 5: In the following window, enter Job Name and click Next.
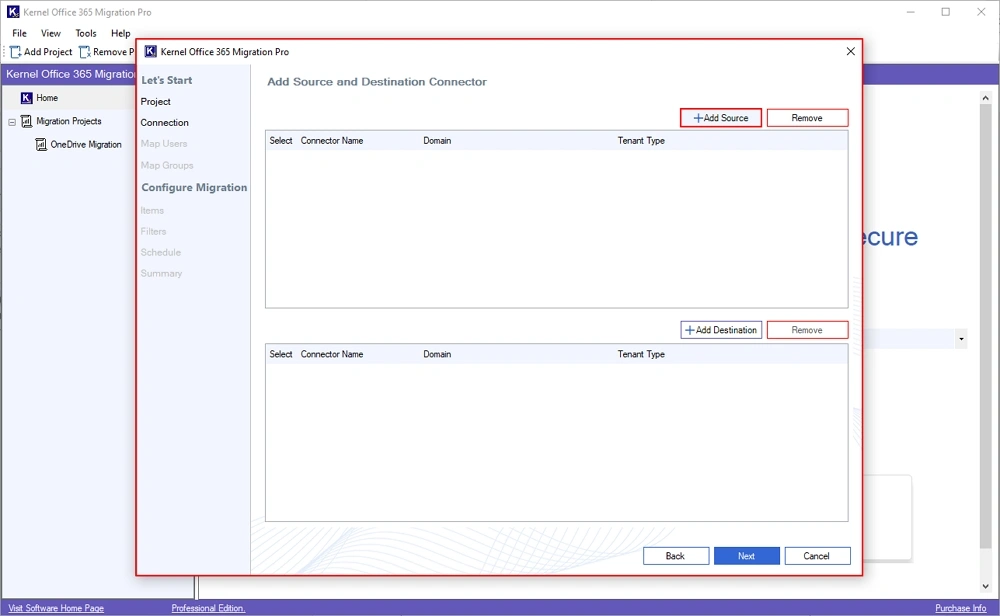
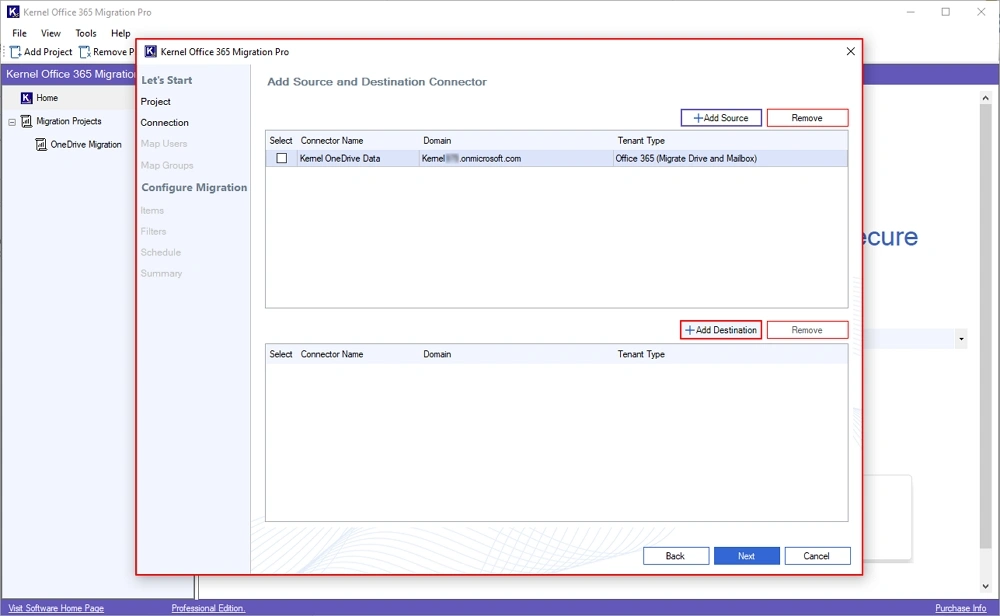
Step 6: In the Add Source and Destination Connector window, click Add Source.
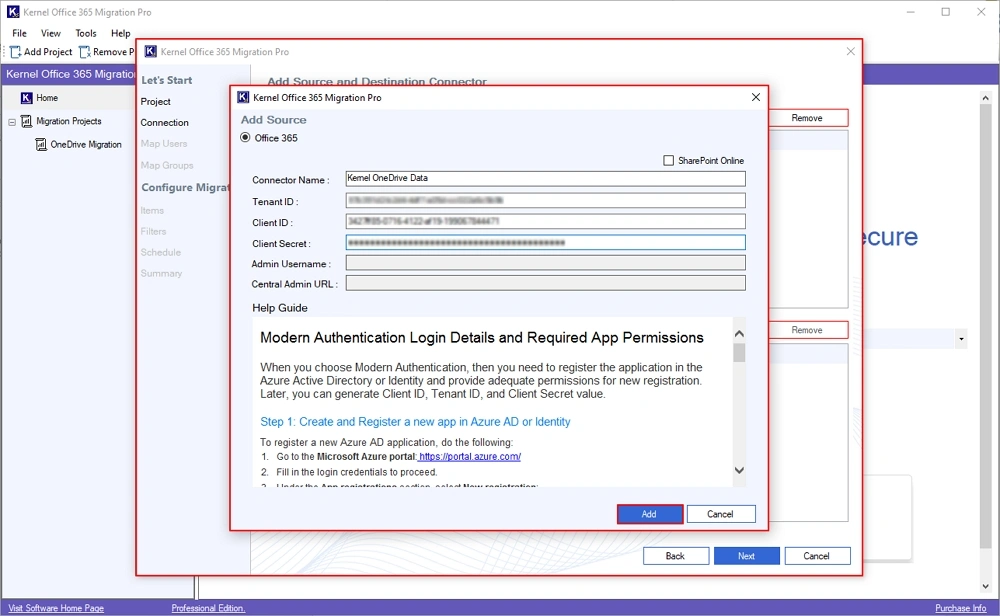
Step 7: Enter Source Office 365 credentials and click Add to connect account having OneDrive access.
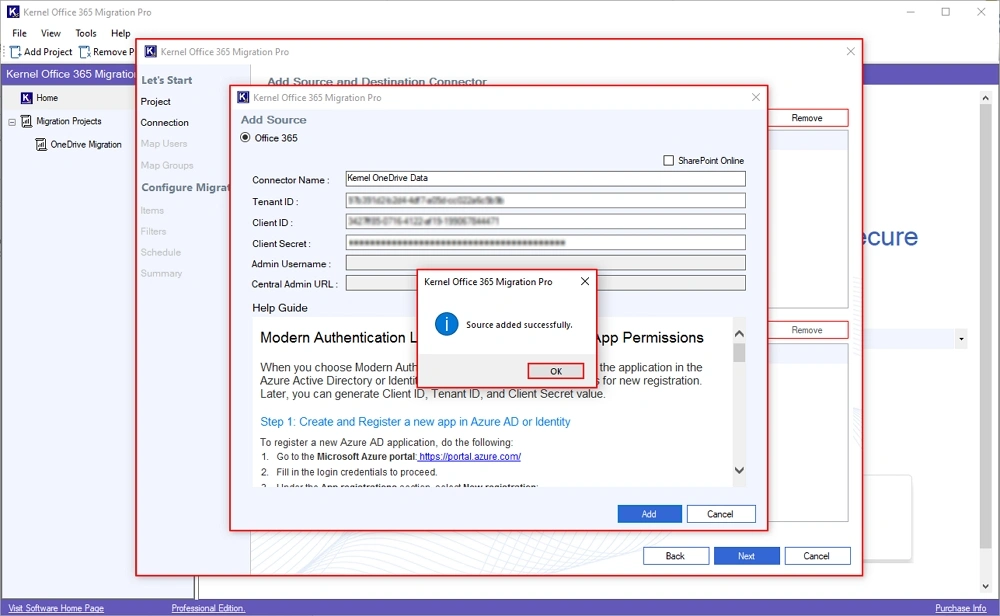
Step 8: After adding the source, the software will pop up a “Source added successfully” message. Click OK.
Step 9: Now, click on the "Add Destination” option.
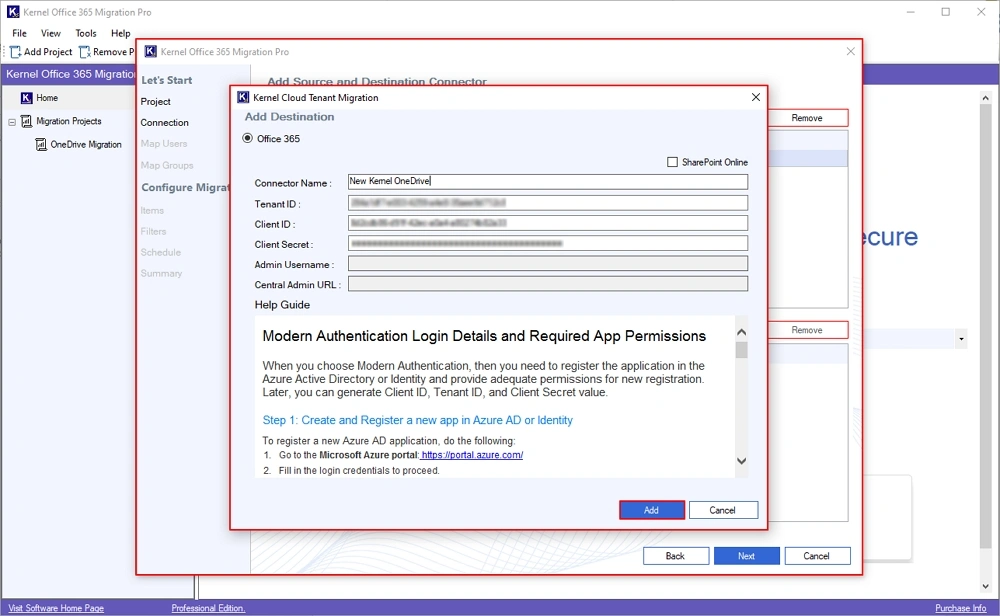
Step 10: Enter Destination Office 365 credentials having OneDrive users and click Add.
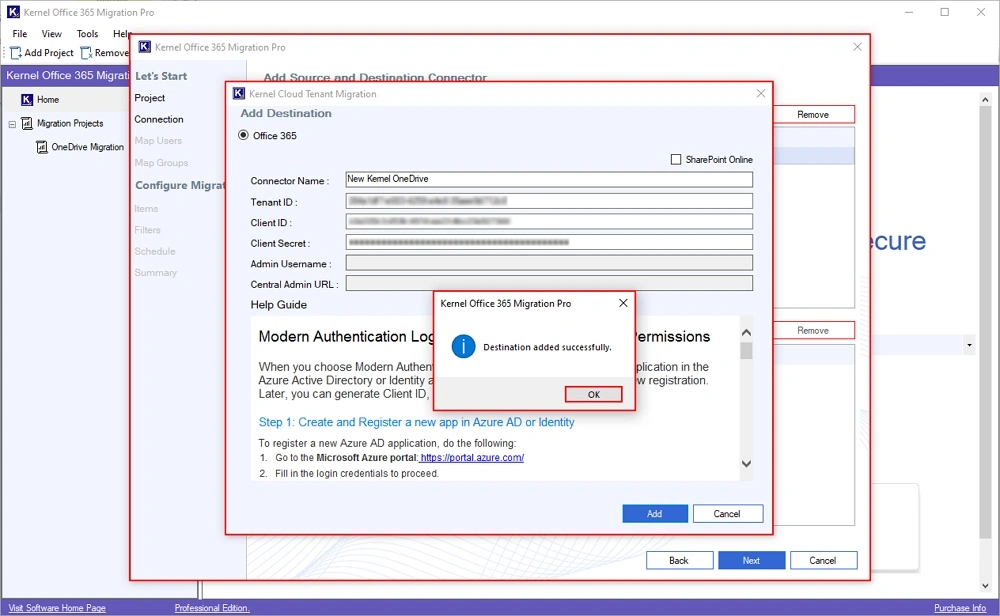
Step 11: After adding the destination successfully, click OK.
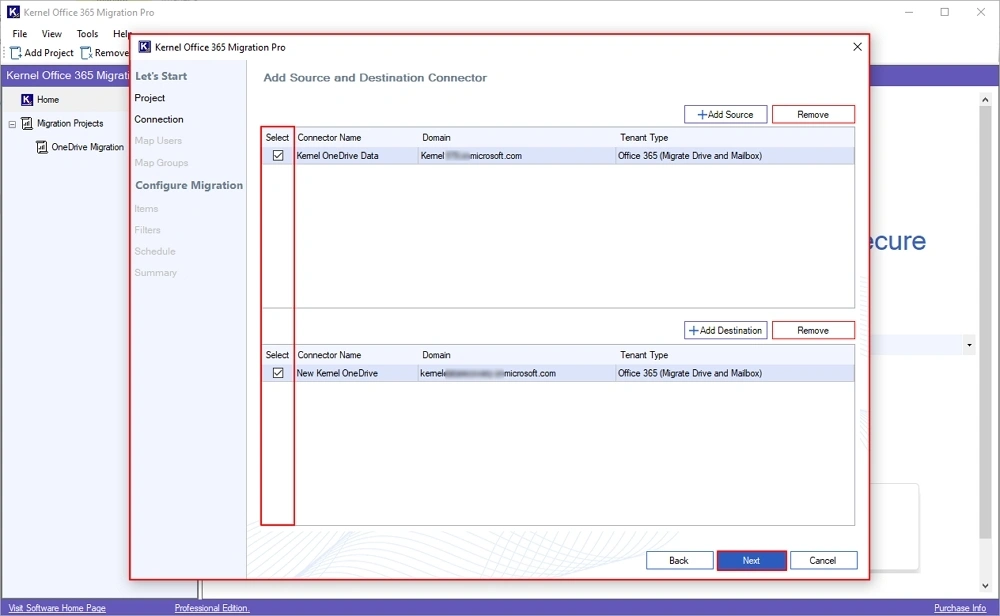
Step 12: Check the source and destination and click Next to proceed.
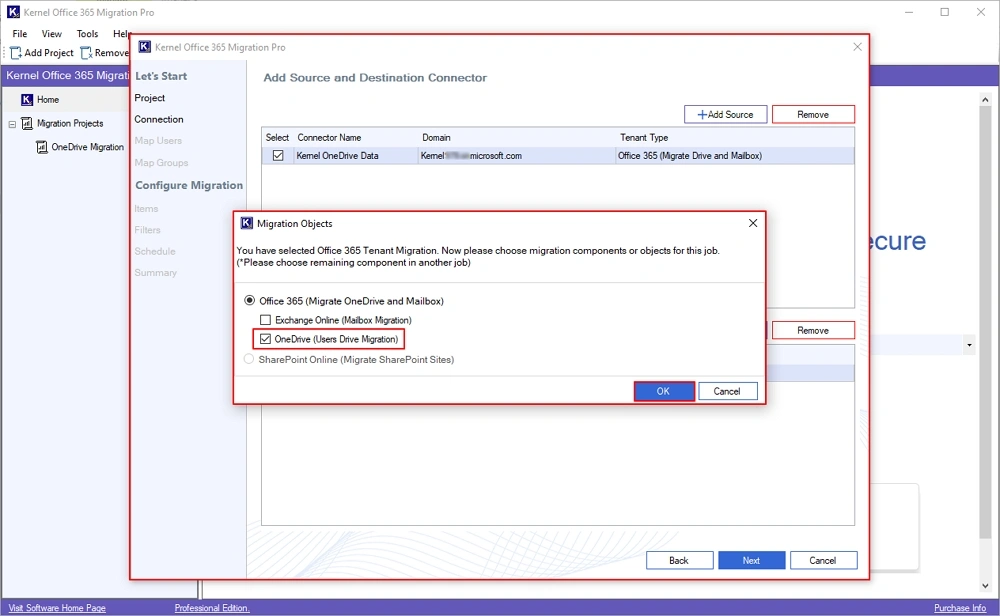
Step 13: In the Migration Objects window, select OneDrive (User Drive Migration) option and click OK.
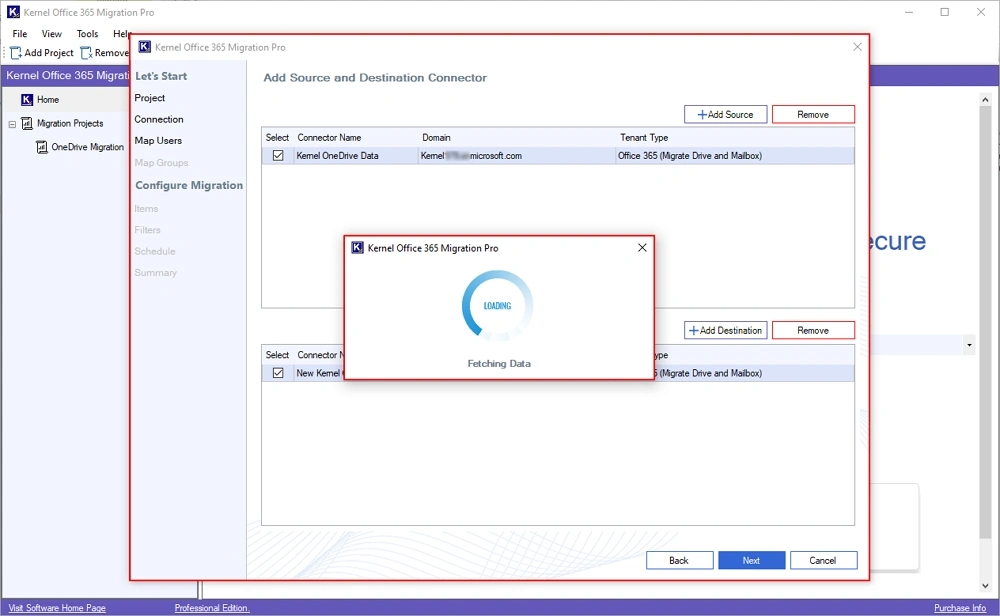
Step 14: The software will start fetching data from both the source and the destination.
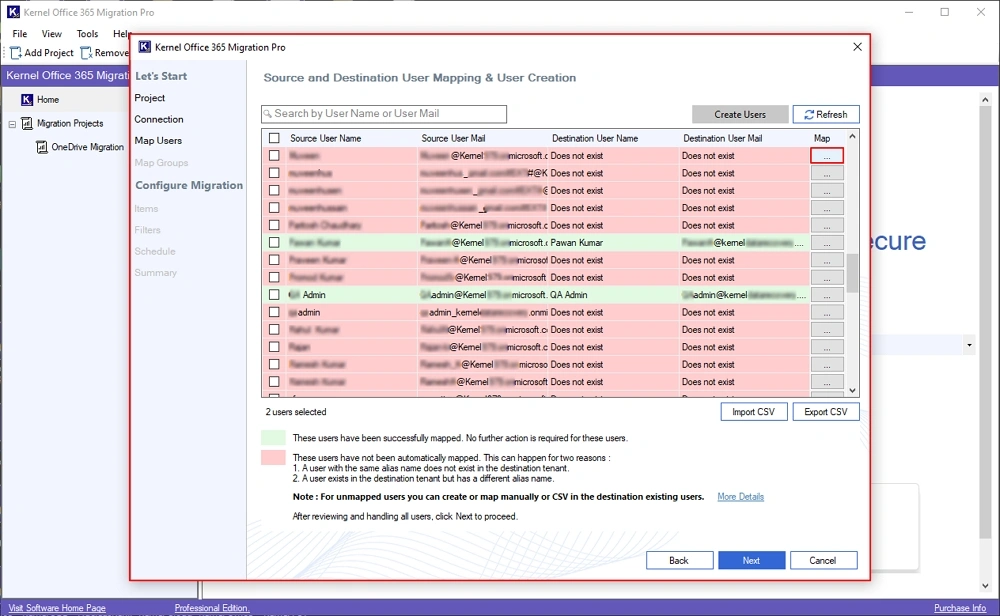
Step 15: In the mapping window, click ok three dots to map source users to destination users.
Note: If the source user is not mapped with destination user, then it would be shown in Red color and you need to map them manually using three dots.
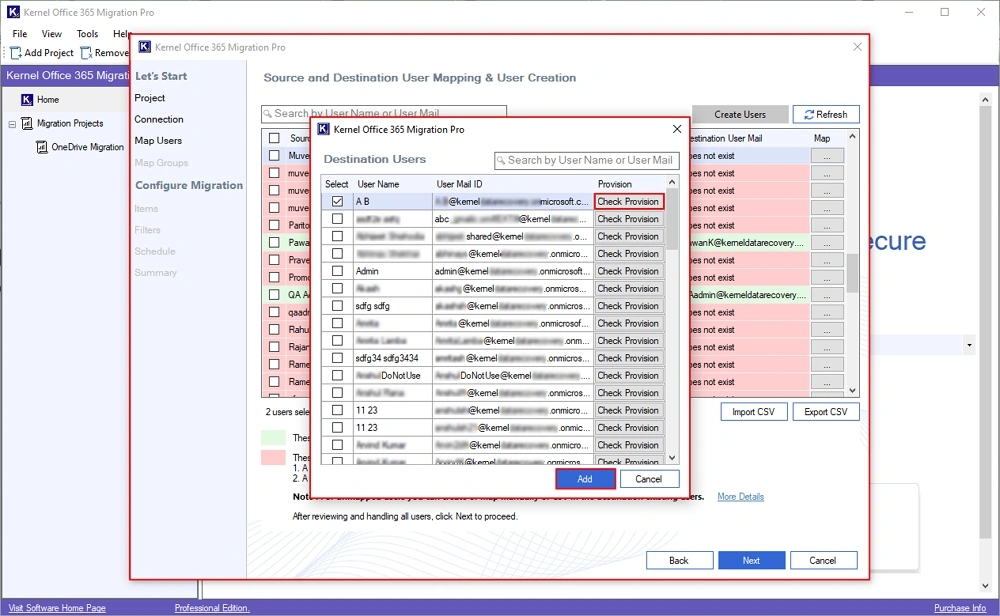
Step 16: In the Destination Users window, select your user and click Add.
Note: Click on Check Provision to know if the user has been assigned OneDrive access or not.
Step 17: Now, select the necessary source users for migration in the mapping window and click Next.
Note: Use the Search option to find a specific user among multiple ones.

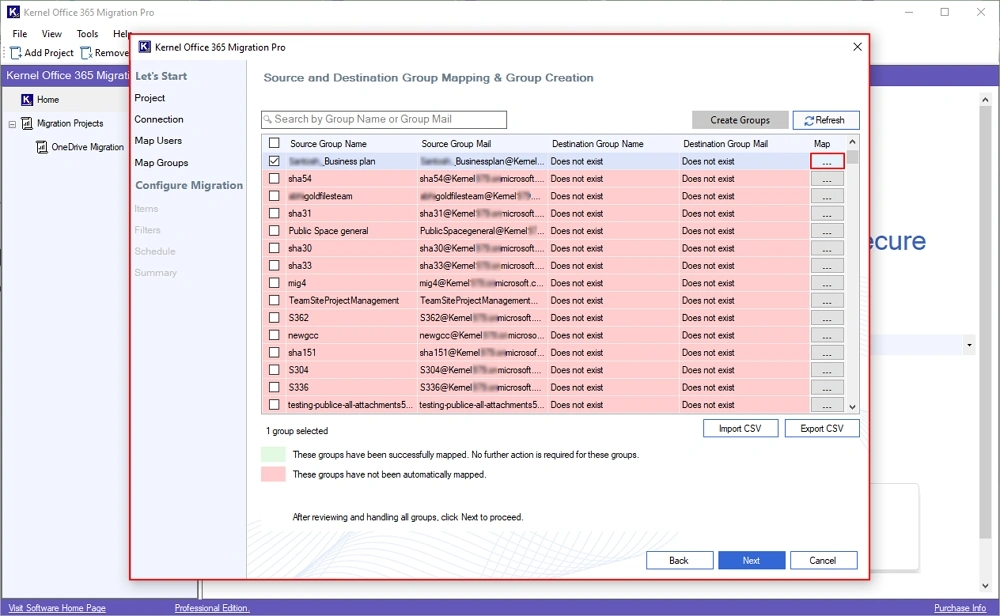
Step 18: In the Source and Destination Group Mapping and Group Creation window, select Office 365 Groups and click on three dots under Map.
Note: If the source Office 365 Groups is not mapped with destination Groups, then it would be shown in Red color and you need to map them manually using three dots.
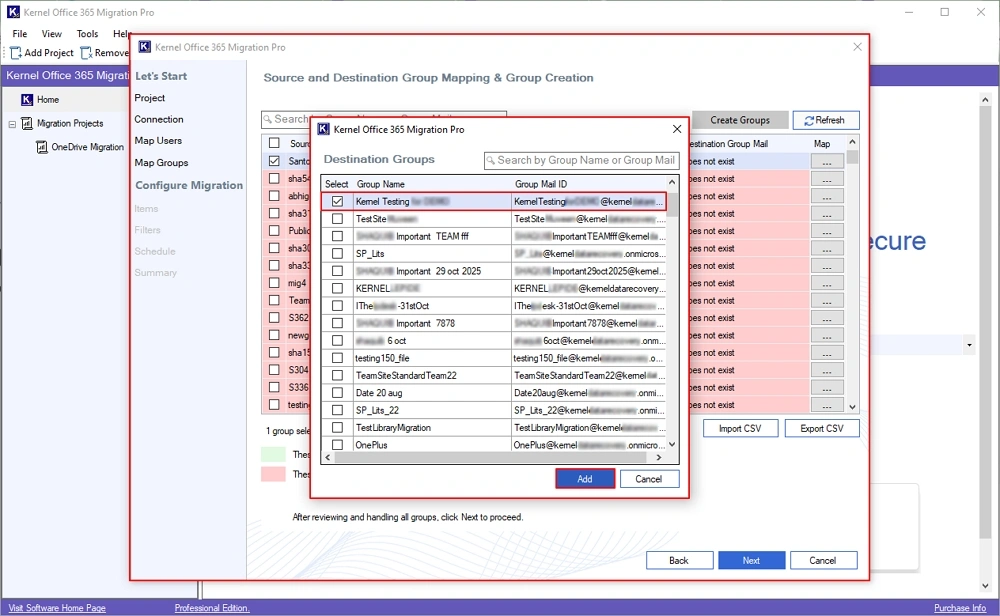
Step 19: In the Destination Groups window, select a specific Group and click Add. This will map Office 365 Groups to the destination Office 365 Groups.
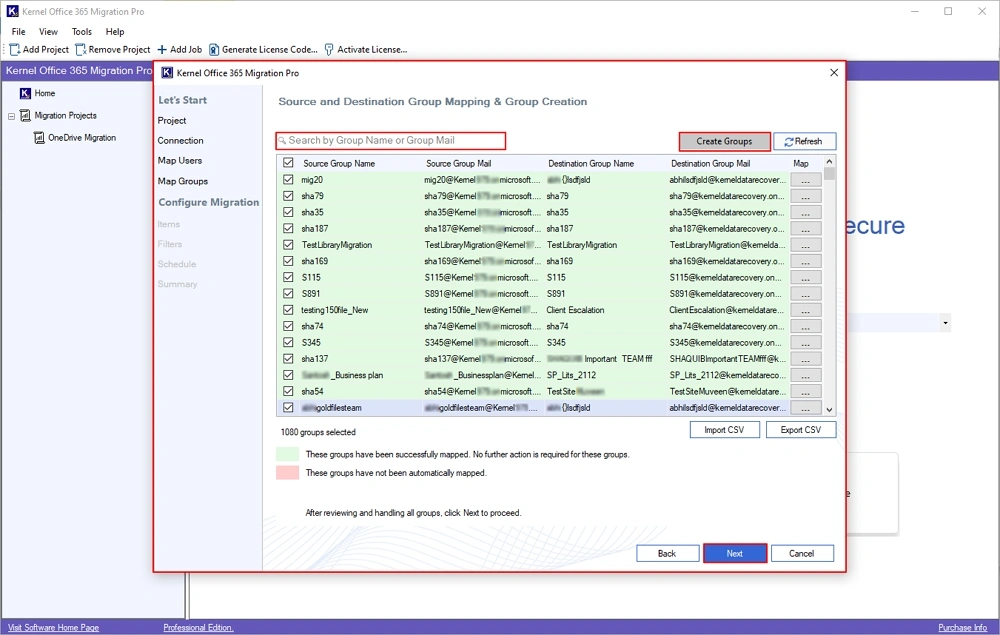
Step 20: Select all the required Office 365 Groups and click Next. You can also use the Search bar to find a specific Office 365 Group.
Note: Automatically Create Users in the destination without using any Office 365 admin ID.
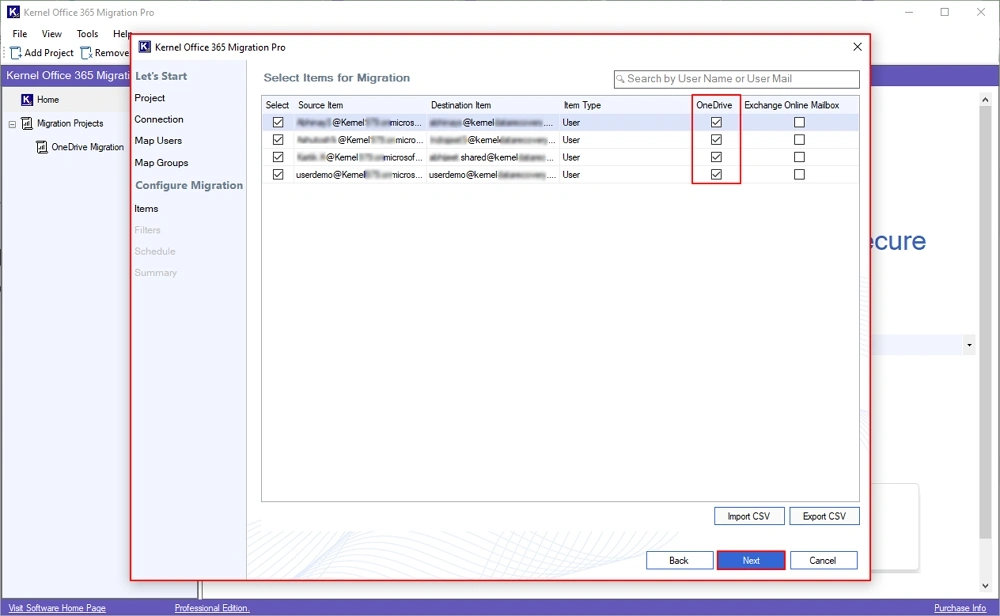
Step 21: In the Select Items for Migration wizard, select users and check OneDrive. Click Next.
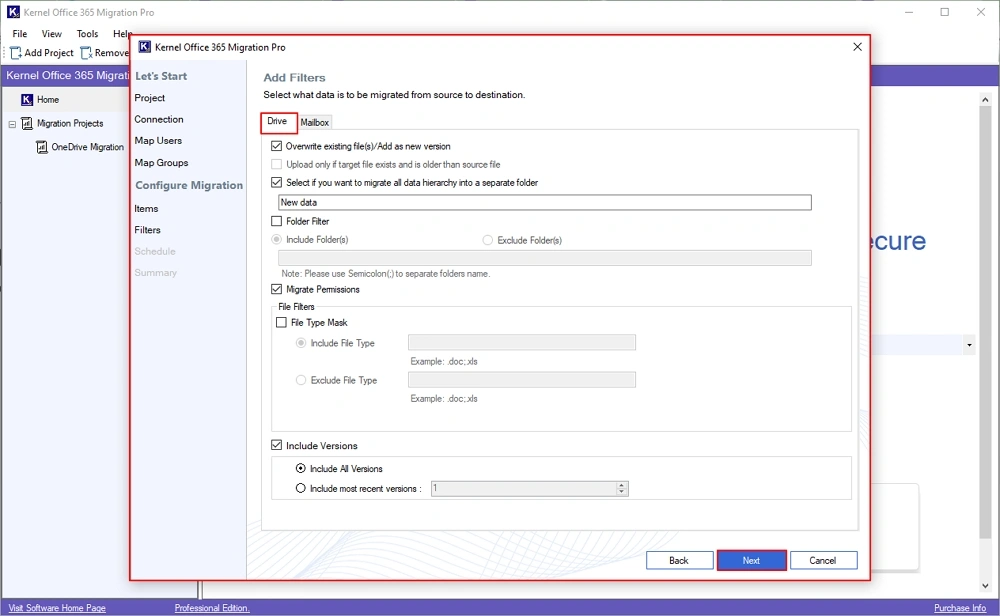
Step 22: In the Add Filters window, go to Drive and apply required filters from:
- Overwrite existing files/Add as new version: This will overwrite all the existing files in the destination and save them as a new version.
- Upload if target file exists and is older than source file: It will renew your data in the destination.
- Select if you want to migrate all data hierarchy into a separate folder: Save the entire source Office 365 data into a new folder in the destination.
- Folder Filters: Enter Folders name in the Include Folder(s) and Exclude Folder(s) section to get specific folder migration.
- Migrate Permissions: Migrate all the source Office 365 permissions to the destination.
- File Filters: Enter File Type Formats in the Include File Type and Exclude File Type.
- Include Versions: Migrate all versions or recent versions vice versa.
After applying the filters, click Next.
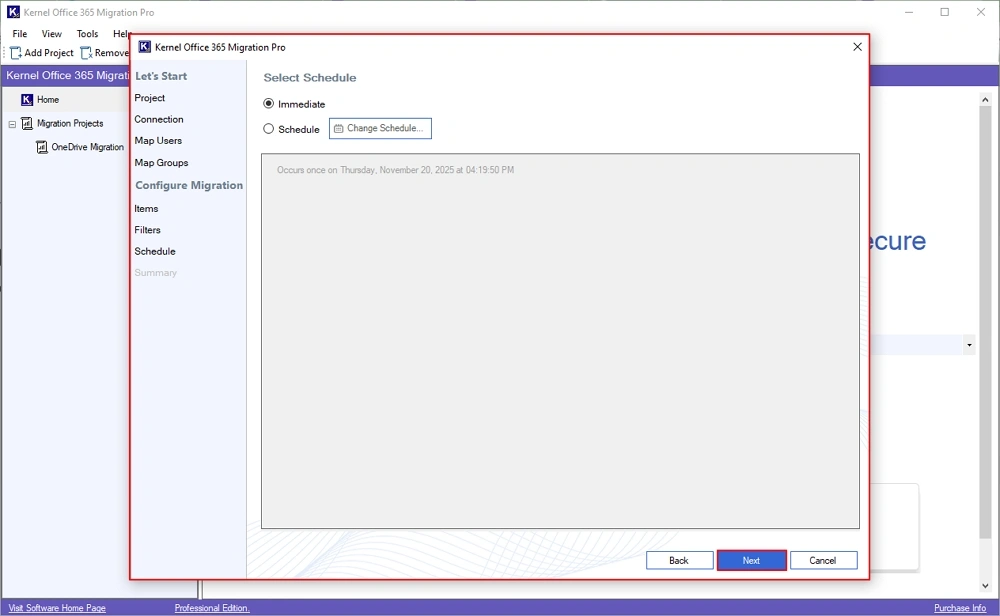
Step 23: In the Select Schedule window, select Immediate or Schedule to automate OneDrive data migration. Click Next.
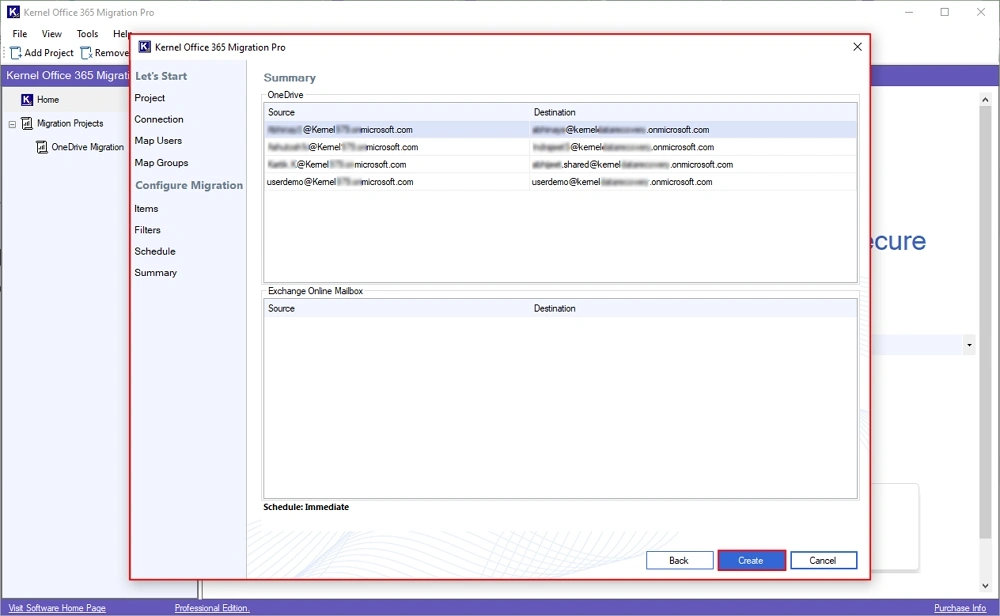
Step 24: In the Summary window, verify all the migration selections, and click Create.
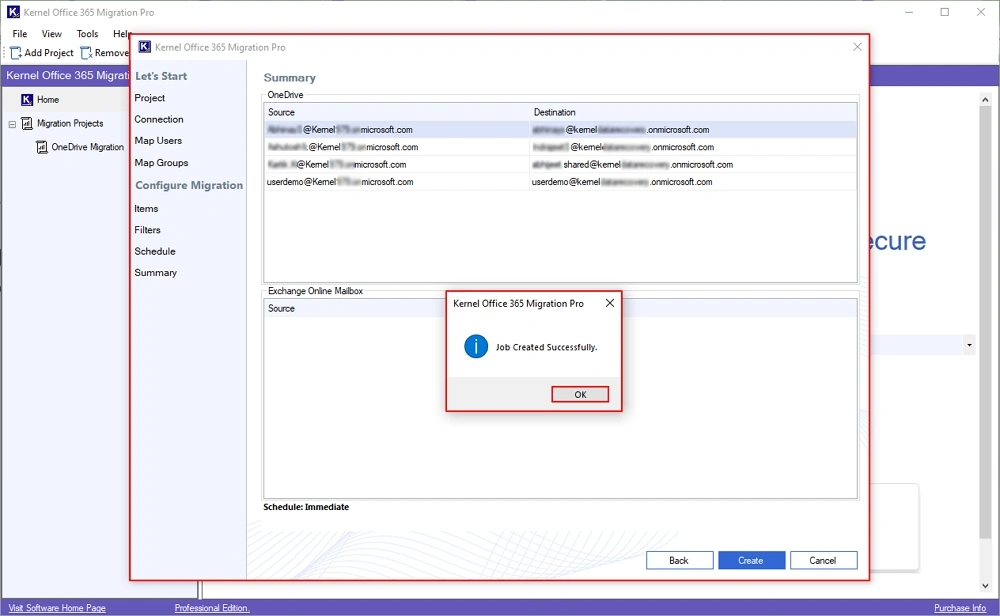
Step 25: The software will show Job Created Successfully message. Click OK.
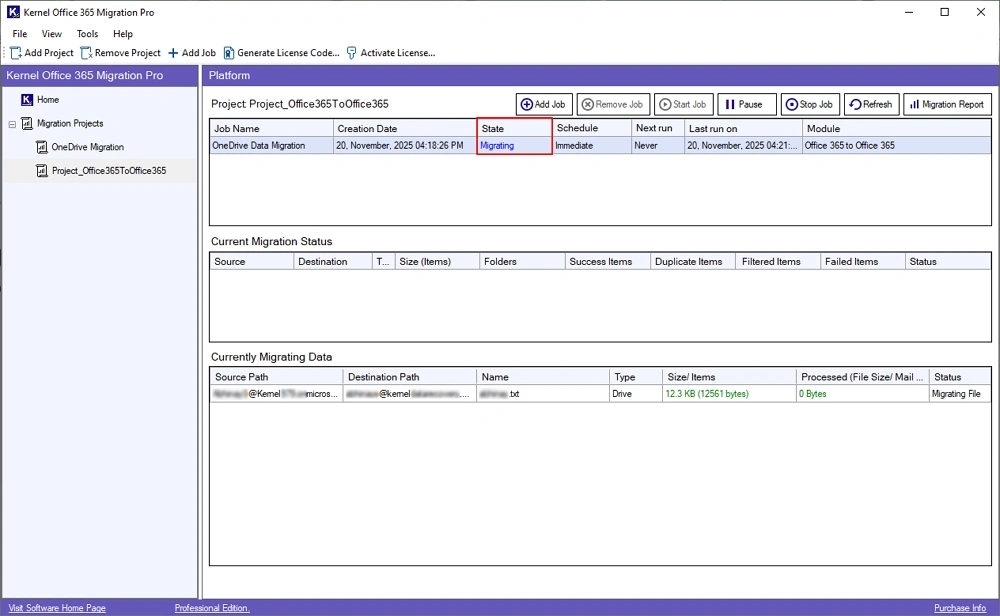
Step 26: The software will start migrating OneDrive data.
Note: Check the live migration status in Current Migration Status and Currently Migrating Data tabs.
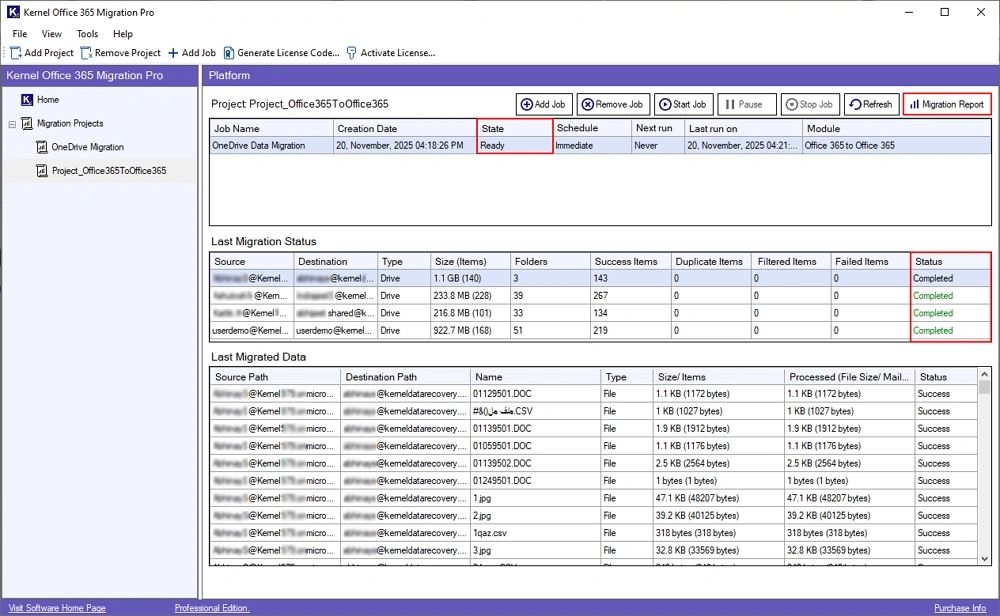
Step 27: The software will show a Ready status after a successful migration. Click on Migration Report.
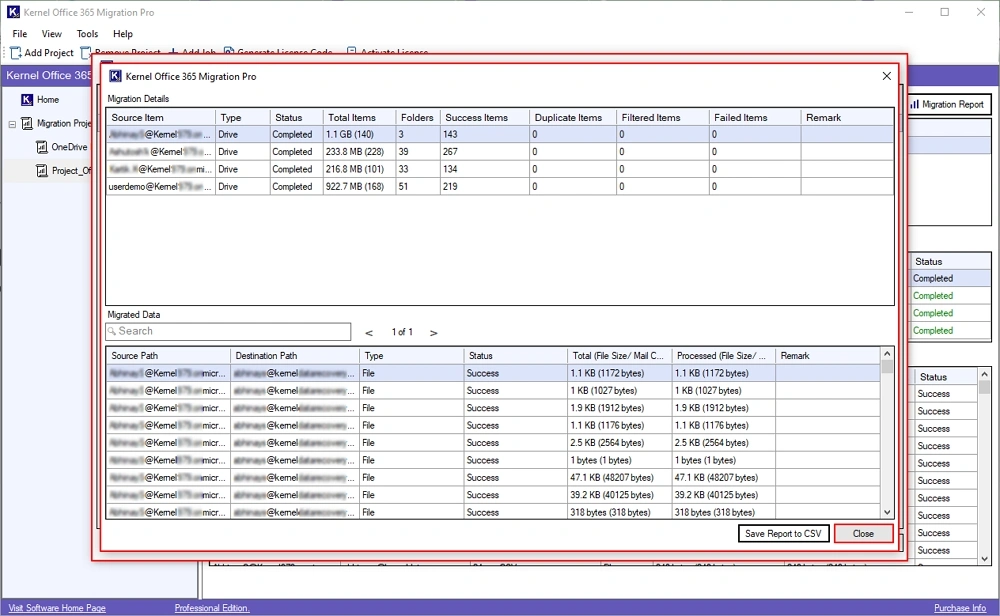
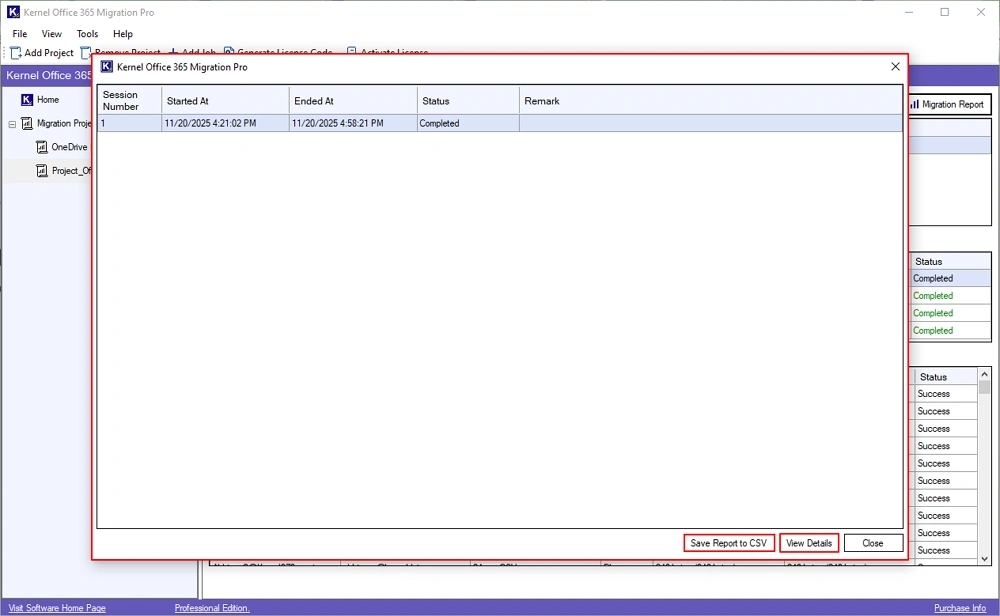
Step 28: The software will show a summary report. Click on View Details.
Note: You can also save the Summary report in a CSV file using the Save Report to CSV option.
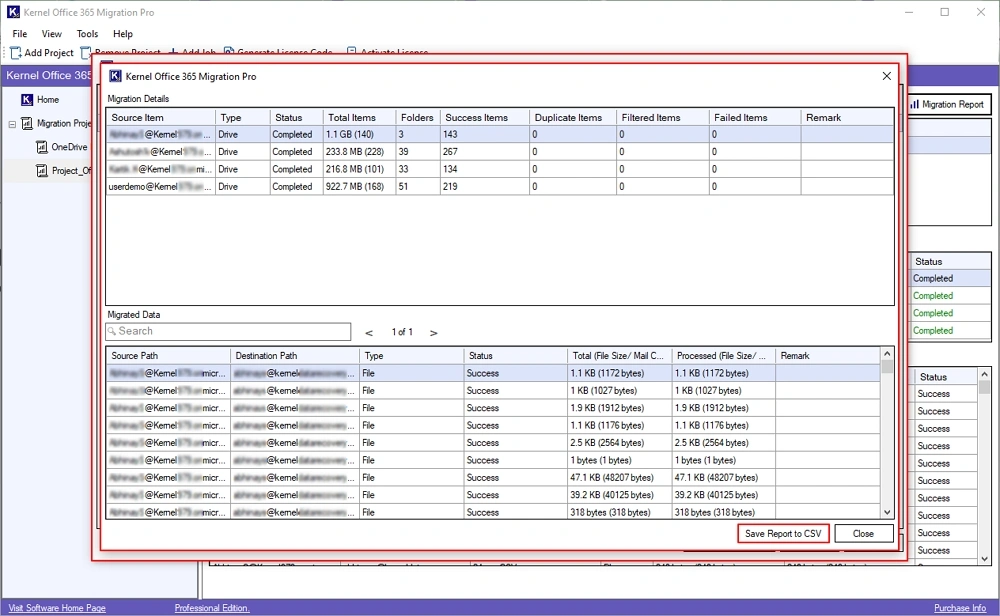
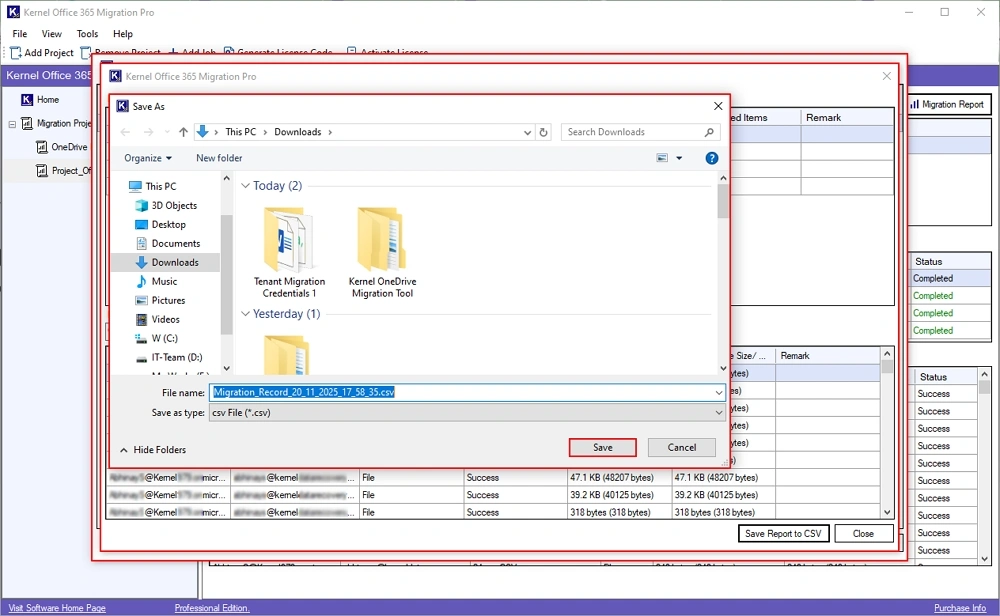
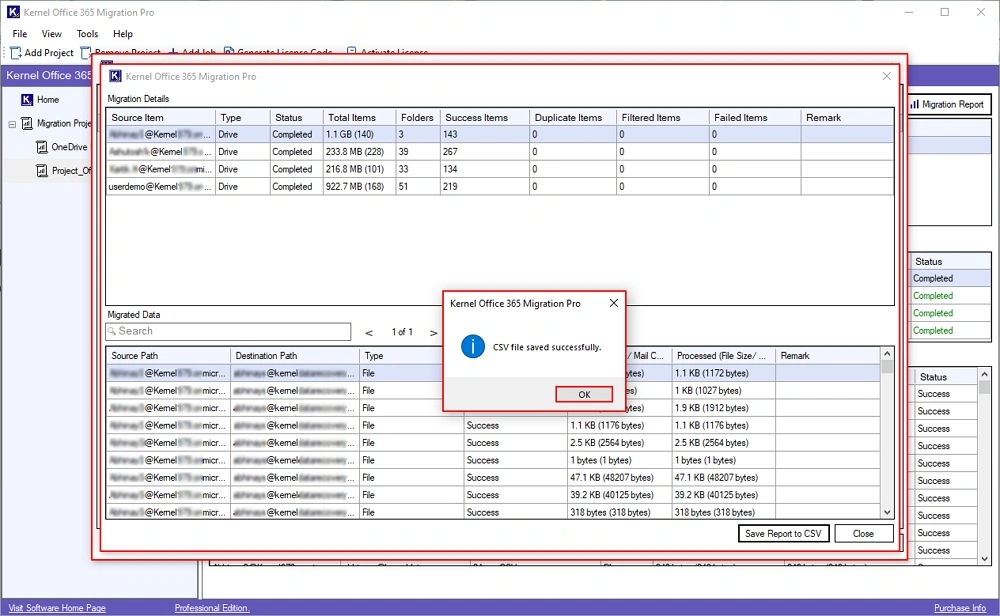
Step 29: The software will show a detailed migration data report. Click on Save Report to CSV.
Step 30: Select a specific saving location in your system and click Save.
Step 31: The software will pop up a “CSV File Saved Successfully” message, click OK.
Step 32: Finally, click on Close to end the OneDrive to OneDrive Migration process.