Kernel Office 365 to Amazon WorkMail is a light-weight tool to migrate Office 365 mailboxes to Amazon WorkMail with accuracy. The tool performs a secure and error-free migration of single and multiple Office 365 mailboxes to Amazon WorkMail. Mailboxes, Archive Mailboxes, and Public folder can be migrated using this tool.
How to perform mailbox migration using Kernel Office 365 to Amazon WorkMail?
Two modes are used by Kernel Office 365 to Amazon WorkMail tool to perform migrations:
Migrate single/archive mailboxes.
To migrate single WorkMail mailbox to Office 365/Exchange (On-premise & hosted), follow the steps as given under:
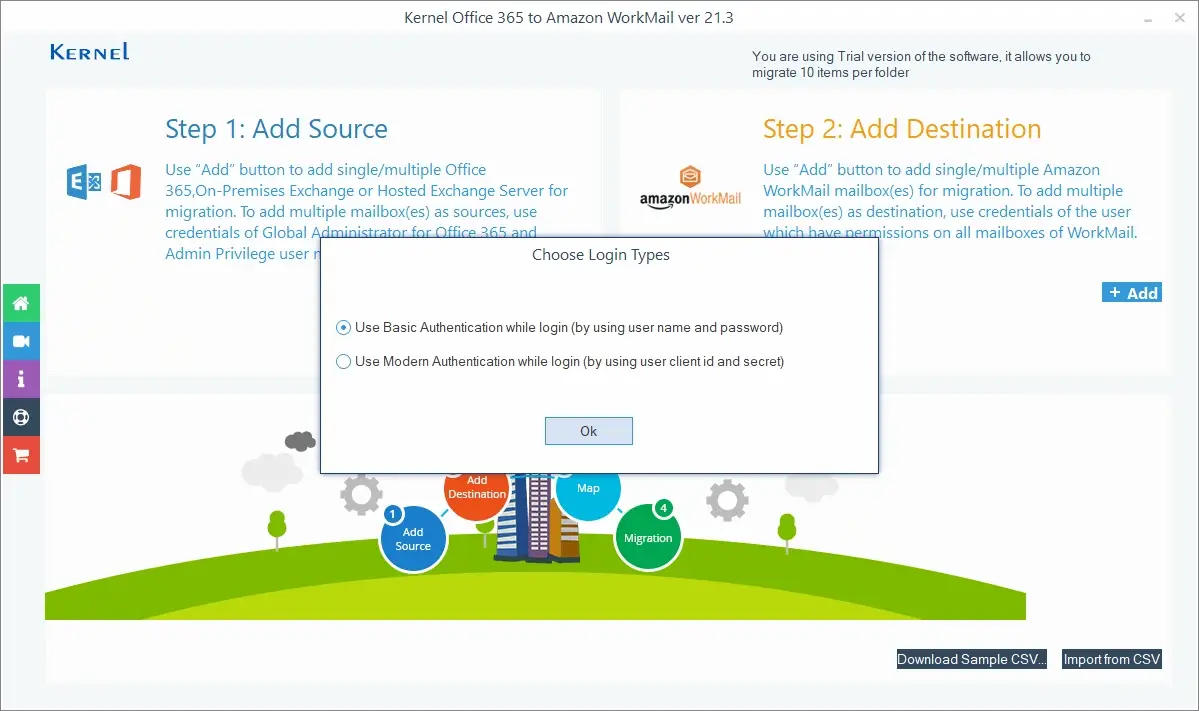
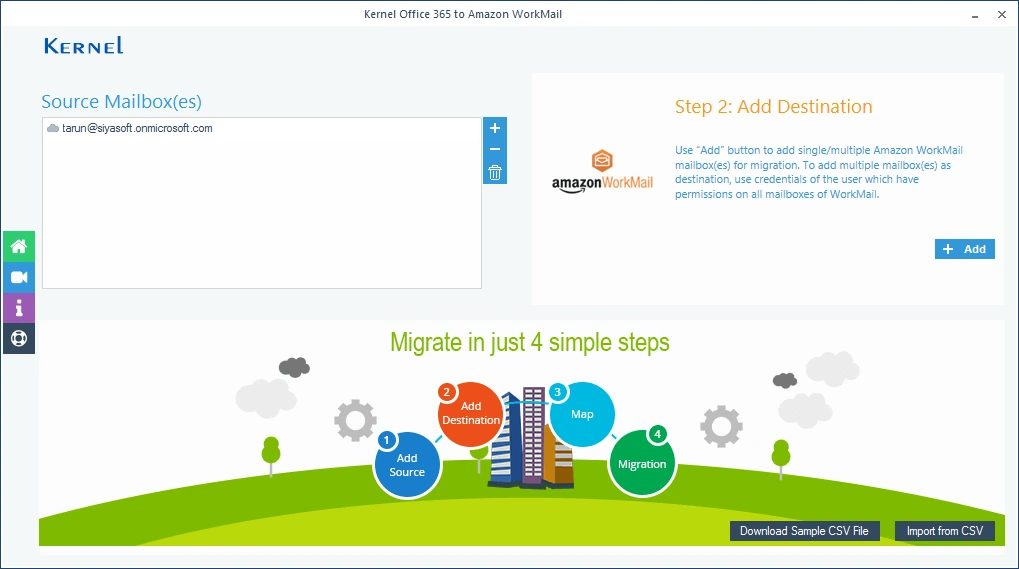
Step 1: Launch the Kernel Office 365 to Amazon WorkMail application. Click the Add button in the Add Source section to add a single Office 365/Exchange account. There will be two login methods that you can choose. Click OK.
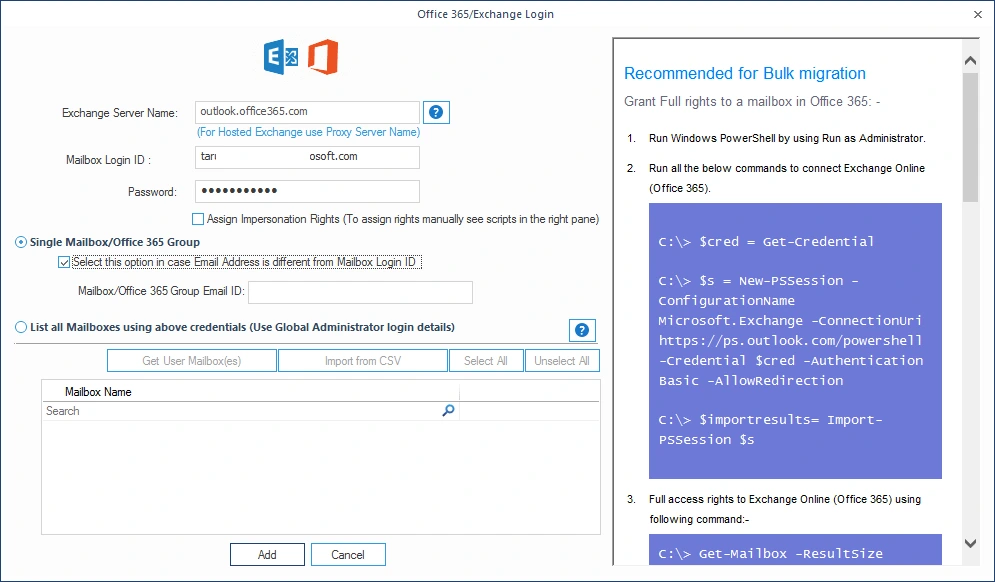
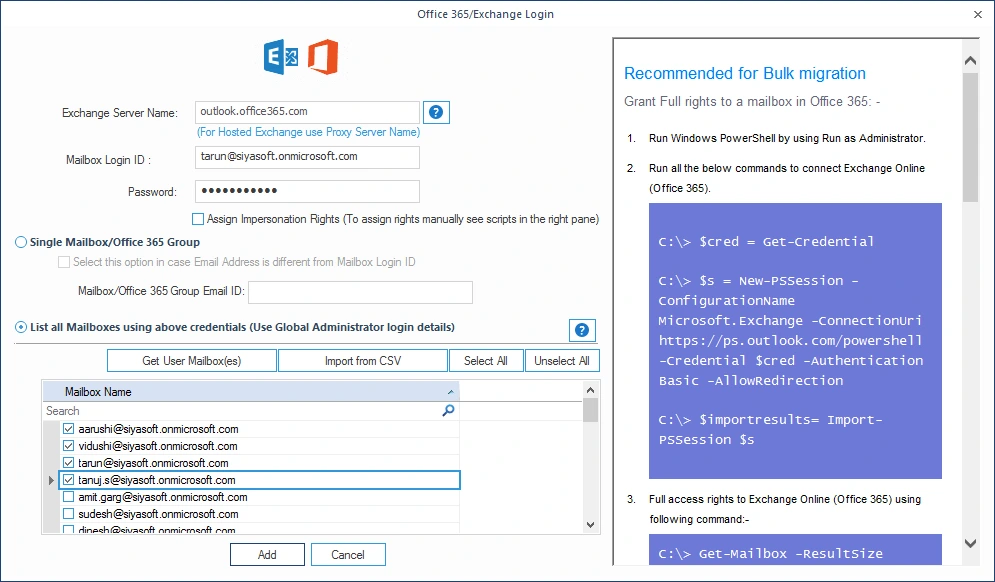
Step 2: In Office 365/Exchange login page, input the source credentials of Office 365/ Exchange account –
| To add Exchange Server as a source, enter the details: |
|
| To add Office 365 account as a source, enter the details: |
For Basic Authentication,
For Modern Authentication
|
Select the Mailbox/Office 365 Group option and click Add.

Step 3: The source mailbox gets added. Now, click the Add button in Add destination section.
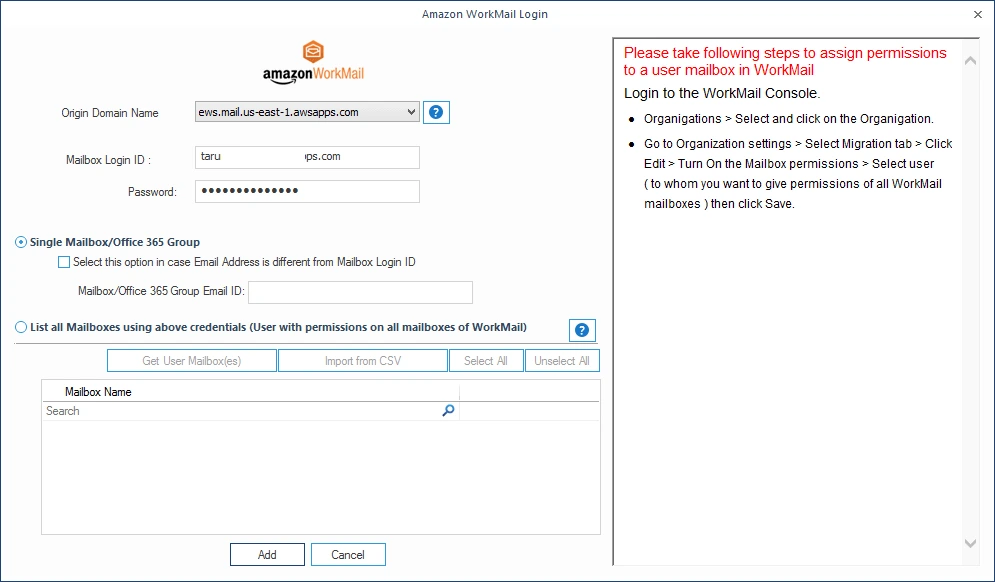
Step 4: In the Amazon WorkMail Login page, input the destination credentials of the AWS account –
| To add AWS account as the destination, enter the details: |
|
After inputting the destination details, select Mailbox/Office 365 Group and click Add.
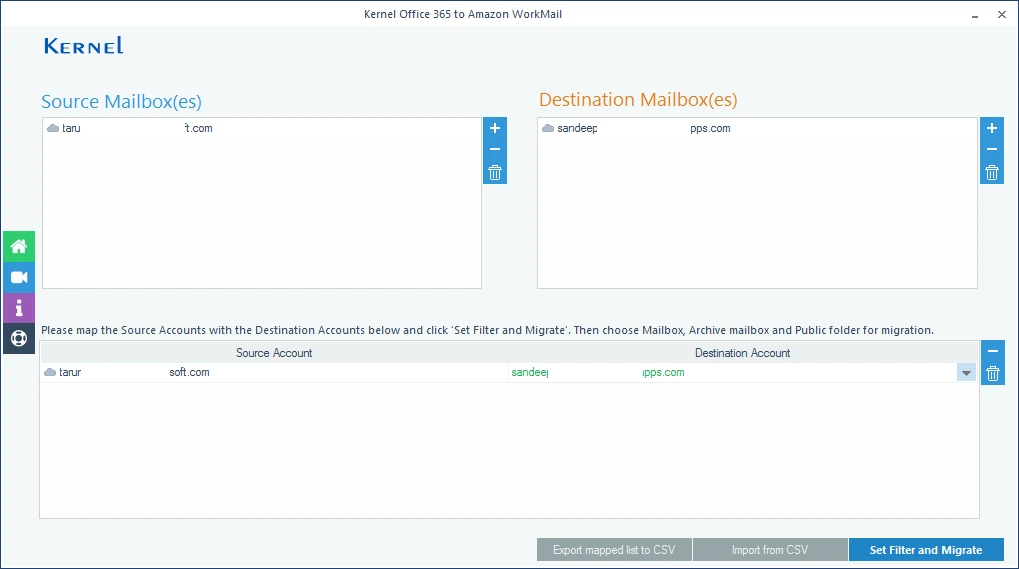
Step 5: Now both source and destination get added. Select the required destination mailbox (from the drop-down menu) against each source mailbox (under Mapping of Source and Destination). Finally, click Set Filter and Migrate.
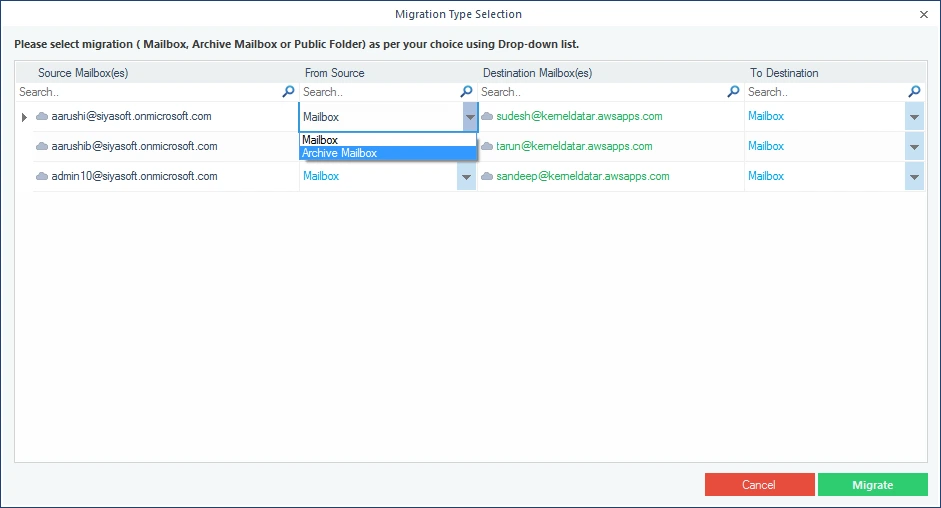
Step 6: In Migration Type Selection, select Mailbox, Archive Mailbox, or Public Folder. Finally, click Migrate.

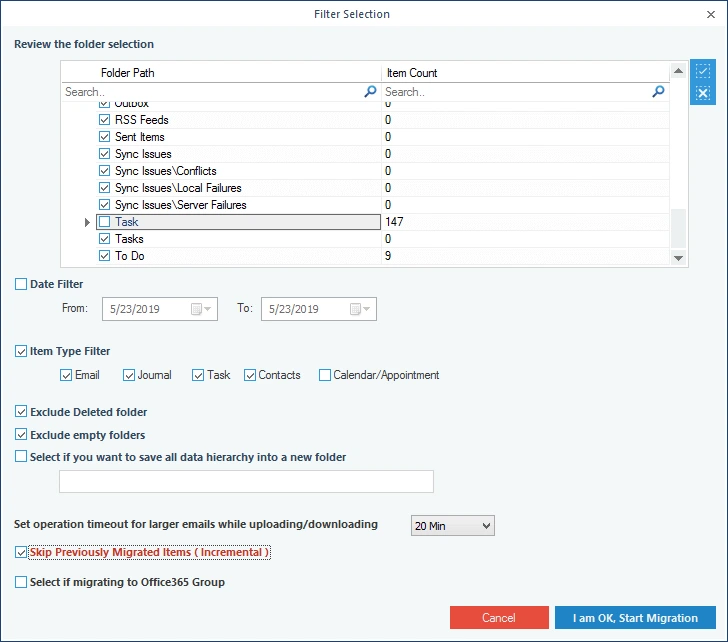
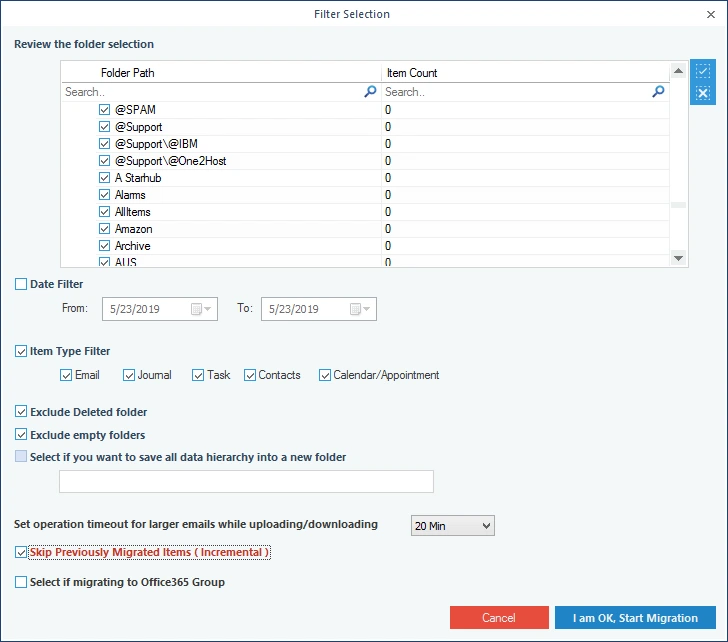
Step 7: In the Filter Selection window, you can provide the required filtering options:
- Review the folder selection – Select the folders for migration.
- Date Filter – Select From/To dates.
- Item Type Filter – Select the required item types.
- Exclude Deleted folder – Select to skip Deleted item folder from migration
- Exclude empty folders – Select to skip empty folders from the migration.
- Migrate data into the following folder – Select and give a folder name to save the mailbox data in that folder with the hierarchy
- Select if you want – Provide a time limit beyond which migration is to be rejected.
- Set operation timeout – Select the time limit to skip large email items.
In the end, click I am OK, Start Migration.
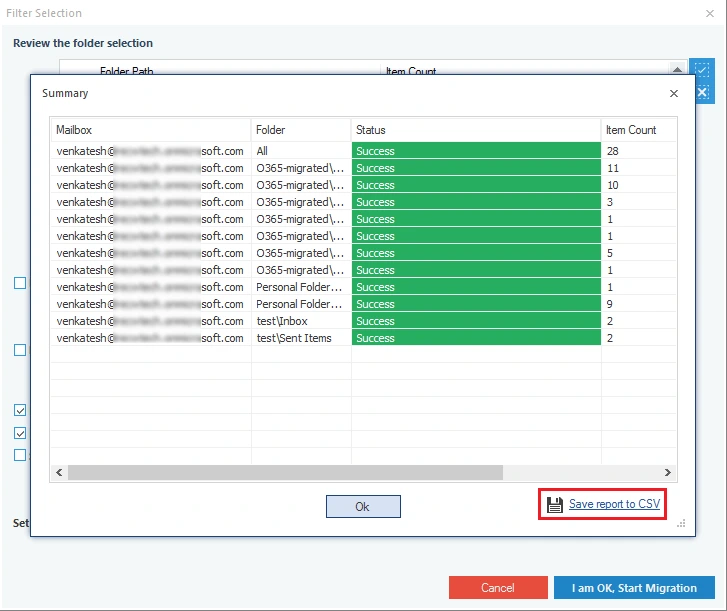
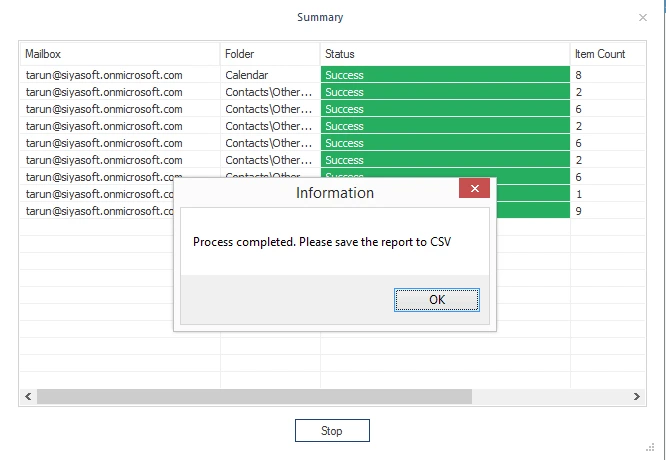
Step 8: As soon as the migration process finishes, the tool displays a message box reporting that migration has completed. Click OK.
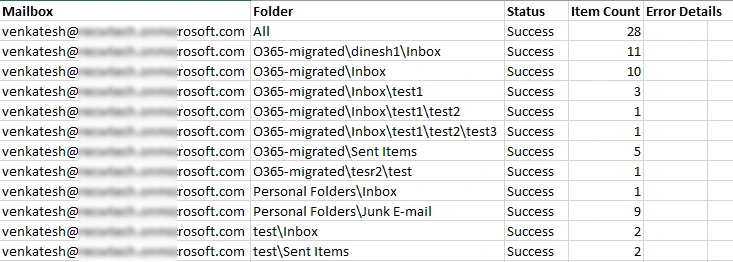
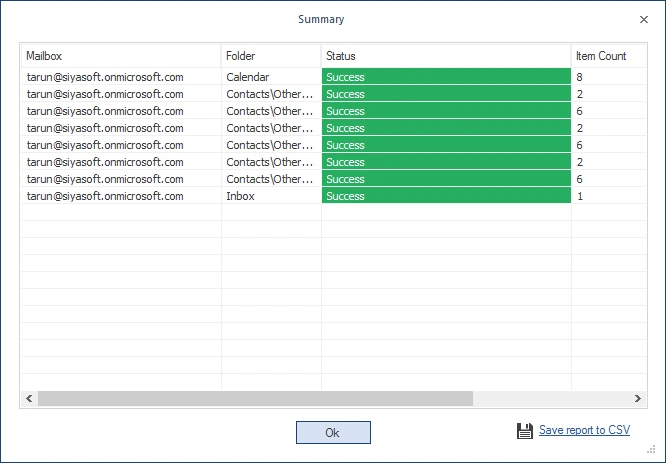
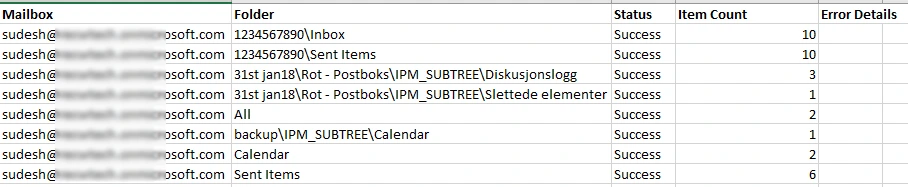
Step 9: To verify the migration process, you can save its report in a CSV format.
Migrate multiple mailboxes (using Administrator account)
Migrating multiple Office 365/Exchange Server mailboxes to Amazon WorkMail is as simple as migrating a single mailbox. For multiple mailbox migration, the user must have administrative accounts (for source and destination) with permissions over all the mailboxes. Just follow the given steps:
Step 1: Run the Kernel Office 365 to Amazon WorkMail application and click Add in the Add Source section. Choose the login method.

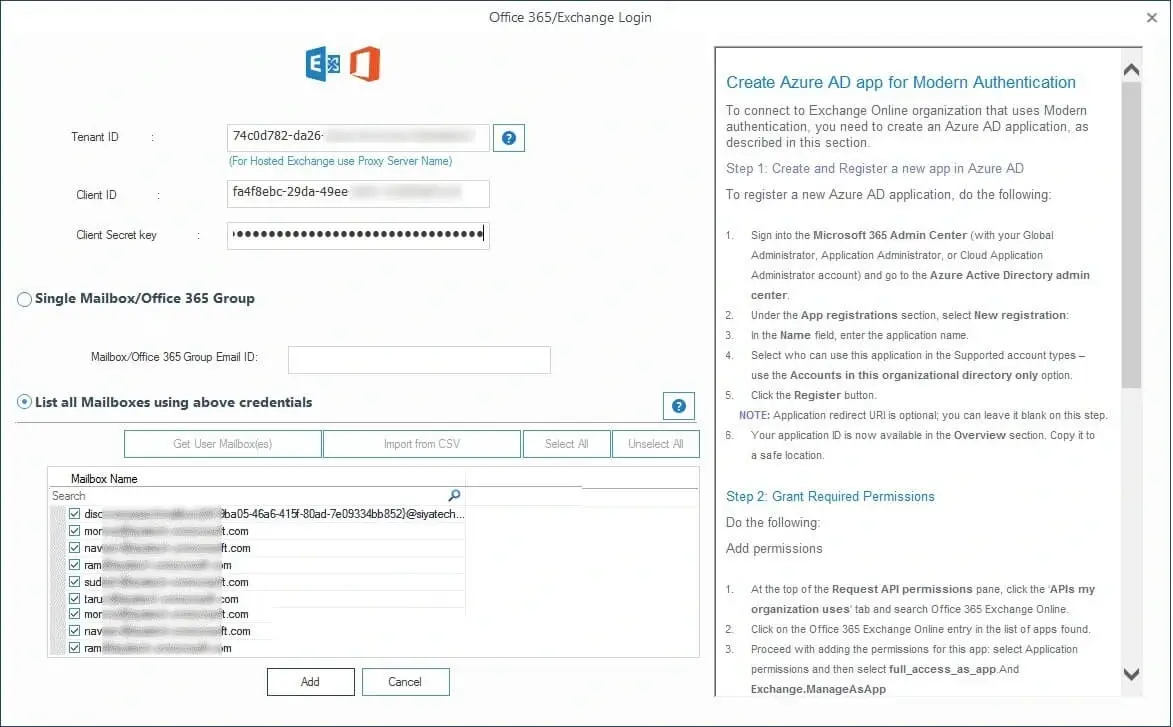
Step 2: In Office 365/ Exchange Login page, input the source (Office 365/Exchange Server) account details having administrative privileges. Select List all Mailboxes using above credentials and click Get User Mailbox(es). Then select the desired mailboxes and click Add.
Step 3: The source mailboxes gets added. Now click Add in Add Destination section.
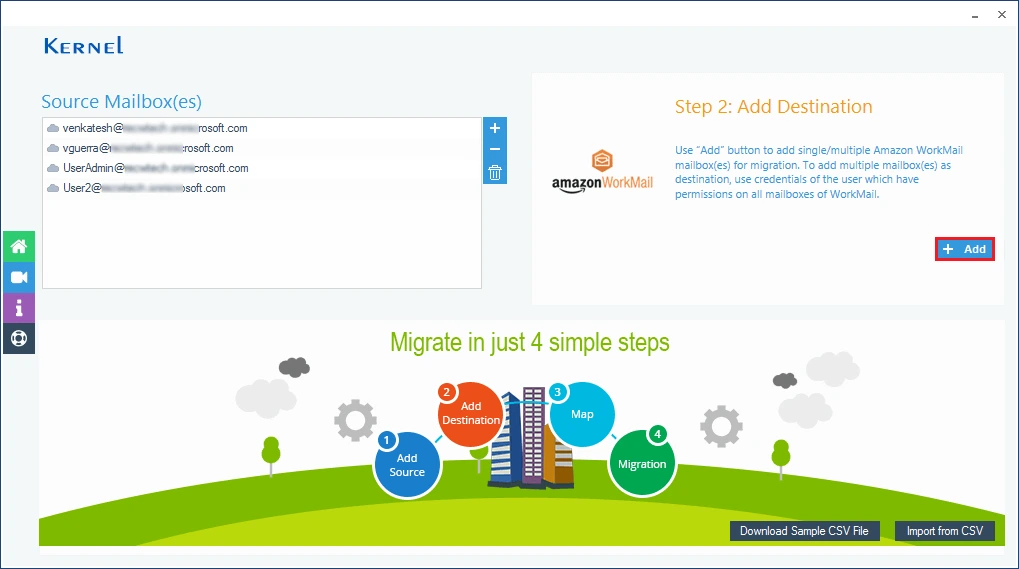
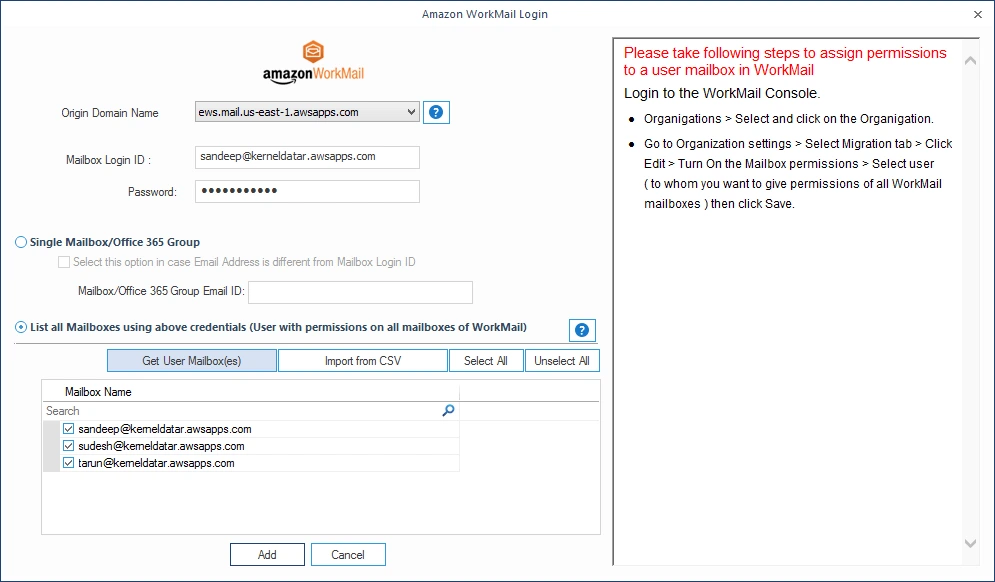
Step 4: Enter the credentials of the destination Amazon WorkMail account (the account must have permissions over all mailboxes). Then select List all mailboxes using above credentials and click Get User Mailbox(es). Then select the desired mailboxes (where you want to migrate the data). Finally, click the Add button
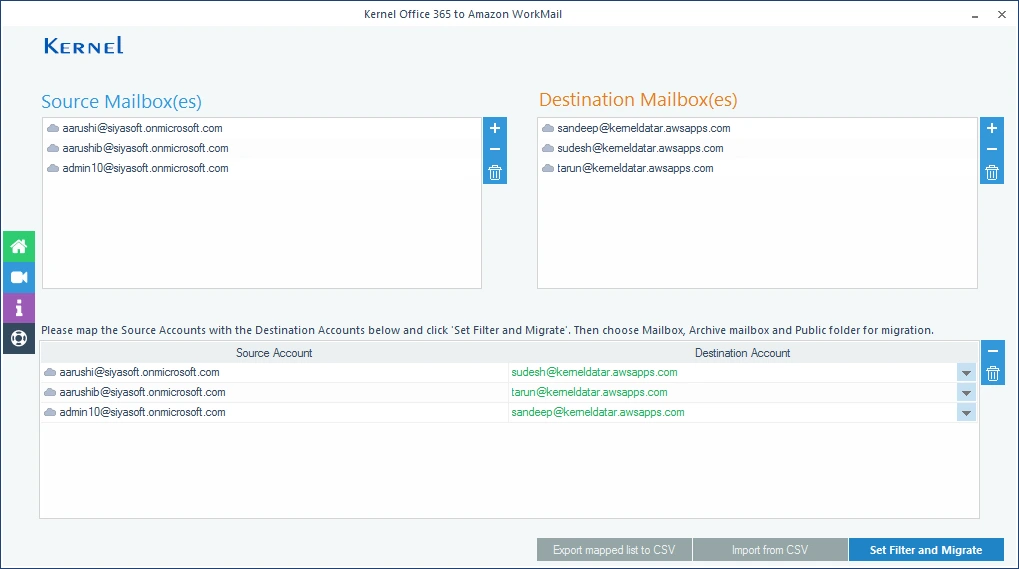
Step 5: Both the Source and Destination get added. Now to map the source mailboxes to the destination mailboxes using the Select drop-down (in Mapping of Source and Destination section). Finally, click Set Filter and Migrate.
Step 6: In Migration Type Selection page select an option : Mailbox, Archive Mailbox, or Public Folder.
Step 7: In the Filter Selection window, you can provide the required filtering:
- Review the folder selection – Select the folders for migration.
- Date Filter – Select From/To dates.
- Item Type Filter – Select the required item types.
- Exclude Deleted folder – Select to skip Deleted item folder from migration
- Exclude empty folders – Select to skip empty folders from the migration.
- Migrate data into the following folder – Select and give a folder name to save the mailbox data in that folder with the hierarchy
- Select if you want – Provide a time limit beyond which migration is to be rejected.
- Set operation timeout – Select the time limit to skip large email items.
In the end, click I am OK, Start Migration.
Step 8: After a successful migration, the tool provides a message that the process has completed. Click OK.
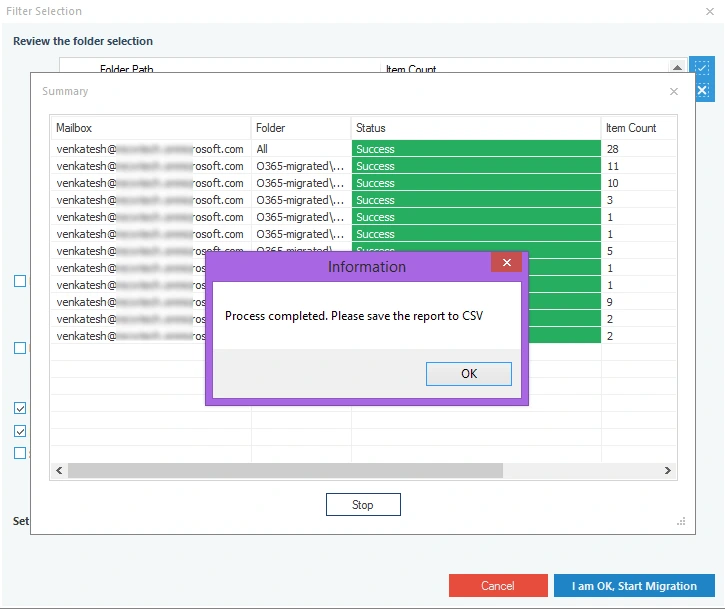
Step 9: Click Save report to CSV to get a complete migration report.