Step 1. Download & launch the Kernel MSG to PST Converter.
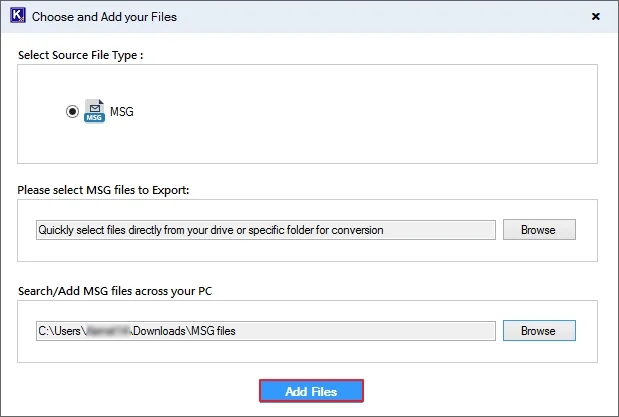
Step 2. Tap on the Add Source option & hit the Browse tab to select a folder. It will help users to locate the MSG files across the system automatically.
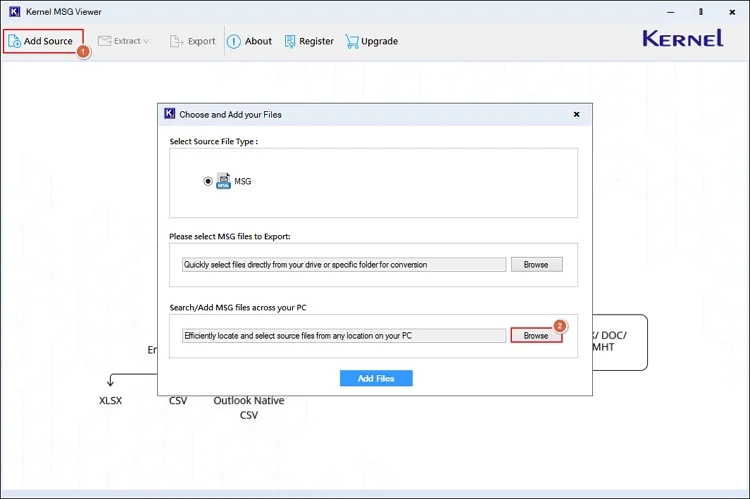
Note: Here, you can select specific MSG files too by using the "Please select MSG files to export" option.
Step 3. Select the folder that contains MSG files & select OK.
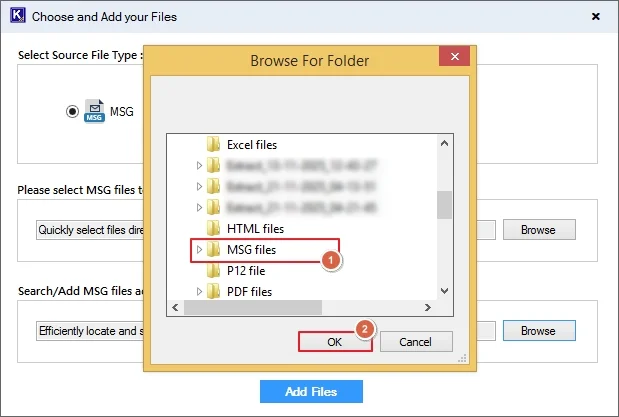
Step 4. Now, under the Browse section, the selected folder will appear. Then, tap on the Add Files option.
Step 5. Preview the complete attributes of the MSG file, including sender, recipient, subject, & date, along with attachments & categories.
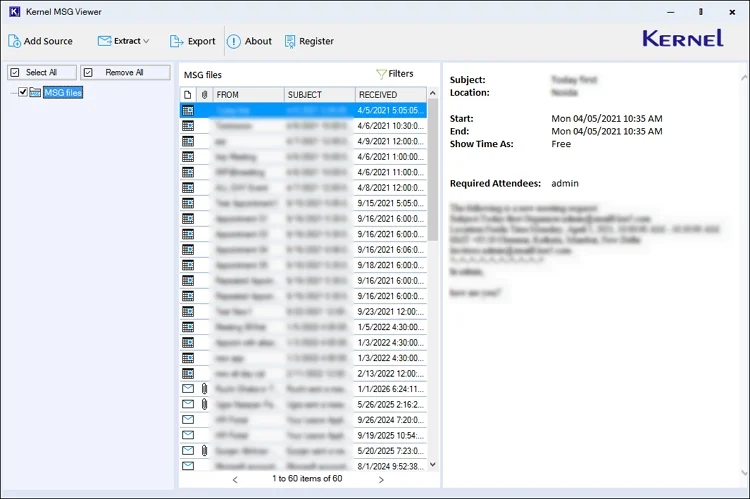
Step 6. You can view desired MSG files by using the filters like From, To, CC, BCC, Subject, Body, Read/Unread, Attachment, & Date.

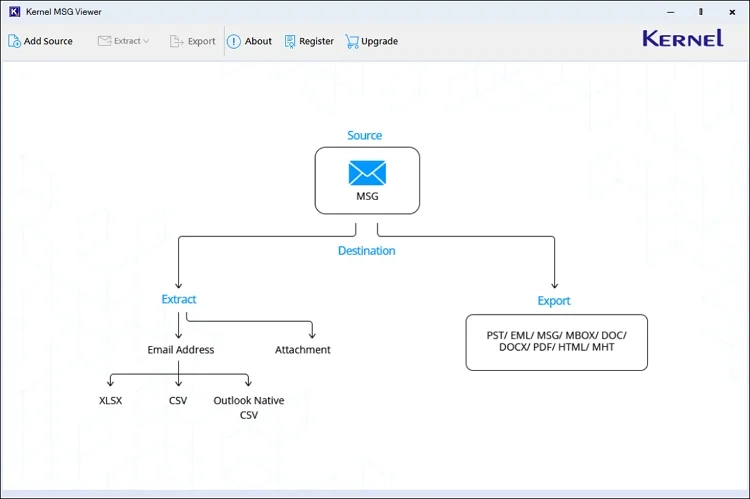
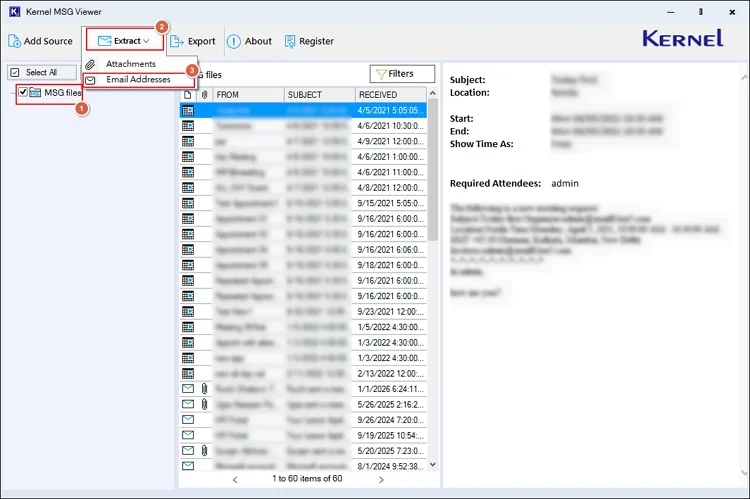
Once you have previewed the MSG file's attributes, the tool offers three further options: Extract Email Addresses, Extract Attachments, and Export. Let's look at them one by one:
Steps to Extract Email Addresses
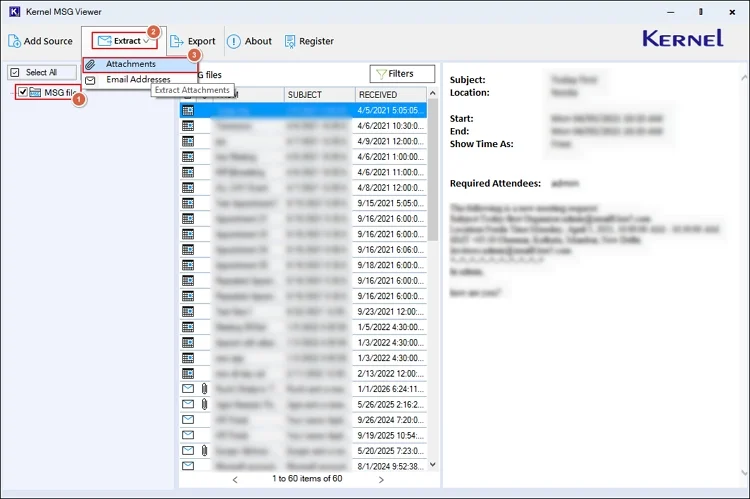
Step 7. Choose the desired folders & hit the Extract > Email Addresses option.
Step 8. Select the Browse option and provide the saving location.
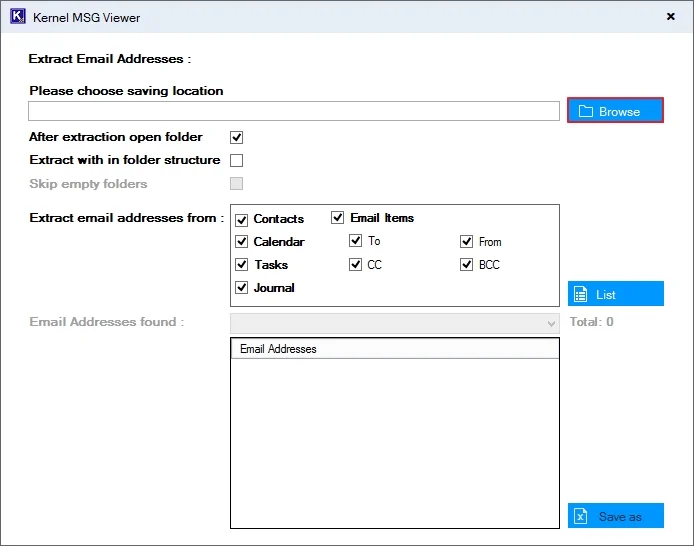
Step 9. Search for the desired destination for extracted email addresses. Then, click OK.

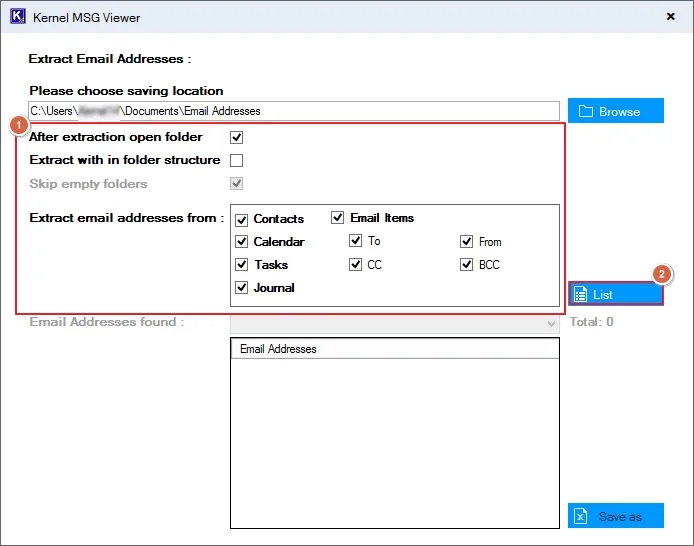
Step 10. Apply suitable filters to get the preferred email addresses from the MSG files. Click List. Know the filters functionality:
- After extraction open folder: The folder containing the email address will open automatically, once extracted.
- Extract within folder structure: Extract email addresses in the same folder structure as the source.
- Skip empty folder: Exclude extracting email address from empty source folders.
- Extract email addresses from: Extract email addresses from contact, calendars, tasks, email items (To, From, CC, and BCC), etc.
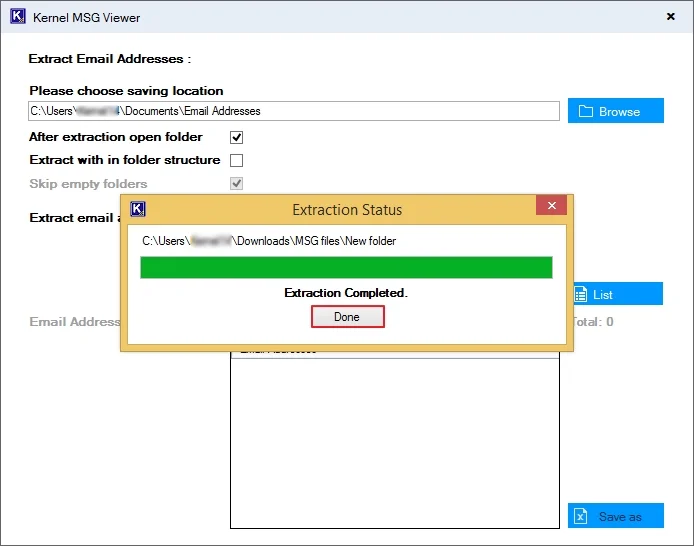
Step 11. It will start extracting email addresses as per the chosen filters. Wait till the extraction process is completed. Then, hit the Done tab.
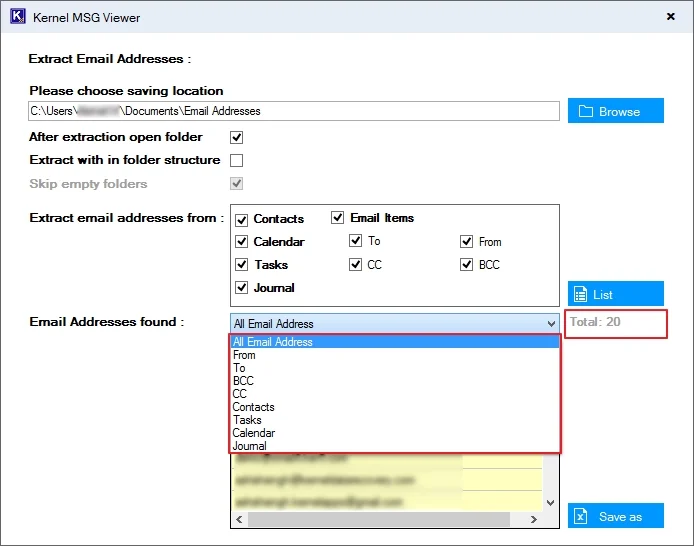
Step 12. Once the process is completed, all the emails will be listed in the Email Addresses Found section with the Total Count. Verify & select the desired email addresses to extract.
Step 13. Click on the Save As option & choose the preferred saving format, including XLSX, CSV, or Outlook CSV.
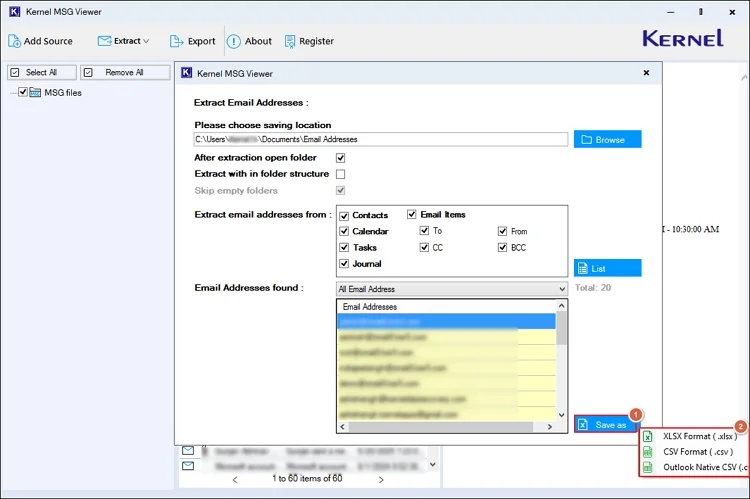
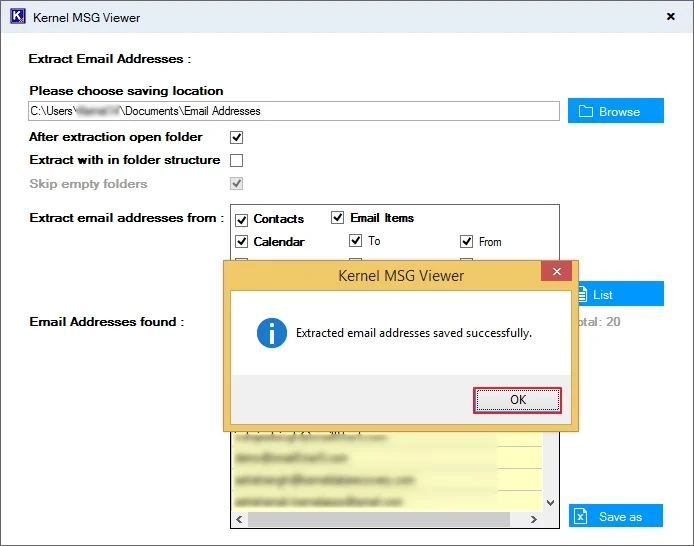
Step 14. The software will save all the email addresses at the defined location in the selected format. Hit OK to finish the extraction of email addresses’ process.
Steps to Extract Attachments Separately:
Step 15. Choose the preferred folder & hit the Extract Attachment option.
Step 16. Click on the Browse tab to provide the saving location for attachments.
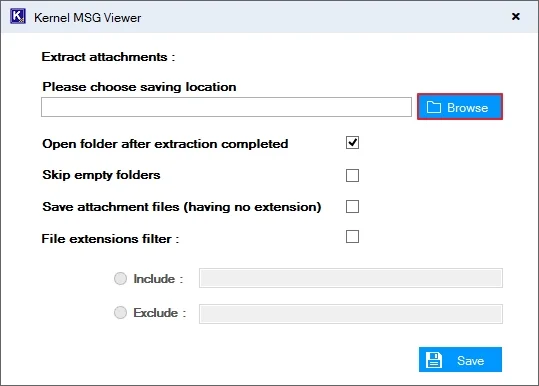
Step 17. Search the desired folders where you want to save attachments & hit the OK option.

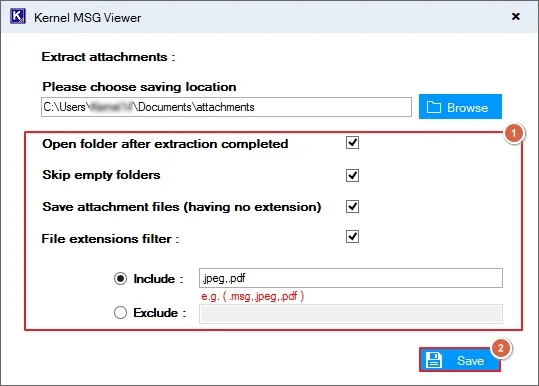
Step 18. Apply suitable filters to extract desired attachments & hit Save.
- Open Folder After Extraction Completed: The tool will automatically redirect to where attachments are saved.
- Skip Empty folders: Exclude empty folders from the source.
- Save Attachments Files (having no extension): The tool even saves attachments having no extension.
- File Extension Filter: Mention attachment extension to exclude/include in output.
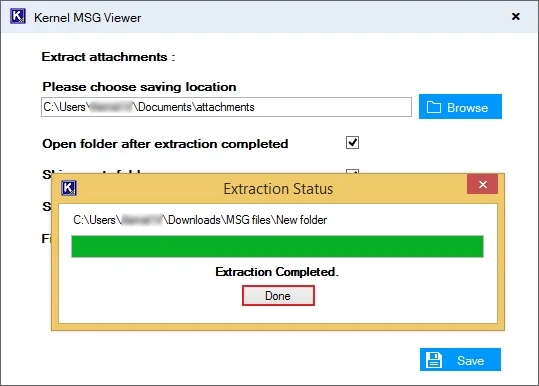
Step 19. The software will save attachments as per the chosen filters at the defined location. Click on Done to complete the extraction attachment process.
Steps to convert MSG Files to PST Format
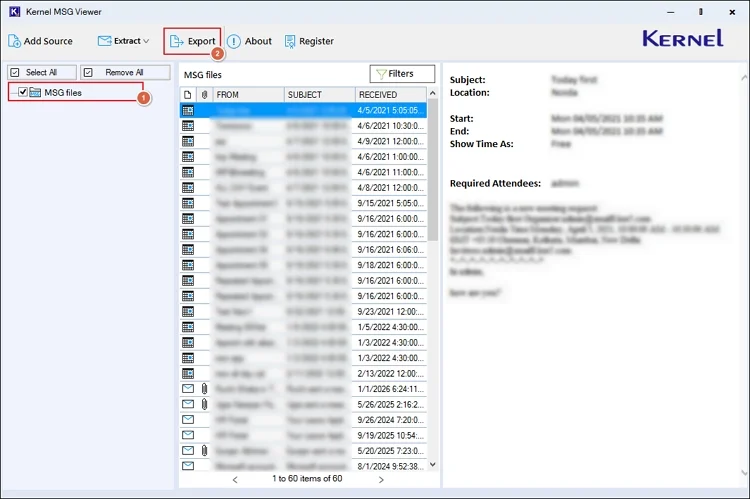
Step 20. Choose the desired folders & tap on Export option.
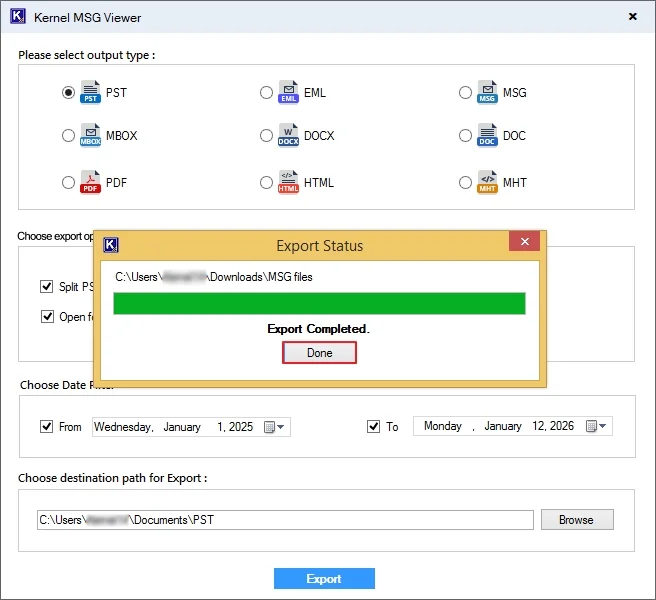
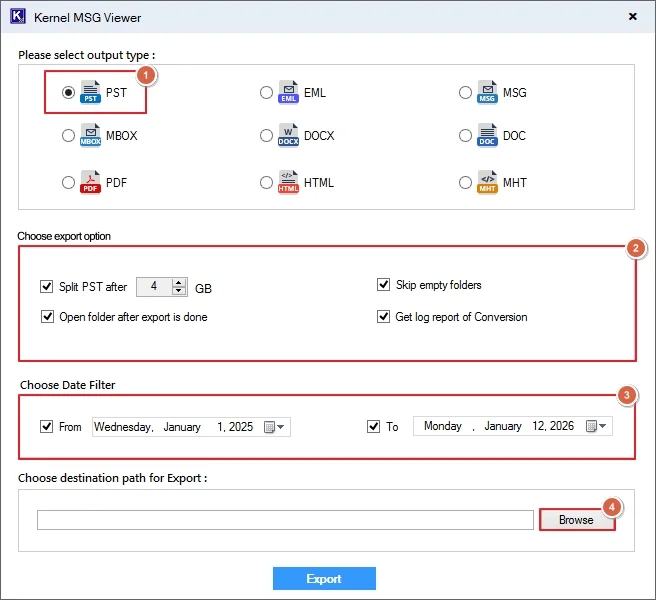
Step 21. Choose the PST format under the Please select output type section and choose the needed filters. Browse to the location to save the converted file.
- Skip Empty folders: Remove the empty folders in the output.
- Open Folder after export is done: Direct access to the saving location.
- Split PST file: Helps to split a large PST file into smaller fragments for easy storage management.
- Date Filters: Get the output within the provided date range.
- Get log report of Conversion: To verify the MSG file conversion process.
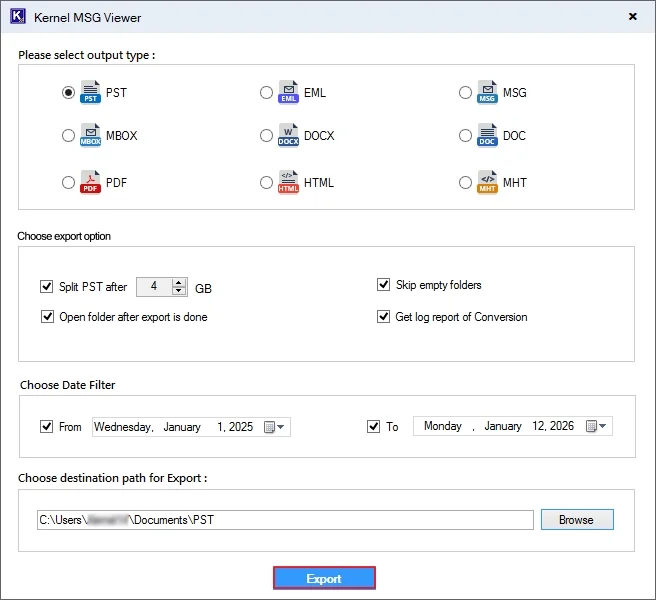
Step 22. Select the destination & click on OK.

Step 23. Now, click on the Export option to start the MSG to PST conversion.
Step 24. Once the conversion is completed, hit Done to complete the process.