Microsoft Planner migration helps in transferring all of the planner objects including buckets, plans, attachments, and tasks from one tenant to another without causing any data loss.
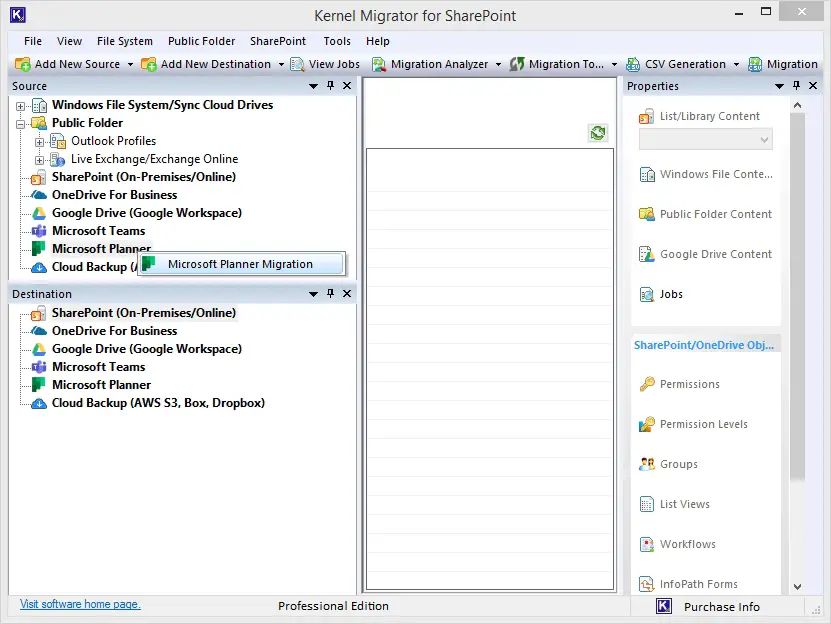
Step 1: Press Windows key + Q to launch Kernel Migration for SharePoint.
Step 2: Go to Microsoft Planner in the left pane and right-click on it to open Microsoft Planner Migration wizard.
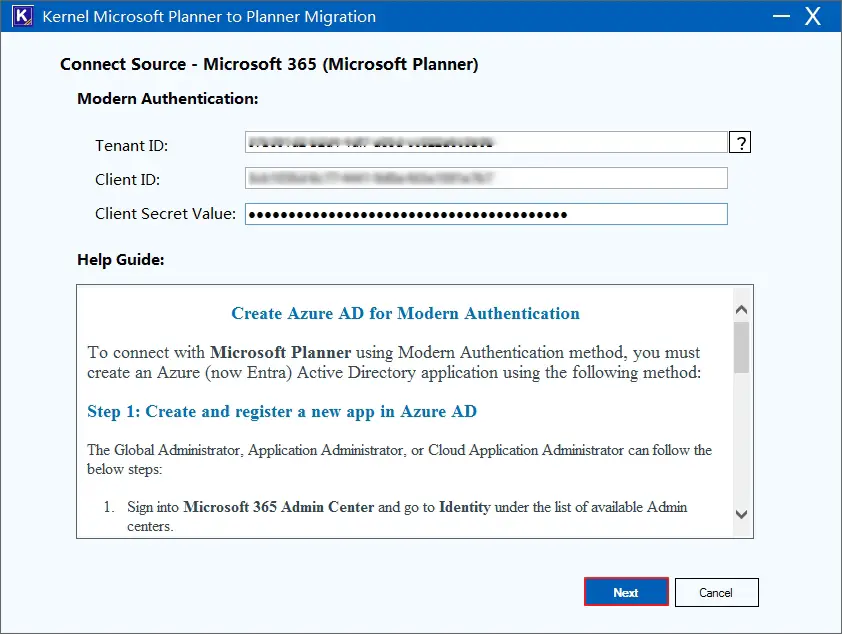
Step 3: This will open a wizard asking for the details to execute Modern Authentication such as Tenant ID, Client ID, and Client Secret value about the Source Microsoft Planner. Click Next to continue.
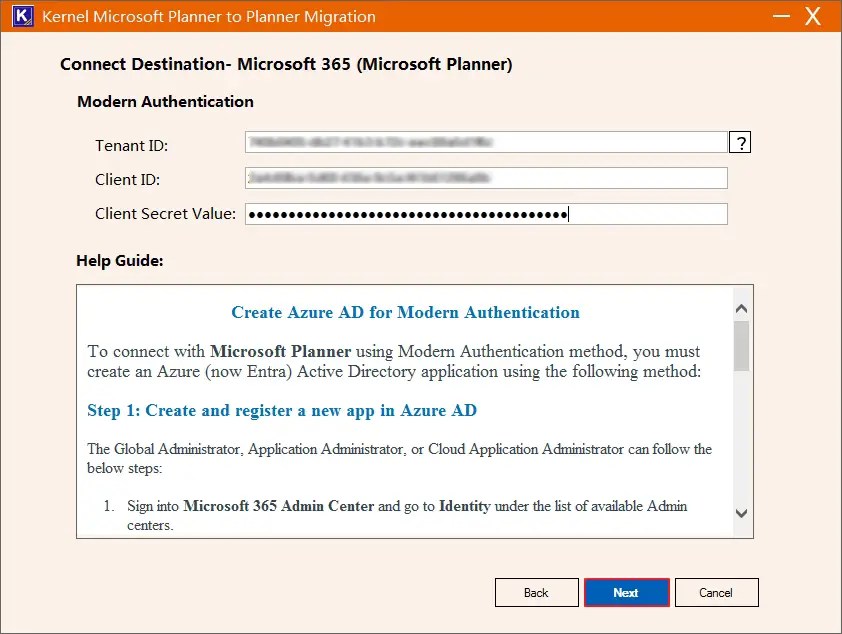
Step 4: Once you connect the Source, now provide the Tenant ID, Client ID, and Client Secret Value of the Destination and click Next to connect.
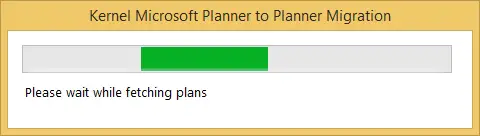
Step 5: The tool will begin fetching plans once source and destination tenants are connected.
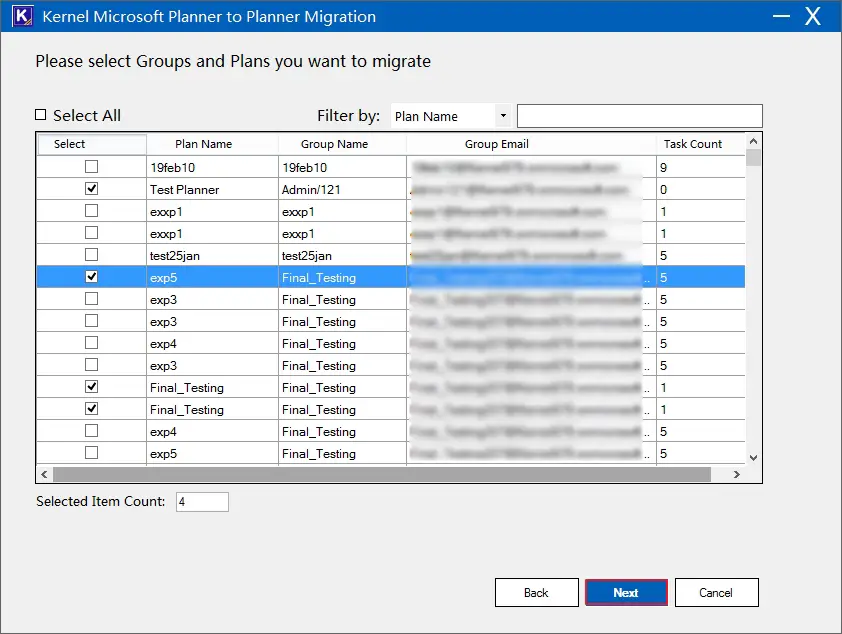
Step 6: The new screen appears consisting of the list of available plans. All plans are categorized based on their Plan Name, Group Name, Group Email, and the task count. The tool provides three filters, Plan Name, Group Name, Group Email) to segregate and show the plans only that you want to migrate. Select desired Plans and Groups and then click Next to map the users.
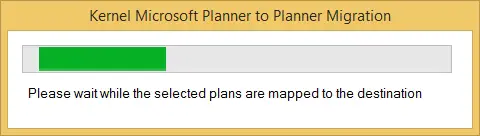
Step 7: The plans that were available in the Source will begin mapping to the Destination tenant.
Step 8: Now, you’ll see |Map Source Group to Destination Group for Planner migration” screen showing both Source and Destination mapping. Select Groups from the list and click Next to fetch the users.

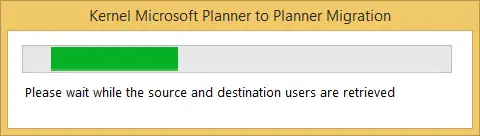
Step 9: Please wait for mapping source users to the destination.
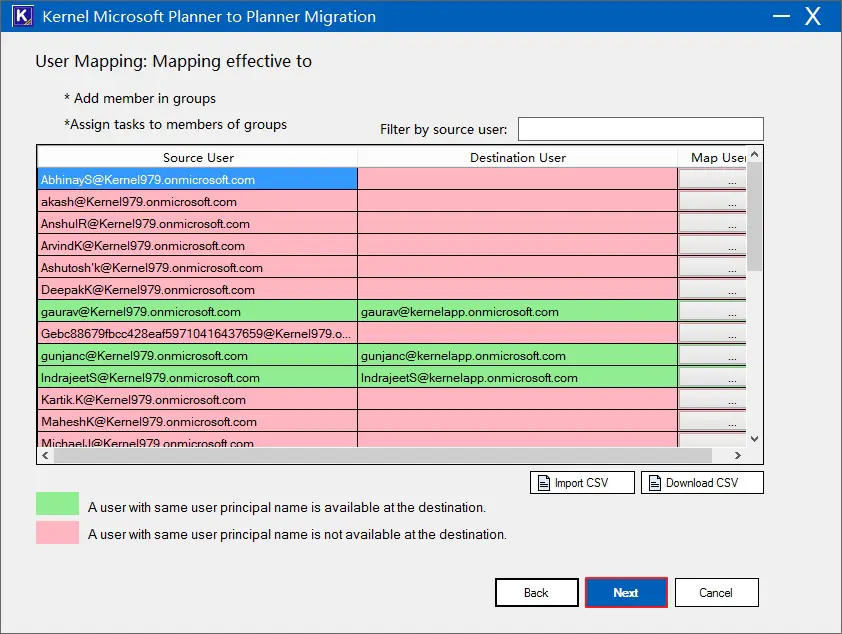
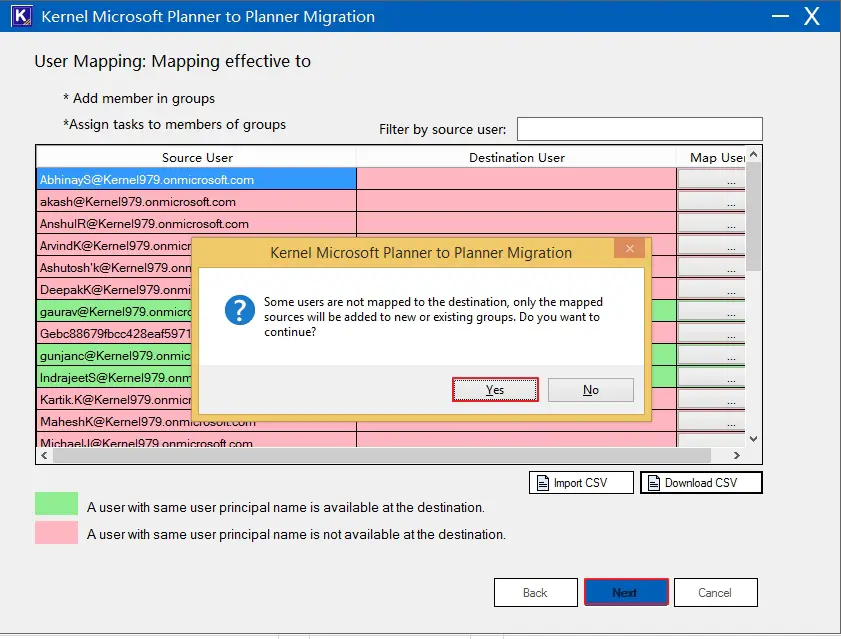
Step 10: Verify the User Mapping that is effective to ‘Add member in groups’ and ‘Assign tasks to members of groups.’ You can filter the mapping with source user. Click Next to continue.
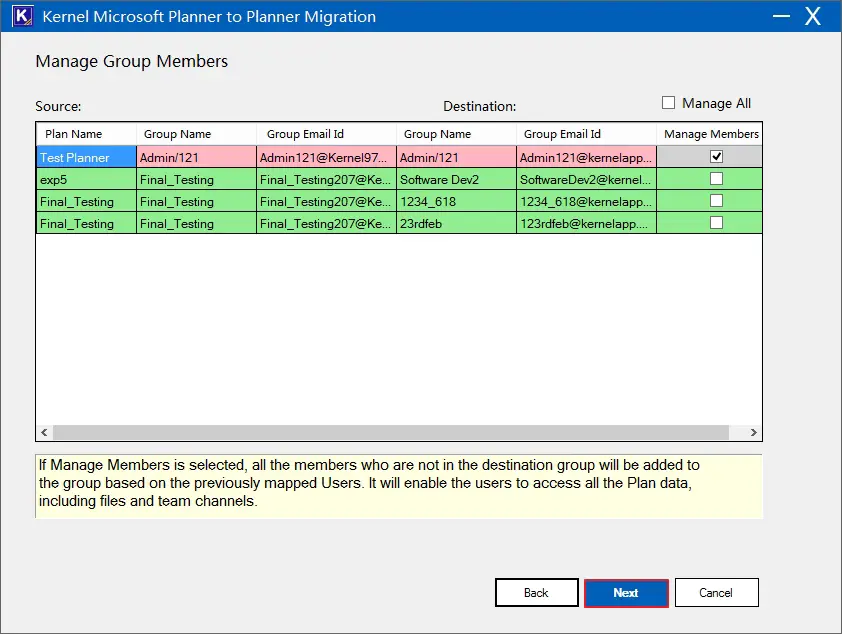
Step 11: Check the Manage Members box to add the members to the destination group based on the previously done User mapping. Users get access to all the Plan data along with teams and files channels. Click Next to start the Migration.
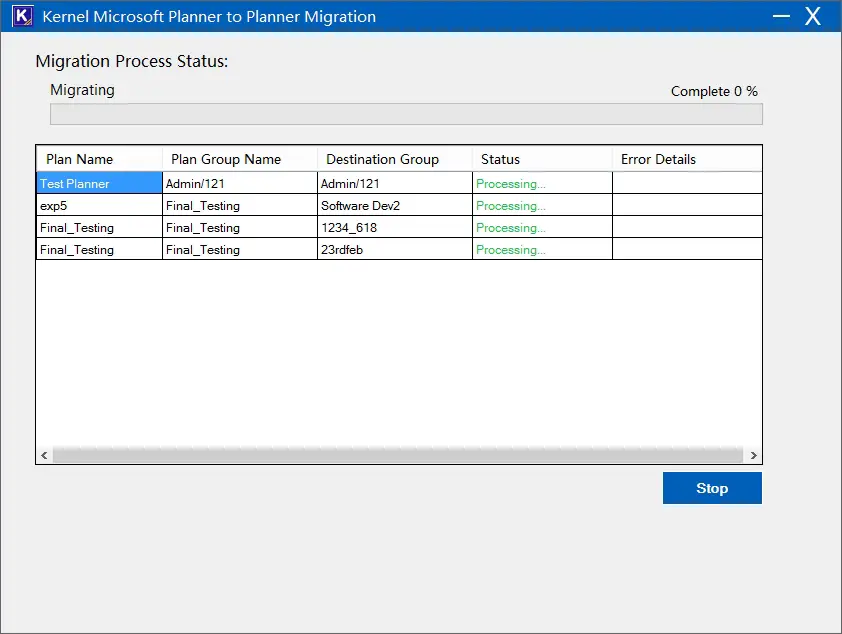
Step 12:Once the process begins, users can see the progress status. Select Stop if you want to stop the execution.
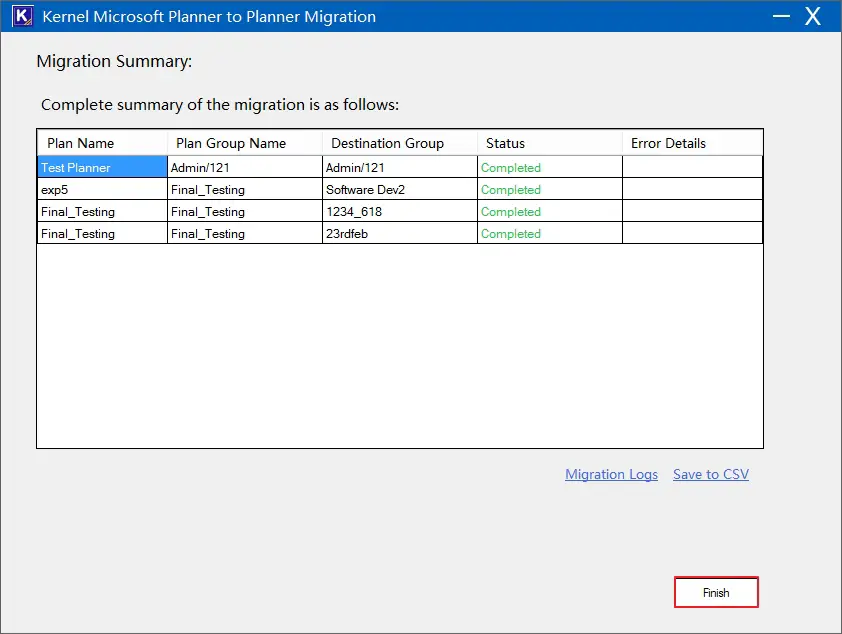
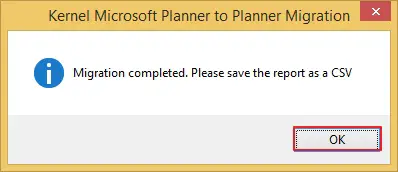
Step 13: After the completion of the migration process, the migration appears that the migration is complete and that you can save the report into CSV format. Click OK.
Step 14: The tool provides access to the migration logs, and you can save migration reports in the form of a CSV file. Click Finish.