Kernel Import PST to Gmail gives you the flexibility to import both single and multiple PST files to Gmail accounts. Let’s have a closer look at the tool’s working process to understand it better.
How to Import PST to Gmail
Step 1: Download and configure the tool on your system.
Step 2: Once you start the tool, the home screen of the software will appear on the screen.
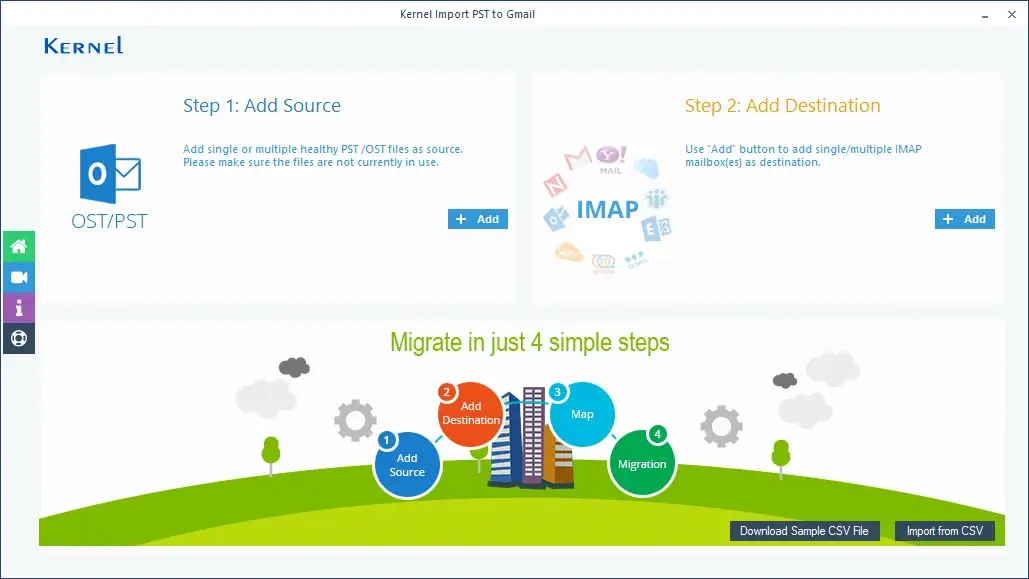
Step 3: On the home screen, click Add in the Add Source section to add PST files. Select the PST files that you want to add and click OK.
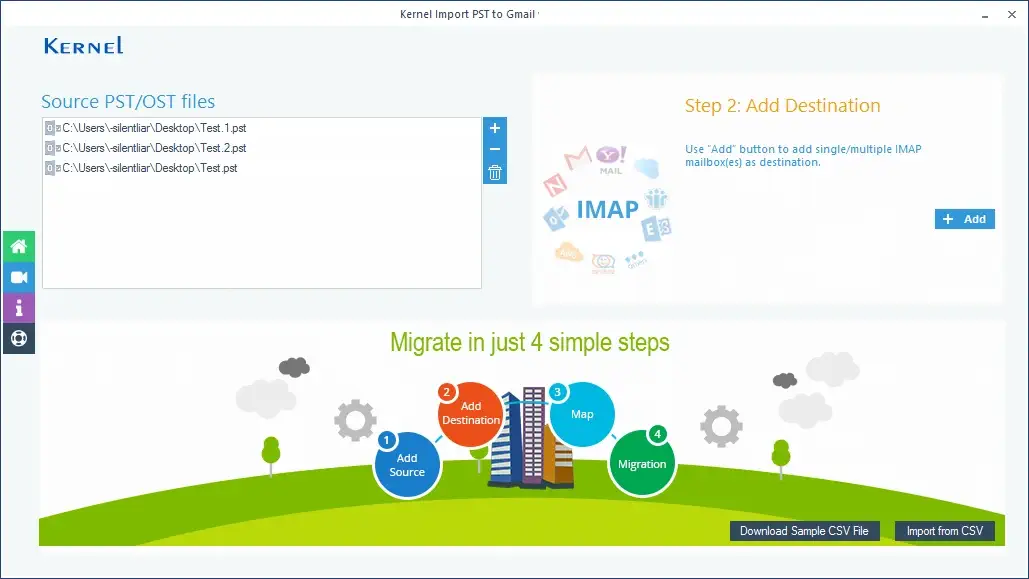
Step 4: Once the PST files are added, click Add in the Add Destination Section.
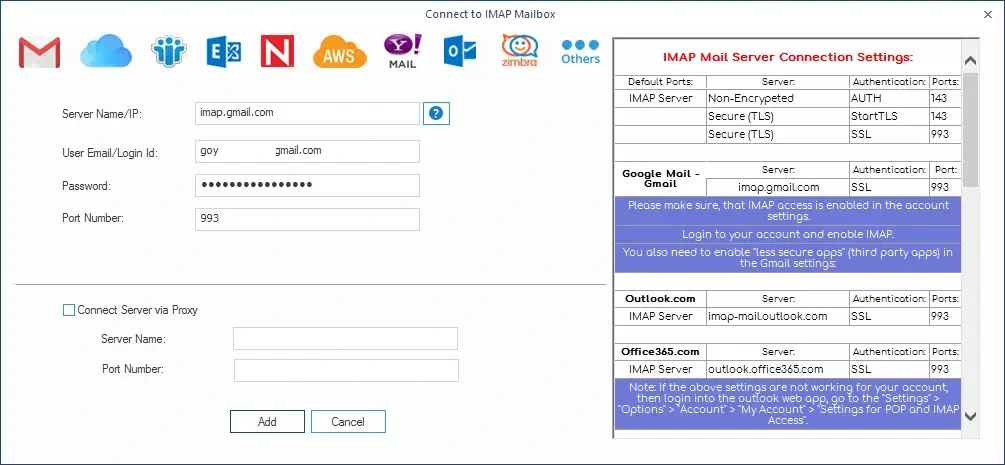
Step 5: In the Connect to IMAP Mailbox wizard, provide the credentials for your Gmail account, and then click Add. The Gmail account will be added to the tool.
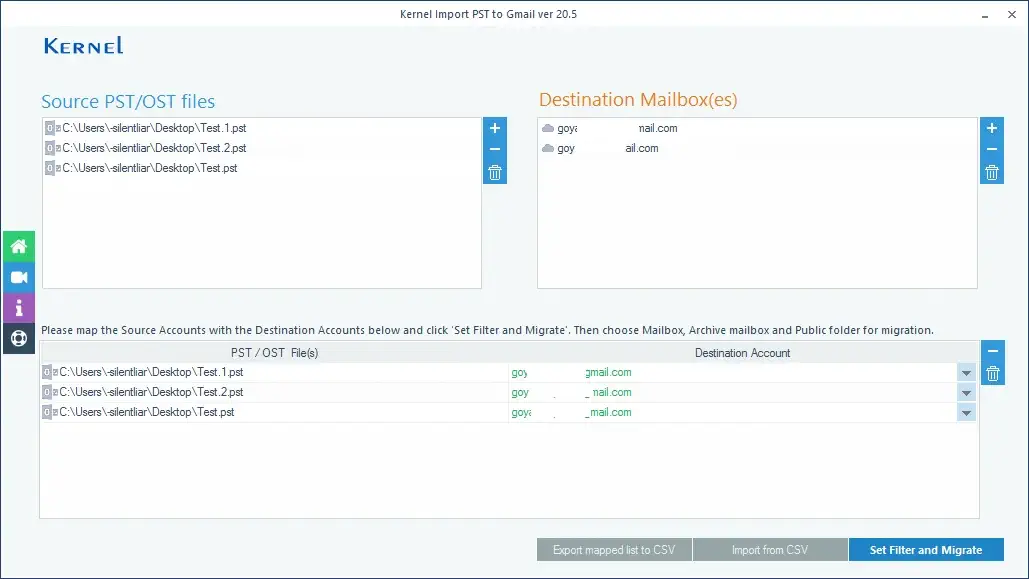
Step 6: Once both the PST files and Gmail accounts are added, map each PST file with the specified Gmail account, and then click Set Filter and Migrate.
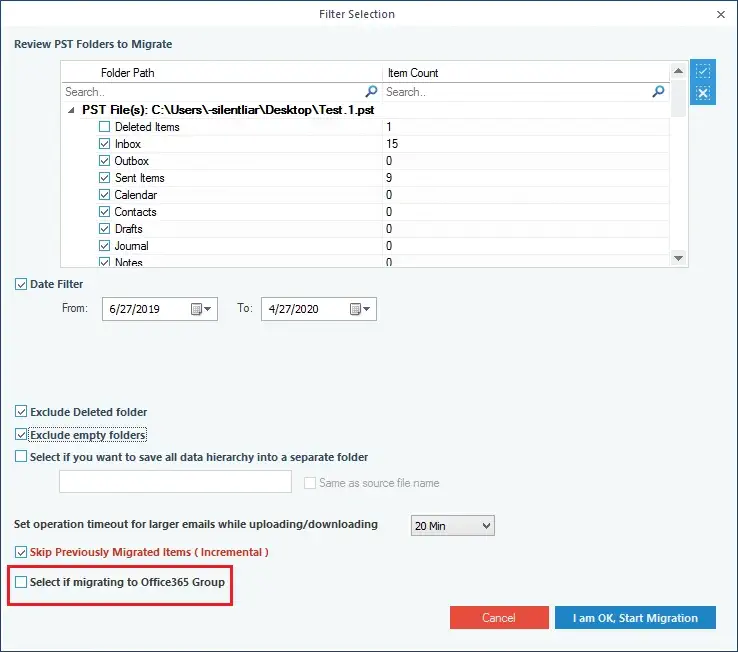
Step 7: The Filter Selection window will appear on the screen; apply specific filters to the PST file’s data, such as folder selection, date, item type, etc. and click I am OK Start Migration.
Step 8: The software will begin the import process; it will take some time depending on the size of the PST files. Meanwhile, you can see the progress on the screen.

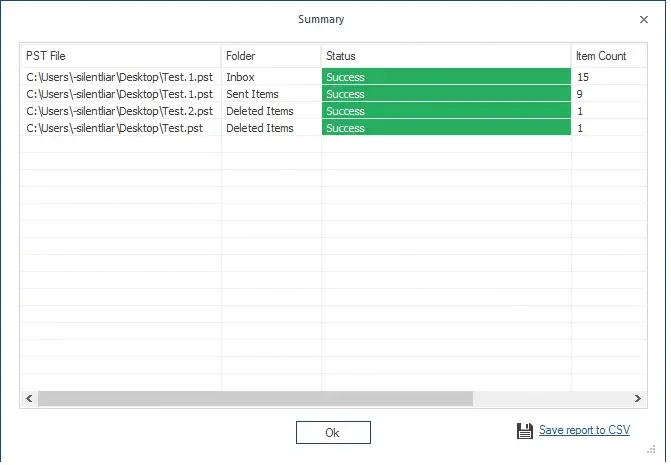
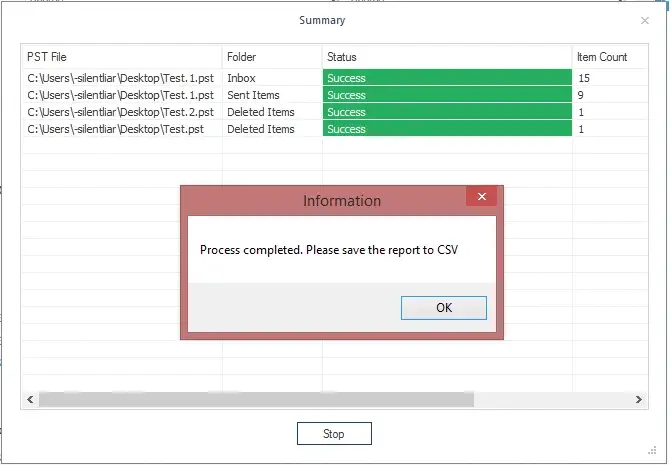
Step 9: Once the import process is complete, a notification will appear on your screen confirming the successful import of PST, click OK to end the process.
Step 10: If you want to save the import process report, then click Save Report to CSV.