How to Use IMAP to Office 365 Migration?
Follow the guide to learn about the step-by-step process to migrate IMAP to Office 365 mailboxes:
Step 1: Download and install Kernel IMAP to Office 365 Migration tool.
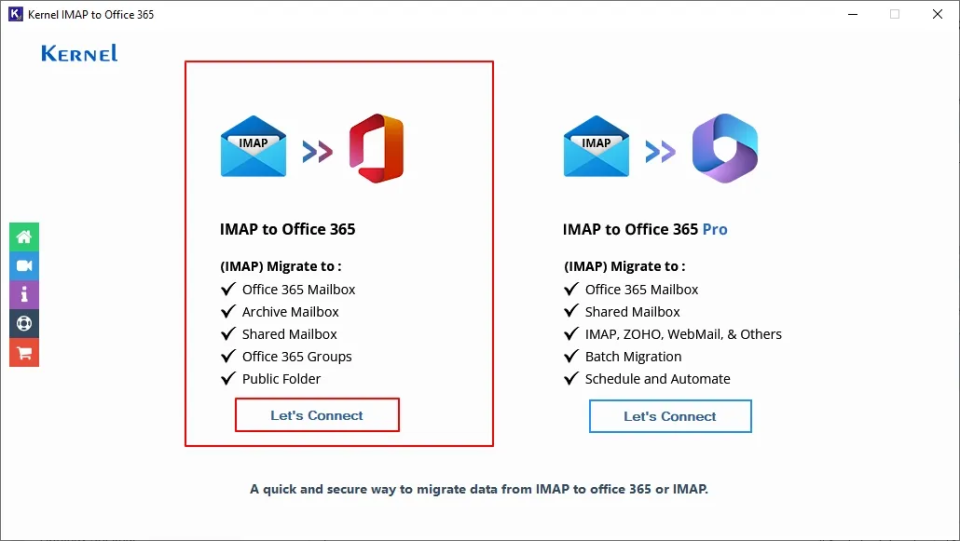
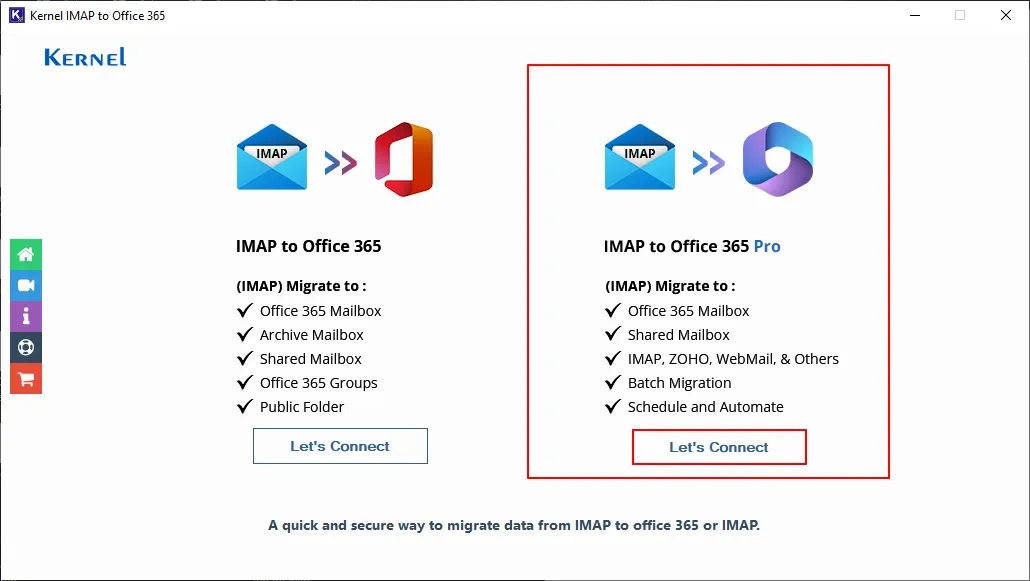
Step 2: Open the software and click on Let’s Connect in IMAP to Office 365 tile
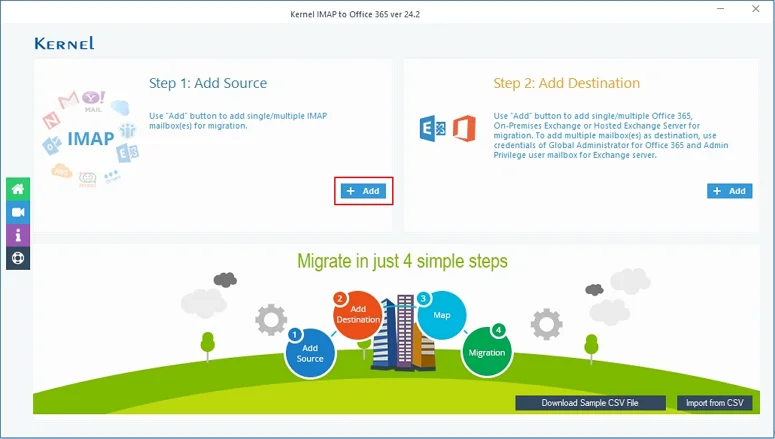
Step 3: On this window, click on the + Add button from the Add source pane on the left side.
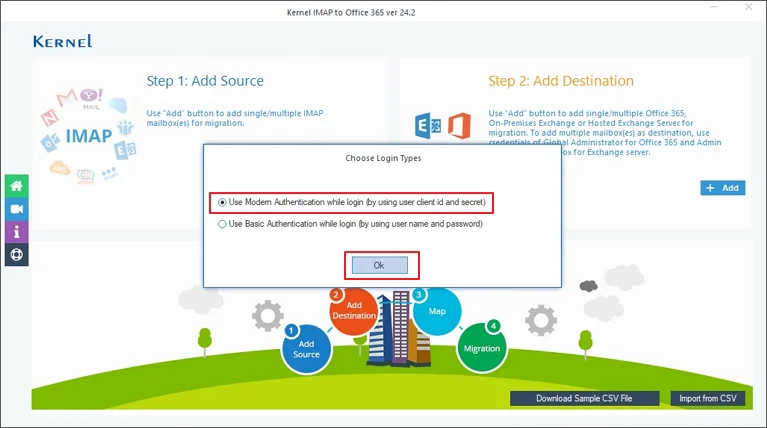
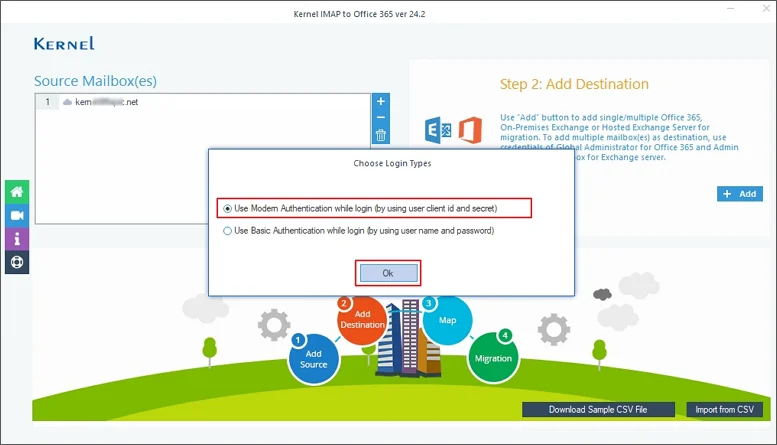
Step 4: Click on Use Modern Authentication while login (by using user client id and secret) from the options on Choose Login Types window. Click Ok.
Step 5: Enter the required IMAP server details to connect the source as follows:
- Enter either Server Name or IP address of the IMAP Server whose mailbox you want to move.
- Mention the User Email/Login Id and Password of the entered IMAP server.
- Port Number (993 by default)
Note: You can change the port number if needed and take reference from the IMAP Mail Server Connection Settings guide mentioned on the right-hand side of the pane.
Click the Add button to connect.
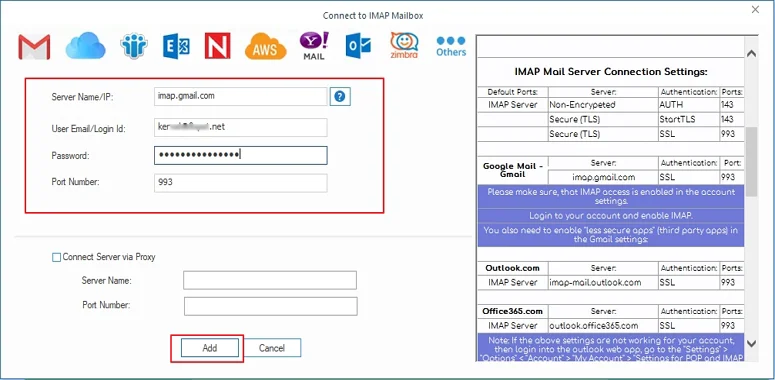
Note: There is another option Connect Server via Proxy that you can select and connect with the IMAP server using Server Name and Port Number.
Step 6: Now go to the Add Destination pane and click on + Add button to connect with the Office 365 account in the destination.

Step 7: Once again click on Use Modern Authentication while login (by using user client id and secret) from the options on the Choose Login Types window. Click Ok.
Step 8: Enter the required Office 365/Exchange Login credentials as the tool asks. Input the Client ID, Tenant ID, and Client Secret value in the App registration within the Microsoft Azure portal.
Once done, click on Get User Mailbox(es) [or Get Group(s)] to retrieve all the mailboxes from Office 365 and list them so that you can use them while mapping mailboxes.
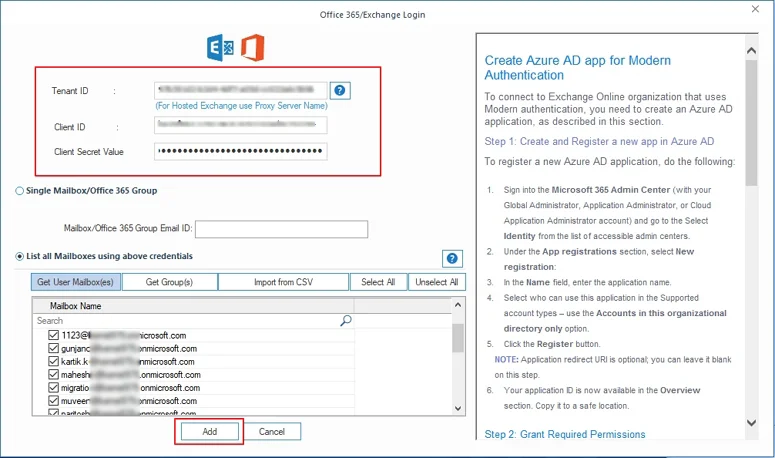
Note: You can select Import from CSV to bring all the mailboxes you want to the destination.
Click Add to connect the destination.
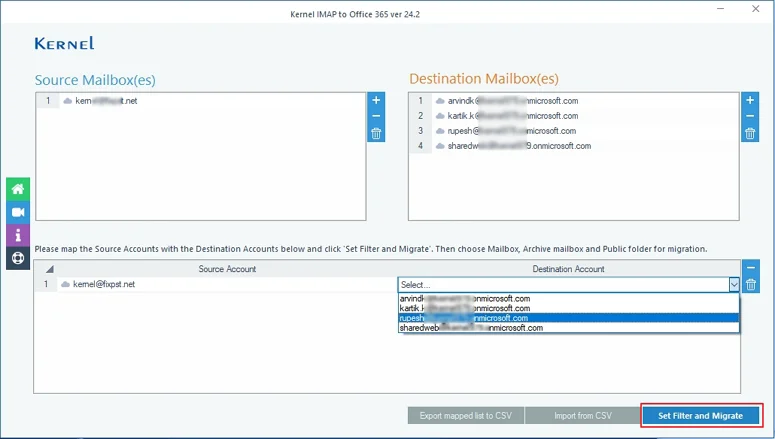
Step 9: Once both source and destination email accounts are connected, map the user mailboxes by selecting from the dropdown list mentioned in Destination account. Click on Export mapped list to CSV to download the user mapping and import it in future migrations to escape the process of adding source and destination.
Click on Set Filter and Migrate to proceed.
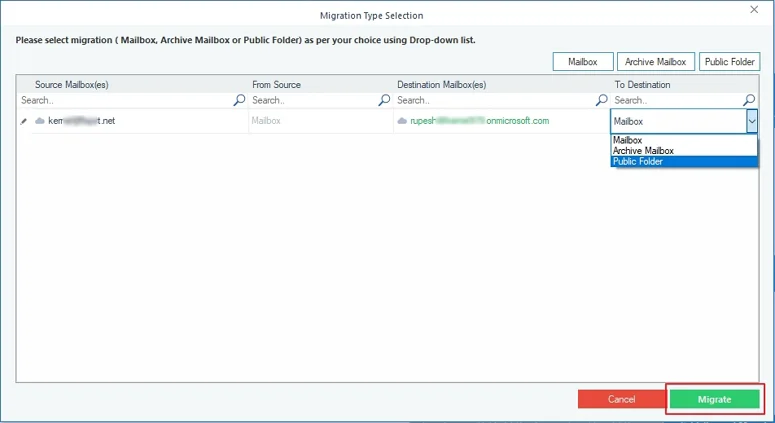
Step 10: It’s time to make a Migration Type Selection now. To do this, click on the dropdown list under the To Destination column and select Mailbox, Archive Mailbox, and Public folder. After selecting, click on the Migrate button.
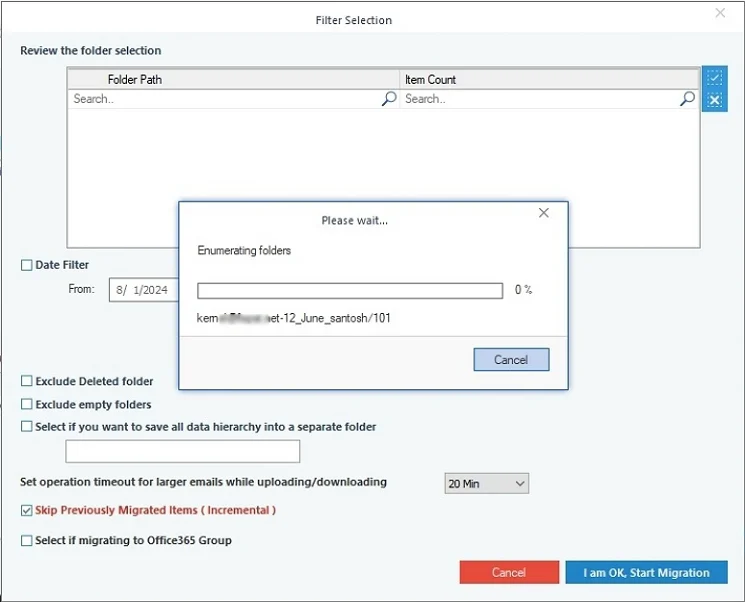
Step 11: The IMAP to Office 365 migration tool will begin enumerating the mailbox folders. Wait for the tool to complete the process and list all the mailbox folders while preserving the hierarchy.
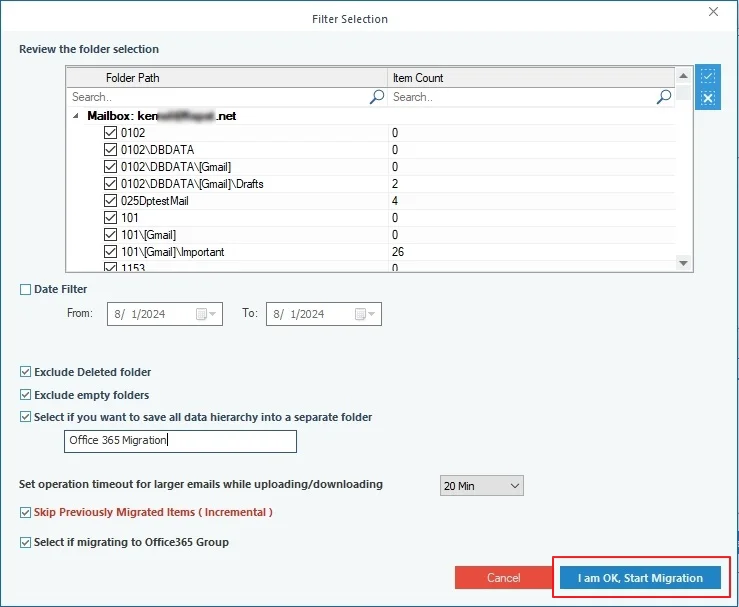
Step 12: From the list of folders, select or deselect according to your requirements and then select the required filters:
- Use the Date Filter to define a date range for which you want to migrate mailboxes.
- Mark Exclude Deleted folder to avoid taking deleted data to the destination.
- Select Exclude empty folders to skip migrating them.
- Select if you want to save all data hierarchy into a separate folder.
- Define a folder name to which you want to migrate the data in the destination.
- Set operation timeout for larger emails while uploading/downloading.
- Select to Skip Previously Migrated Items (Incremental) to only migrate recent items.
- Select if migrating to Office 365 Group.
After selecting the filters, click I am OK, Start Migration.
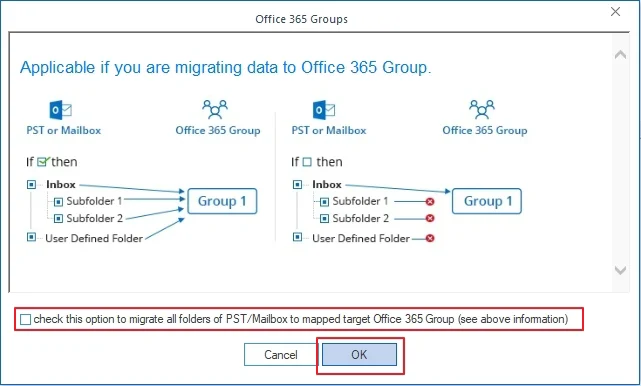
Step 13: Select the checkbox check this option to migrate all folders of PST/Mailbox to mapped target Office 365 Group. Click OK to proceed.
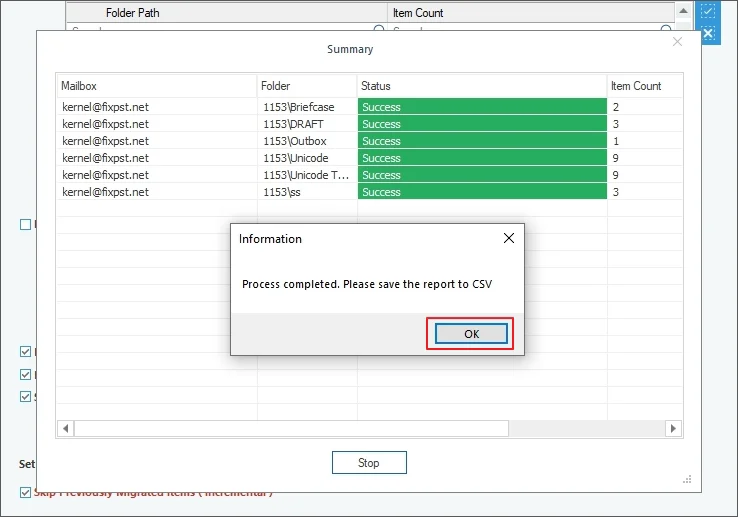
Step 14: The tool will begin the migration process and on completion it will show you a dialog box stating Process completed. Please save the report to CSV and then click OK
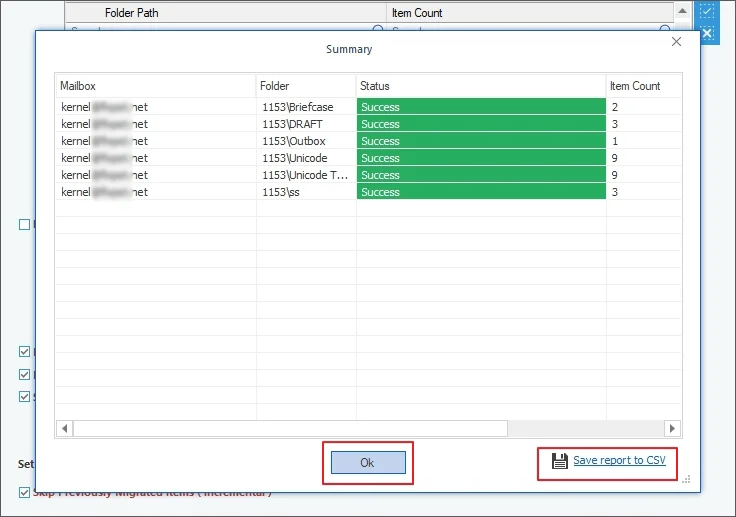
Step 15: Click Save report to CSV if you want to save the migration report to a CSV file and click OK to finish the process.
How to Use IMAP to Office 365 Migration Pro?
Follow the guide to learn about the step-by-step process to migrate IMAP to Office 365 mailboxes:
Step 1: Download and install Kernel IMAP to Office 365 Migration tool.
Step 2: Launch the tool and click on Let’s Connect on IMAP to Office 365 Migration Pro tile.
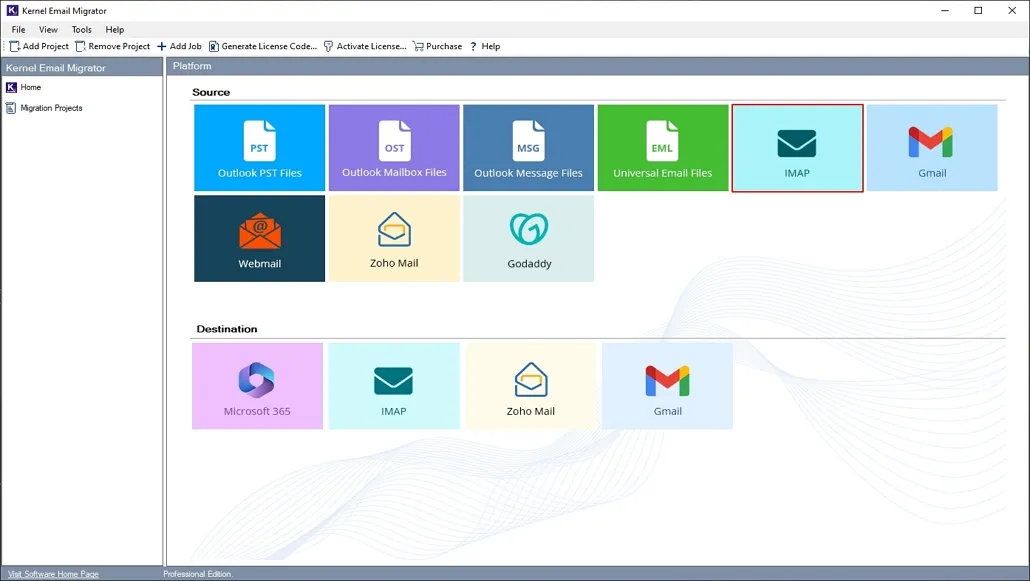
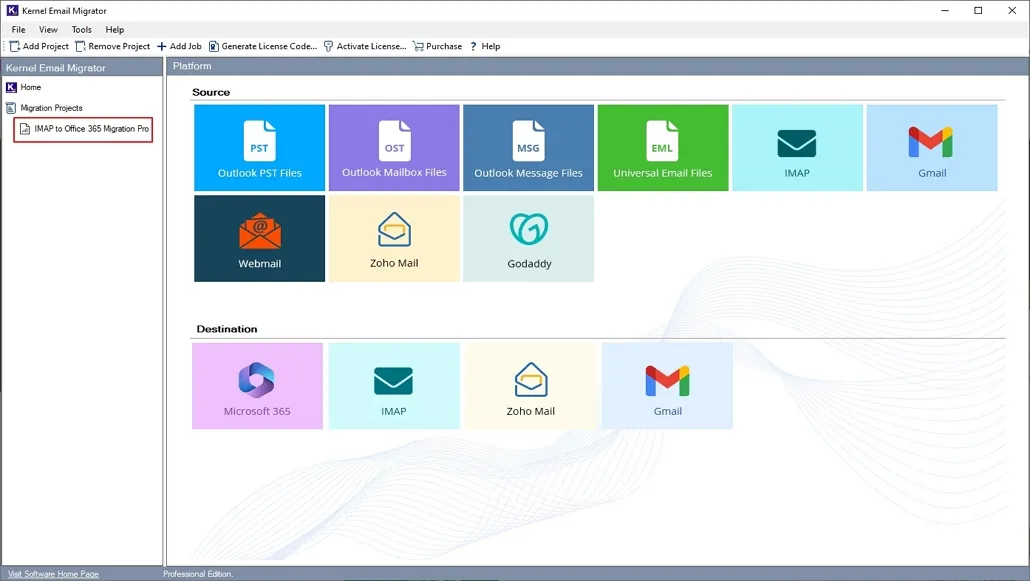
Step 3: On the following window, click on IMAP tile in the Source section.
Step 4: Select Migration Type as IMAP to Office 365, enter Project and Job Name. Click Next.
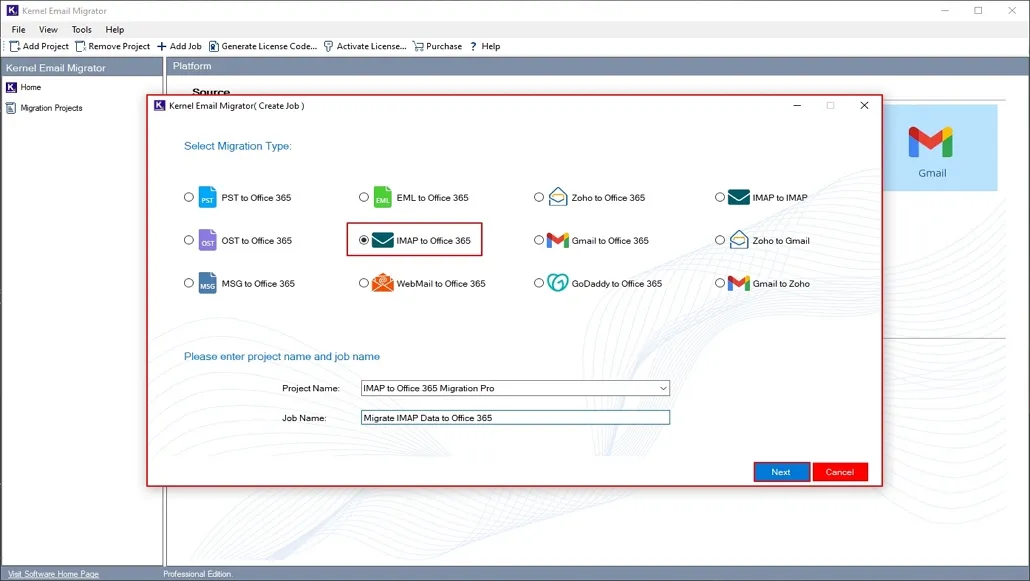
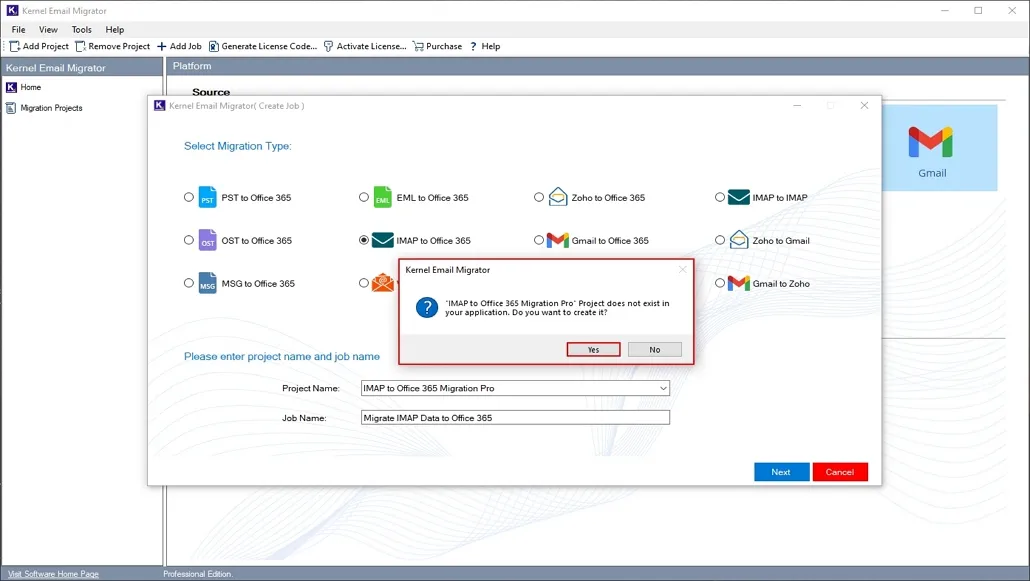
Step 5: The software will give a prompt to create a Migration Project as per your entered name. Click Yes.
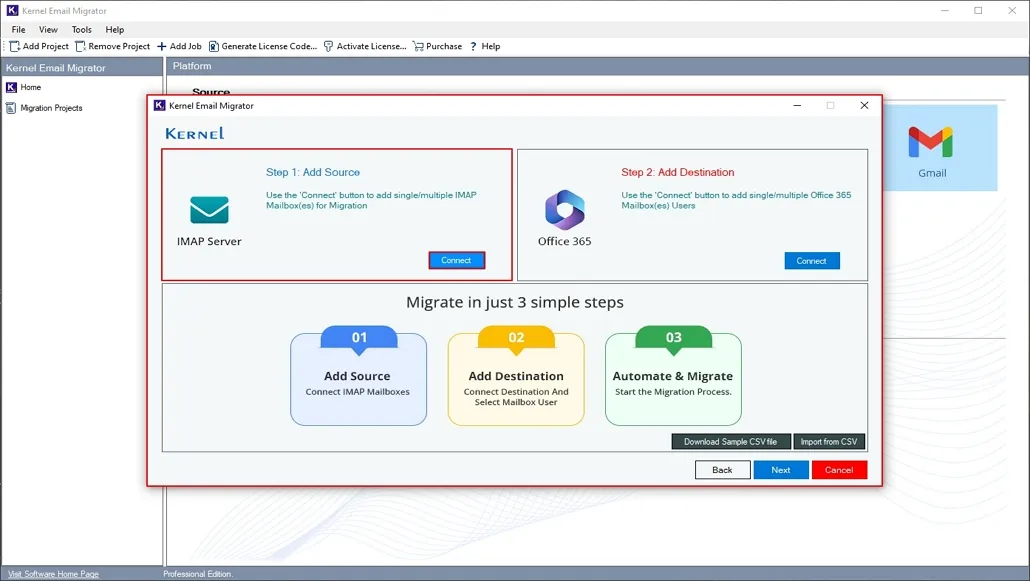
Step 6: In the Add Source tile, click on Connect.
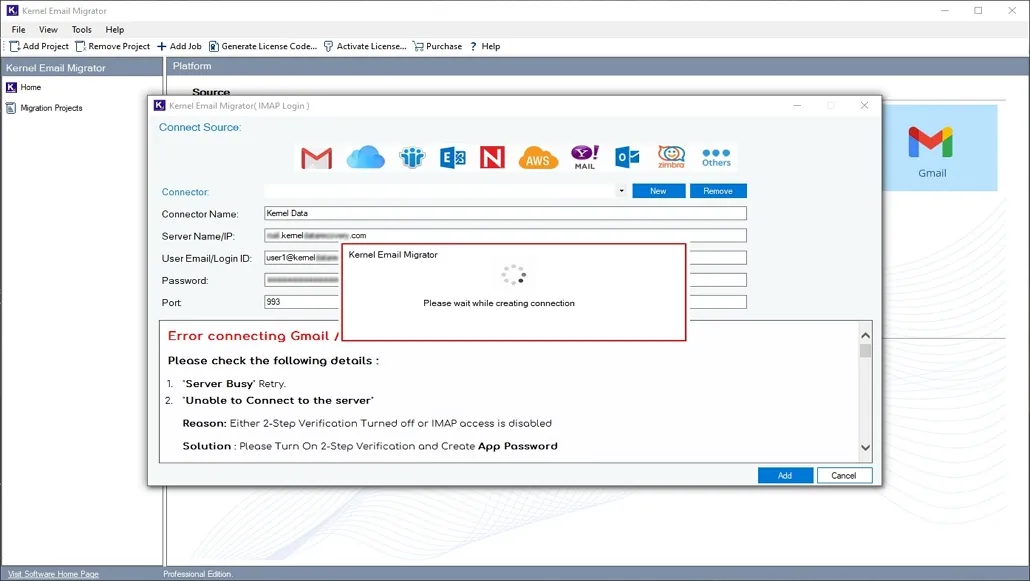
Step 7: Enter IMAP login credentials, such as Connector Name, Server Name/IP, User Email/Login ID, Password, and Port. Click Add.
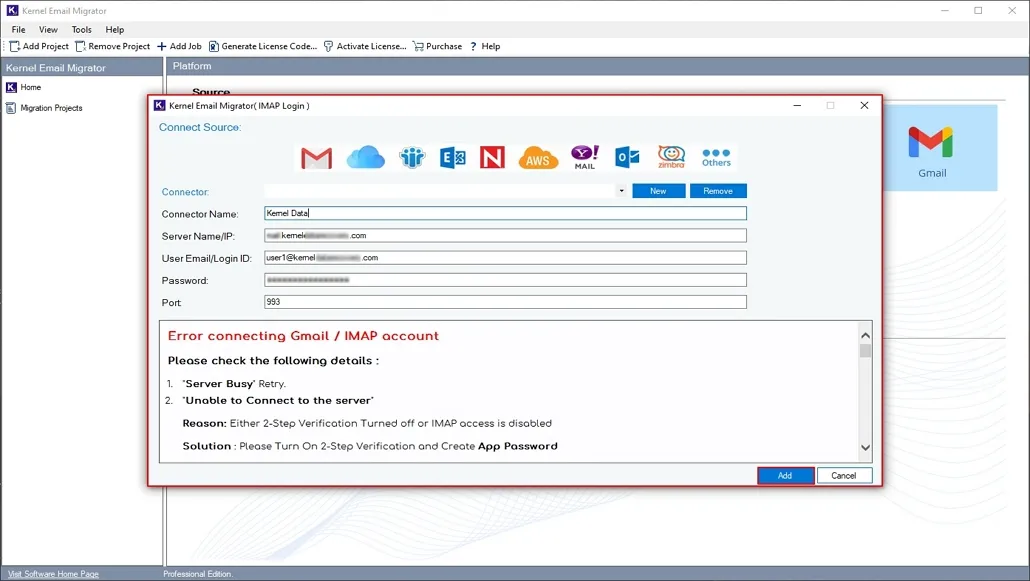
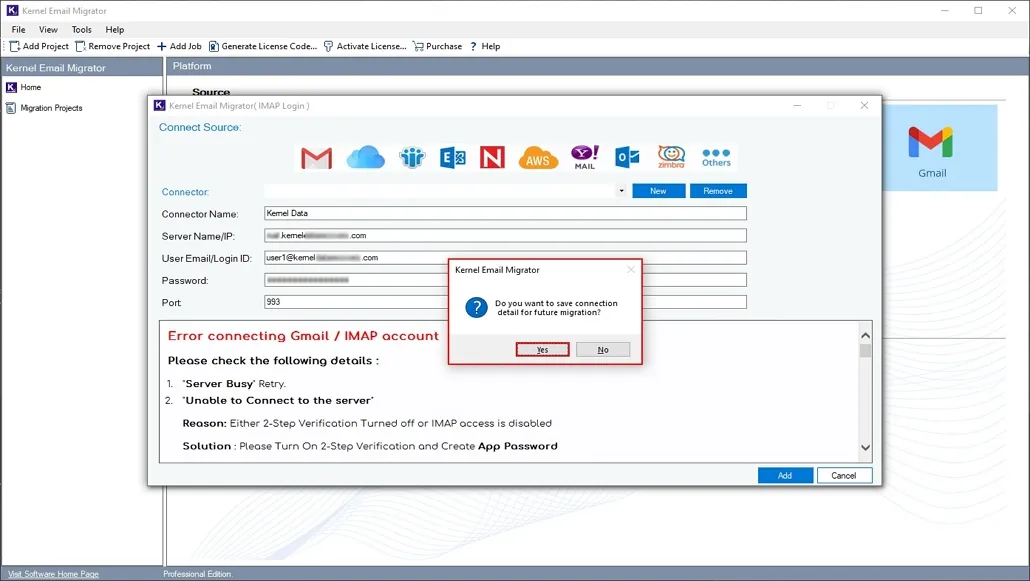
Step 8: The software will start creating a connection with your server.
Step 9: Click Yes to save source credentials for future migration tasks.
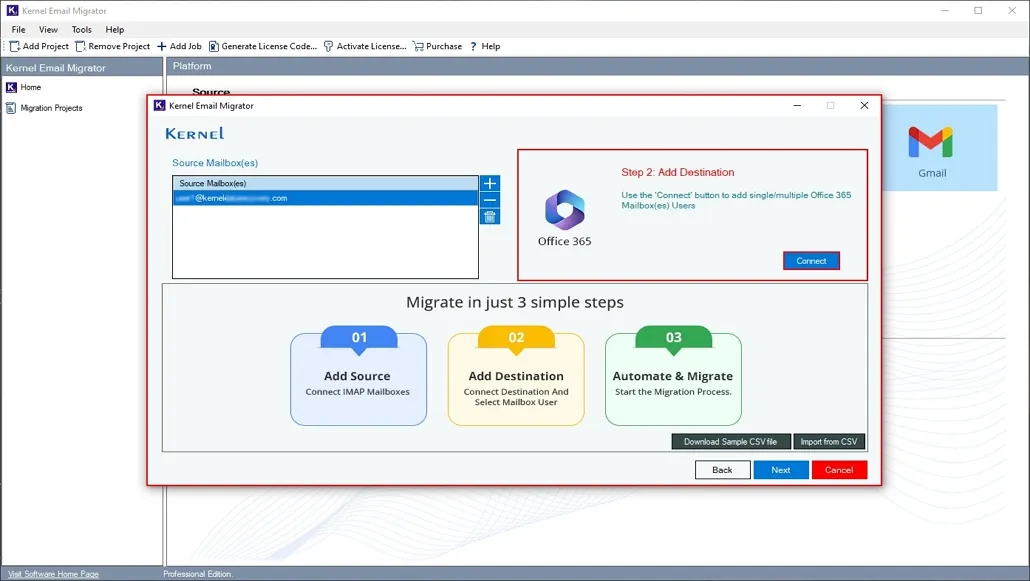
Step 10: Now, click on Connect in the Add Destination tile.
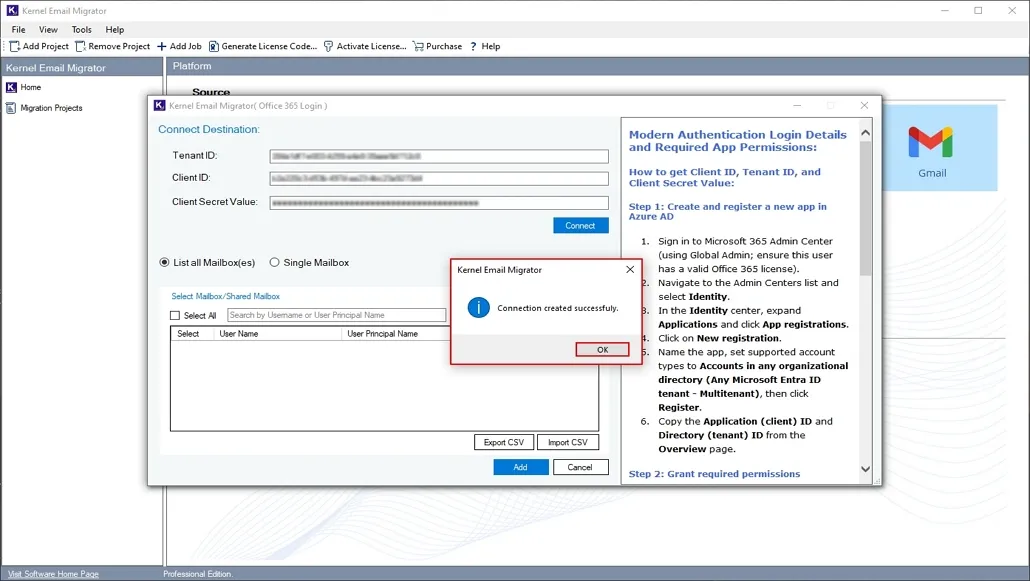
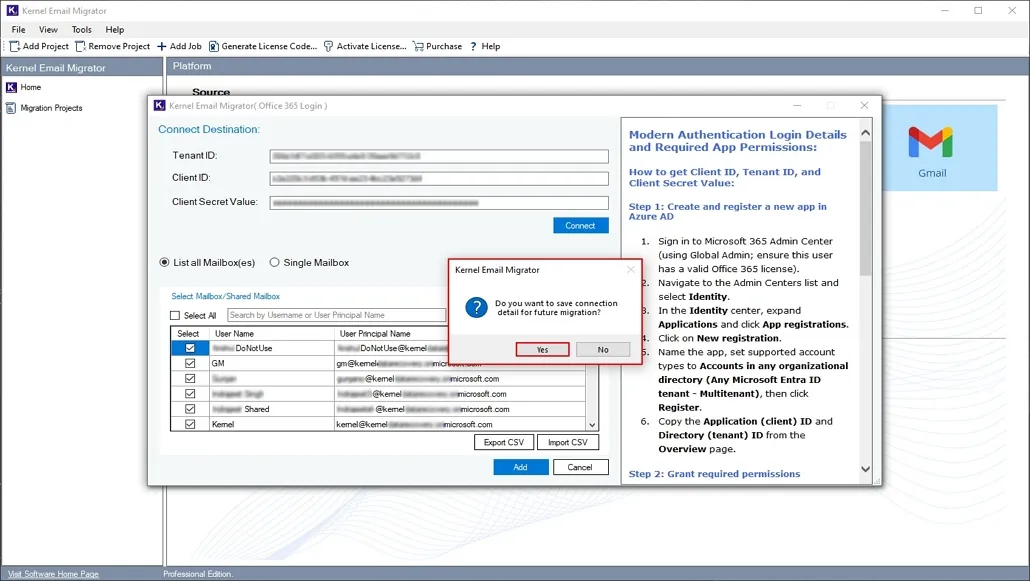
Step 11: Enter destination Office 365 credentials, such as Tenant ID, Client ID, and Client Secret Value. Click Connect.
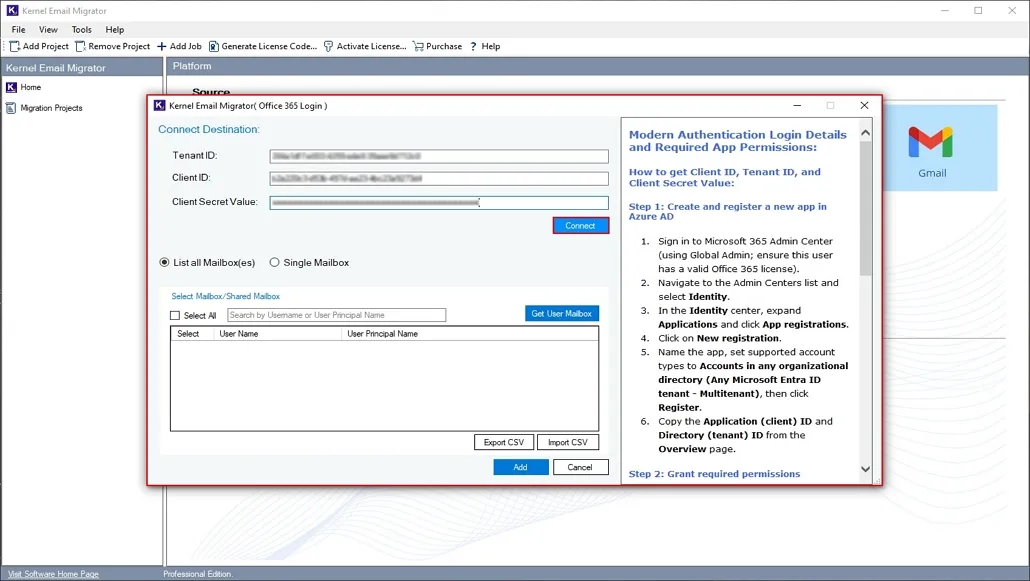
Step 12: The software will connect your Office 365 admin account and show the Connection Created Successfully message. Click OK.
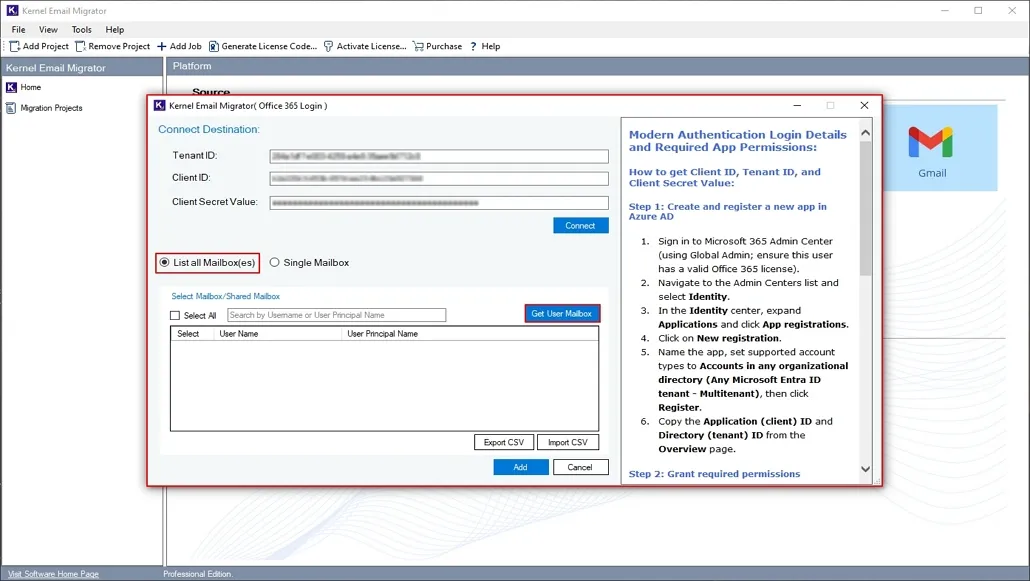
Step 13: Click on List all Mailbox(es) and click Get User Mailbox.
Note: Click on Single Mailbox to add an admin mailbox with the tool.
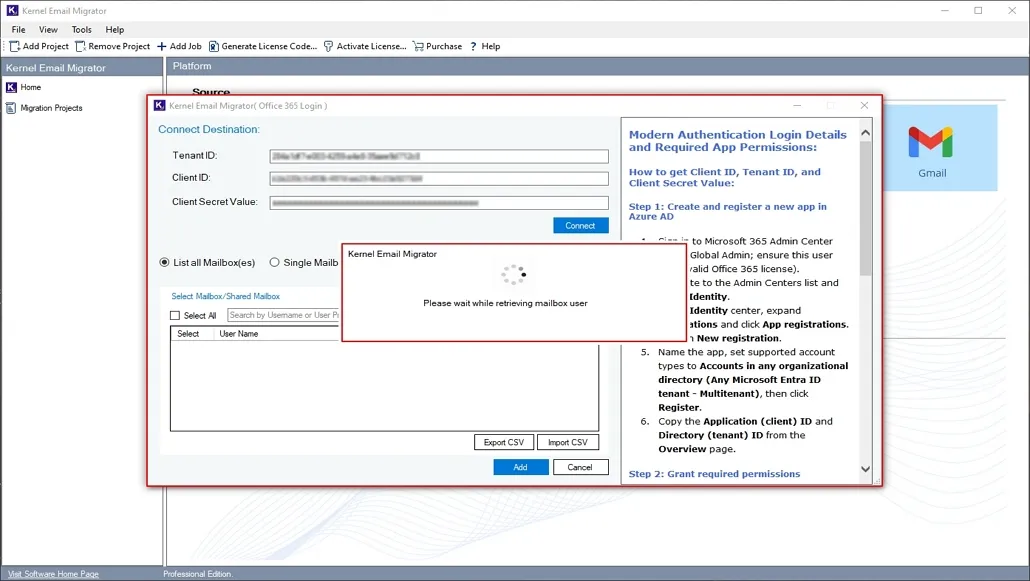
Step 14: The software will start retrieving all the users' mailboxes from the admin Office 365 account.
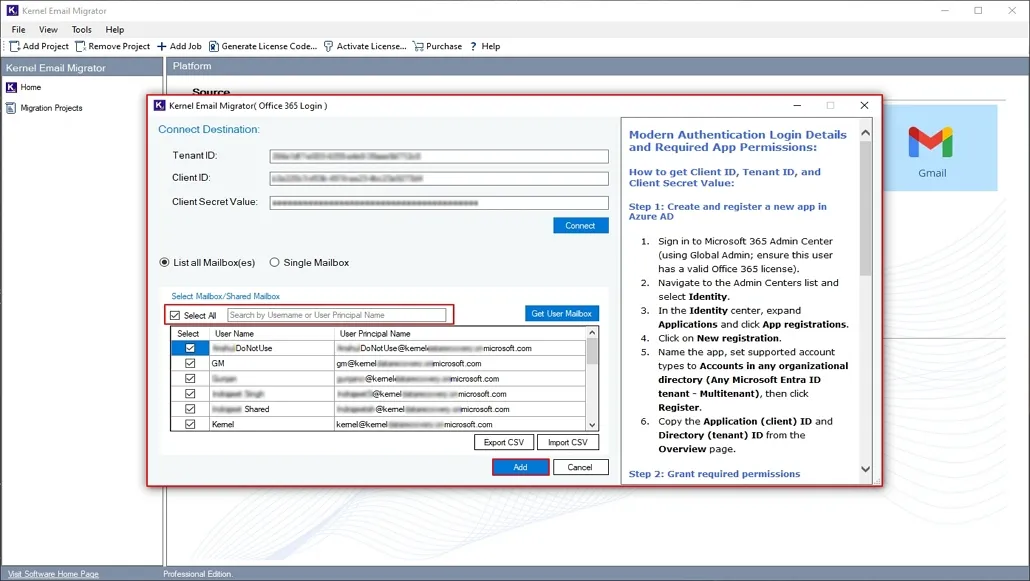
Step 15: Select all the necessary users from the list and click Add. Use the Search bar to find a specific user among multiple users.
Note: Export CSV of all the users in the CSV file. After that, Import CSV directly to retrieve all the users without entering credentials.
Step 16: Save Office 365 credentials by clicking on Yes.
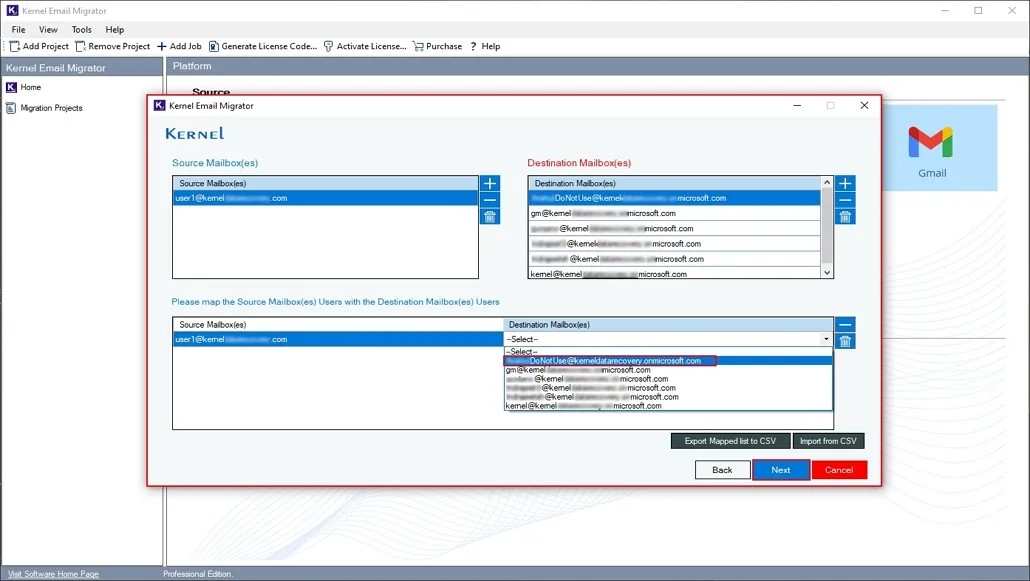
Step 17: Map the source user with the destination user and click Next.
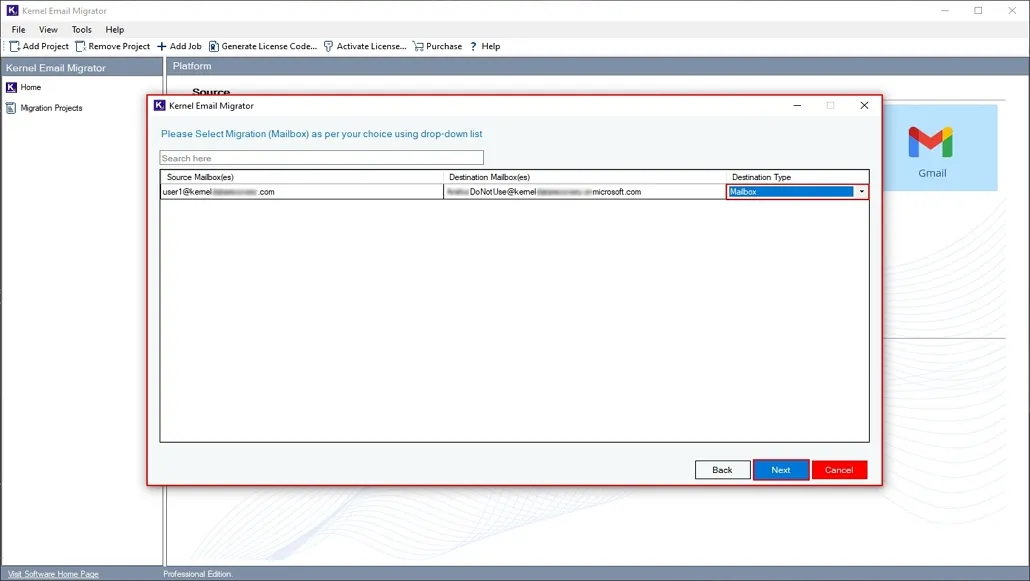
Step 18: In the Select Migration (Mailbox) window, go to the Destination Type column and select your preferred Mailbox. Click Next.
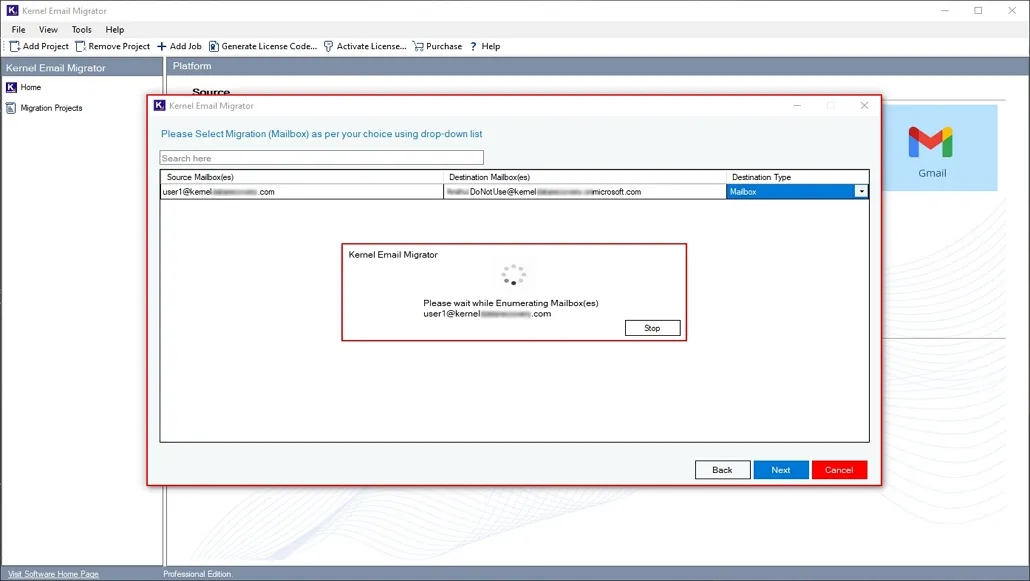
Step 19: The software will start enumerating all the users from the source user.
Step 20: In the following window, apply required filters from the available options, including:
- Review Mailbox Folder: Select all the required folders from your source mailbox.
- Date Filter: Apply From and To dates to migrate specific data as per selected dates.
- Exclude Empty Folders: Skip migrating empty folders in the destination account.
- Exclude Deleted Folders: Exclude migrating all the deleted folders from the source to the destination.
- Select if You Want To Save All Your Mail Data Into Separate Folder: Enter your preferred folder name, and the software will migrate your entire mailbox to the specific folder.
- Skip Previously Migrated Items (Incremental): Migrate only newly added data in the regular migration tasks to avoid duplication.
- Set operation Timeout For Larger Mails While Migrating: Set a timeout for larger emails. If any larger email takes more time than the selected one, the software will avoid that file and start migrating another file to save your time.
Finally, click Next to proceed with the process.

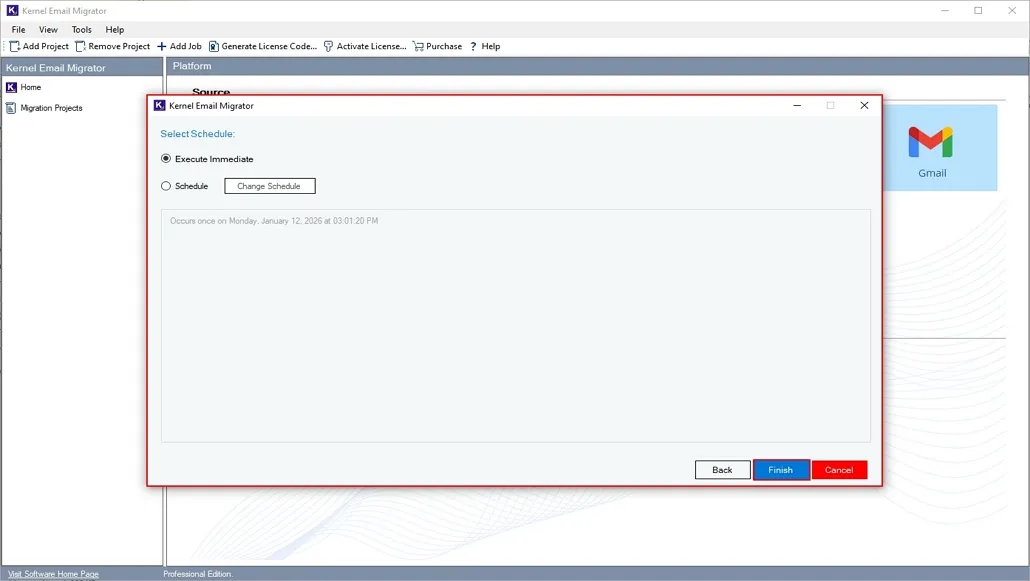
Step 21: In the Select Schedule window, click on Execute Immediate to start migration quickly or Schedule your migration at a specific time period. Finally, click Finish.
Step 22: The software will create a migration task and navigate you to the homepage of the software. Click on your Migration Project.
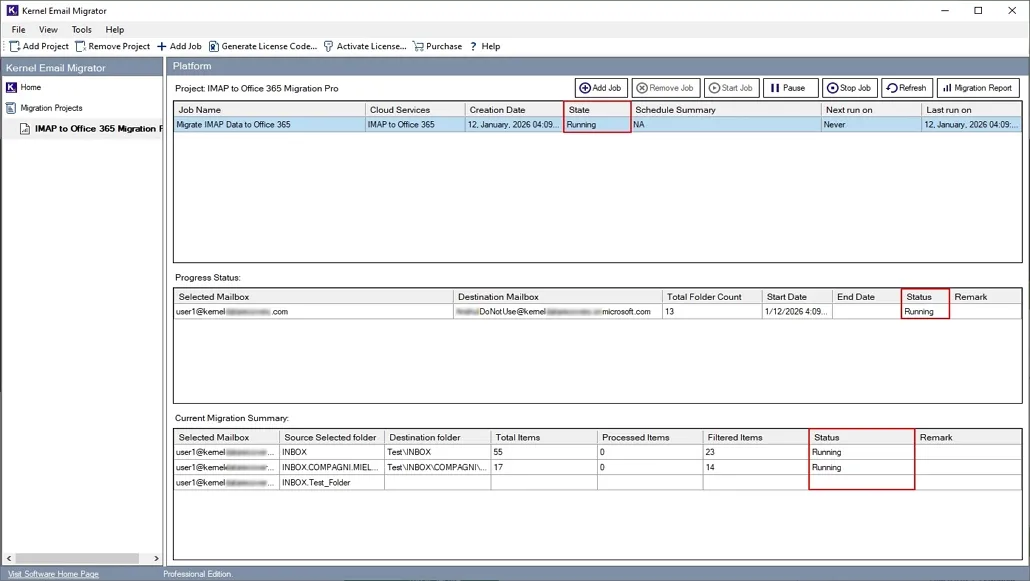
Step 23: The software will show a real-time migrating status as Running status. You can view Progress Status and Current Migration Summary in a single window for detailed migration analysis.
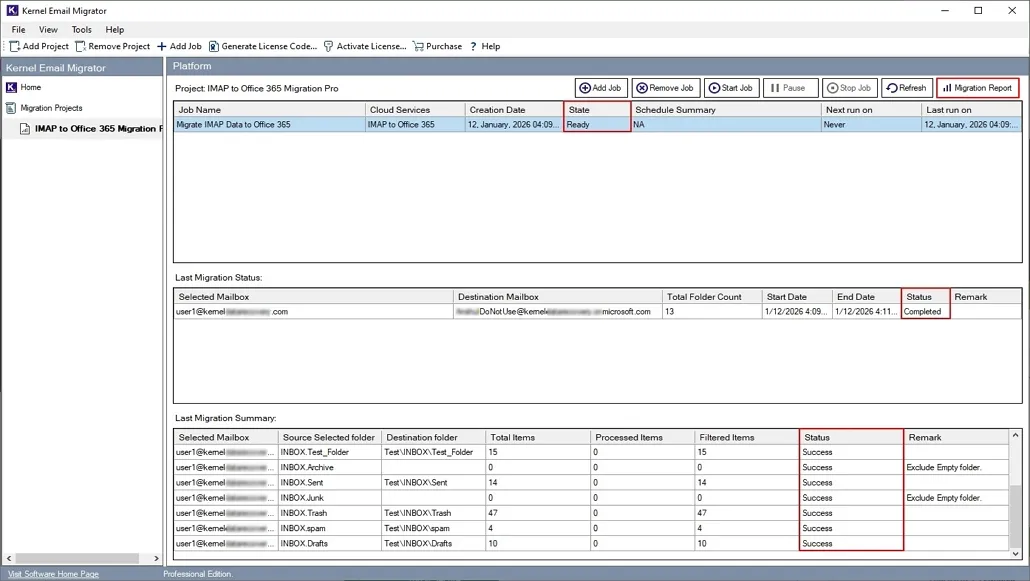
Step 24: After a successful IMAP to Office 365 Migration, the tool will show a Ready status. Click on the Migration Report to generate reports.
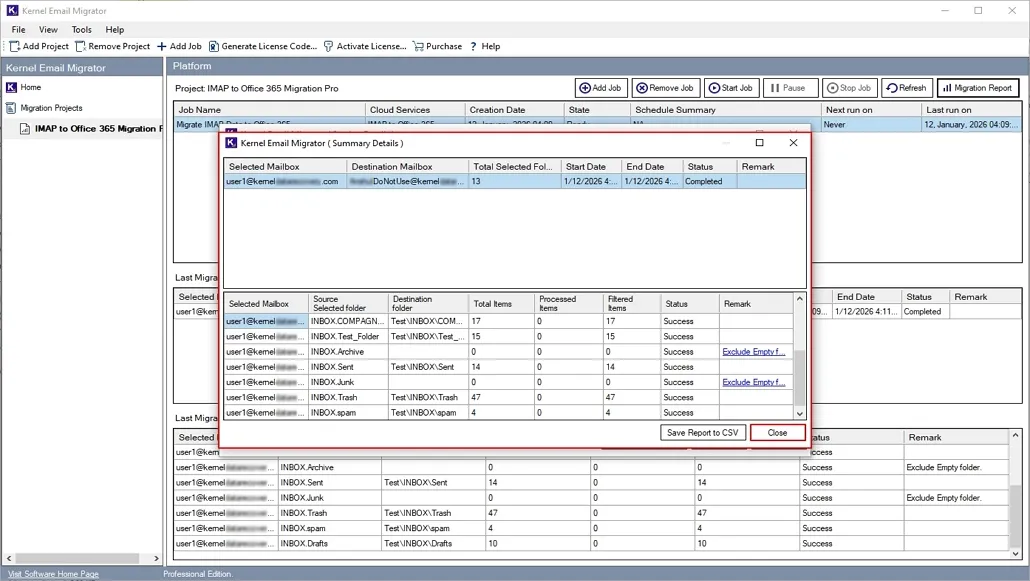
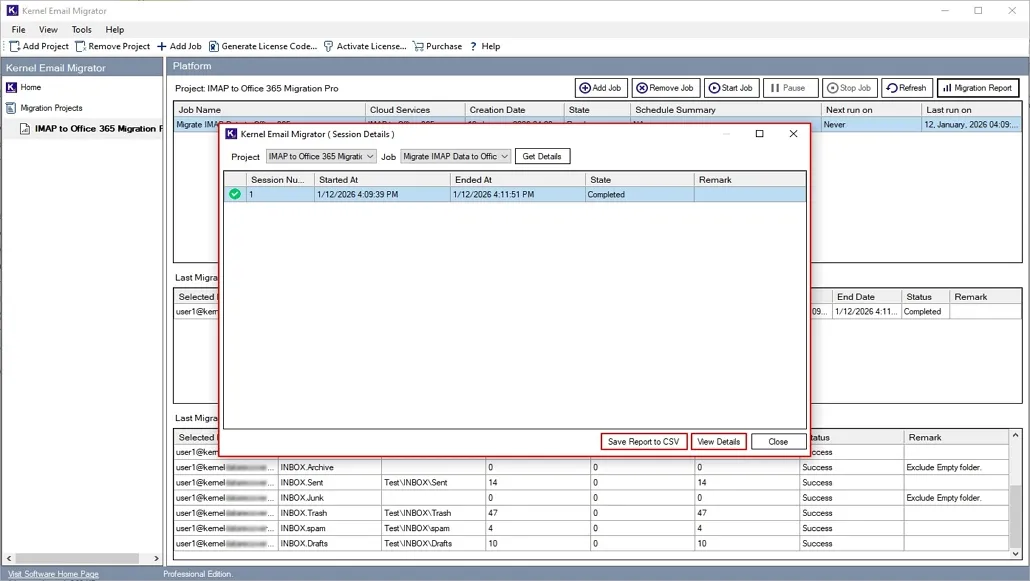
Step 25: Click on Get Details to get all the migration summary reports of a specific project and job name. For a detailed folder migration report, click on View Details.
Note: Save the summary report in a csv file by clicking on Save Report to CSV.
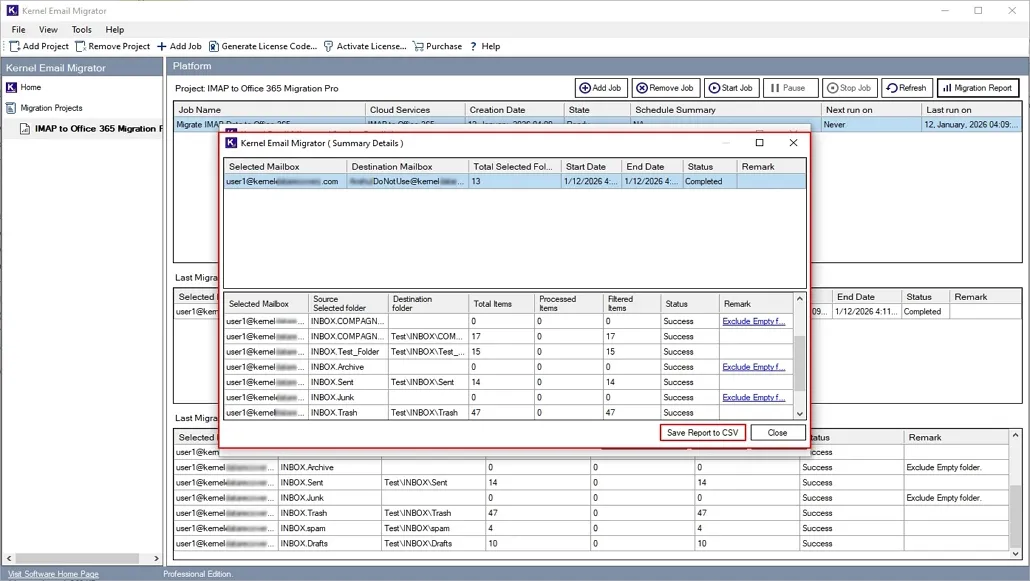
Step 26: View your detailed migration report and click on Save Report to CSV to download this report locally.
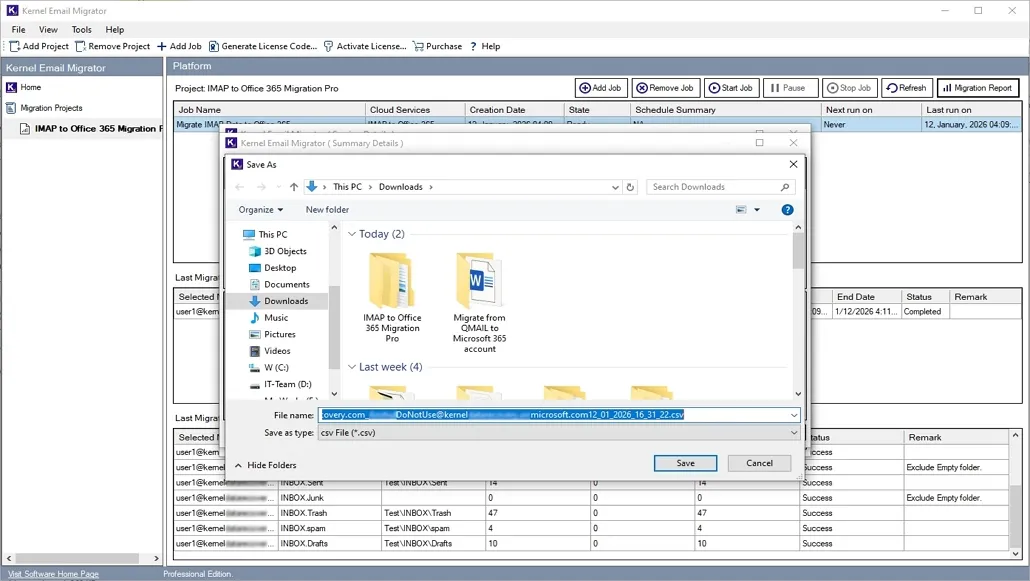
Step 27: Select a preferred saving location to Save CSV file.
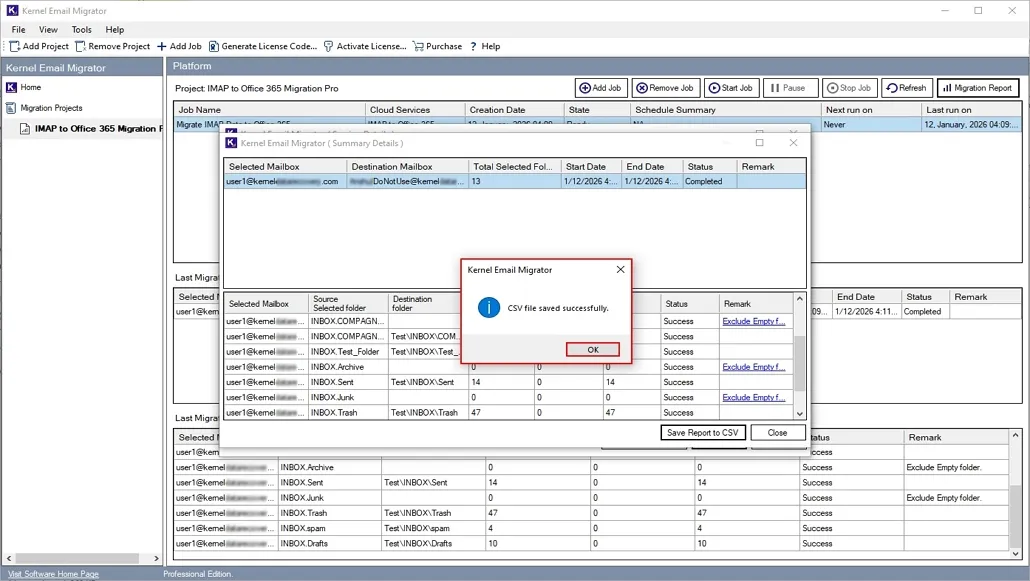
Step 28: After saving the CSV file, the tool will pop up a “CSV file saved successfully” message. Click OK.
Step 29: Finally, click on Close to end the application.