Google Chat to Microsoft Teams Migration
Kernel Google Chat Migration software allows users to migrate Google Chat and Spaces into Microsoft Teams Chat and Microsoft Teams. It easily migrates Google Chat (Direct Messages) to Microsoft Teams Chat and Google Spaces of all organization and only selected users to Microsoft Teams Chat as Group Chat or Microsoft Teams.
However, users need to connect the source with the destination to initiate the migration process. Here are the easy steps to do so:
1. Source and destination connection
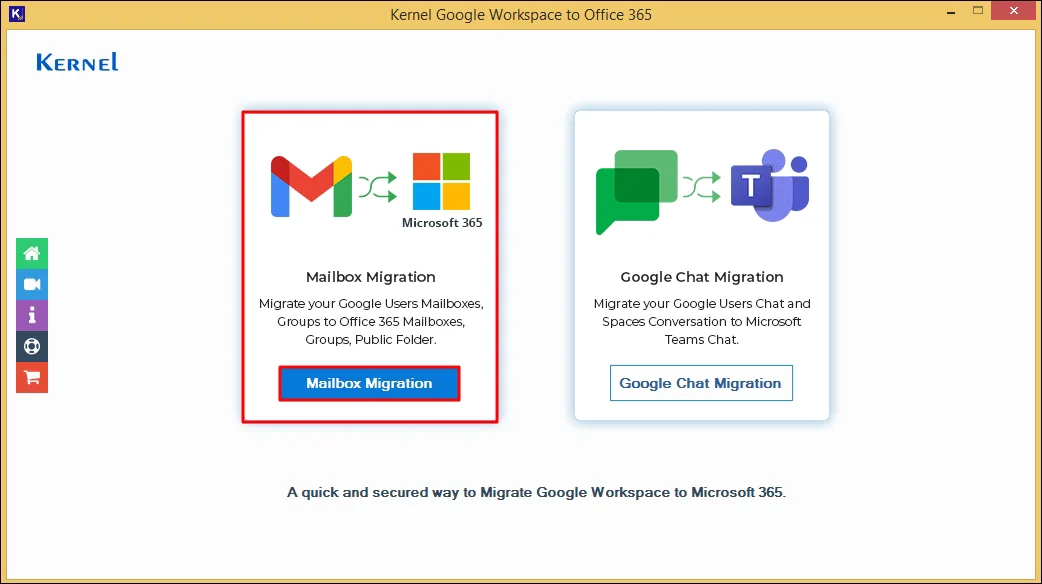
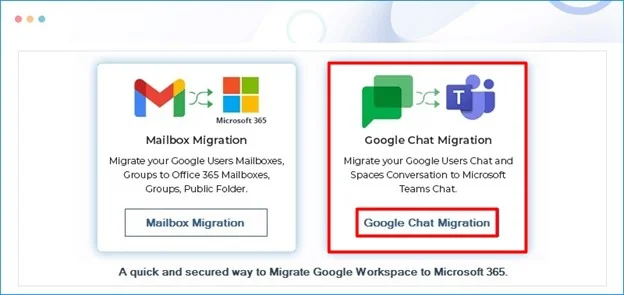
A. In the home screen of Kernel Google Workspace to Office 365, choose Google Chat Migration tile.
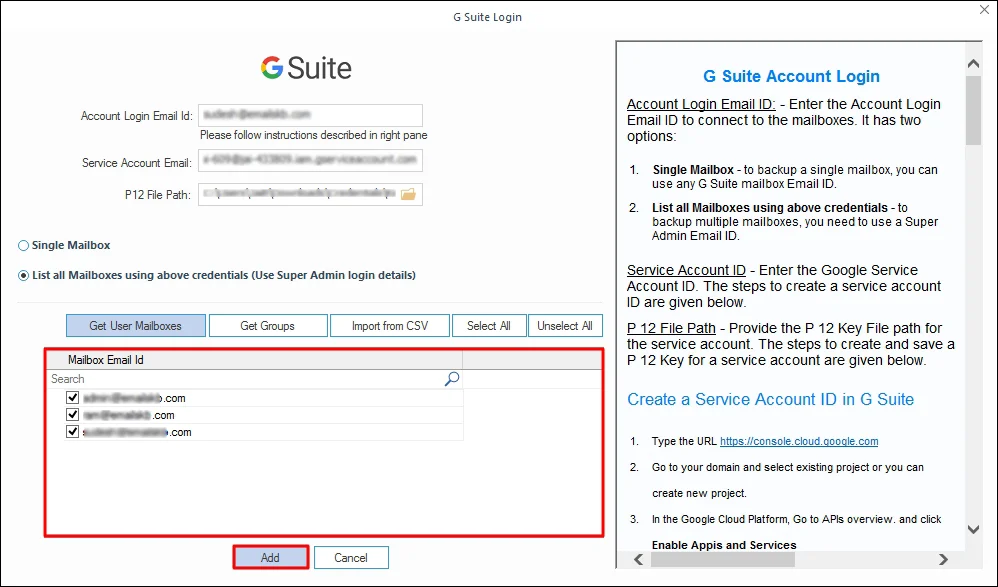
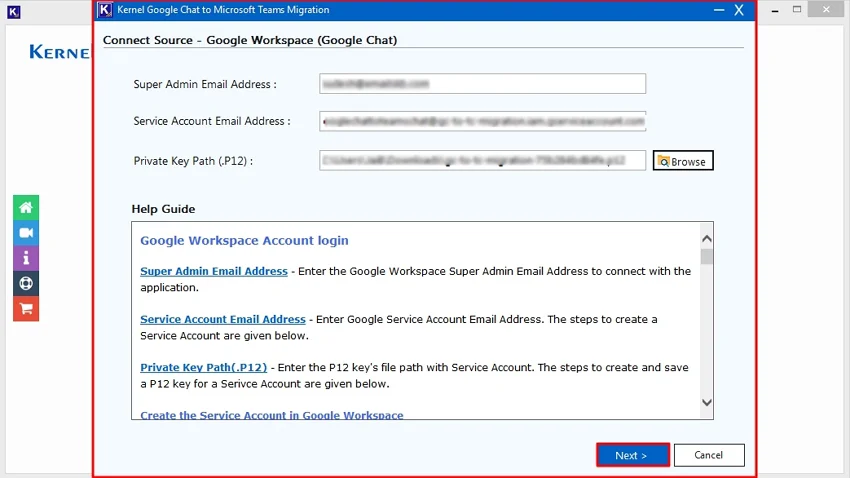
B. In Connect Source – Google Workspace (Google Chat) wizard, enter Super Admin Email Address, Service Account Email Address, and click on Browse to select Private Key Path (.P12). After that, click on Next. You can create the source credentials using the help guide mentioned in the source wizard.
Note 1: Select abc.p12 key from your system's local drive.
Note 2: The Super Admin email address you enter must have a valid license of Google Workspace.
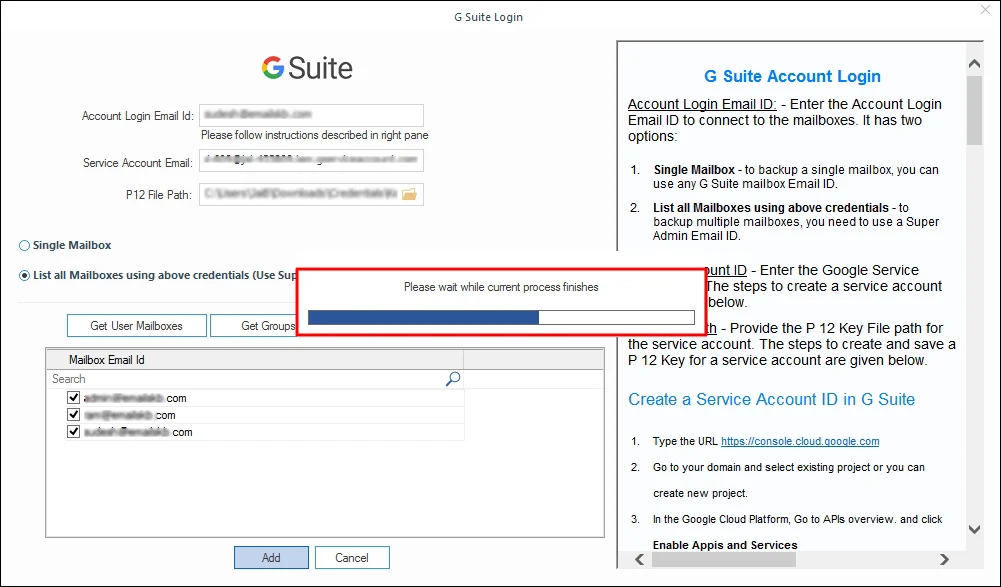
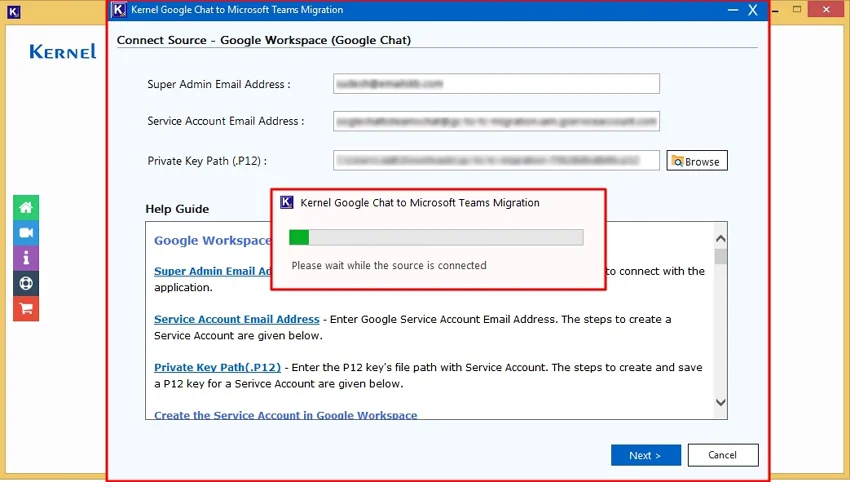
C. The software will start fetching the Google Chat Users accounts and display the message, “Please wait while the source is connected” message.
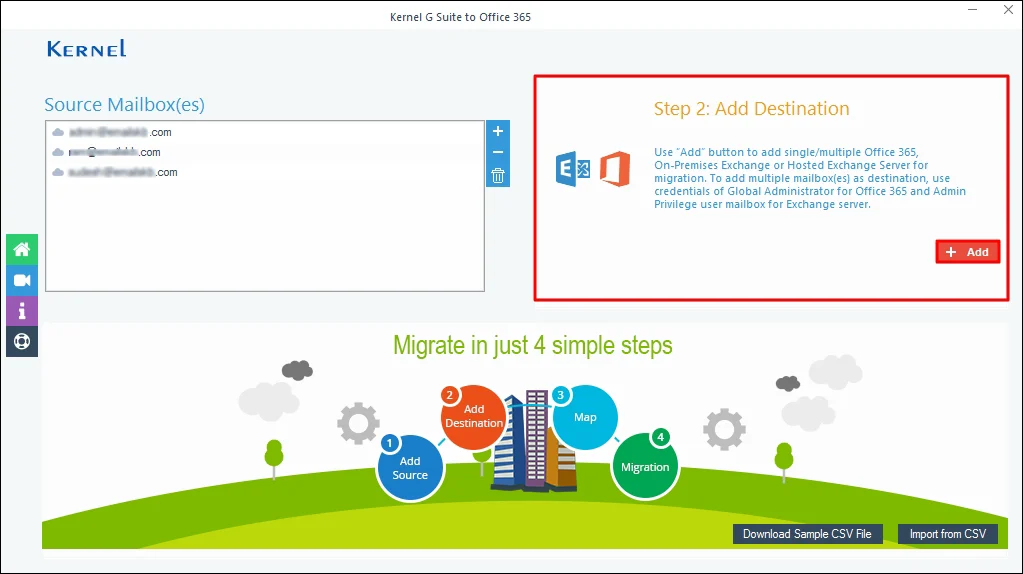
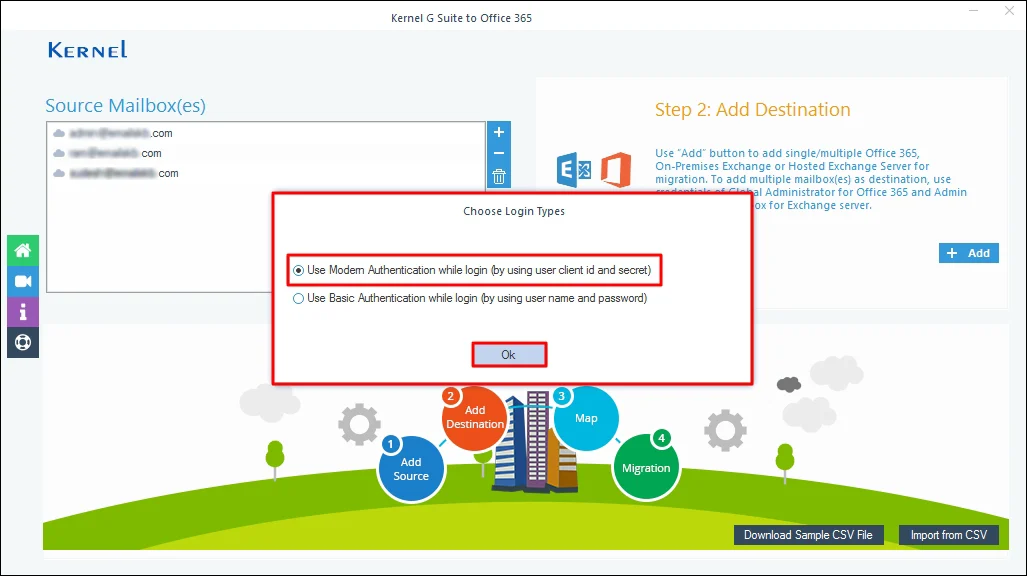
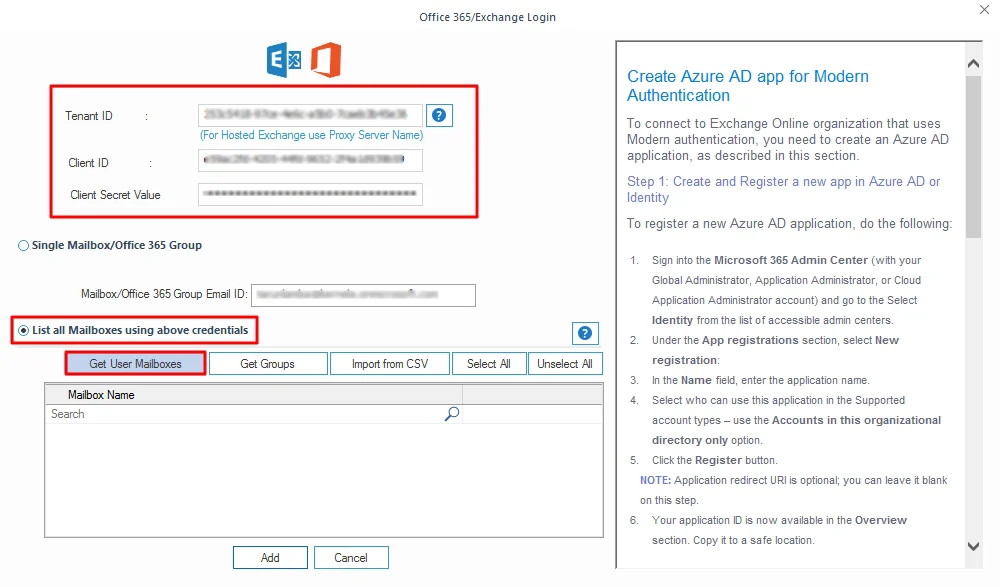
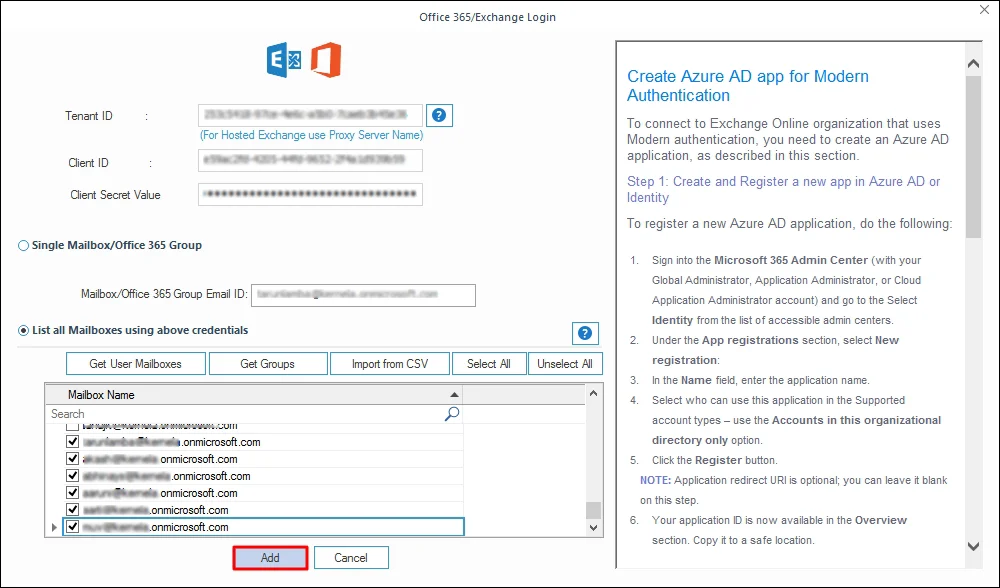
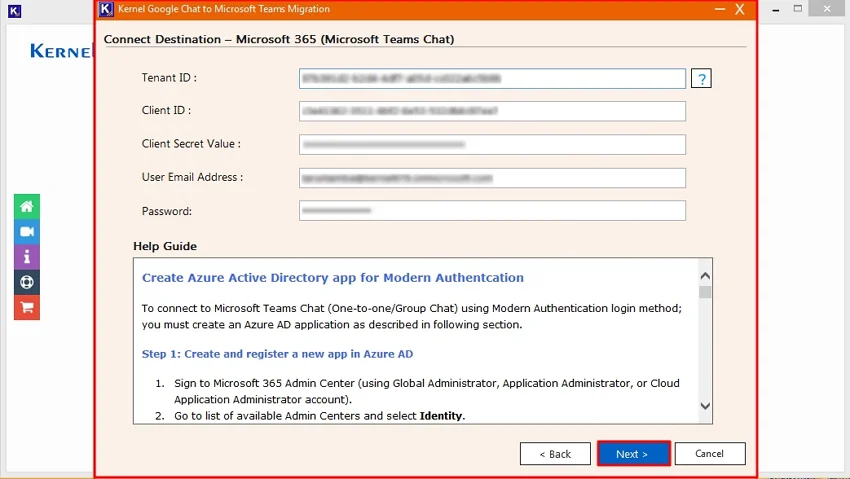
D. In Connect Destination – Microsoft 365 (Microsoft Teams Chat) wizard, enter Tenant ID, Client ID, Client Secret Value, User Email Address, and Password. After that, click Next. The help guide mentioned below the asked credentials help you learn the process to create destination credentials.
Note:
- A valid Office 365 license with a Teams subscription is mandatory for the Global Admin user used to connect to the destination Microsoft Teams.
- The migration process will be executed through this Global Admin user on behalf of all users.
- If OneDrive is not provisioned for a user, their files will be saved to the Global Admin’s OneDrive.
- The Global Admin user's license must remain active even after migration, as all chat migration activities are performed using this account.
- Chat migration is done by the Global Admin user on behalf of all users. The admin name will be displayed over every chat message along with the original message and its sender.
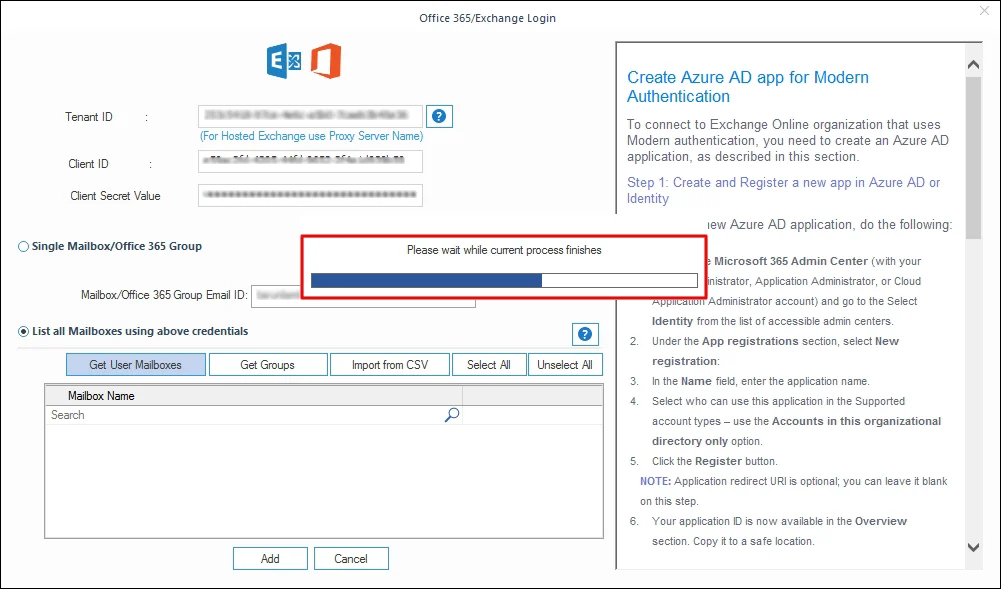
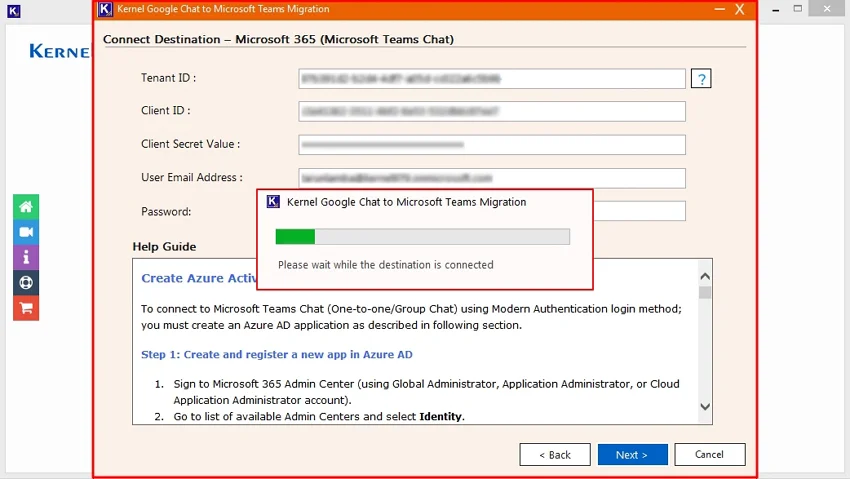
E. The software will map the destination Microsoft 365 account and show “Please wait while the destination is connected” message.
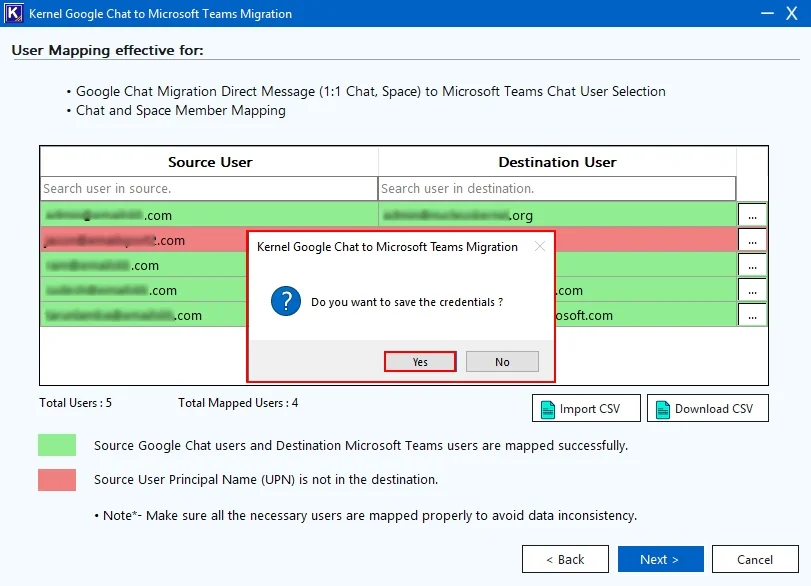
F. In the following wizard, the software will ask, Do you want to save the credentials?, click Yes or No accordingly.
Now that the source and destination have successfully connected, it's time to map the source Google Chat user to the destination Microsoft Teams user.
2. Source and destination users mapping
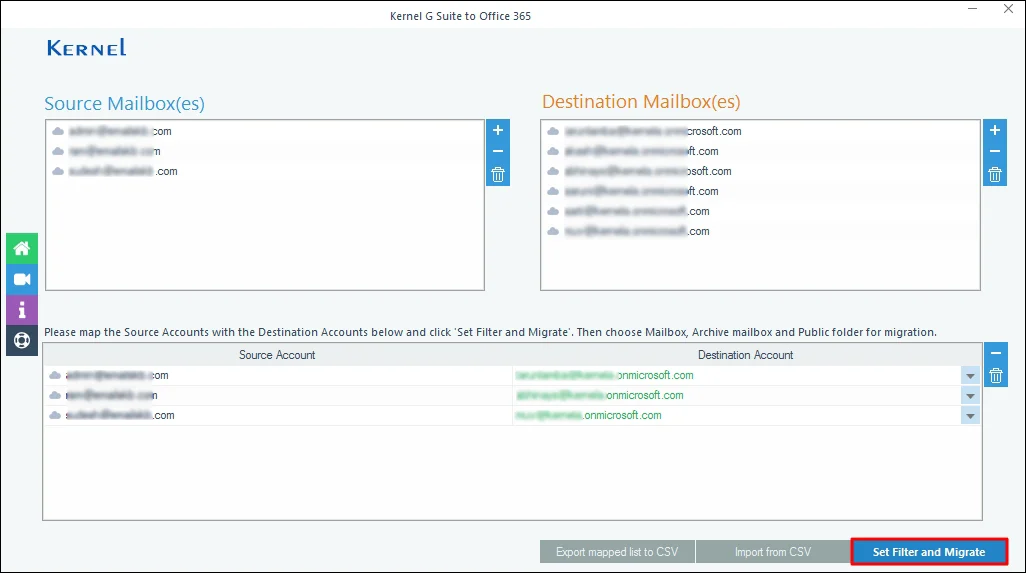
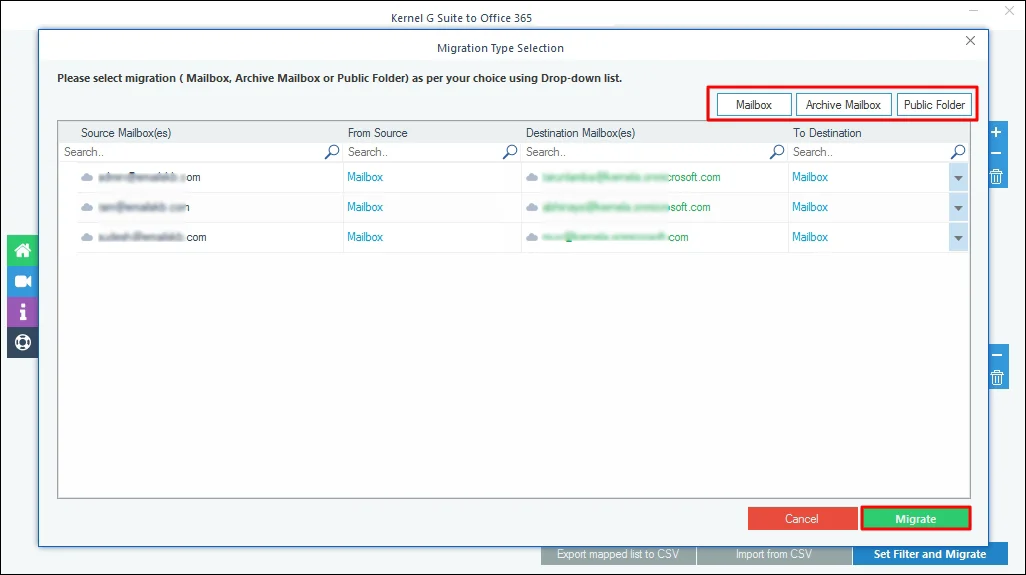
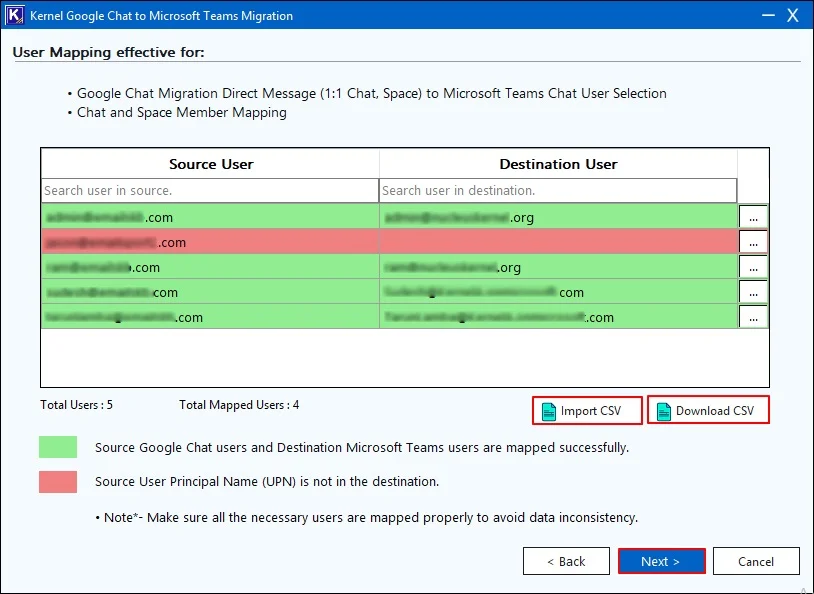
A. In the User Mapping effective for: wizard, map Source User with Destination User and click Next. Also, you can download CSV to map multiple source users to destination users. To do so, enter required information in that CSV file and click Import CSV file to map CSV file users' accounts.
Note: The software will automatically map source and destination users according to Alias and UPN. However, if you have the same user in a destination with a different UPN or Alias, map them by clicking three dots. If the user is unavailable at the destination, create a user and map it successfully.
Make sure all the necessary users are mapped properly to avoid data inconsistency.
The source and destination are successfully mapped. Now, proceed to the migration process.
3. Migration Process
- Direct Messages (1:1 Chat or Group Chat without Name)
- Google Spaces
3.A Direct Messages
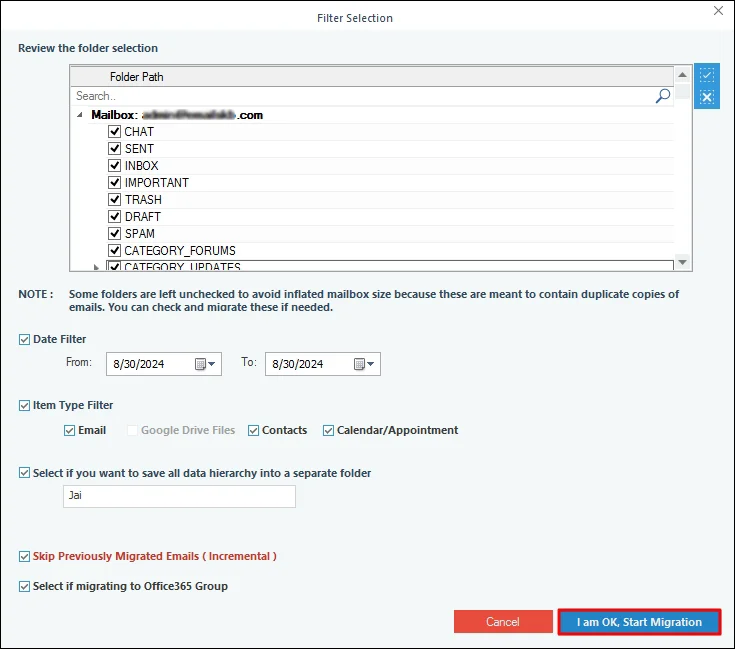
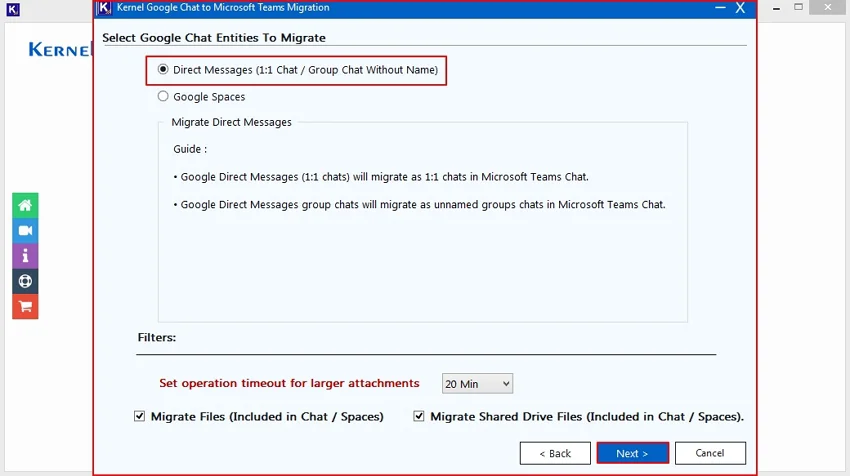
A. In the Google Chat Entities To Migrate wizard, choose Direct Messages (1:1 Chat / Group Chat Without Name).
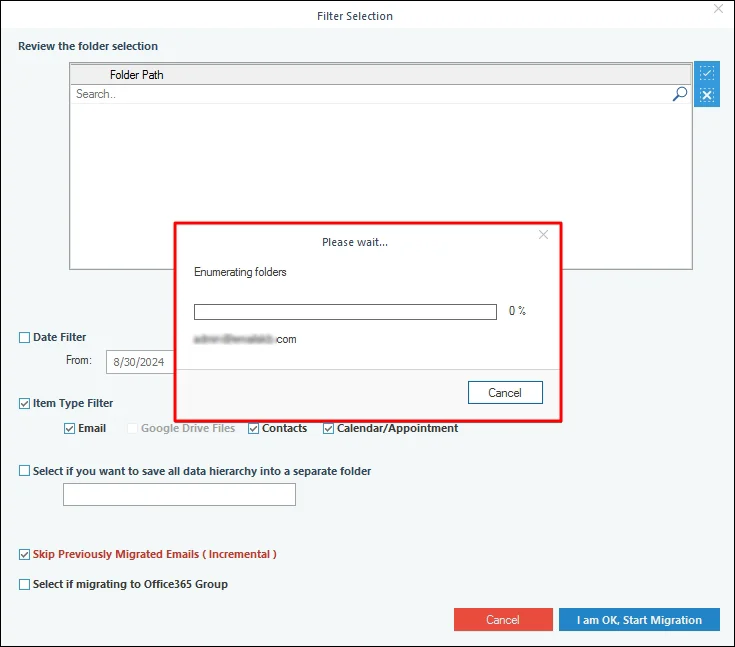
After that, apply the required filters from the given options:
- Set operation timeout for larger attachments: Process timeout for larger attachments migration.
- Migrate Files (Included in Chat/Spaces): It will migrate all the files of Google Chat and Spaces.
- Migrate Shared Drive Files (Included in Chat/Spaces): It will migrate shared files of Chat and Spaces.
Click Next to proceed.
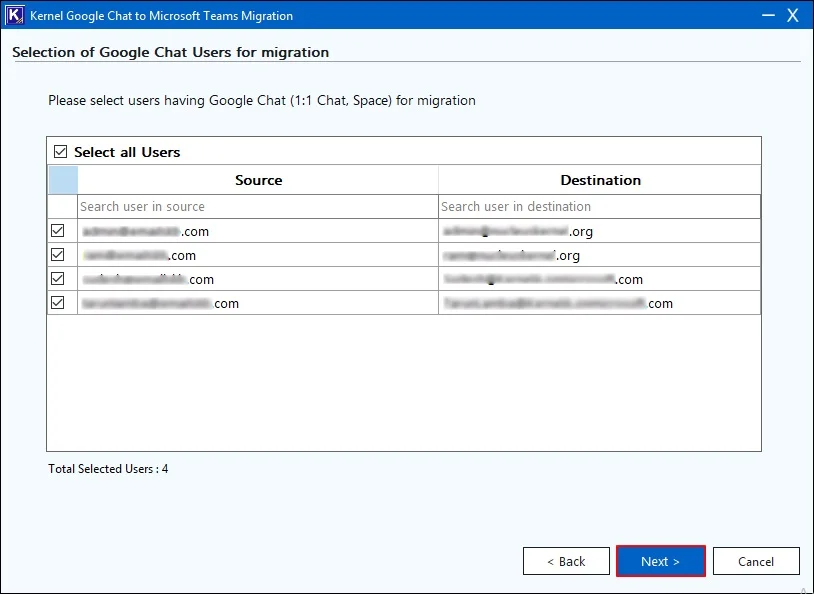
B. In the Selection of Google Chat Users for migration wizard, select the user which you want to migrate. Click Next.
C. Now, users can select and migrate Google Chat (1:1 chat , Group chat without name) of a particular user or whole organization. These chats are represented in the Chat Unique Id column with their Chat Type (Direct message and Group chat) in the adjacent column on the “Selection of Google Chat Direct Chats for migration” wizard.

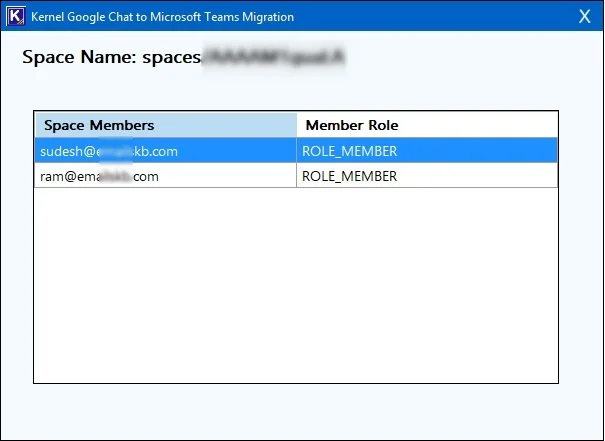
D. Here user can view the members of specific spaces or group chat of direct message module by clicking on the ellipsis (…) under the Members column.
E. Users can split direct message using Split spaces into batches (count) button to create multiple batches in case of bulk migration for their convenience.
Note: The minimum count of split batches to be created is 5 while the maximum is 5000.
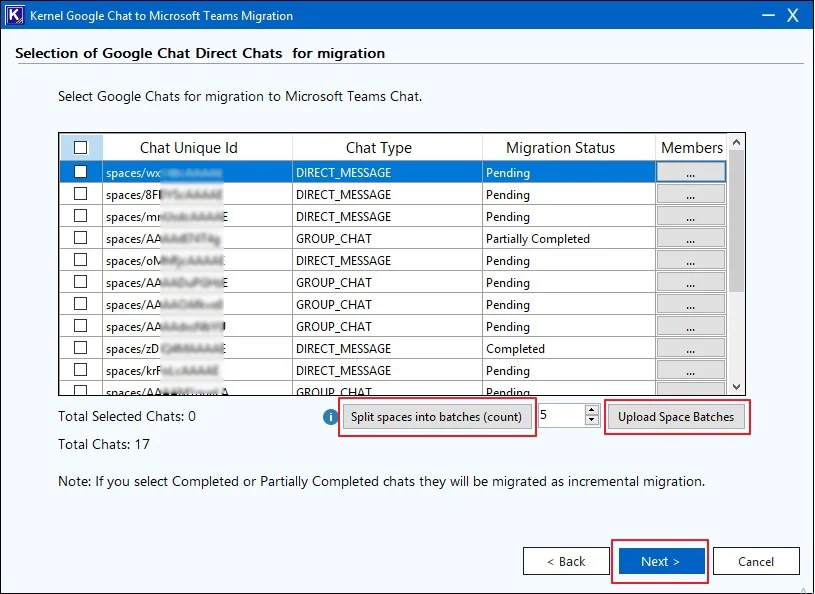
F. After creating batches, user can upload multiple batches of spaces with Upload Space Batches to run multiple instances and migrate all the batches together. This will make the process less time consuming.
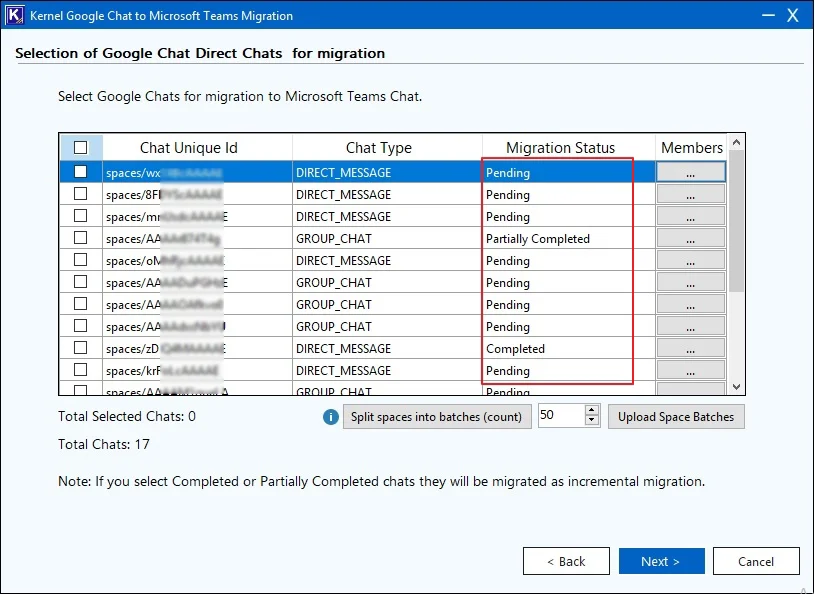
G. If any of the direct messages spaces was finished migrating or aborted earlier, user can view its status under the Migration Status column stating whether it was partially completed or fully completed. Next time when user try remigrating same spaces, it will only migrate recent items added after last migration.
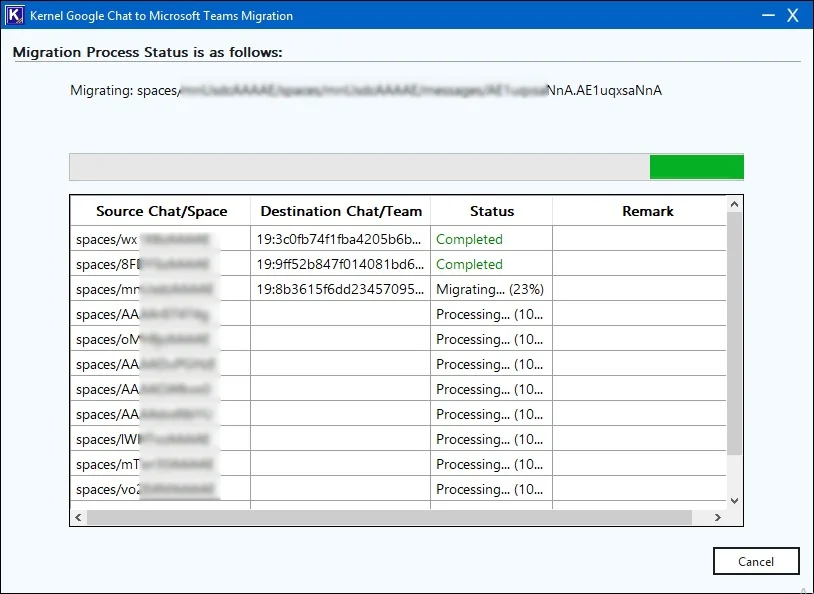
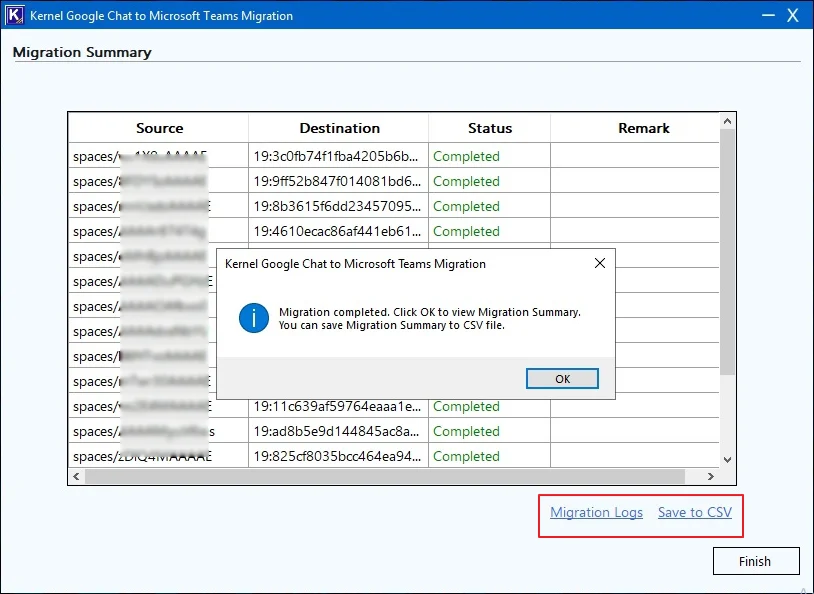
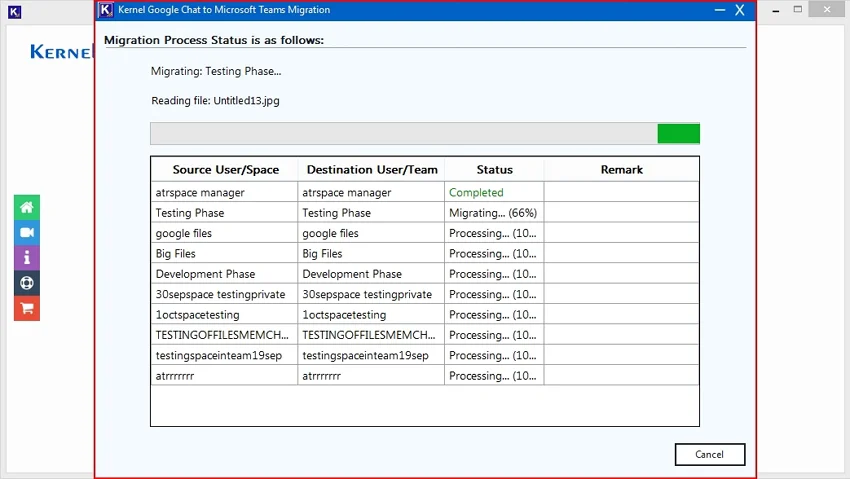
H. The tool will begin migrating chats to the Team Chat. The chat that gets its place in the queue will show the Destination Chat/Team Id. If a process encounters any error, the remark will show you Migration Logs that you can check on later.
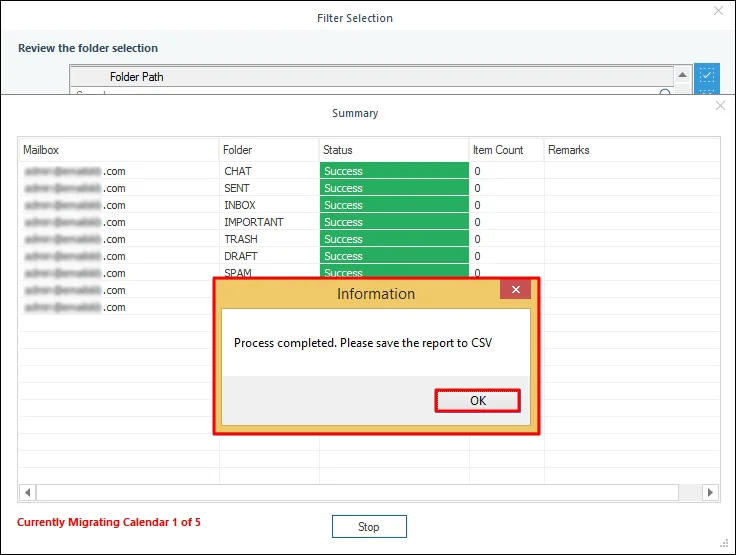
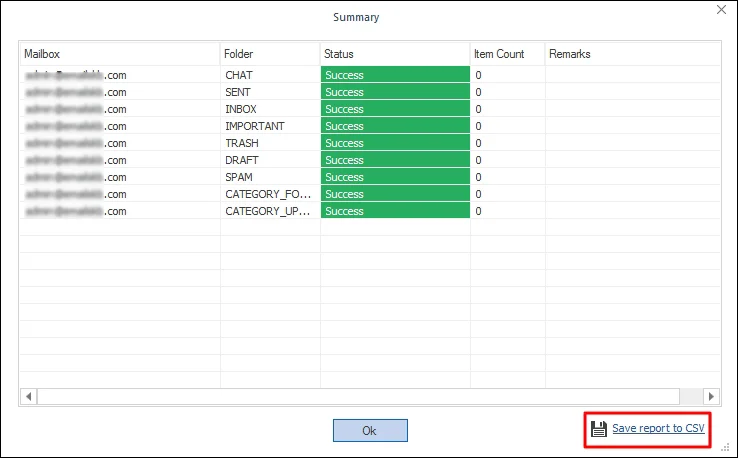
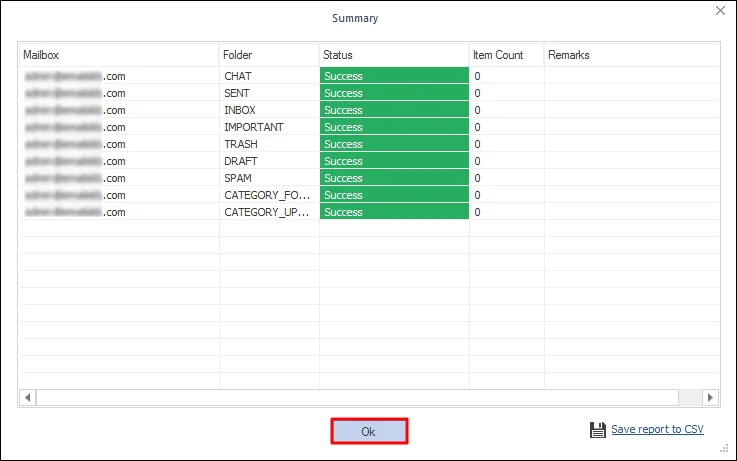
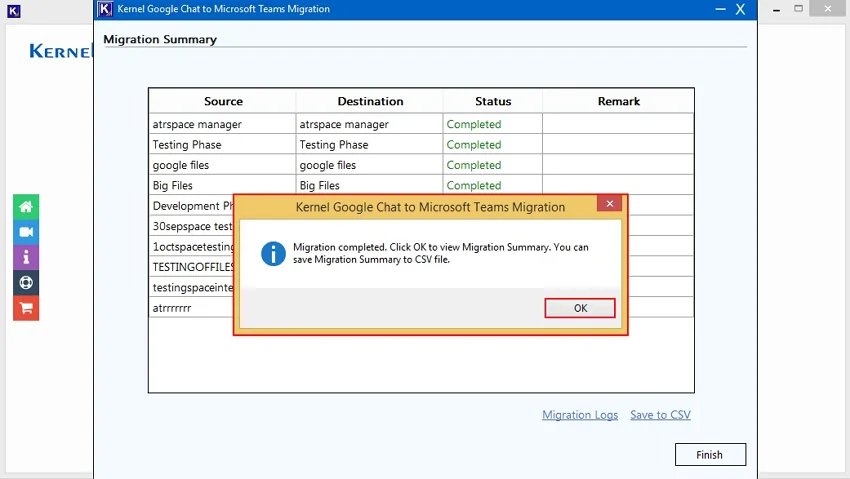
I. Once migration is completed, the software will pop up “Migration completed. Click OK to view Migration Summary. You can save Migration Summary to CSV file” message and click OK.
Migration Logs: You can easily view log reports by clicking on Migration Logs.
Save to CSV: Download the migration summary report in the CSV file on your local drive.
3.B. Google Spaces
Here, you will get two options, including:
- All Organization (Recommended)
Or
- Only selected Users
1. All Organization (Recommended)
Here, we are selecting All Organization Google Spaces and migrate them in Microsoft Teams.
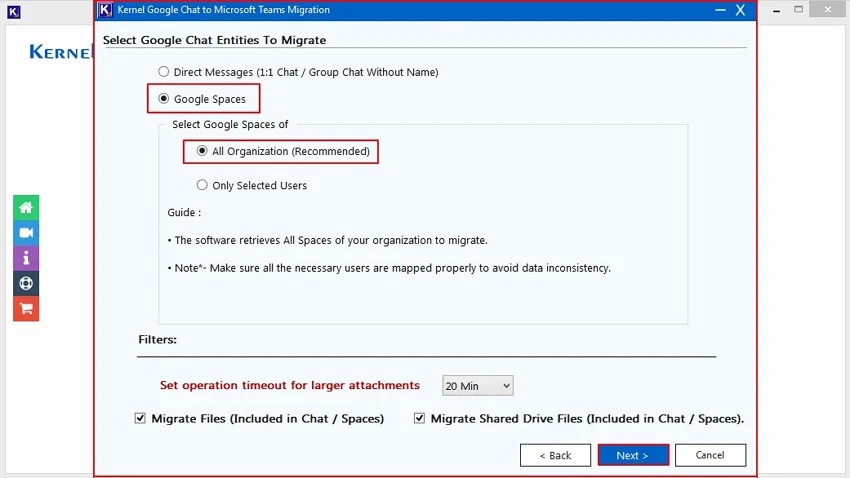
a. In Select Google Chat Entities To Migrate wizard, choose Google Spaces and select Google Spaces of All Organization (Recommended).
Now, select Filters from the given options to migrate chats or attachments:
- Set operation timeout for larger attachments: Process timeout for larger attachments migration.
- Migrate Files (Included in Chat/Spaces): It will migrate all the files of Google Chat and Spaces.
- Migrate Shared Drive Files (Included in Chat/Spaces): It will migrate shared files of Chat and Spaces.
After applying required filters, click Next.
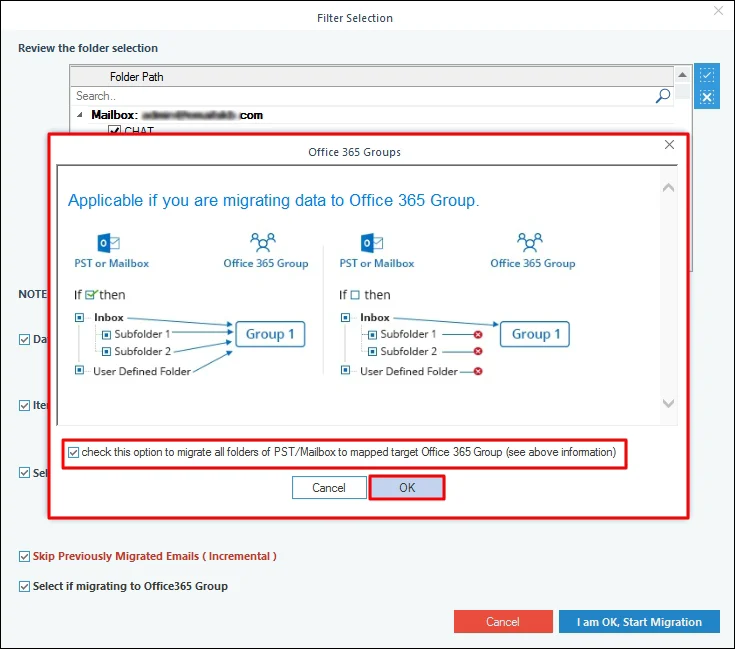
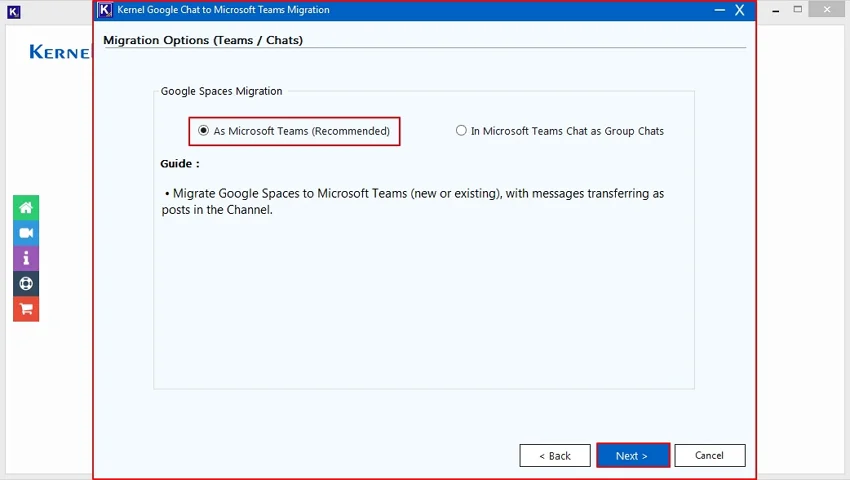
b. In the Migration Options (Teams / Chats) wizard, under Google Spaces Migration, you will get two different options to migrate Google Spaces to Microsoft Teams:
- As Microsoft Teams (Recommended)
or
- In Microsoft Teams chat as group chat.
b.1 As Microsoft Teams (Recommended)
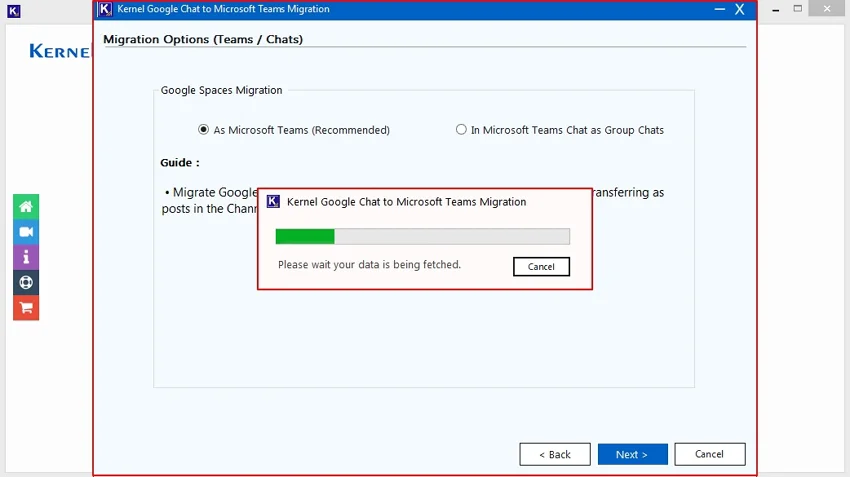
Here, we are selecting As Microsoft Teams (Recommended) option. Click Next to initiate the migration process.
a. The software will start fetching Google Chat Spaces & Microsoft Teams/Channel from the source and destination and show “Please wait your data is being fetched” message.
b.1(i)Spaces to Teams / Channels Mapping
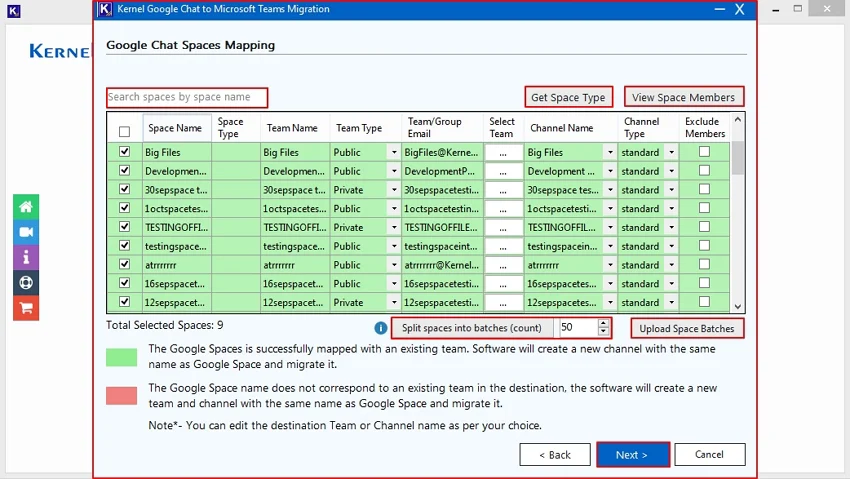
Once all the data will be fetched, you will be redirected to the Google Chat Spaces Mapping wizard.
Here, you will get multiple options, such as:
- Search Space Name: Use search box to find a specific Space from multiple ones.
- Get Space Type: Select spaces and click on Get Space Type to view Space Type in the given column.
- View Space Members: Select a specific team and click on view space members to view the members of that particular team.
- Use Checkboxes: Tick the checkboxes to select specific spaces.
- Space Name: Verify Space name in the software console.
- Team Name: Double-click on the Teams name to rename the Space into destination Teams.
- Team Type: Select Team Type from As like source, Private, and Public using the drop-down list in existing members.
- Team/Group Email: Review the Team/Group Email ID for the existing team.
- Select Team: Select specific Teams to map Spaces to another Team member.
- Channel Name: Double-click on channel name to rename the channel.
- Channel Type: Select channel type from Standard, Private, and Shared using drop-down list to change destination channel type.
- Exclude Members: Skip migrating Google Spaces members to existing Teams.
- Split spaces into batches (count): Export multiple CSV batches according to count.
- Upload Space Batches: Browse and upload the space batch for bulk migration.
After applying all the required options, click Next to proceed with the migration process.
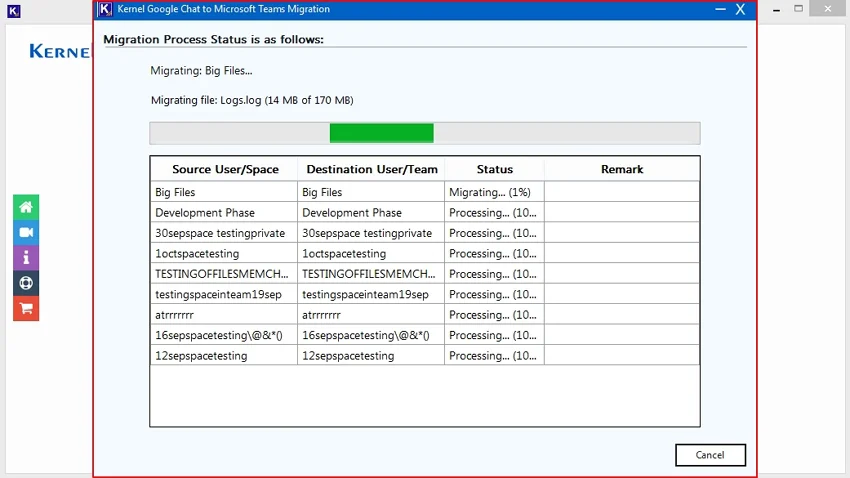
a. The software will start migration process.
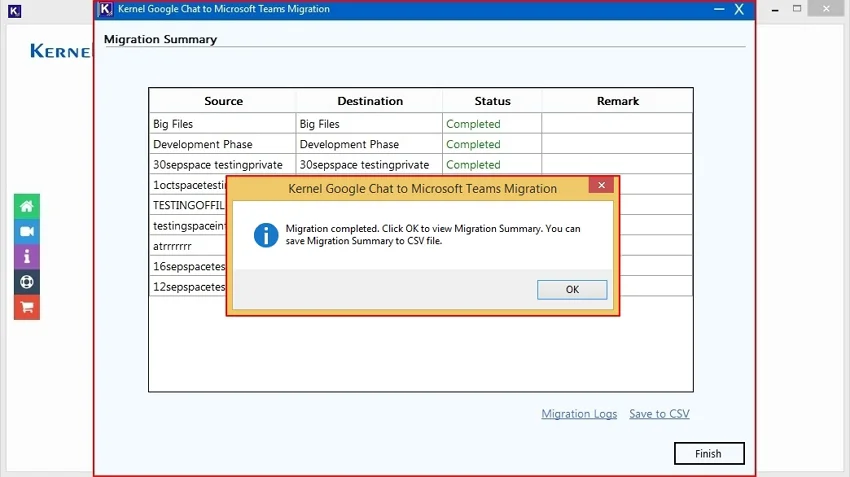
b. Once migration is completed, the software will pop up Migration completed. Click OK to view Migration Summary. You can save Migration Summary to CSV file message and click OK.
Migration Logs: By clicking on Migration Logs, you can easily view log report.
Save to CSV: Download migration summary report in CSV file in your local drive.
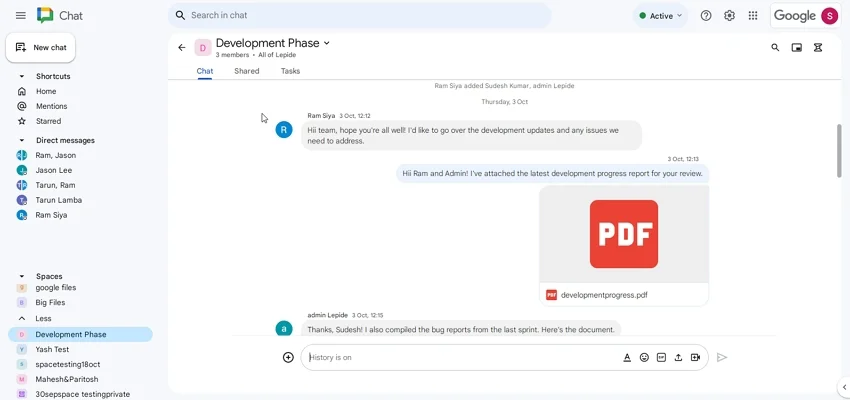
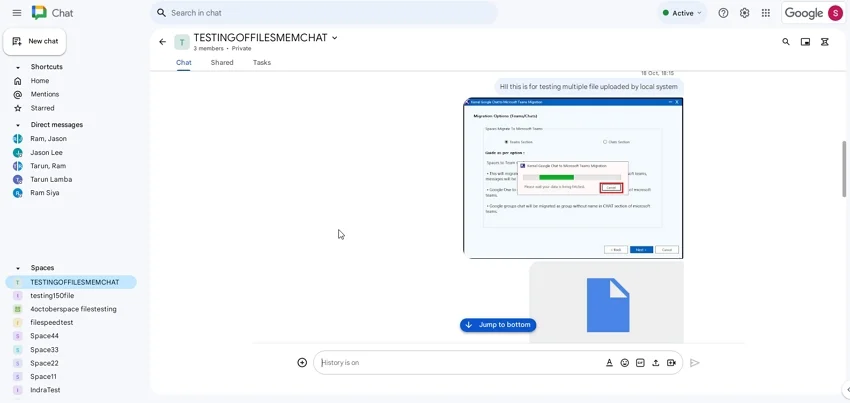
View the pre-migration chat and post-migration results.
Pre-migration
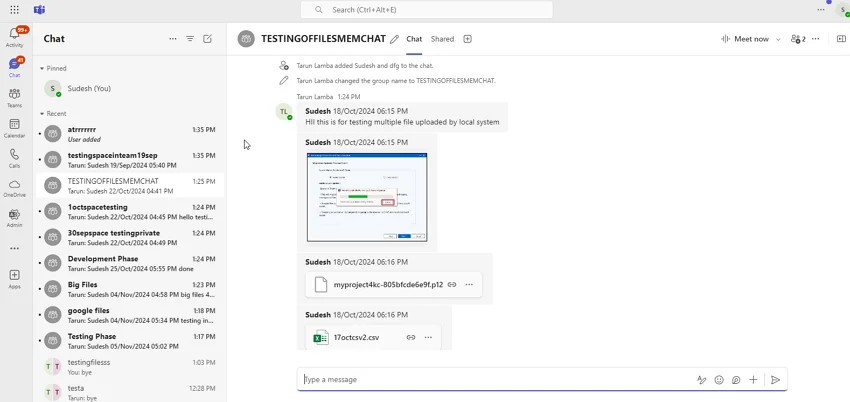
Post-migration
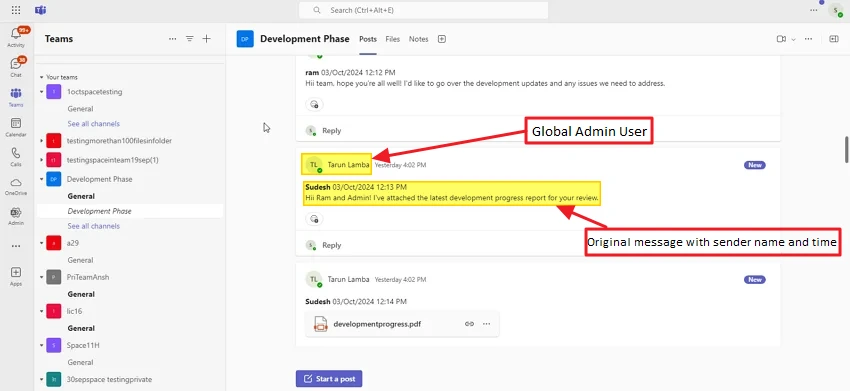
Note: In the destination Teams chat in the above image:
- Tarun Lamba is the Global Admin user on whose behalf the chat migration is done.
- Ram and Sudesh are the participants of the conversation with the original text message and conversation time.
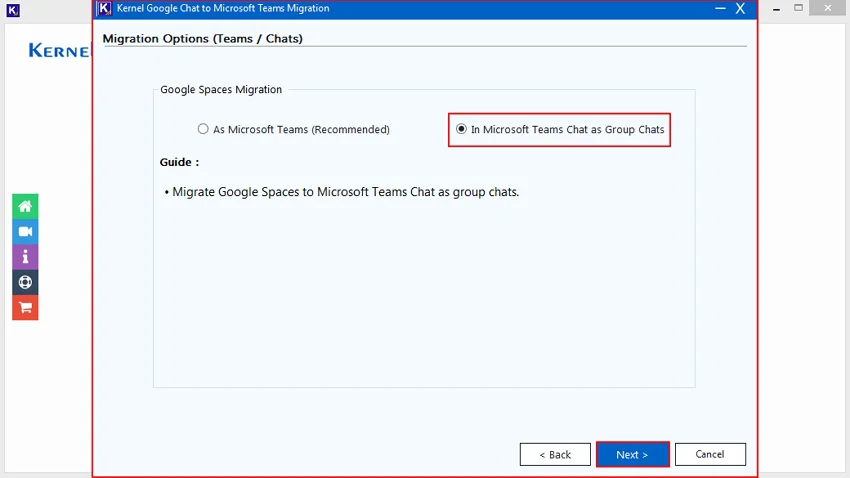
b.2 In Microsoft Teams Chat as Group Chat
a. In the Migration Options (Teams / Chats) wizard, select In Microsoft Teams Chat as Group Chats option from the Google Spaces Migration tab. Click Next to initiate the migration process.
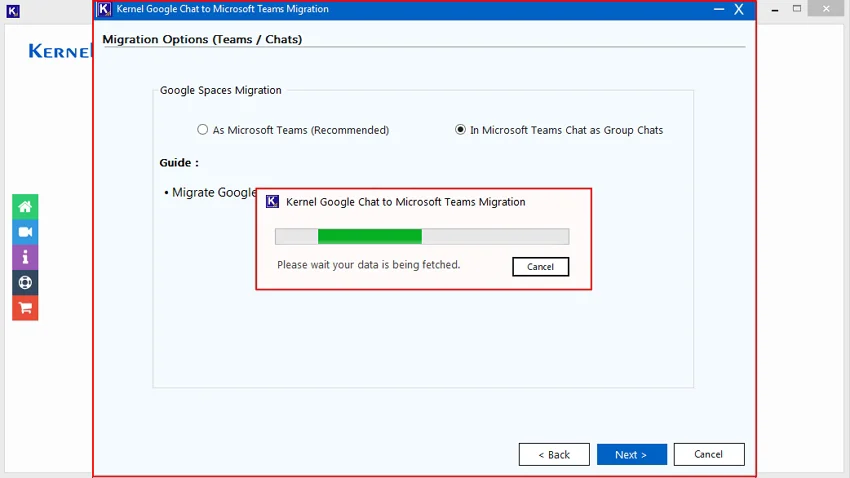
b. The software will start fetching Google Chat Spaces from the source and show “Please wait your data is being fetched” message.
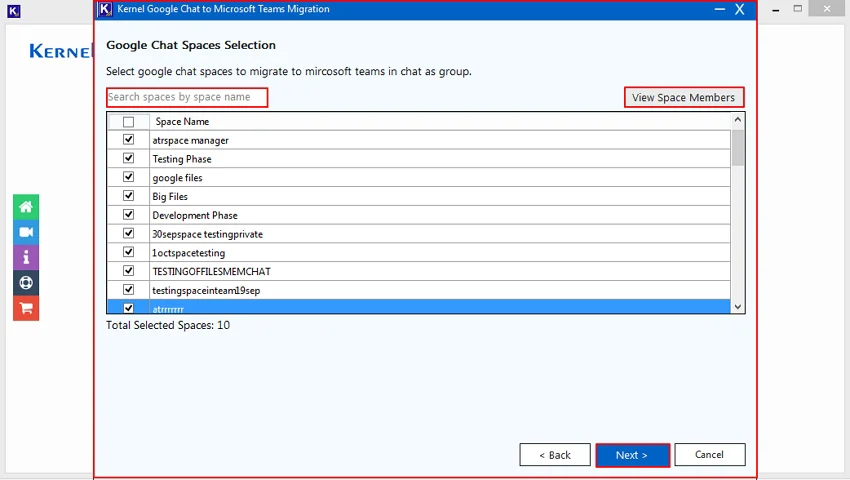
c. In the Google Chat Spaces Selection wizard, select specific Chat Spaces and click Next. Apart from that, you can also utilize the given options:
- Search Spaces: Search specific Google Spaces from multiple ones.
- View Space Members: Get a preview of selected Google Chat Spaces’ members in the software console.
- Use Checkboxes: Select specific Chat Spaces for migration.
d. The software will initiate the migration process.
e. Once migration is completed, the software will pop up Migration completed. Click OK to view Migration Summary. You can save Migration Summary to CSV file message and click OK.
View the pre-migration chat and post-migration results.
Pre-migration
Post-migration
3.B.2 Migrate Only Selected User's Google Spaces to Microsoft Teams or Microsoft Teams Chat as Group Chat
The software migrates selected users' Google Spaces in two modules: Microsoft Teams and Microsoft Teams Chat as Group Chat.
To carry out this migration, simply follow the steps outlined above up to the Migration Process section. Afterward, in the Select Google Chat Entities To Migrate window, select Google Spaces > Only Selected Users to smoothly migrate Google Space to Microsoft Teams or Microsoft Teams Chat as Group Chat.